
Add an Image to an eForm
To add an image to an eForm, do the procedure in this topic.
Video: Customer Survey Demo App
Examples
- (Example) Set the Logo Image for the Create Absence Request eForm
- (Example) Create the Logo Image for the Set Available Leave Hours eForm
- (Example) Set the Logo Image for the Manager Approval eForm
- Examples - Step-by-step use case examples, information about what types of examples are provided in the AgilePoint NX Product Documentation, and other resources where you can find more examples.
Good to Know
- The image file size can not be more than 2 MB.
How to Start
- On the Application Explorer screen, do one of these:
- Do one of these:
- Add a Image
 control:
- On the eForm Builder screen, in the Toolbox, open the Common Controls
 tab.
tab. - On the Common Controls tab, drag a Image
form control onto your eForm.
- Complete the fields as necessary.
- On the eForm Builder screen, put your mouse on your form control.
- On the eForm Builder screen, in the Toolbox, open the Common Controls
- Change a Image control:
- On the eForm Builder screen, put your mouse on your form control.
- Add a Image
- On the Form Control Quick Menu, click Image Picker
 .
.
Procedure
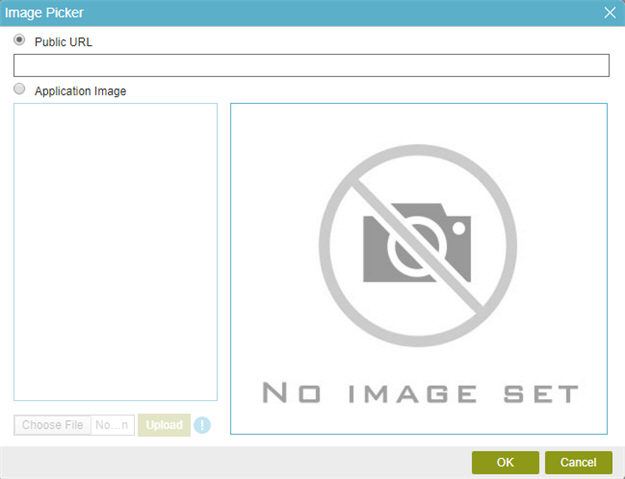
- On the Image Picker screen, do one of these.
- To set an image from a public URL, do this procedure.
- Select Public URL.
- In the URL field, enter the URL of the image.
- To set an image from the local file system, do this procedure.
- Select Application Image.
- Click Browse and select the image from the local file system.
- Click Upload.
- Select the image in the list.
- To set an image from a public URL, do this procedure.