
Create a Translation Language for a Multilingual eForm
To create a language for translation on a multilingual eForm, do the procedure in this topic.

Prerequisites
- You must be a member
of a role with access right to Add, Remove, and Modify Global Application Resources.
For more information, refer to Add Role > Configure Access Rights > Access Control tab.
How to Start
- In the Manage Center, click
App Builder
 > eForms Settings.
 - On the eForms Settings screen, click Language

Procedure
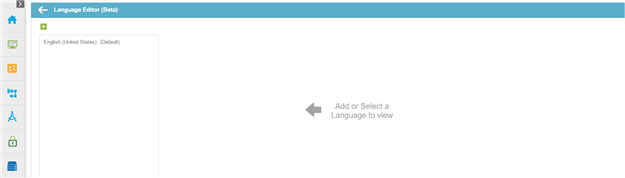
- On the Language Editor screen,
click Add a New Language
 .
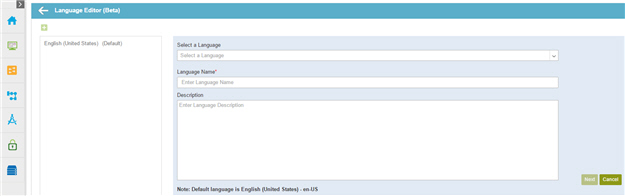
. - Complete these fields
as necessary.
Field Name Definition Select a Language
- Function:
- Specifies a language from the list for translation.
- Accepted Values:
- A language from the list.
- Default Value:
-
None
Note: The first time you create a translation language, you must use the language English (United States) - en-US. Once this language is entered in the languages list, you can create new languages.
Language Name
- Function:
- Shows the name of the language for your eForm.
- Accepted Values:
- Read only.
The name of the language shows when you select the language from Select a Language list.
- Default Value:
- None
- Click Next.
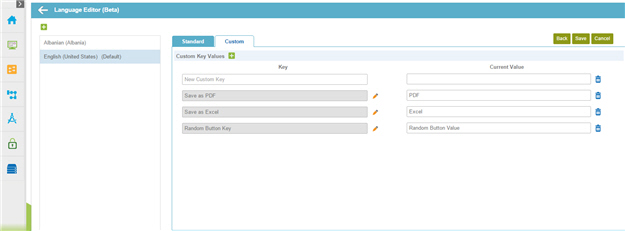
- Click the Standard tab, and complete these fields.
Field Name Definition Default Value
- Function:
- Shows the default value of the action button and standard messages.
- Accepted Values:
- Read only.
Current Value
- Function:
- Specifies the locale text for the action buttons and standard message that shows on your eForm.
- Accepted Values:
- One line of text that can have spaces.
- Default Value:
- The text and message specified in the Default value field.
- Click Save.
- Click Custom tab.
- Click Add Custom Key .
- Complete these fields.
Field Name Definition Key
- Function:
- Specifies the reference name of the custom key.
When you create a custom key, it shows on the Process Data > Global Translation Keys.
- Accepted Values:
- One line of text that can have spaces.
You can edit the custom key in your default language only.
- Default Value:
- None
Current Value
- Function:
- Specifies the locale text for the custom key.
- Accepted Values:
- One line of text that can have spaces.
- Default Value:
- None
- Click Save.