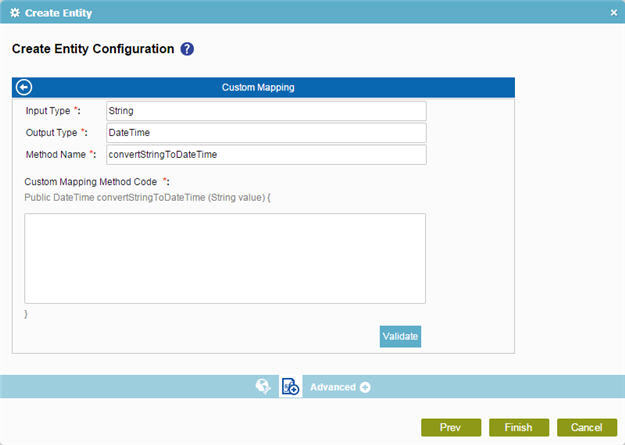
Custom Mapping screen
Specifies custom C# code that can be used to map fields to an XML schema.

How to Start
- On the Application Explorer screen, do one of these:
- Do one of these:
- Add your form control:
- On the eForm Builder screen, in the Toolbox, open one of these tabs:
- Common Controls

- Advanced Controls

- Telerik Controls

- Common Controls
- On your tab, drag one of these controls onto your form:
- Auto-Suggest

- List Box

- Subform

- Check Box

- Auto Lookup

- List View

- Pop-Up Select

- Drop-Down List

- Auto-Suggest

- Chart

- Data Grid

- Drop-Down List

- Data Grid

- Multi-Select List Box

- Auto-Suggest
- On the eForm Builder screen, in the Toolbox, open one of these tabs:
- Change your form control:
- On your eForm, click the control, and click Edit
 .
.
- On your eForm, click the control, and click Edit
- Add your form control:
- On the Configure tab, click Add Lookup
 .
. - On the Select Data Source Type screen, select your data source type, and click Next.
- On the Lookup Details screen, complete the fields, and click Next.
- Do one of these.
- On the Request Mapping field, click the Ellipses button.
- On the Response tab, in the Map Response to AgilePoint Schema field, click the Ellipses button.
- On the Request tab or Response tab, click the Map Schema button.
- Select Custom Data Conversion.
- Click Add or Edit.
Fields
| Field Name | Definition |
|---|---|
|
Input Type |
|
|
Output Type |
|
|
Method Name |
|
|
Custom Mapping Method Code |
|
|
Validate |
|
|
Back |
|


