
(Example) Set the Title for the Create Absence Request eForm
To set the title for the Create Absence Request eForm, do the procedure in this topic.
Good to Know
- For a list of limitations for AgilePoint NX example documentation, refer to (Example) Create a Process-Based Application.
How to Start
Procedure
- On the eForm Builder screen, in the Toolbox, open, the Advanced Controls
 tab.
tab. 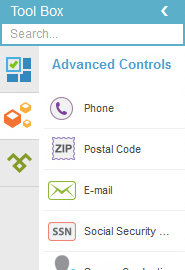
- On the Advanced Controls tab, drag a Raw HTML
 form control onto your eForm.
 - On the Field Setting - Raw HTML screen, click the General tab.
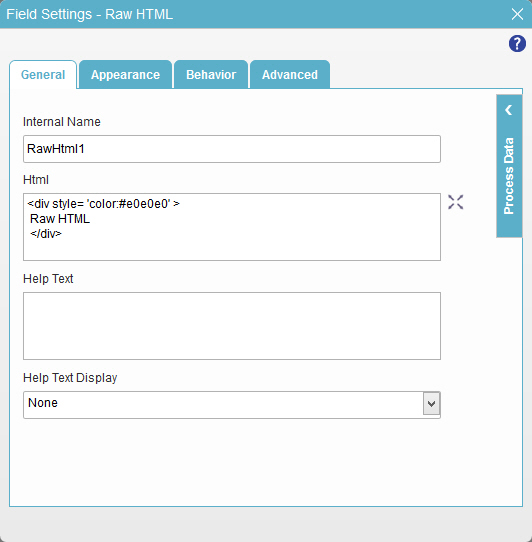
- In the Html field, enter this HTML code:
<hr class="lineClass"/><br/>
<div class="headerClass">
Create Absence Request
</div>
<hr class="lineClass"/>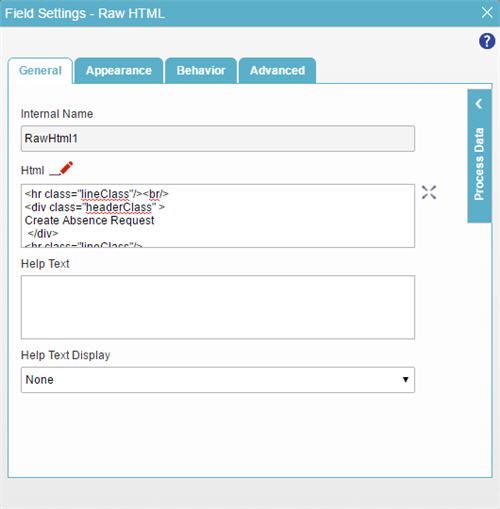
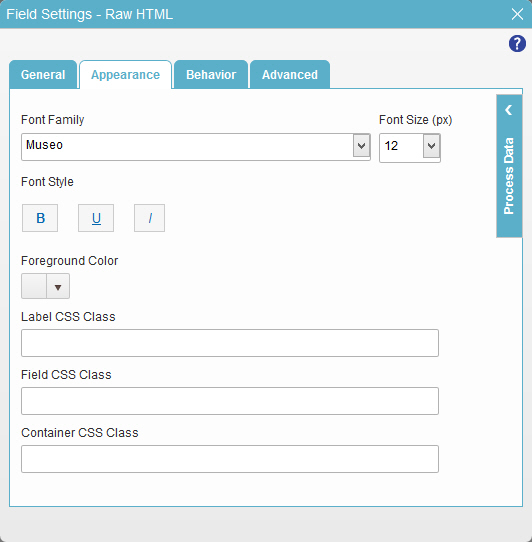
- Click the Appearance tab.

- In the Font Family list, select Museo.
- To save the changes, click Close Screen
 .
. - On the eForm screen, drag the right edge of the form control to the right until the width of the form control is 2 columns.
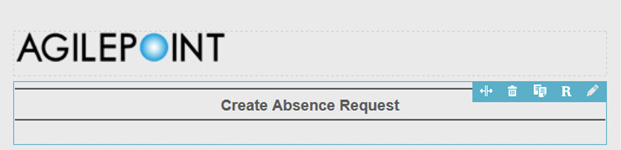
- On the eForm Builder screen, put your mouse on your form control.
- On the Form Control Quick Menu, click Adjust Width
 .
. 
- Drag the form control adjust width bar to the right edge of the form control.
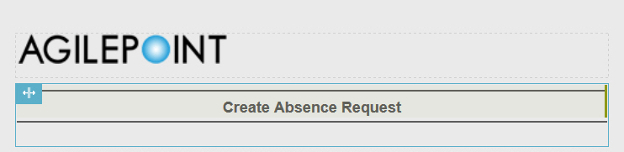
- Click Adjust Width .
- The eForm Builder shows the title for the Create Absence Request
eForm with 2 columns.
