(Example) Configure the Date Prepared Date Control for the Create Absence Request eForm
To configure the Date Prepared date form control to mark the date the absence request is prepared on the Create Absence Request eForm, do the procedure in this topic.
Good to Know
- For a list of limitations for AgilePoint NX example documentation, refer to (Example) Create a Process-Based Application.
How to Start
Procedure
- On the eForm Builder screen, in the Toolbox, open, the Common Controls
 tab.
tab. 
- On the Common Controls tab, drag a Date
 form control onto your eForm.
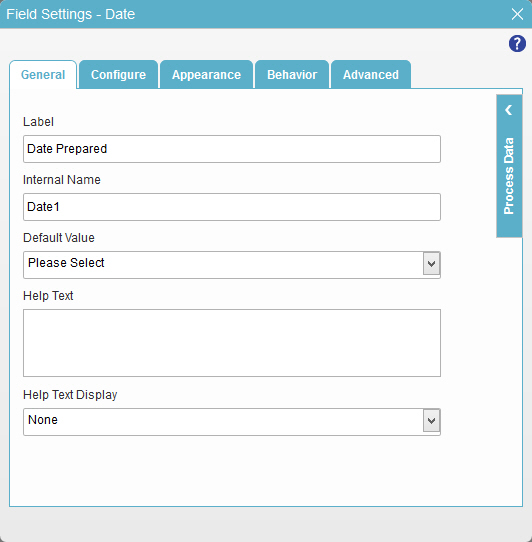
 - On the Field Setting - Date screen, click the General tab.
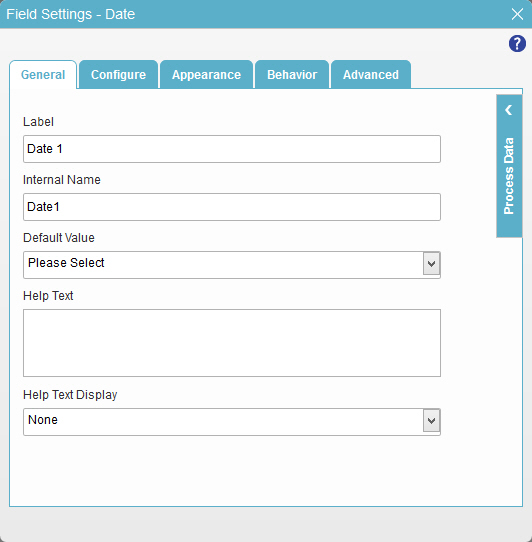
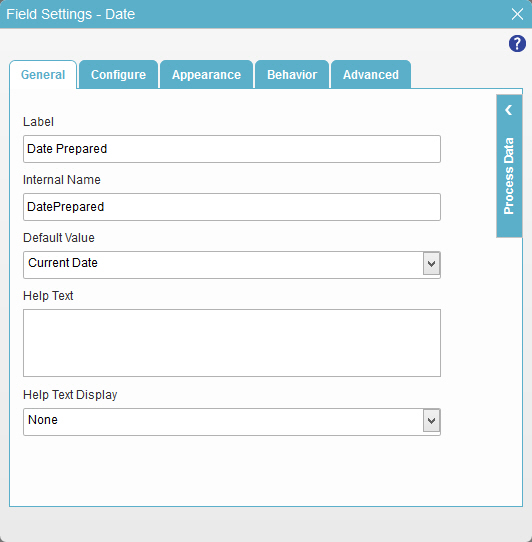
- In the Label field, enter Date Prepared.
- In the Default Value list, select Current Date.
- To save the changes, click Close Screen
 .
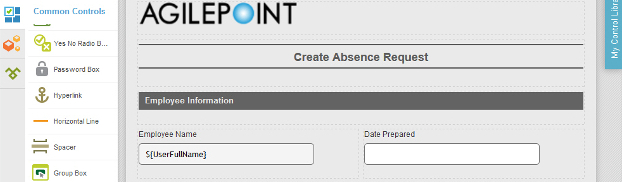
. - The eForm Builder shows the Date Prepared field for the Create Absence Request
eForm.