(Example) Configure Dynamic Task Pool Activity and Load Balancing Activity
This example shows how to configure Dynamic Task Pool and Load Balancing activities in the Customer Enquiry app.
Dynamic Task Pool - This activity is used to assign tasks to groups where the members change frequently. If a task is assigned to a group, AgilePoint checks if the signed in user is part of the group. Specific tasks show only if the user is part of the group.
Load Balancing - This activity is used to balance the workload of members in a specific group. Load Balancing Task checks the number of tasks assigned to each member of the group and then assigns the task to the group member with the smallest number of open tasks.
Background and Setup
Prerequisites
- This example uses the Customer Enquiry app from the AgilePoint NX
App Store.
For more information, refer to How to Get the App
- Create a group Inside Sales.
For more information, refer to Create a Group.
- Create an eForm Customer Follow Up with the existing form
Customer Enquiry Form that is available in Customer Enquiry app.
The Customer Follow Up eFrom contains these fields:
Form Control Display Name Date
Contact Date
Drop-Down List
Contact Method
- Contact Method has these options:
- Phone
- Other
Text Area
Comments
When you complete this eForm, the finished eForm looks like this: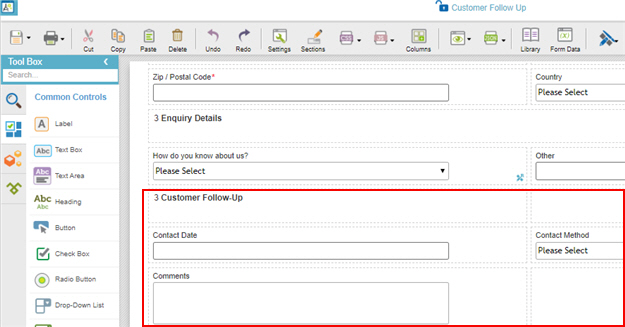
- Contact Method has these options:
Configure Dynamic Task Pool activity
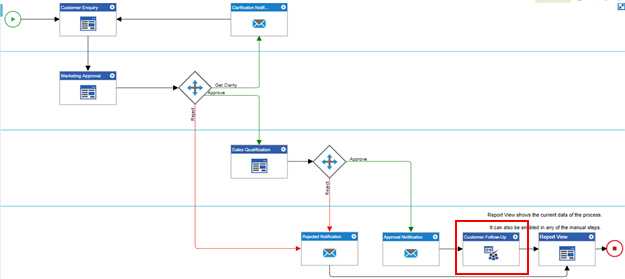
For the use case in this example, configure the Dynamic Task Pool activity in the Customer Enquiry app. The Inside Sales team for a real estate company uses the Customer Enquiry app to respond to customer inquiries. However, the Inside Sales and Outside Sales team are mixed. Throughout any given day, some members of the Inside Sales team may be out in the field (Outside Sales), and some members of the Outside Sales team may be in the office (Inside Sales). Therefore, the members of the Inside Sales group are constantly changing. When the Customer Enquiry task is assigned to the Inside Sales group, to ensure the fastest response possible, the Dynamic Task Pool activity always checks the members of the Inside Sales group, and assigns the task to the current members of that group.
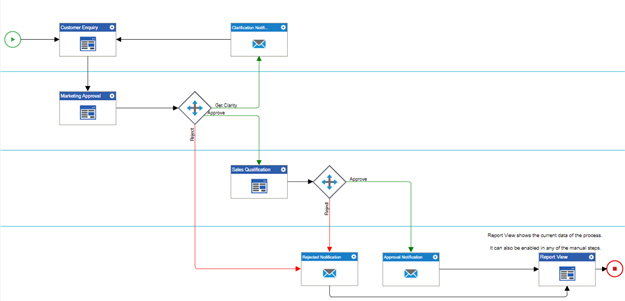
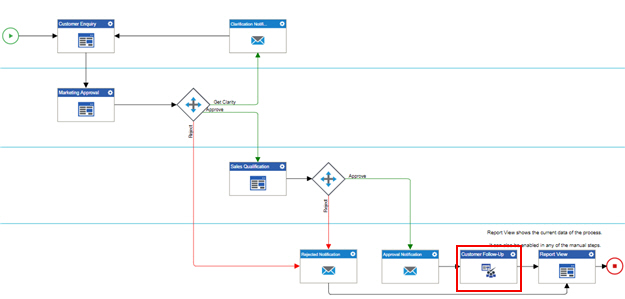
Result
How to Start
- On the Application Explorer screen,
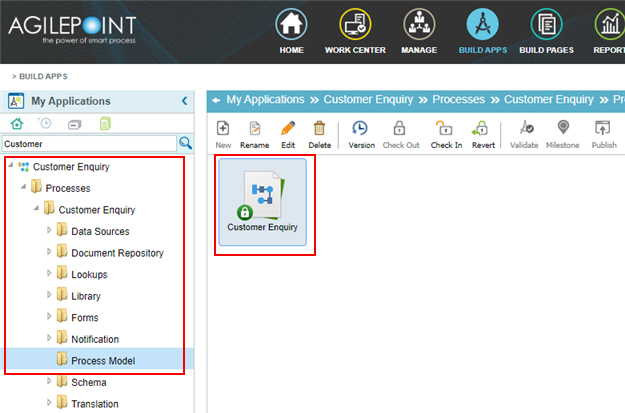
on the My Application pane, click Customer Enquiry > Processes > Customer Enquiry >Process Model.
Procedure
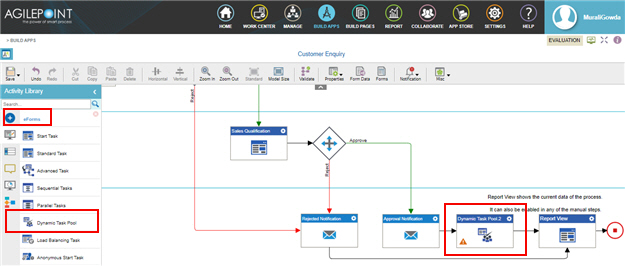
- On the eForms
 tab,
drag the Dynamic Task Pool (eForms)
  activity onto your process.
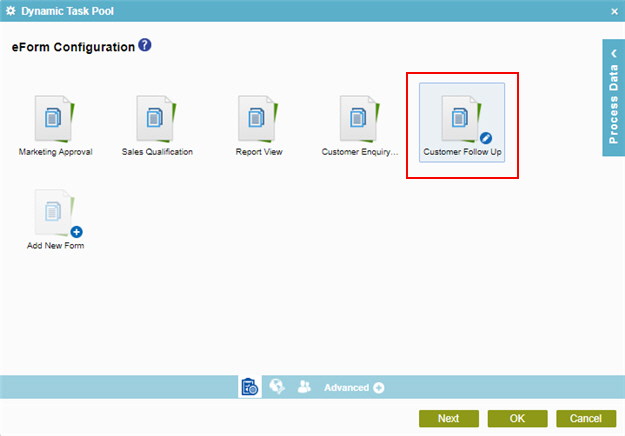
- On the eForm Configuration screen, select Customer Follow Up eForm.
Customer Follow-Up is an eForm created in Background and Setup section.
- Click Next.
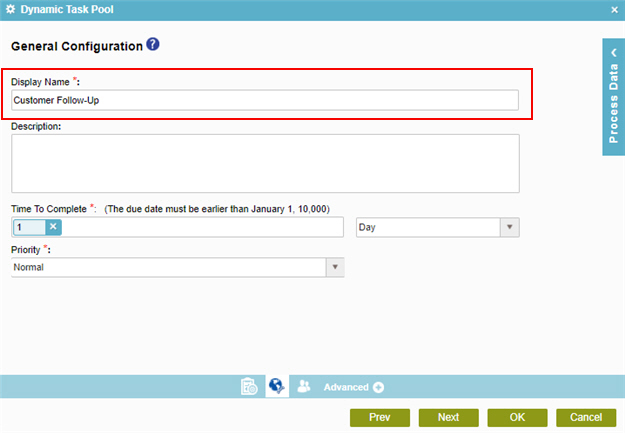
- On the General Configuration tab, in the Name field,
enter Customer Follow-Up.
- Click Next.
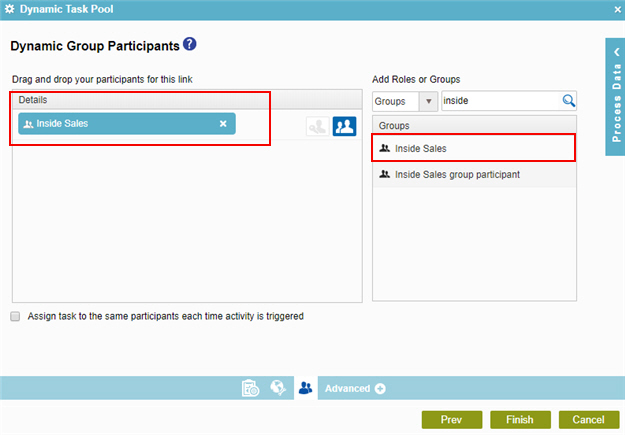
- On the Dynamic Group Participants screen, drag Inside Sales from Groups to Details box.
The current members of the Inside Sales group can view the task. The Dynamic Task Pool activity checks the members of the Inside Sales group, and assigns the task to the current members of that group.
- Click Finish.
The Customer Follow-Up activity shows on the Customer Enquiry process.
Configure Load Balancing Task activity
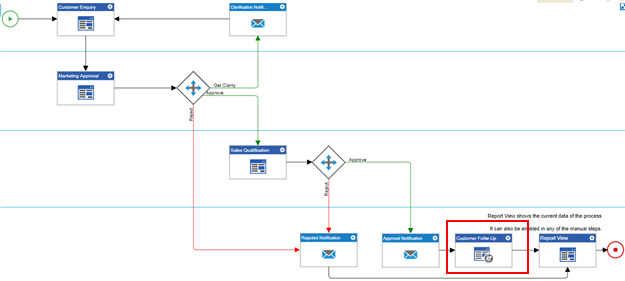
For the use case in this example, configure the Load Balancing Task activity in the Customer Enquiry app. The Inside Sales team for a real estate company uses the Sales Enquires app to respond to customer inquiries. When the Customer Enquiry task is assigned to the Inside Sales group, to ensure the fastest response possible, the Load Balancing Task activity assigns the task to the group member with the smallest number of open tasks.
Result

How to Start
- On the Application Explorer screen,
on the My Application pane, click Customer Enquiry > Processes > Customer Enquiry >Process Model.

Procedure
- On the eForms
 tab,
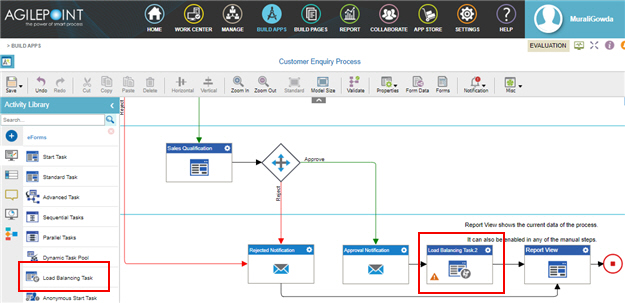
drag the Load Balancing Task (eForms)
  activity onto your process.
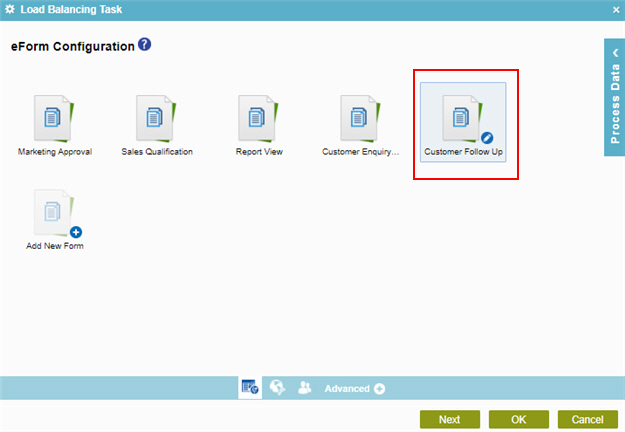
- On the eForm Configuration screen, select Customer Follow Up eForm.
The Customer Follow Up is an eForm that you created in Background and Setup section.
- Click Next.
- On the General Configuration tab, in the Name field,
enter Customer Follow-Up.
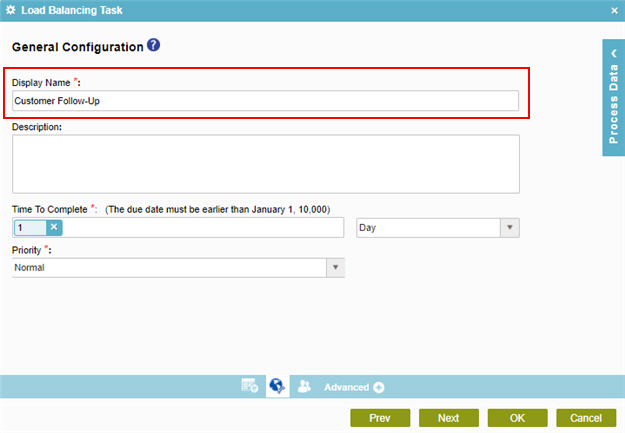
- Click Next.
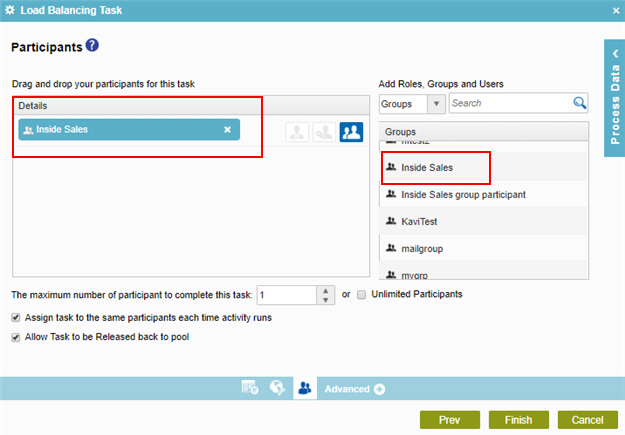
- On the Participants screen, drag Inside Sales from Groups to Details box.
The Customer Enquiry task is assigned to the Inside Sales group, to ensure the fastest response possible, the Load Balancing Task activity assigns the task to the group member with the smallest number of open tasks.
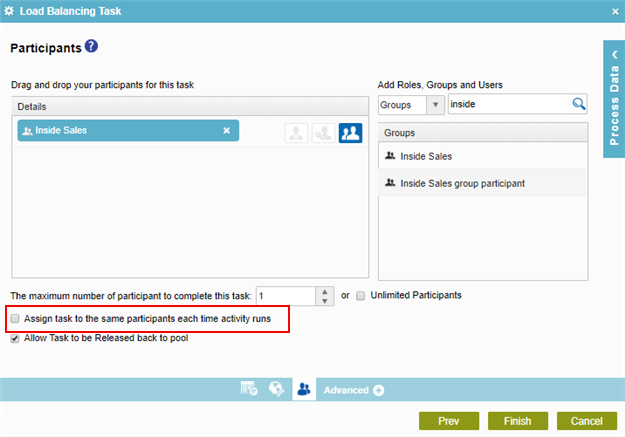
- Deselect Assign task to the same participants each time activity runs.
For more information, refer to eForm Load Balancing Task.
- Click Finish.
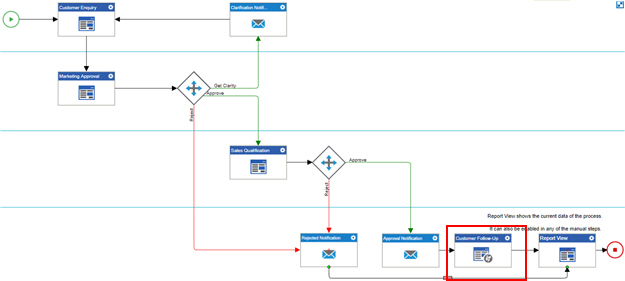
The Customer Follow-Up activity shows on the Customer Enquiry process.
Complete the Process
Save and validate your process model.
Procedure
- To validate a process, refer to Validate a Process.
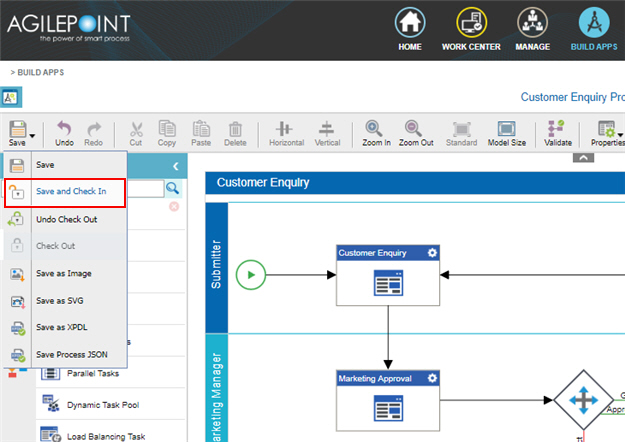
- On the Save quick menu, click Save and Check In
 .
.
Step 6: (Optional) Publish and Run the Application
Next, publish the application so people can use it.
Procedure
- To publish the app, refer to Publish a process-based application.
- To run the app, refer to Start your process.
How to Get the App
This example is based on the Customer Enquiry app from the AgilePoint NX App Store. Use this procedure to get the app.
Prerequisites
- AgilePoint NX OnDemand (public cloud), or AgilePoint NX PrivateCloud or AgilePoint NX OnPremises v7.0 or higher.
Good to Know
- This procedure is optional. It is provided so you can test the example with an out-of-the-box app.
- This is part of the Background and Setup procedures, but many users preferred this step to appear after the example, not before it.
Get the App
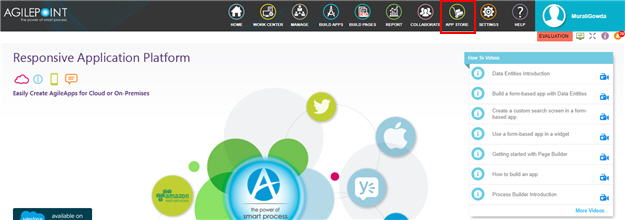
- Click App Store
 .
.
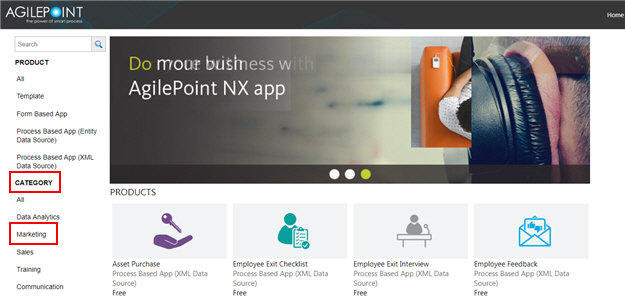
- In the CATEGORY section, click Marketing.
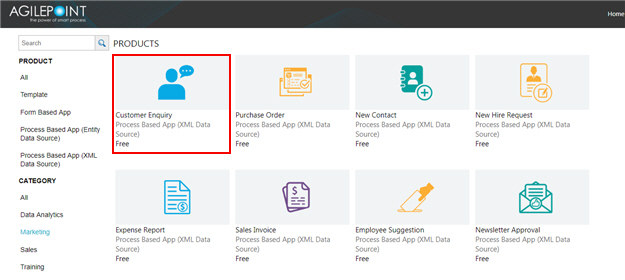
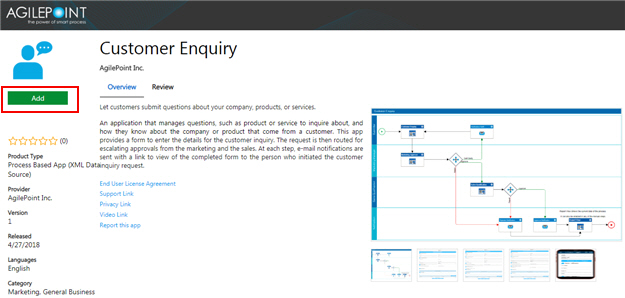
- Click the Customer Enquiry app.
- On the Customer Enquiry screen, click Add.
- On the Trust App screen, click Trust it.
- Click Return to site.


