(Example) Create an Inline Function
This example shows how to configure various types of functions in the Inline Functions activity.
Background and Setup
Good to Know
- When you add a function to the Formula field, the value that shows in the parentheses ( ) does not always represent the correct syntax for the function. The examples in this topic provide some of the correct syntax formats.
How to Start
- Click Build Apps
 .
.

- On the Application Explorer screen, do one of these:
- Do one of these:
- Add an activity:
- In the Process Builder, in the Activity Library,
open the Utilities
 tab.
tab. - On the Utilities
 tab,
drag the Inline Functions
  activity onto your process.
- In the Process Builder, in the Activity Library,
open the Utilities
- Change an activity:
- In your process, double-click your activity.
- Add an activity:
- Complete the fields on the General Configuration screen.
- Click Next.
The Inline Functions screen shows.
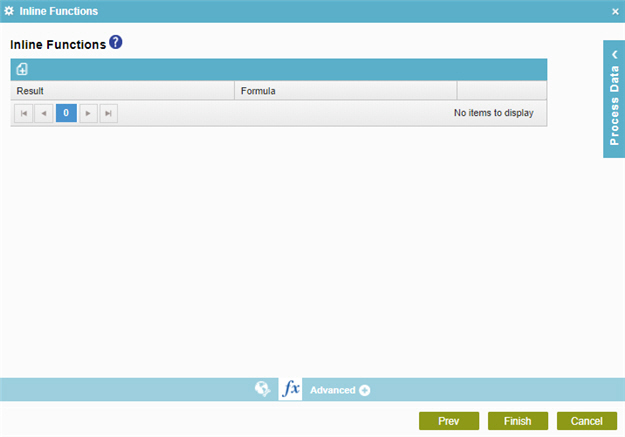
Example 1: Sum
This example shows how to configure the Sum function to show the total bill amount of a laptop computer and accessories.
Display Syntax
@Sum(N numbers)
Input Syntax
A comma-separated list of numbers or variables that represent numbers.
@Sum(100,200,300)
Variables must be in xpath format:
@Sum(${/pd:AP/pd:formFields/pd:Variable1},${/pd:AP/pd:formFields/pd:Variable2},${/pd:AP/pd:formFields/pd:Variable3})
Procedure
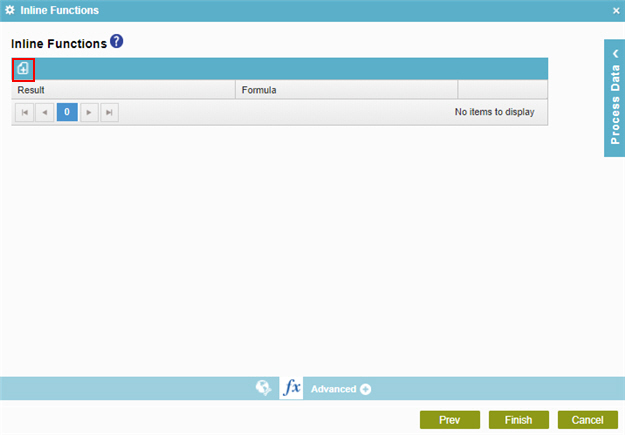
- On the Inline Functions screen, click Add
 .
.
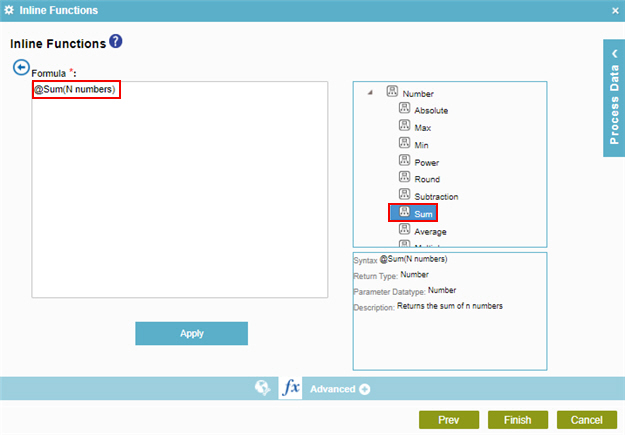
- On the Inline Functions screen, in the Number section, drag the Sum function
onto the Formula field.
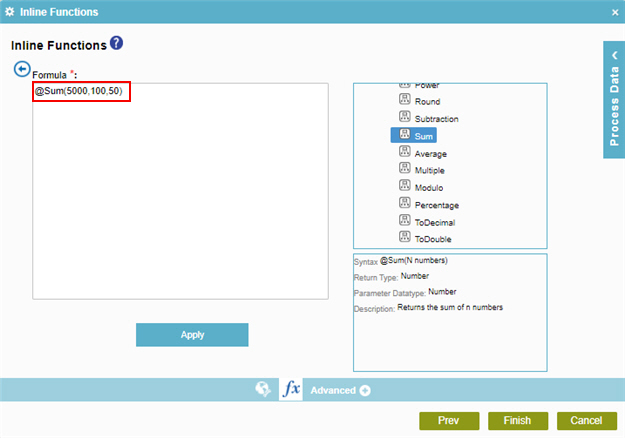
- In the Formula field, configure the Sum function.
You can use literal values in this format:
@Sum(5000,100,50)
You can use variables in this format:
@Sum(${/pd:AP/pd:formFields/pd:LaptopPrice},${/pd:AP/pd:formFields/pd:WirelessMouse},${/pd:AP/pd:formFields/pd:WirelessKeyboard})
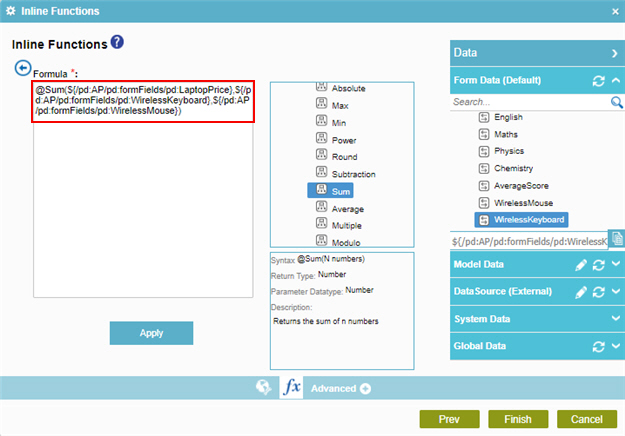
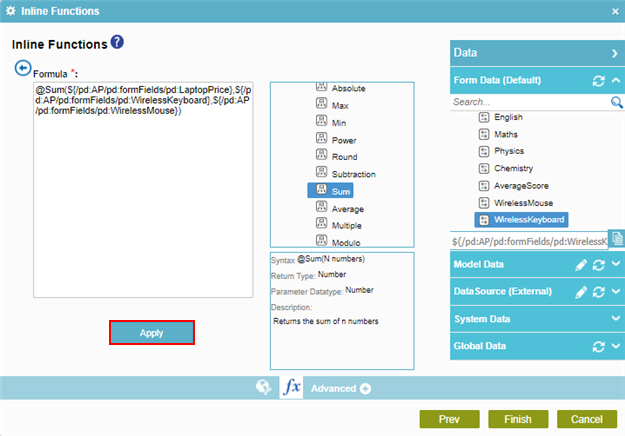
- Click Apply.
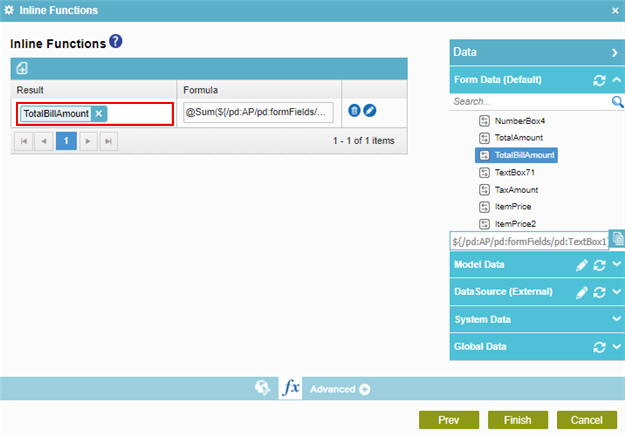
- On the Inline Functions screen, drag the variable onto the Result field.
This variable shows the output for the Sum function at runtime.
- Click Finish.
Result
After the process completes, you can view the result in Manage Center on the Process Detail screen > Data tab > Form Variable tab.
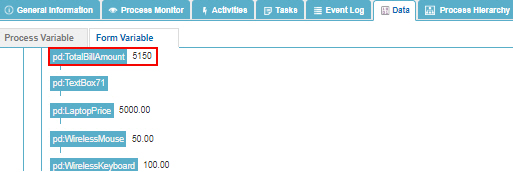
The value for the TotalBillAmount variable shows the result of the Sum function.
Example 2: Average
This example shows how to configure the Average function to show the average grade for a student.
Display Syntax
@Avg(N numbers)
Input Syntax
A comma-separated list of numbers or variables that represent numbers.
@Avg(100,200,300,400)
Variables must be in xpath format:
@Avg(${/pd:AP/pd:formFields/pd:Variable1},${/pd:AP/pd:formFields/pd:Variable2},${/pd:AP/pd:formFields/pd:Variable3}, ${/pd:AP/pd:formFields/pd:Variable4})
Procedure
- On the Inline Functions screen, click Add
 .
.

- On the Inline Functions screen, in the Number section, drag the Average function
onto the Formula field.
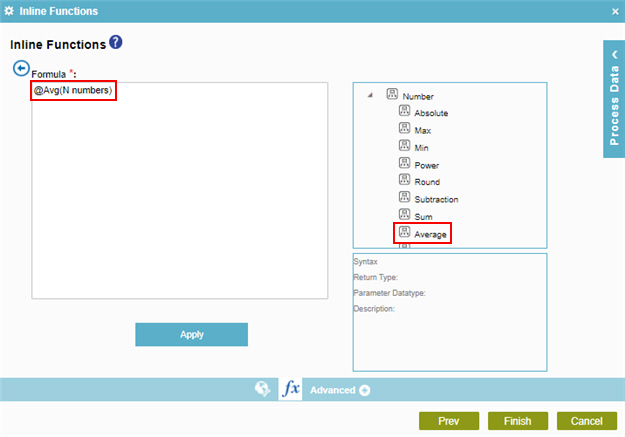
- In the Formula field, configure the Average function.
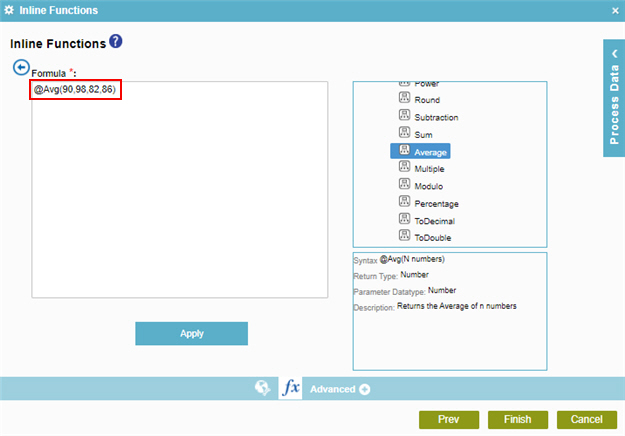
You can use literal values in this format:
@Sum(90,98,82,86)
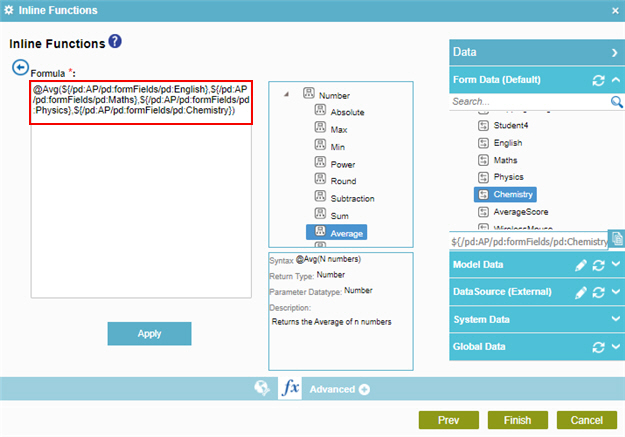
You can use variables in this format:
@Avg(${/pd:AP/pd:formFields/pd:English},${/pd:AP/pd:formFields/pd:Maths},${/pd:AP/pd:formFields/pd:Physics},${/pd:AP/pd:formFields/pd:Chemistry})
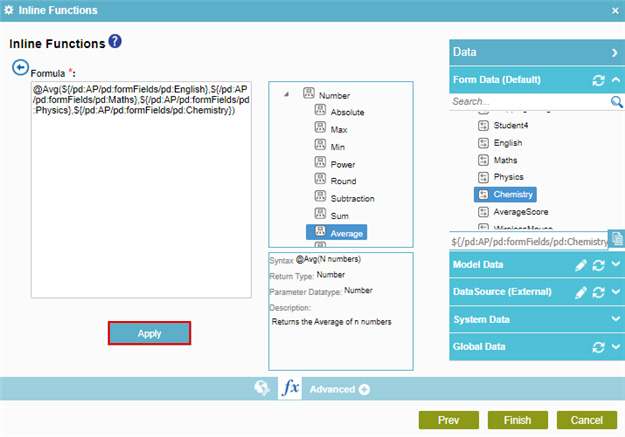
- Click Apply.
- On the Inline Functions screen, drag the variable onto the Result field.
This variable shows the output for the Average function at runtime.
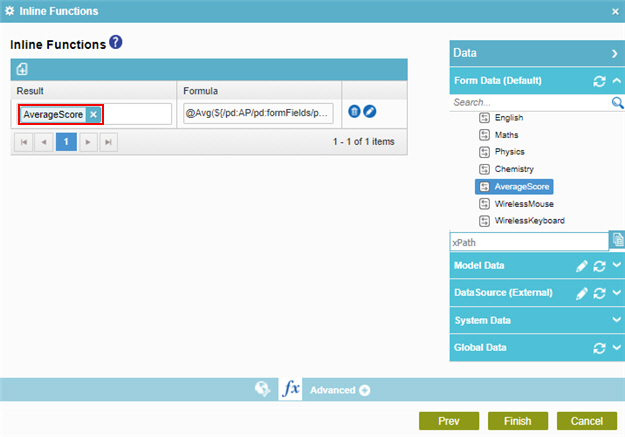
- Click Finish.
Result
After the process completes, you can view the result in Manage Center on the Process Detail screen > Data tab > Form Variable tab:
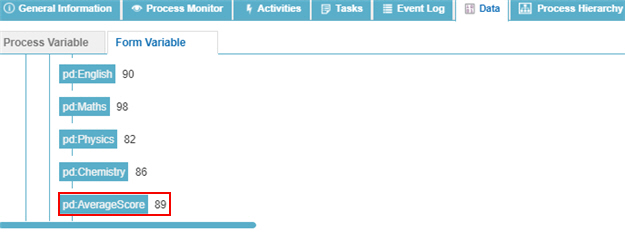
The value for the AverageScore variable shows the result of the Average function.
Example 3: DateDiffDays
This example shows how to configure the DateDiffDays function to show the number of days that expired to complete a task.
Display Syntax
@DateDiffDays(StartDate, EndDate)
Input Syntax
- Date values must be enclosed by quotation marks.
- Date values must be in the format MM/dd/yyyy.
@DateDiffDays("09/25/2019", "03/31/2020")
Variables must be in xpath format:
@DateDiffDays(${/pd:AP/pd:formFields/pd:Date1}, ${/pd:AP/pd:formFields/pd:Date2})
Procedure
- On the Inline Functions screen, click Add
 .
.

- On the Inline Functions screen, in the Date section, drag the DateDiffDays function
onto the Formula field.
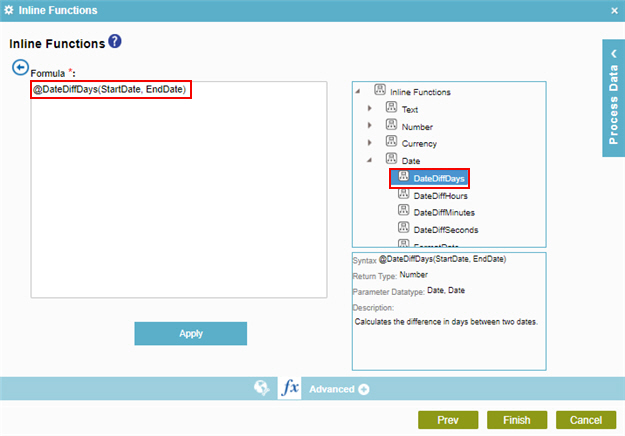
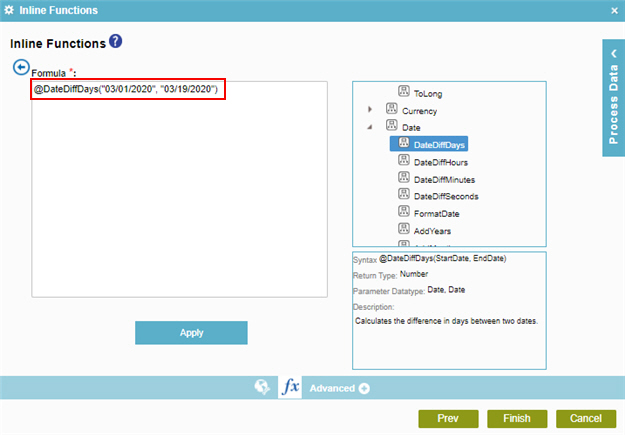
- In the Formula field, configure the DateDiffDays function.
You can use literal values in this format:
@DateDiffDays("03/01/2020", "03/19/2020")
You can use variables in this format:
@DateDiffDays(${/pd:AP/pd:formFields/pd:SubmittedDate}, ${/pd:AP/pd:formFields/pd:ApprovalDate})
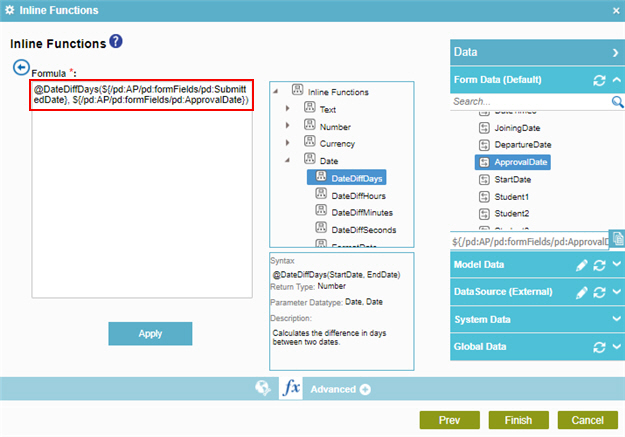
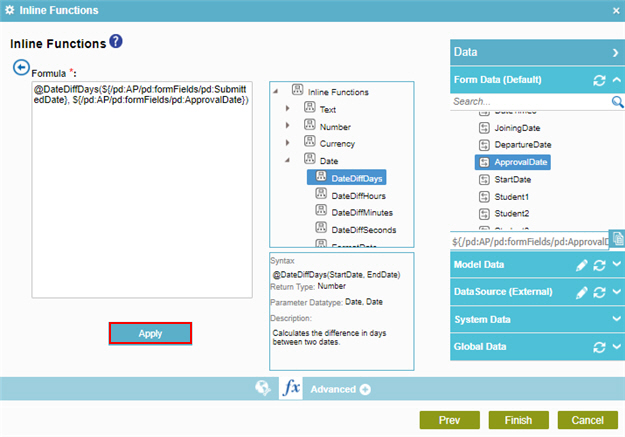
- Click Apply.
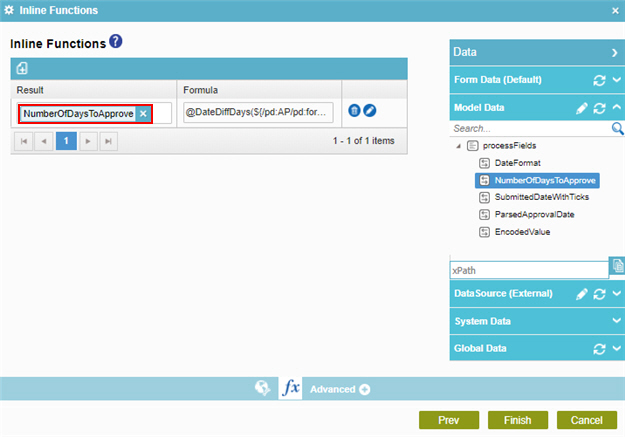
- On the Inline Functions screen, drag the variable onto the Result field.
This variable shows the output for the DateDiffDays function at runtime.
- Click Finish.
Result
After the process completes, you can view the result in Manage Center on the Process Detail screen > Data tab > Form Variable tab:
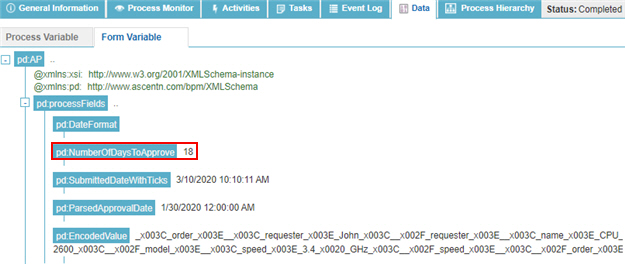
The value for the NumberOfDaysToApprove variable shows the result of the DateDiffDays function.
Example 4: AddTicks
This example shows how to configure the AddTicks function to add one second to the date time value.
Display Syntax
@AddTicksToDate(Date, Number)
Input Syntax
- Date values must be enclosed by quotation marks.
- Date values must be in the format MM/dd/yyyy HH:mm:ss.
If you do not give the time value, the time value is assumed to be 12:00:00 a.m.
- The value for ticks must not have commas.
@AddTicksToDate("02/25/2020", 30200100)
Variables must be in xpath format:
@AddTicksToDate(${/pd:AP/pd:formFields/pd:Date1}, ${/pd:AP/pd:formFields/pd:Variable})
Procedure
- On the Inline Functions screen, click Add
 .
.

- On the Inline Functions screen, in the Date section, drag the AddTicks function onto the Formula field.
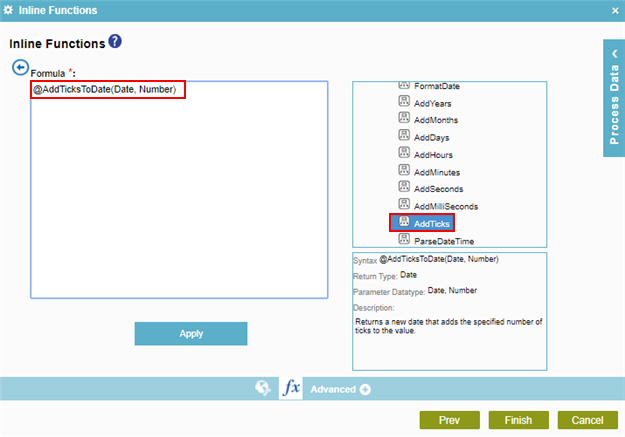
- In the Formula field, configure the AddTicks function.
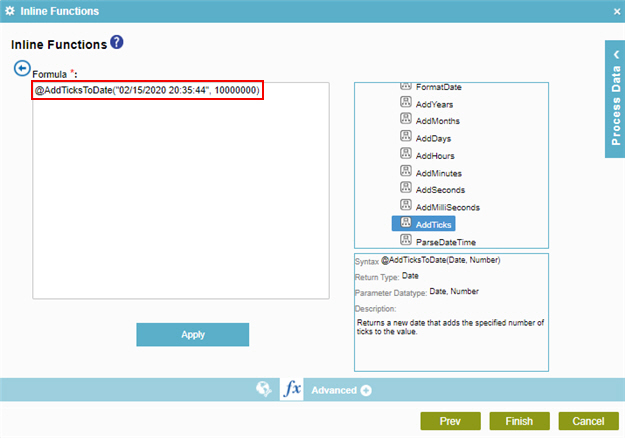
You can use literal values in this format:
@AddTicksToDate("02/15/2020 20:35:44", 10000000)
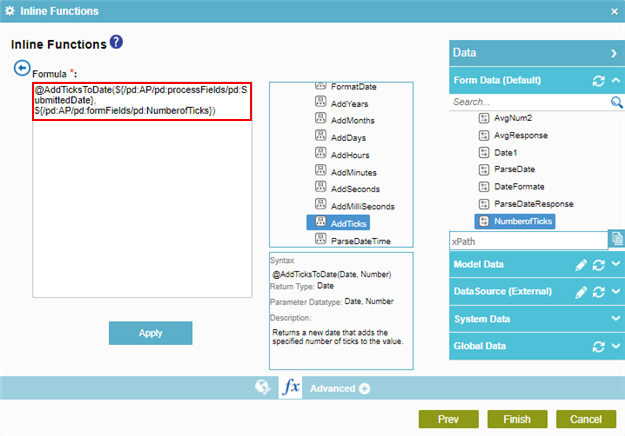
You can use variables in this format:
@AddTicksToDate(${/pd:AP/pd:processFields/pd:SubmittedDate}, ${/pd:AP/pd:formFields/pd:NumberofTicks})
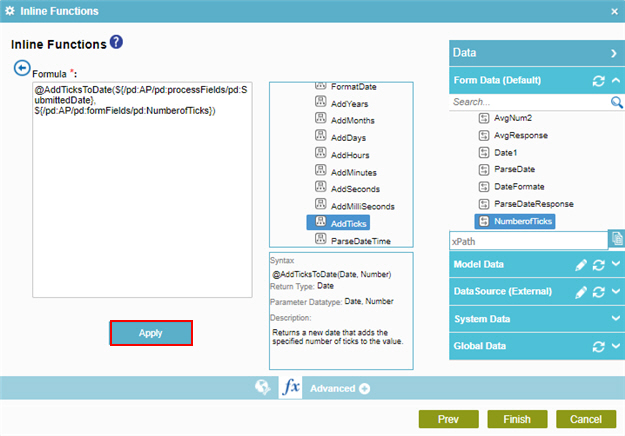
- Click Apply.
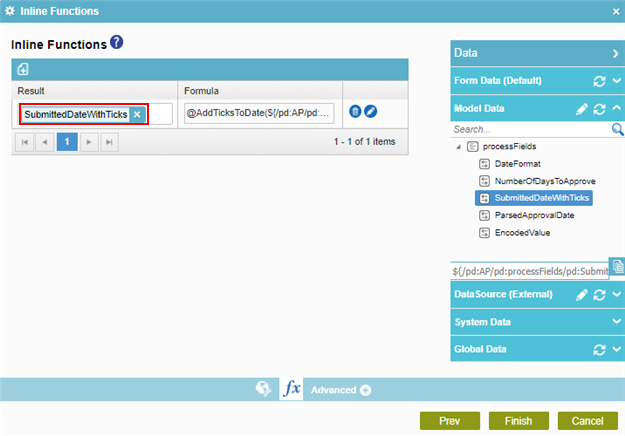
- On the Inline Functions screen, drag the variable onto the Result field.
This variable shows the output for the AddTicks function at runtime.
- Click Finish.
Result
After the process completes, you can view the result in Manage Center on the Process Detail screen > Data tab > Form Variable tab:
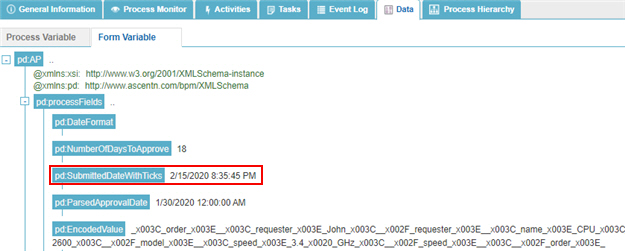
The value for the SubmittedDateWithTicks variable shows the result of the AddTicks function.
Example 5: XmlEncode
This example shows how to configure the XmlEncode function to change XML markup to Unicode characters for process, storage, and data interchange of text data.
Display Syntax
@XmlEncode(SourceString)
Input Syntax
- A well-formatted XML code snippet without headers or spaces.
- The XML code must be enclosed by quotation marks.
@XmlEncode("<order><name>office paper</name><price>$10</price> <quantity>3</quantity></order>")
Variables must be in xpath format:
@XmlEncode(${/pd:AP/pd:formFields/pd:Variable})
Procedure
- On the Inline Functions screen, click Add
 .
.

- On the Inline Functions screen, in the Text section, drag the XmlEncode function
onto the Formula field.
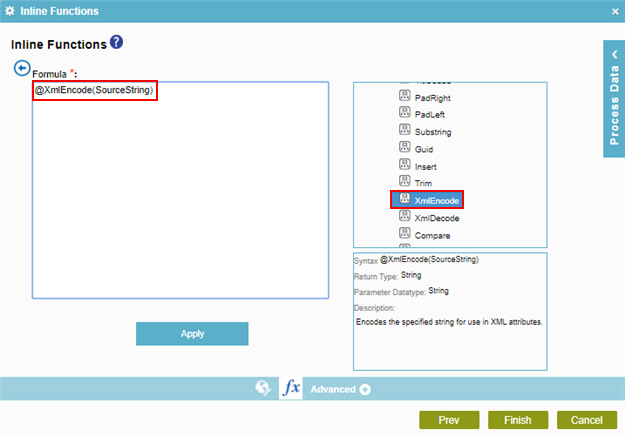
- In the Formula field, configure the XmlEncode function.
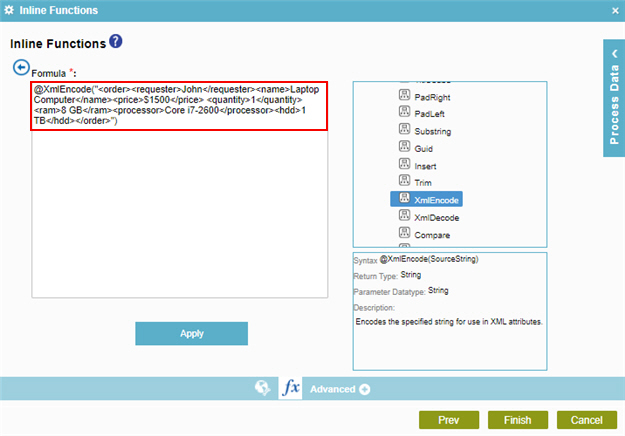
You can use literal values in this format:
@XmlEncode("<order><requester>John</requester><name>Laptop Computer</name><price>$1500</price> <quantity>1</quantity><ram>8 GB</ram><processor>Core i7-2600</processor><hdd>1 TB</hdd></order>")
You can use variables in this format:
@XmlEncode(${/pd:AP/pd:formFields/pd:OrderXML})
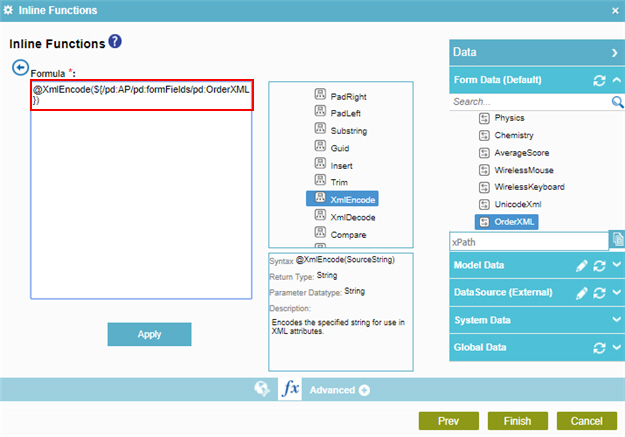
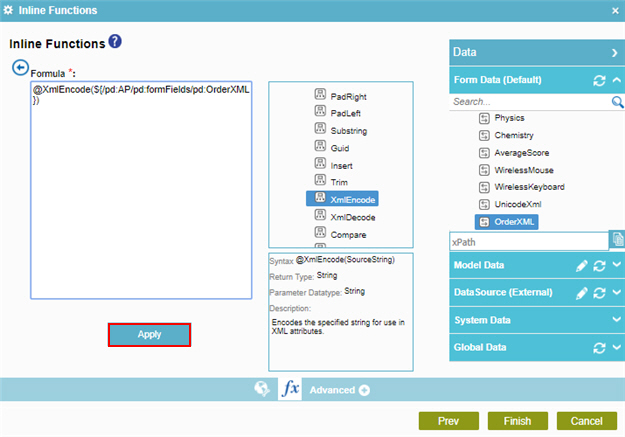
- Click Apply.
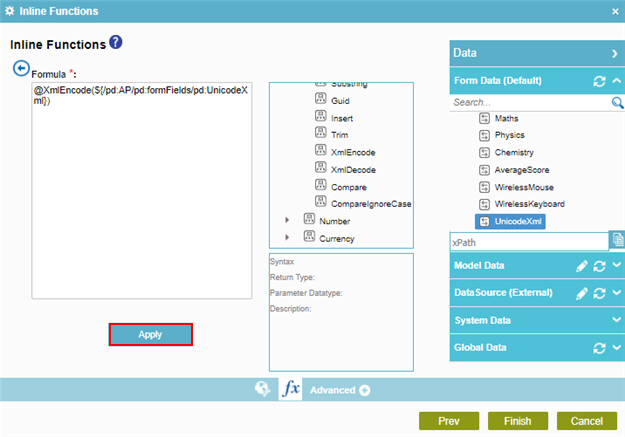
- On the Inline Functions screen, drag the variable onto the Result field.
This variable shows the output for the XmlEncode function at runtime.
- Click Finish.
Result
After the process completes, you can view the result in Manage Center on the Process Detail screen > Data tab > Form Variable tab:
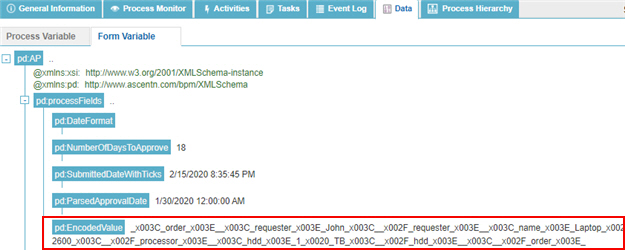
The value for the EncodedValue variable shows the result of the XmlEncode function.


