(Example) Create an eForm (Set Available Leave Hours)
This example shows how to create a Set Available Leave Hours eForm in the Absence Request app.
Background and Setup
Target Result
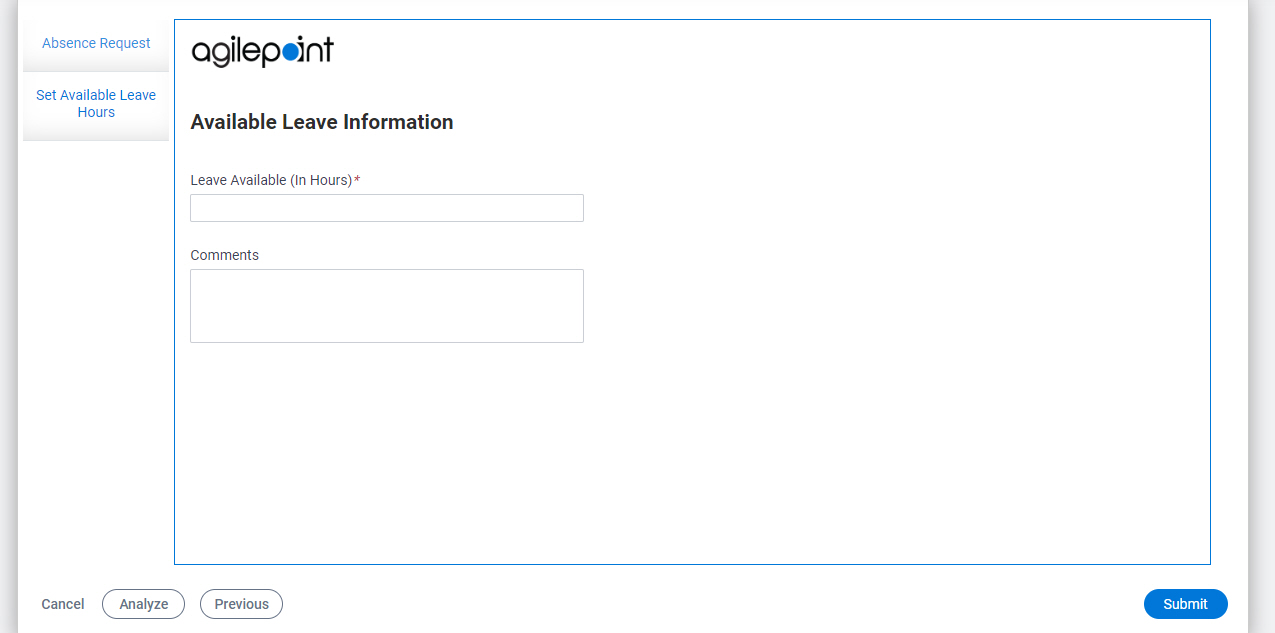
When you complete this step, the finished eForm will look like this.
Good to Know
- The Set Available Leave Hours form is used to enter information about available leave hours for an employee.
- The HR representative completes this form.
Step 1: Create an eForm (Set Available Leave Hours)
First, create a Set Available Leave Hours eForm in the Absence Request app.
Procedure
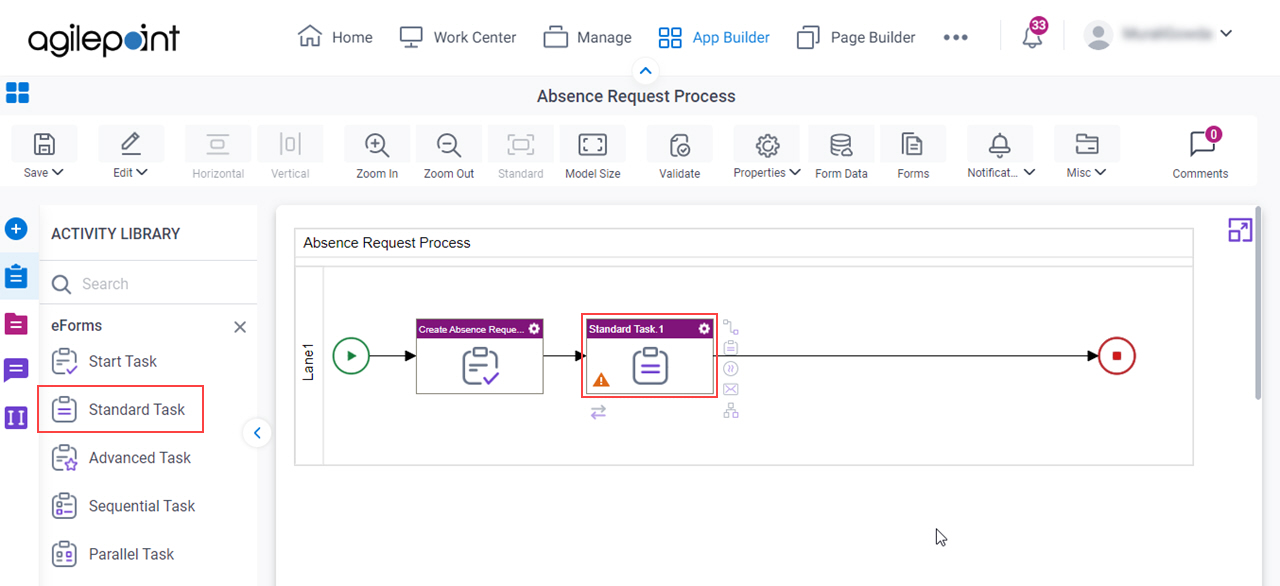
- In Process Builder, on the eForms tab, drag the Standard Task activity onto your process.
- On the eForm Configuration screen, select the Create Absence Request eForm.
This step is a shortcut to complete the configuration for the activity. This is not the eForm to use for this task.
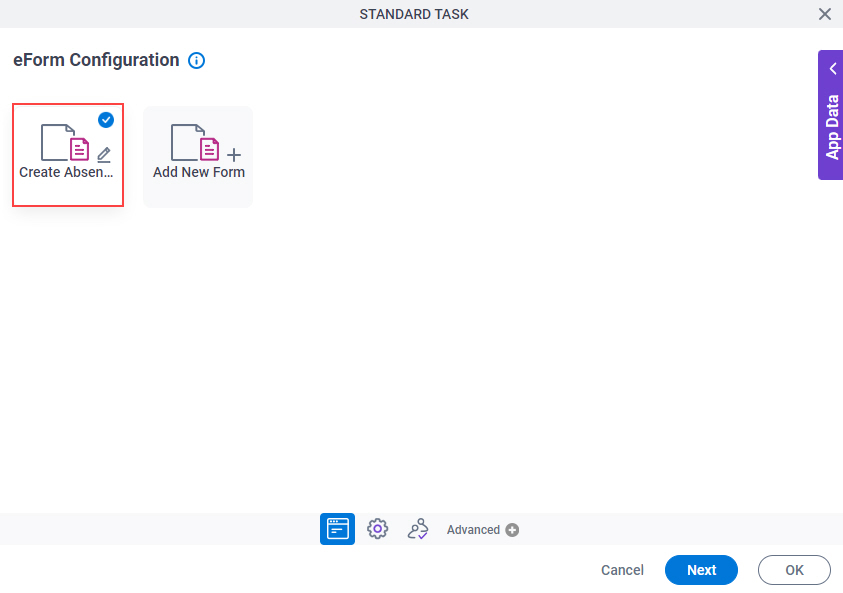
- Click Next.
- On the General Configuration screen, in the Display Name field, enter Set Available Leave Hours.
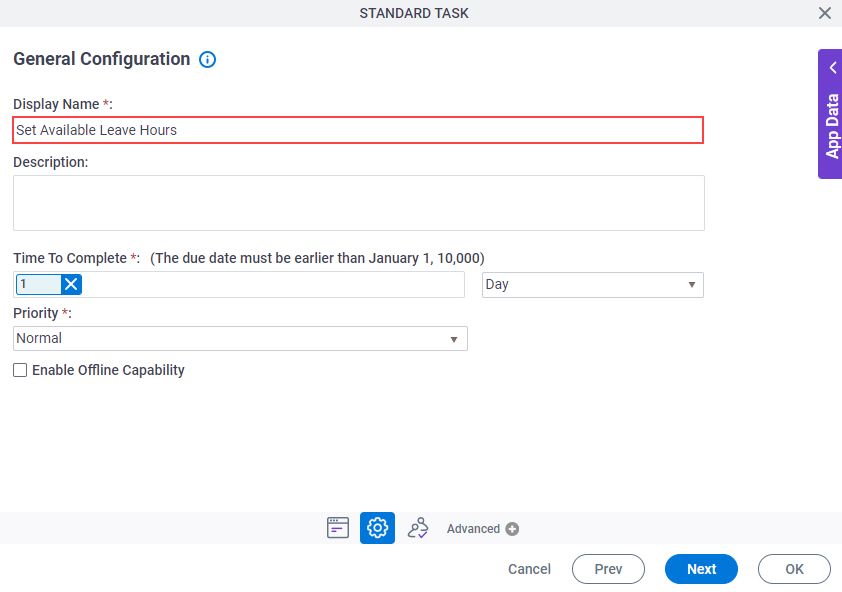
- Click Next.
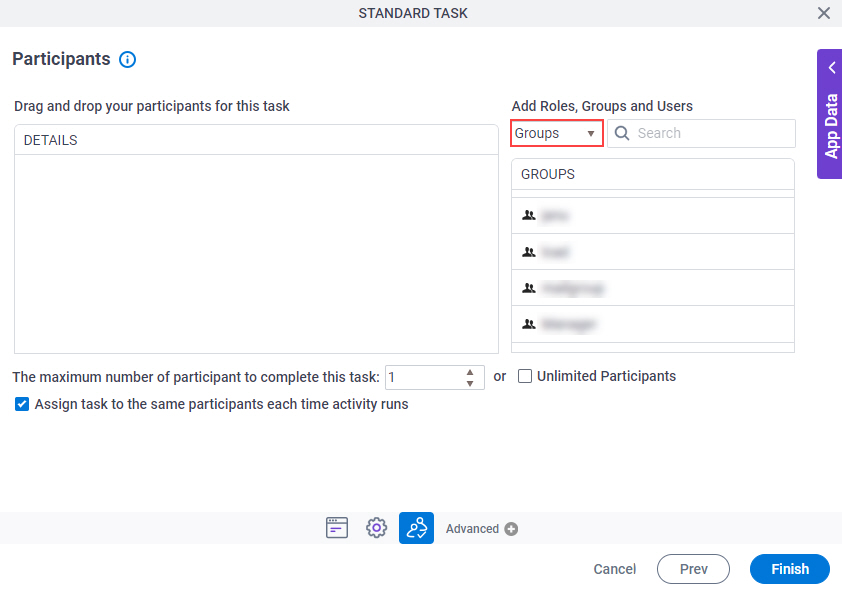
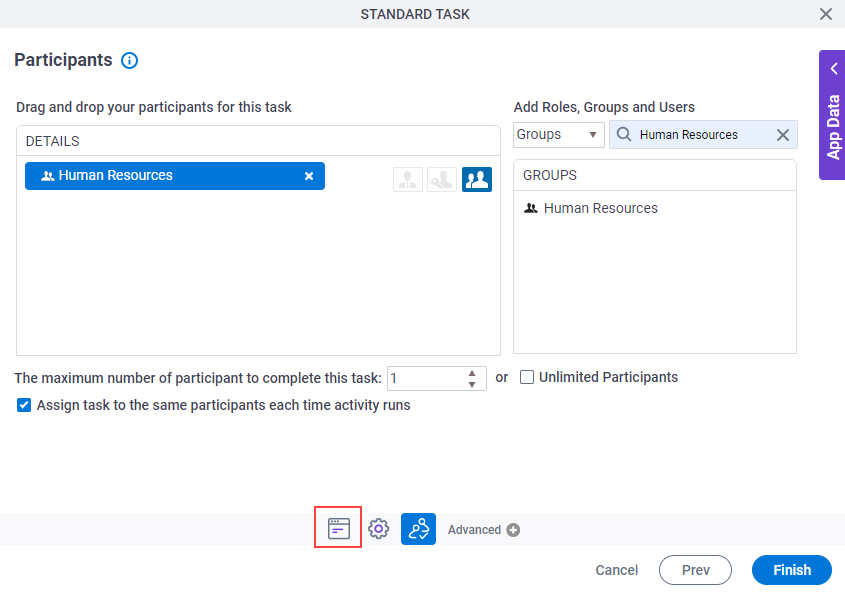
- On the Participants screen, in the Add Roles, Groups and Users field, select Groups.
- In the Search field, enter Human Resources.
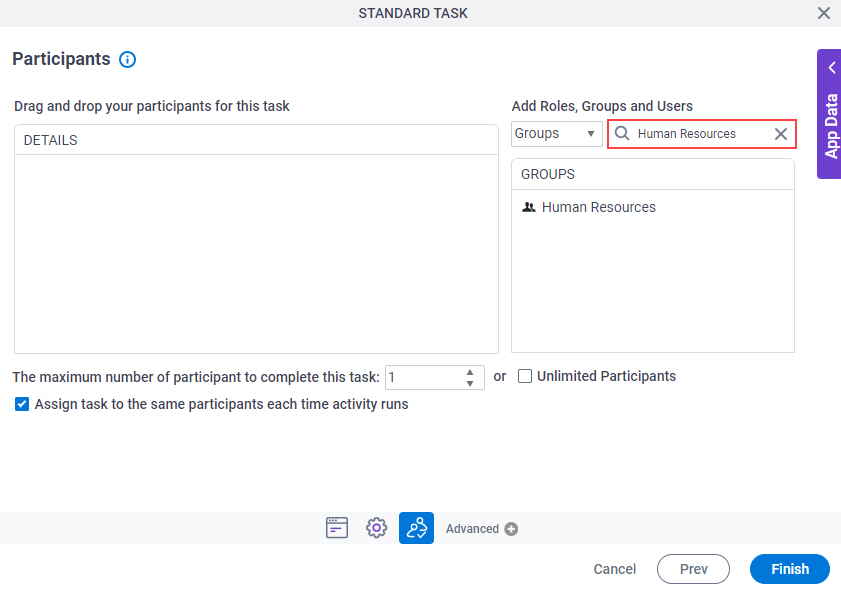
The Groups list show the Human Resources group.

- On the Details field, drag the Human Resources group.
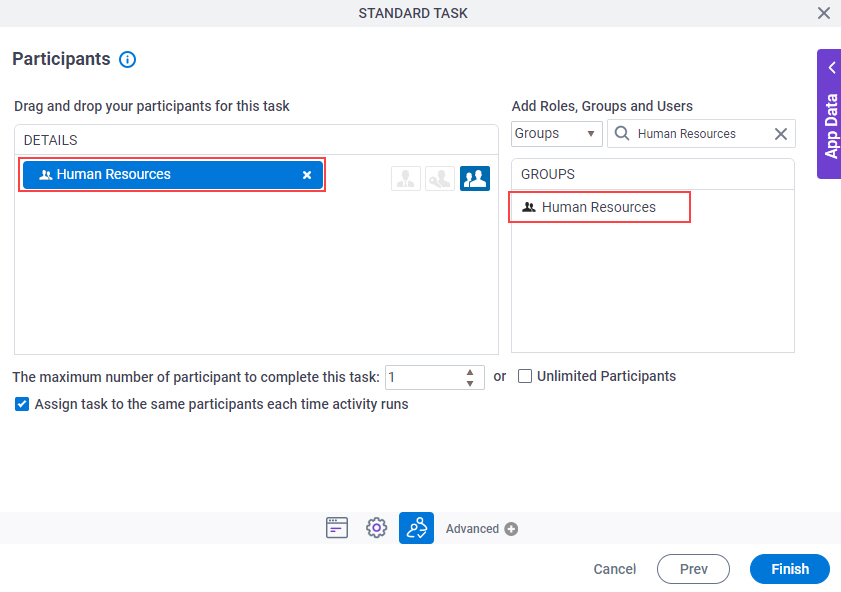
- Click Standard Task Configuration
 .
.
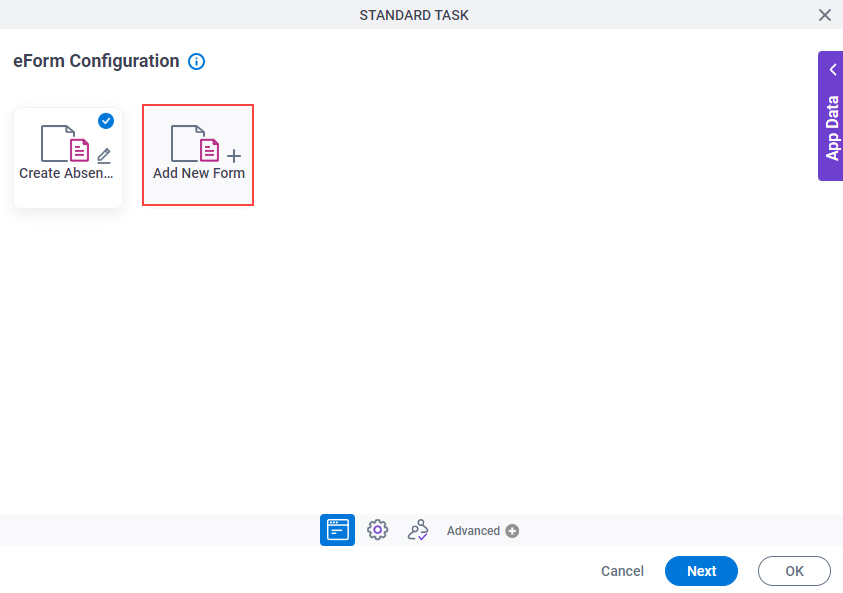
- On the eForm Configuration screen, click Add New Form.
- On the Form Details screen, in the Form Name field, enter Set Available Leave Hours.
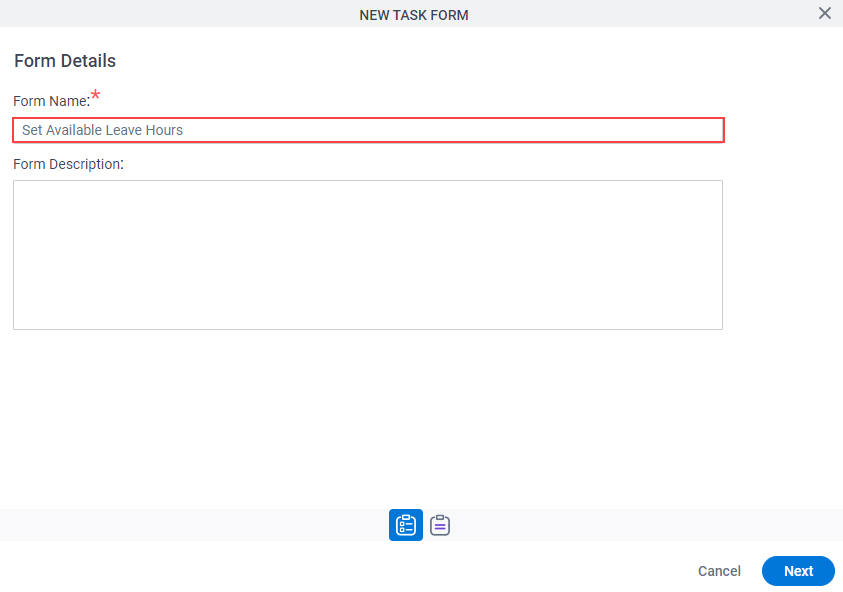
- Click Next.
- On the Choose Form Layout screen, select Existing Form.

- Click Next.
- On the Select Existing Form screen, click the Create Absence Request form.
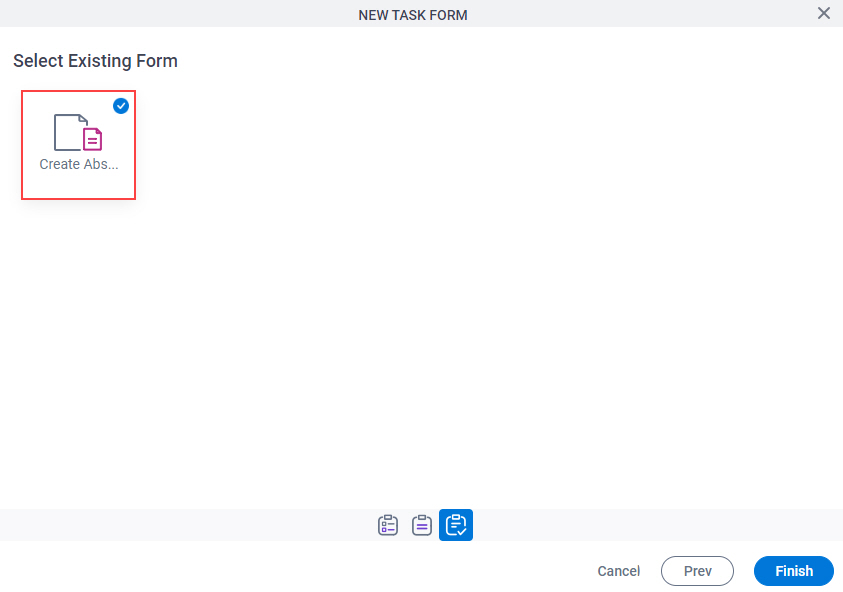
- Click Finish.
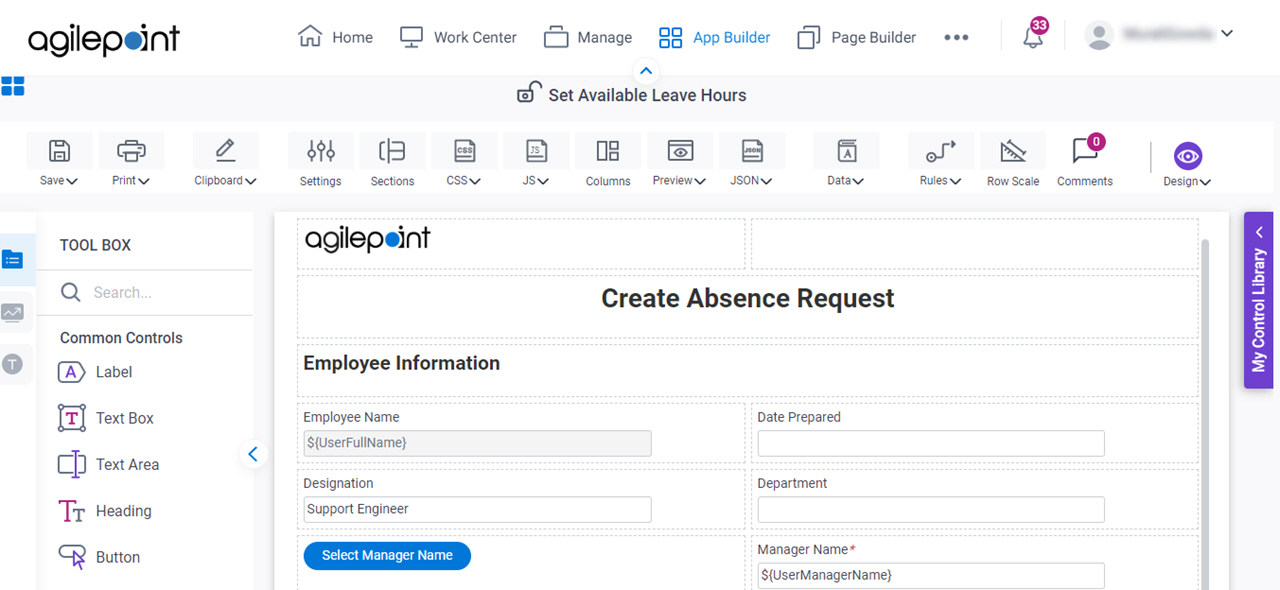
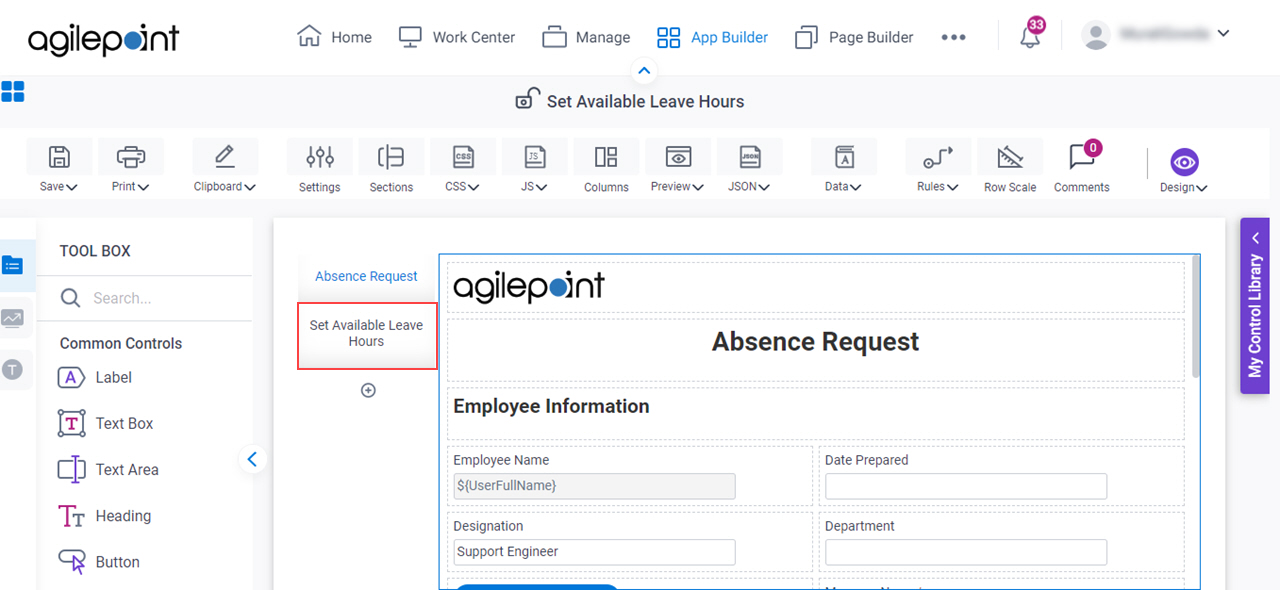
- The eForm Builder opens and shows the Set Available Leave Hours eForm.
Step 2: Create a Title (Absence Request)
Next, create a title for the Set Available Leave Hours form using the Heading form control.
Procedure
- On the Set Available Leave Hours form, put your cursor over the title Create Absence Request, and the Form Control Quick Menu shows.
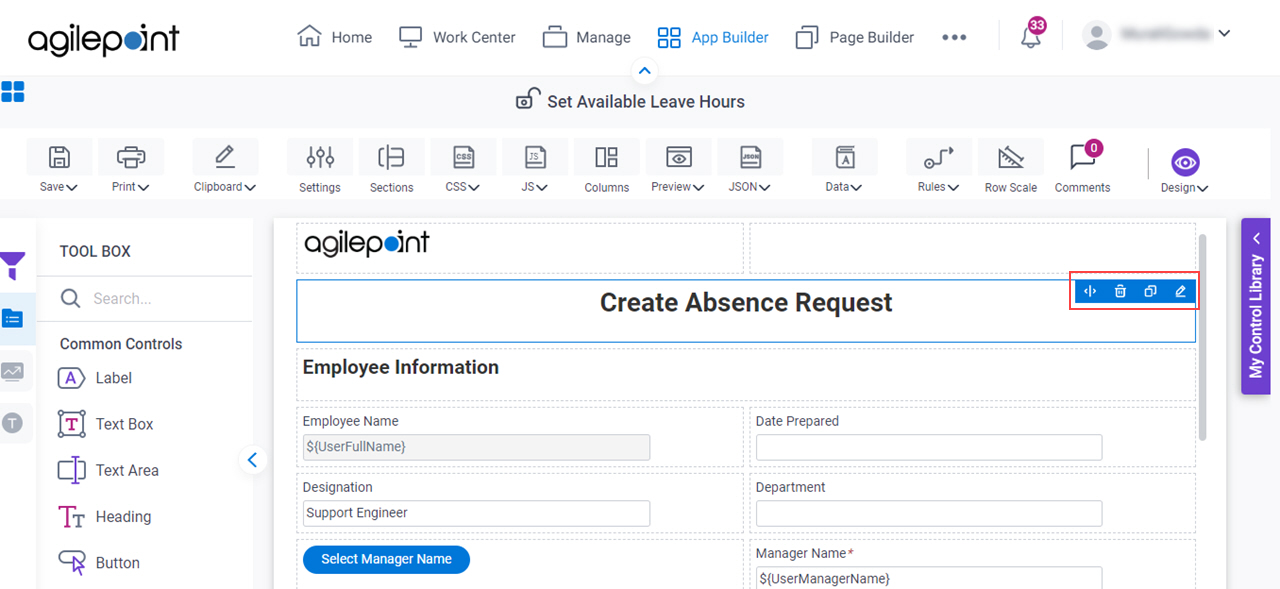
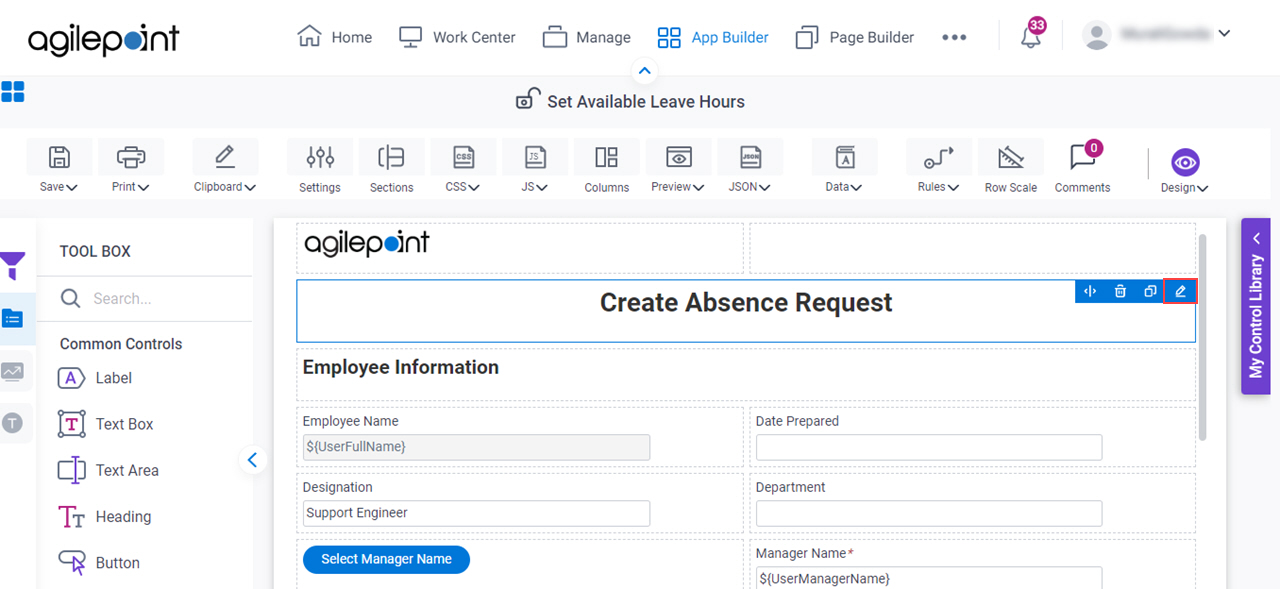
- On the Form Control Quick Menu, click Edit Properties
 .
.
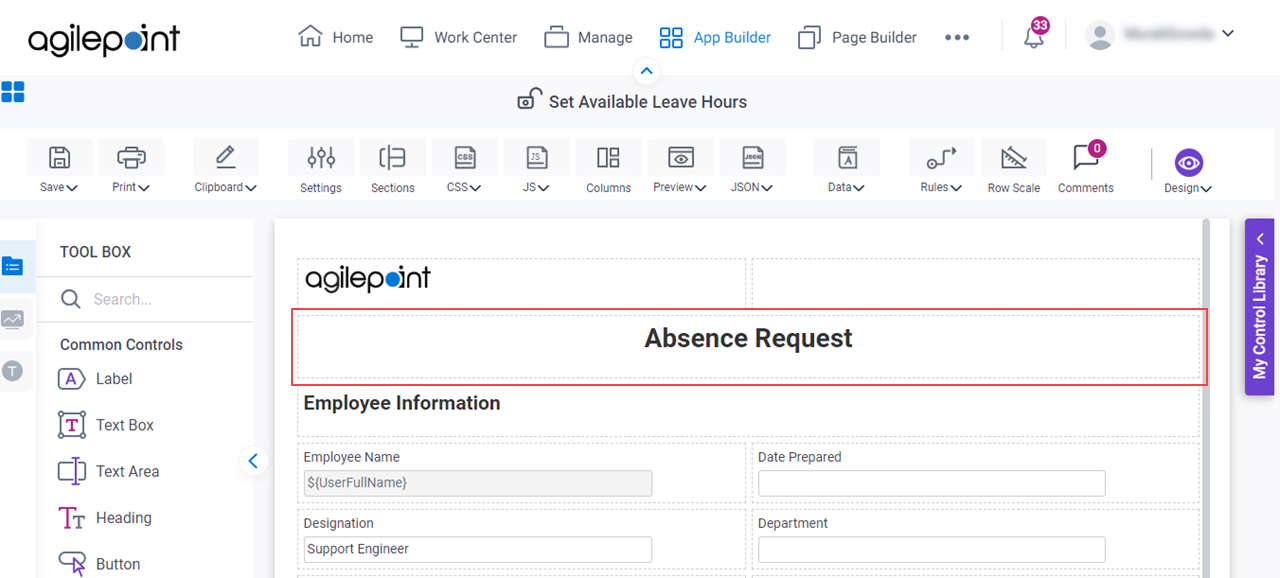
- On the Field Settings - Heading screen, in the Label field, enter Absence Request.
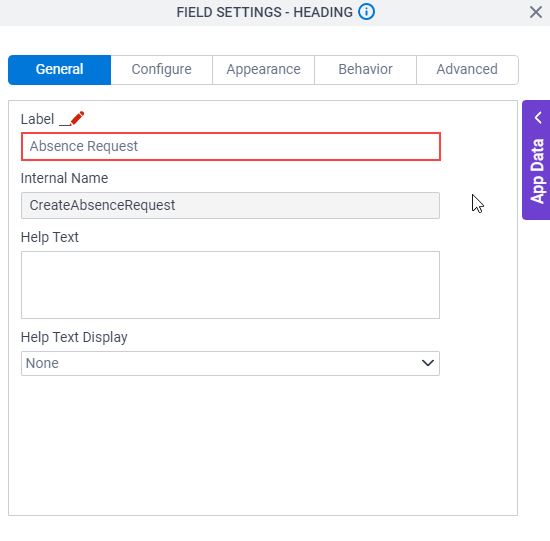
- To save the changes, click Close Screen
 .
.
The Set Available Leave Hours form shows with the Absence Request title.
Step 3: Create Form Sections
Next, create the form sections for the Set Available Leave Hours form.
Procedure
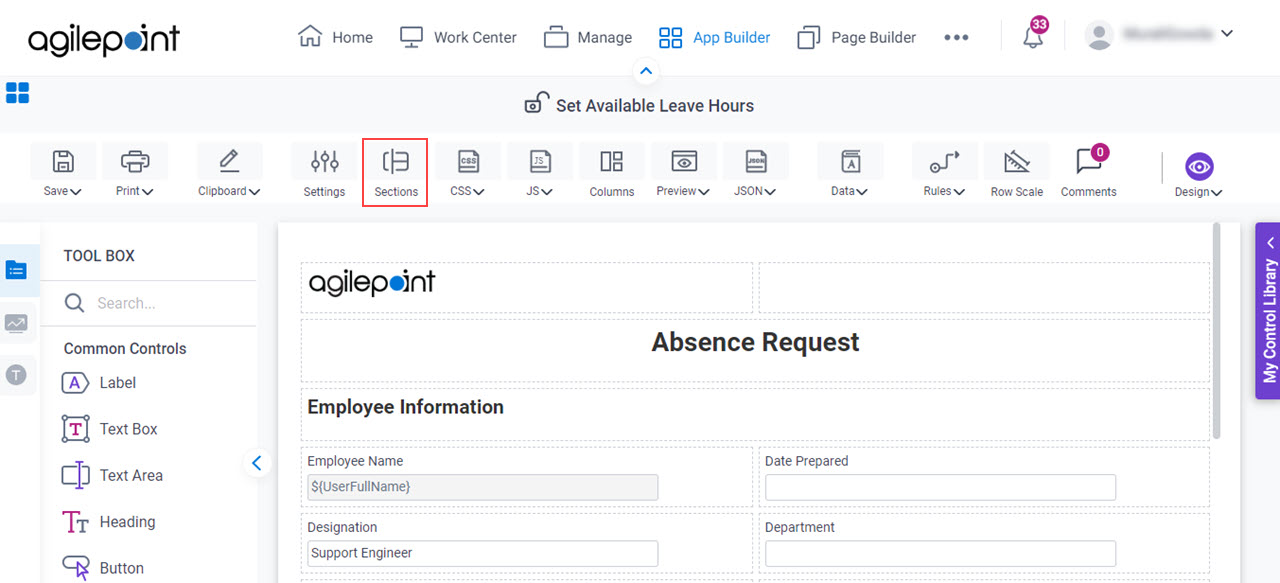
- On the eForm Builder screen, click Sections.
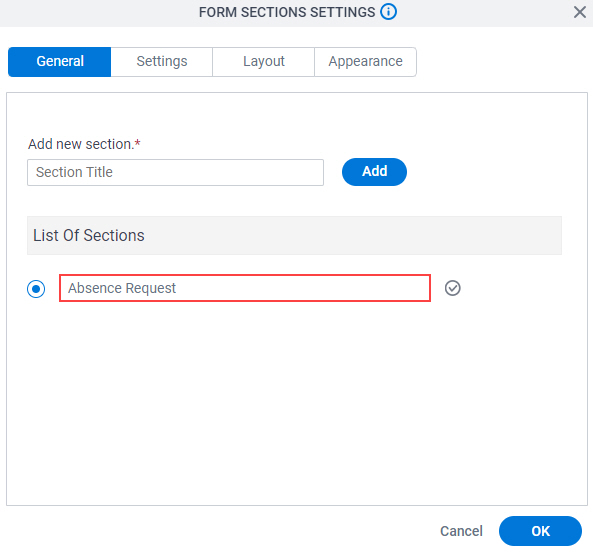
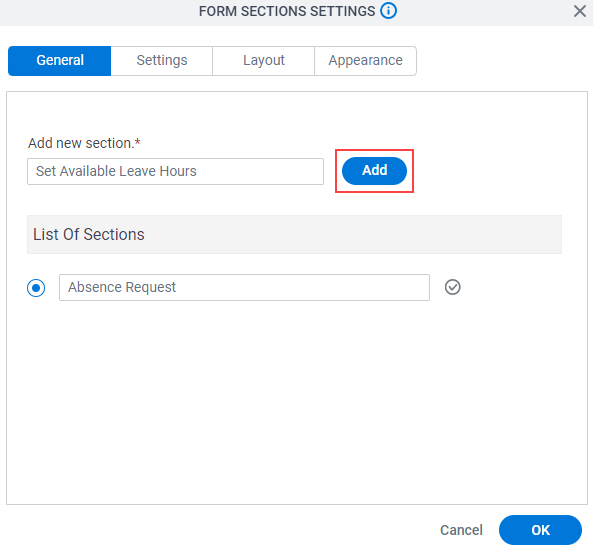
- On the Form Sections Settings screen, in the List Of Sections, enter Absence Request.
- In the Add New Section field, enter Set Available Leave Hours.
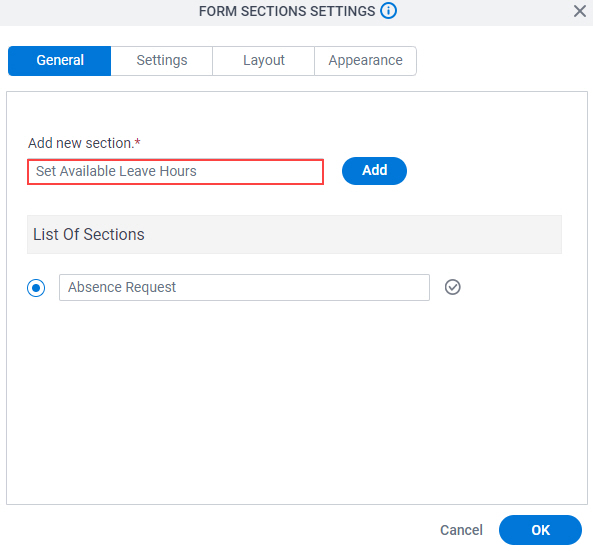
- Click Add.
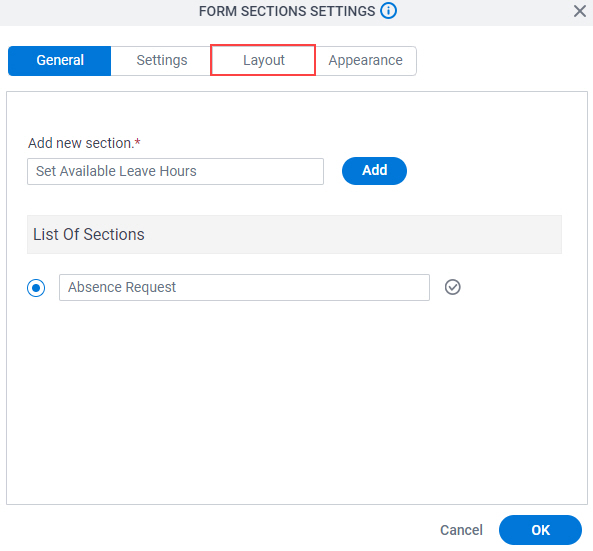
- Click the Layout tab.
- On the Layout tab, in the Navigation Bar Style section, click the second navigation bar style.
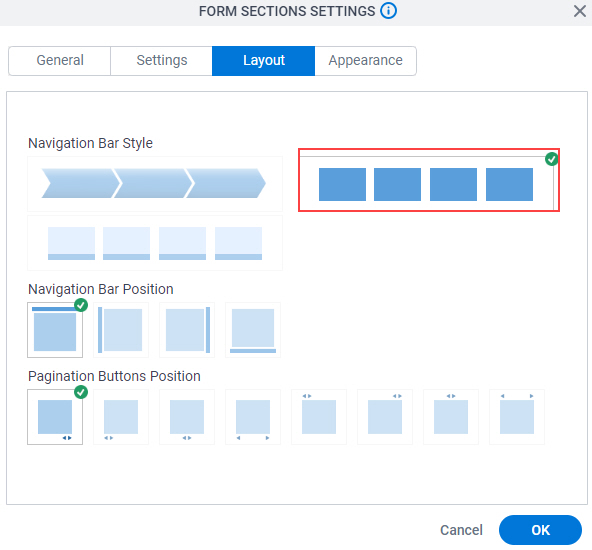
- In the Navigation Bar Position section, click the left bar position.
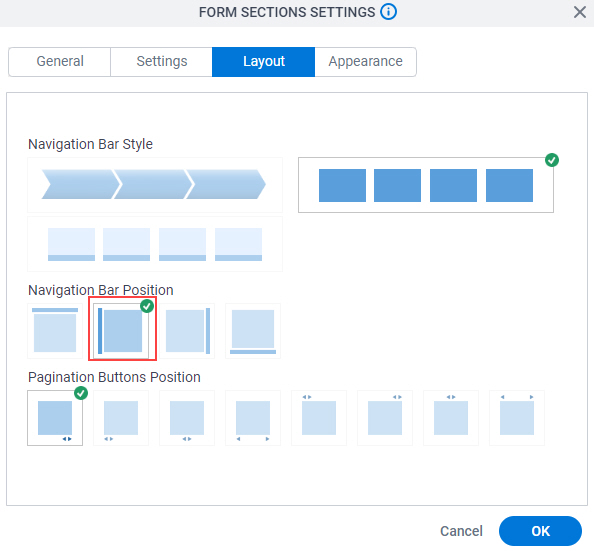
- In the Pagination Buttons Position section, click the bottom left position of the page navigation buttons.
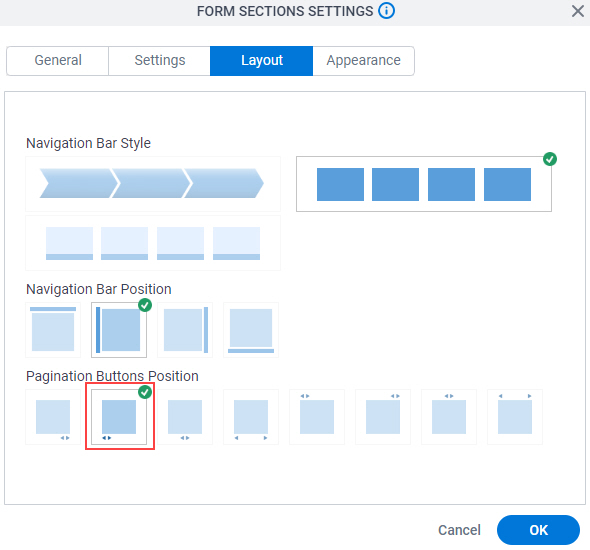
- Click OK.
The Set Available Leave Hours form shows with 2 sections.
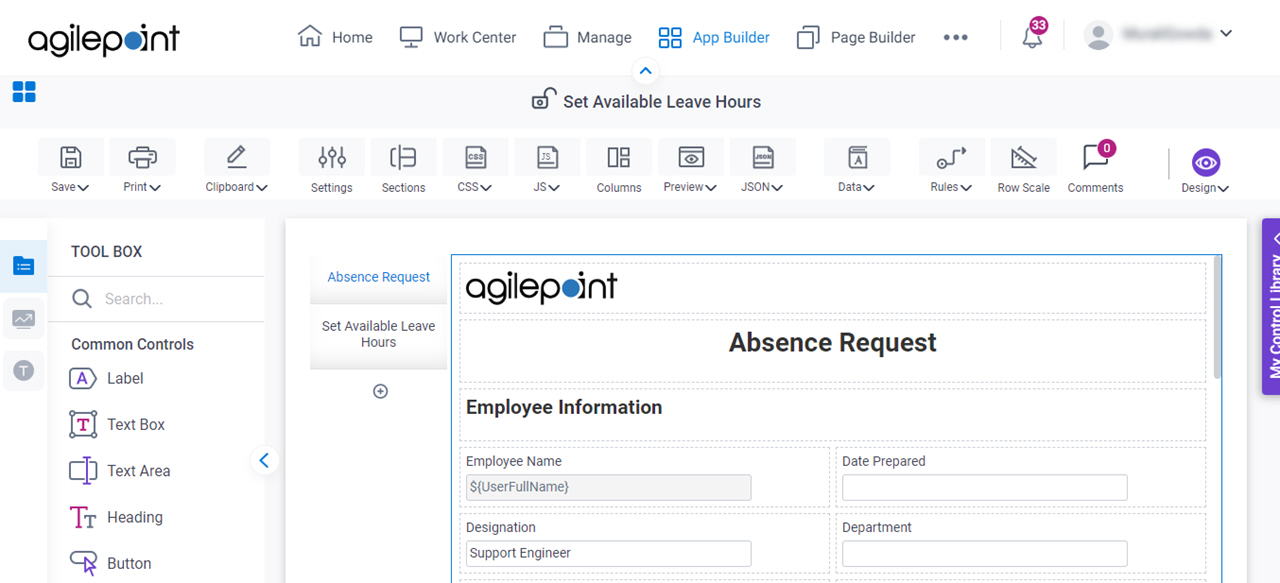
Step 4: Create a Logo Image
Next, create a logo image for the Set Available Leave Hours form.
Procedure
- On the Absence Request section, click the logo image.
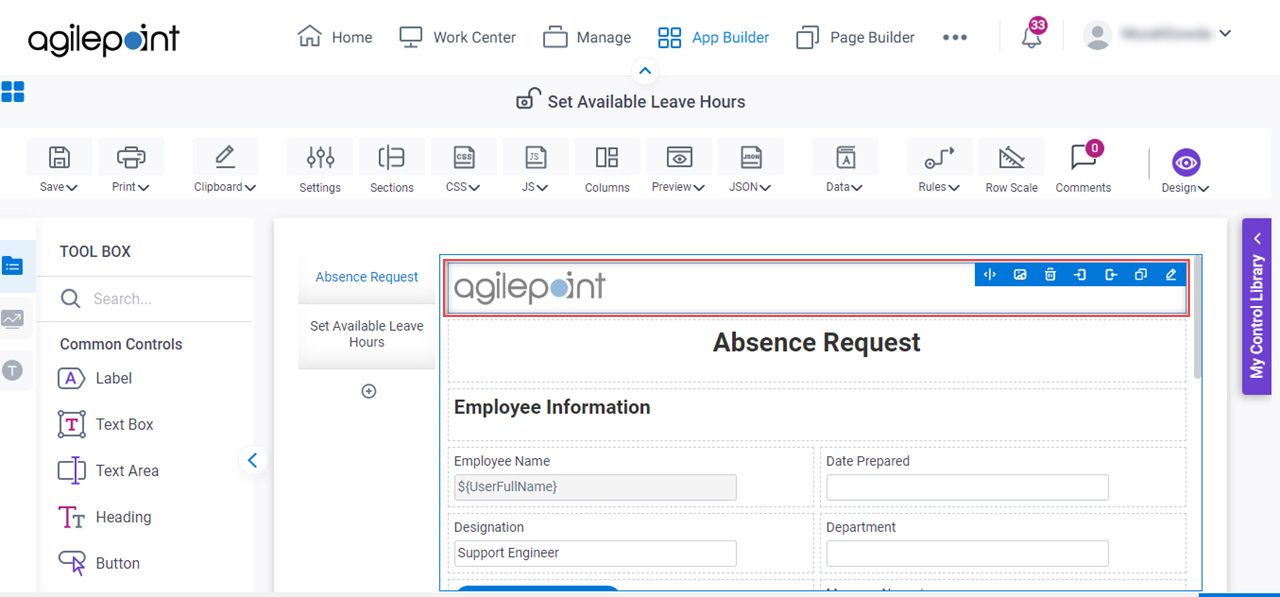
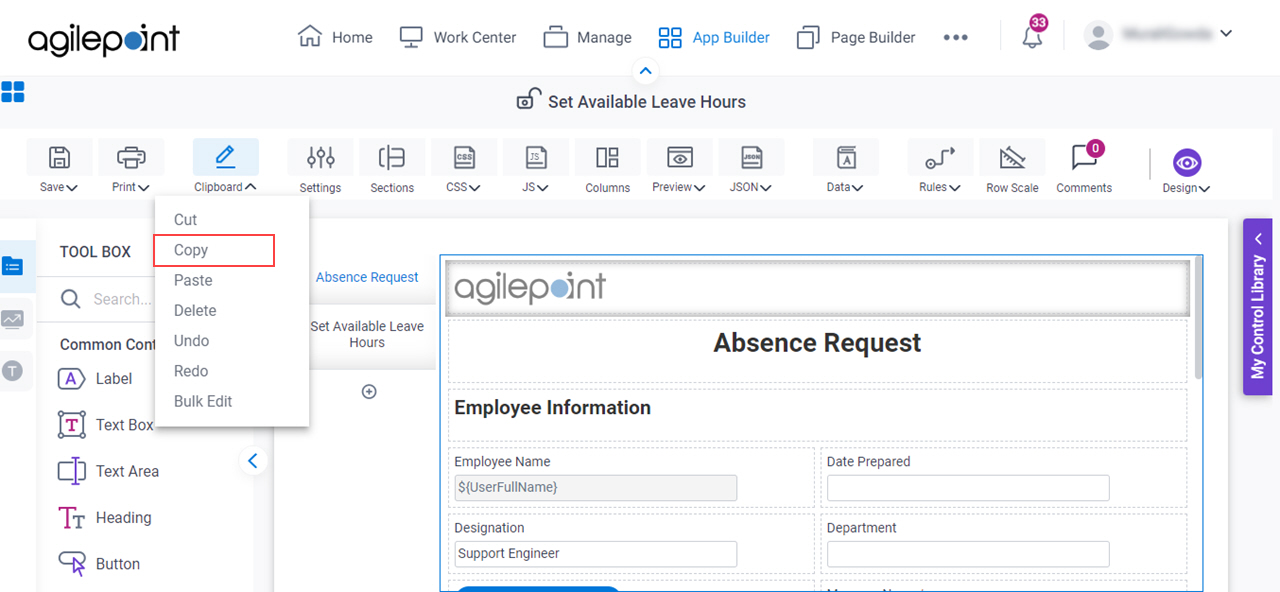
- On the eForm Builder screen, click Copy.
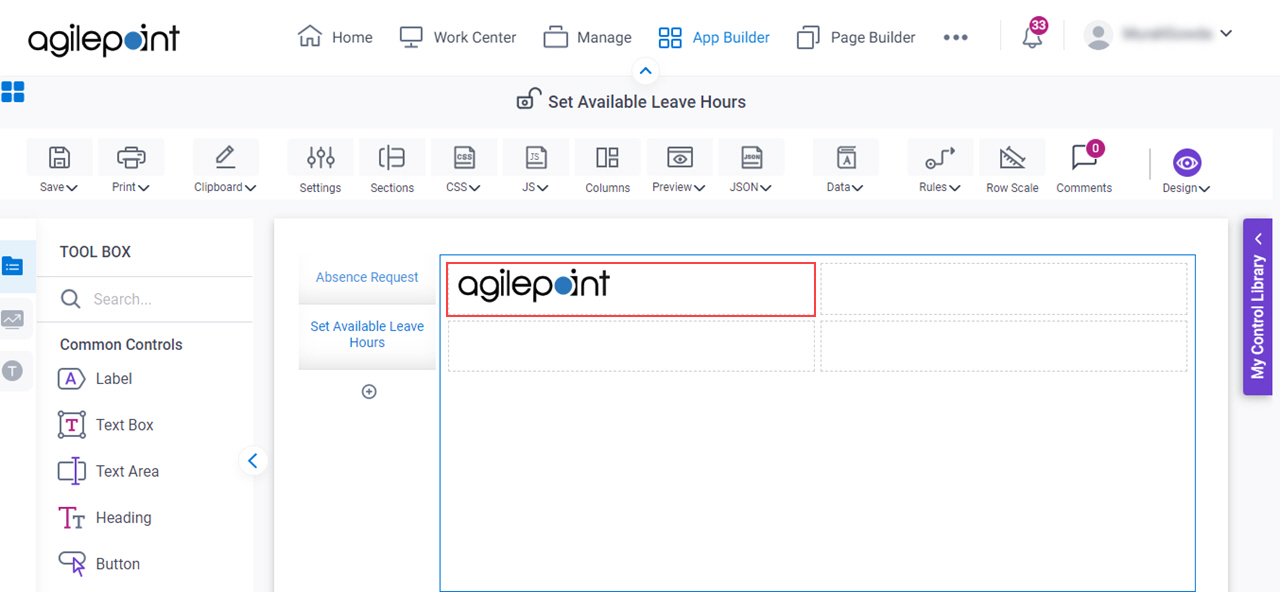
- Click the Set Available Leave Hours section.
- On the Set Available Leave Hours section, click Paste.
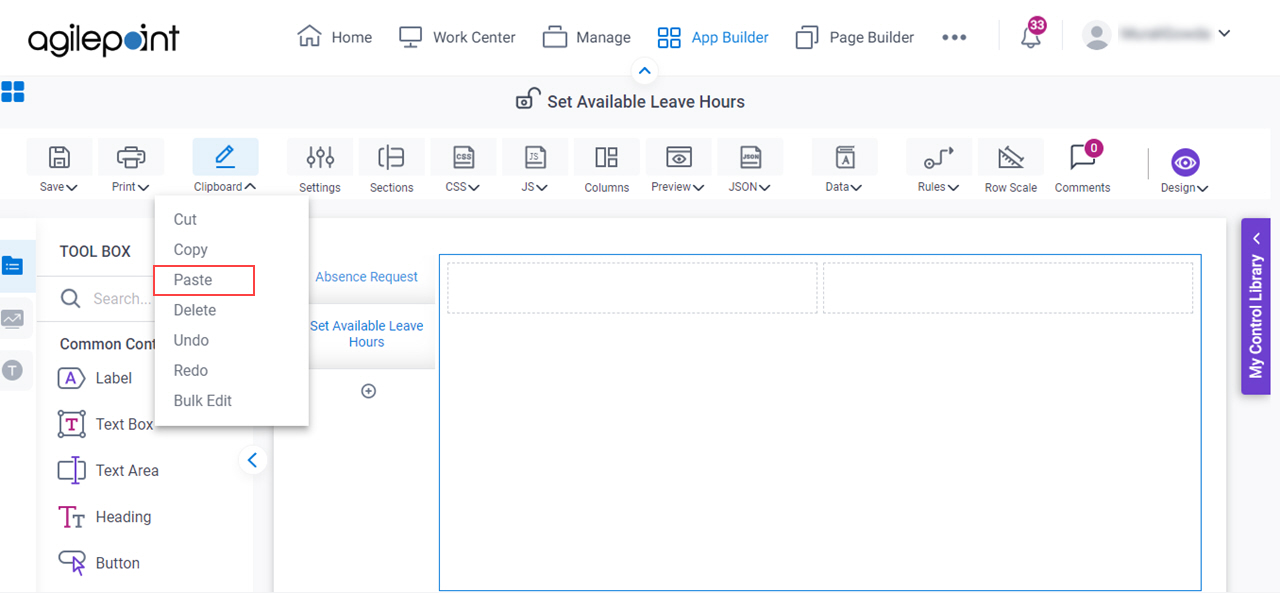
The Set Available Leave Hours section shows the logo image.
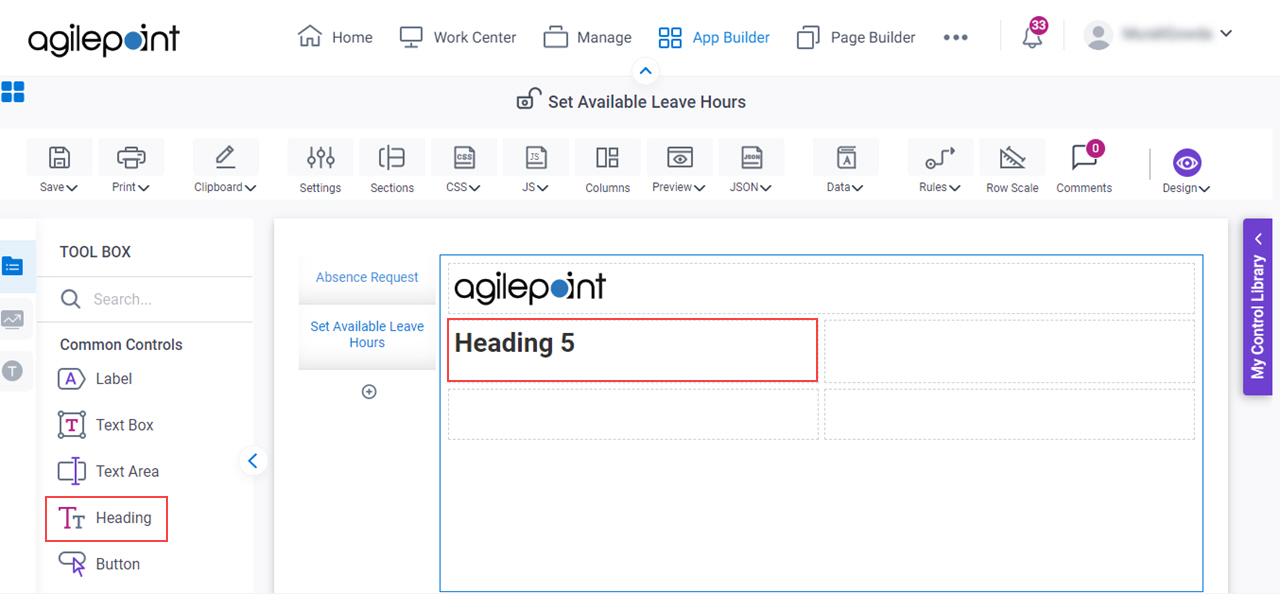
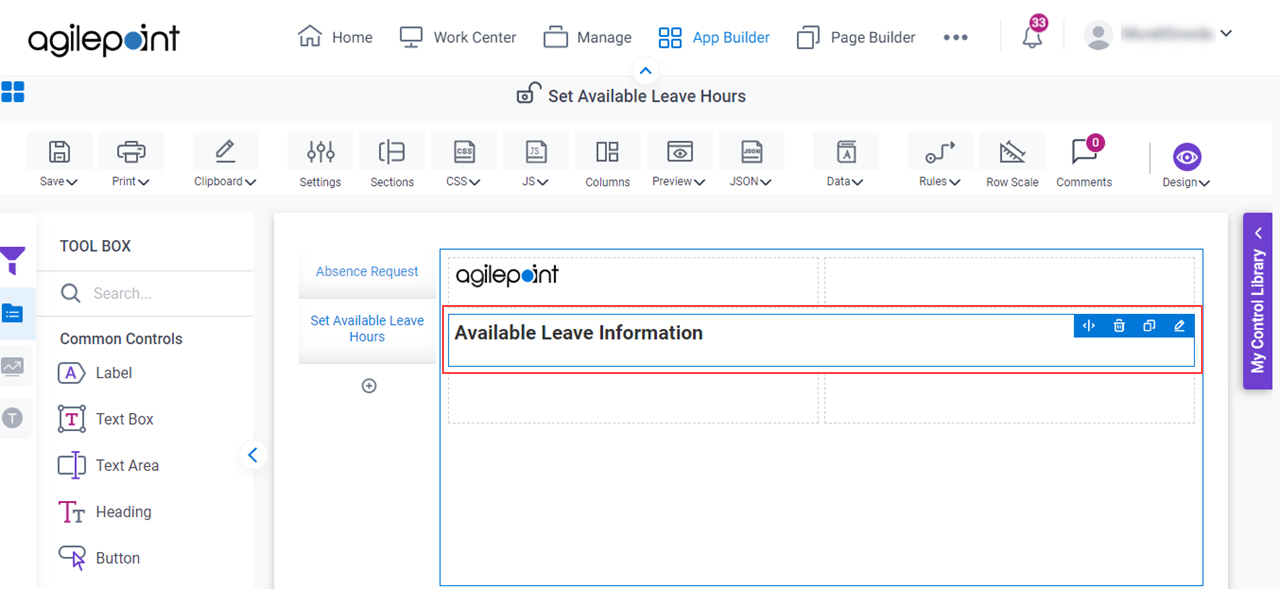
Step 5: Create a Heading (Available Leave Information)
Next, create the Available Leave Information heading for the Set Available Leave Hours form using the Heading form control.
Procedure
- On the
Common Controls tab, drag a Heading
 form control onto your eForm.
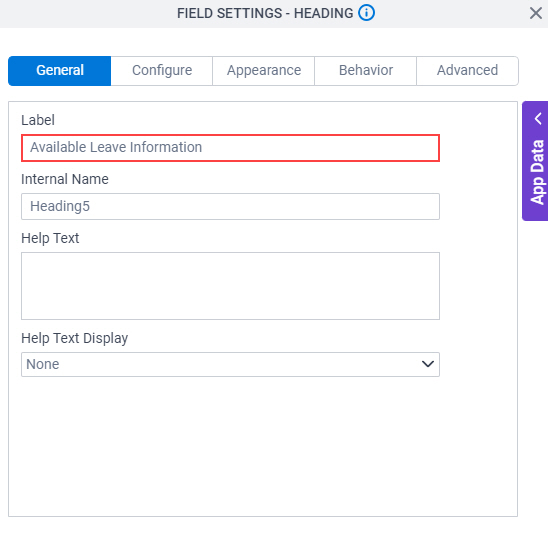
- On the Field Settings - Heading screen, in the Label field,
enter Available Leave Information.
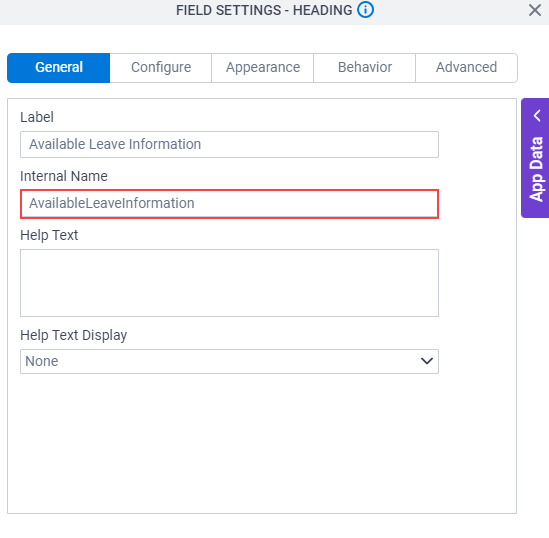
When you click the Internal Name field, the Internal Name field shows the value you entered in the Label field with no spaces.
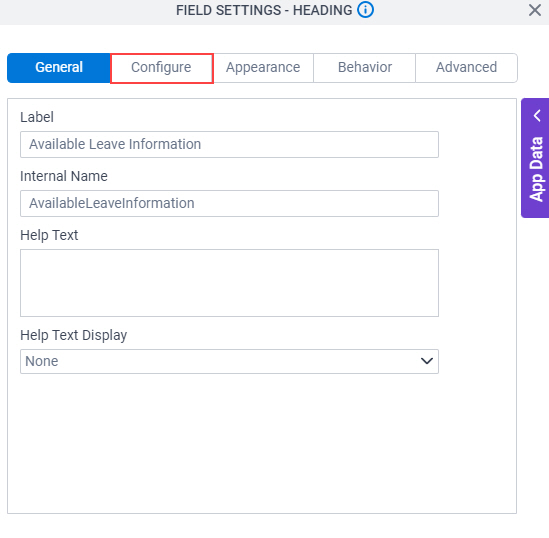
- Click the Configure tab.
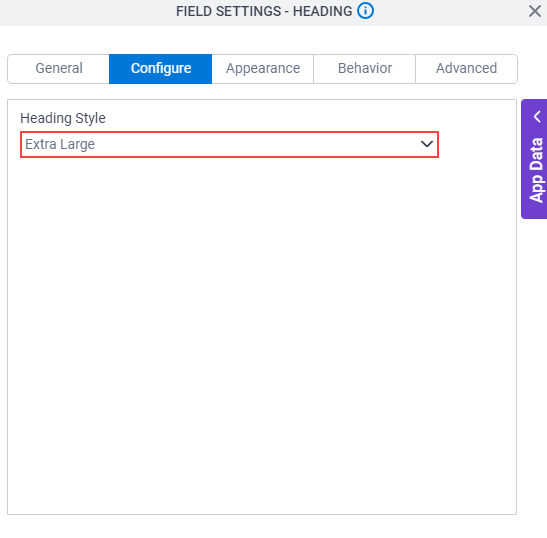
- On the Configure tab, in the Heading Style field, select Extra Large.
- To save the changes, click Close Screen .
- On the Set Available Leave Hours form, expand the Available Leave Information form control to the width to show on the eForm.
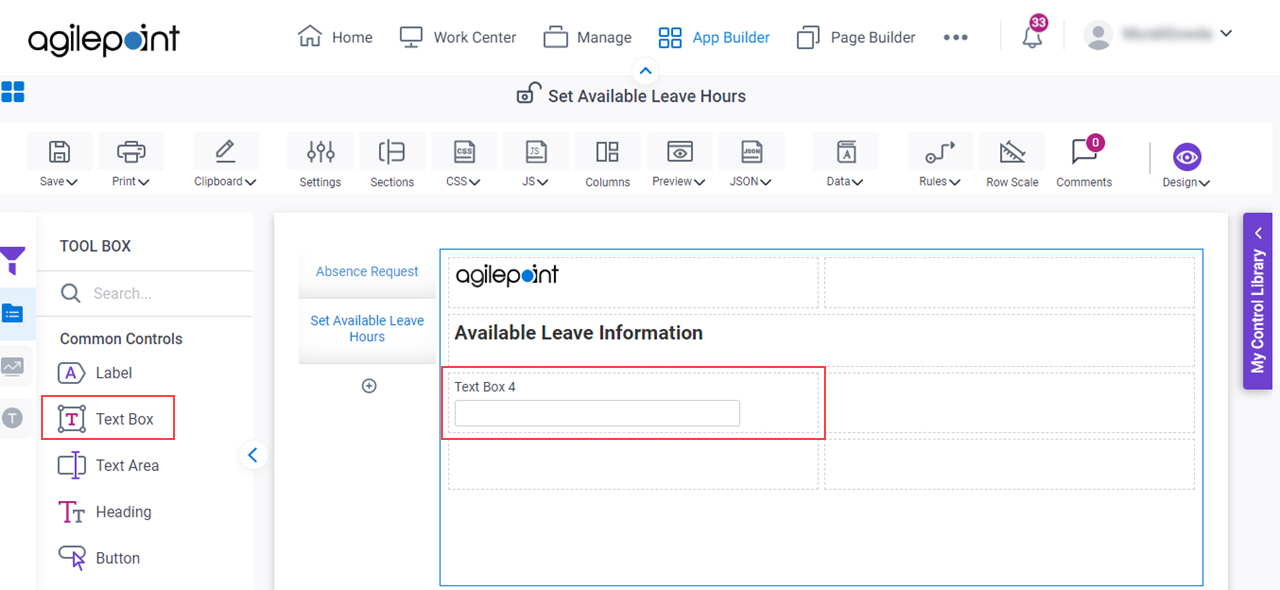
Step 6: Configure a Text Box Form Control (Leave Available)
Next, configure a Text Box form control to enter the available leave in hours of the employee on the Set Available Leave Hours form.
Procedure
- On the
Common Controls tab, drag a Text Box
 form control onto your eForm.
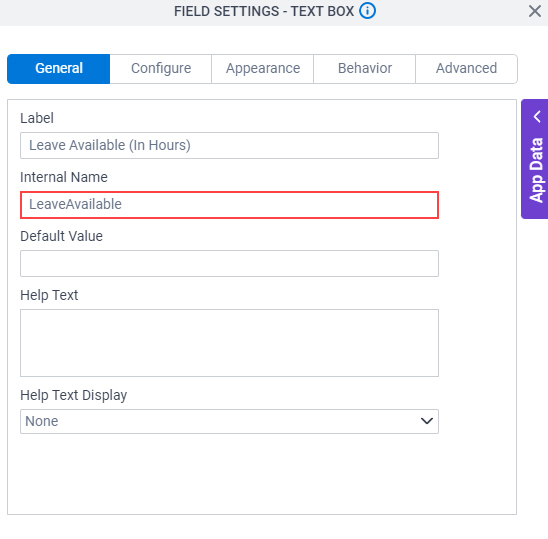
- On the Field Settings - Text Box screen, in the Label field, enter Leave Available (In Hours).

- In the Internal Name field, enter LeaveAvailable.
- Click the Configure tab.
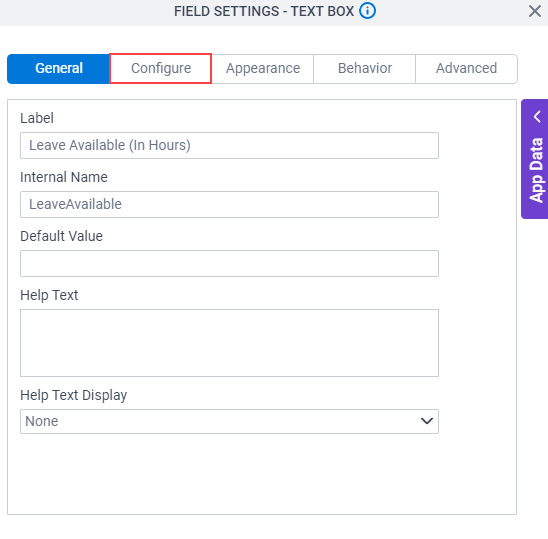
- On the Configure tab, select Required.
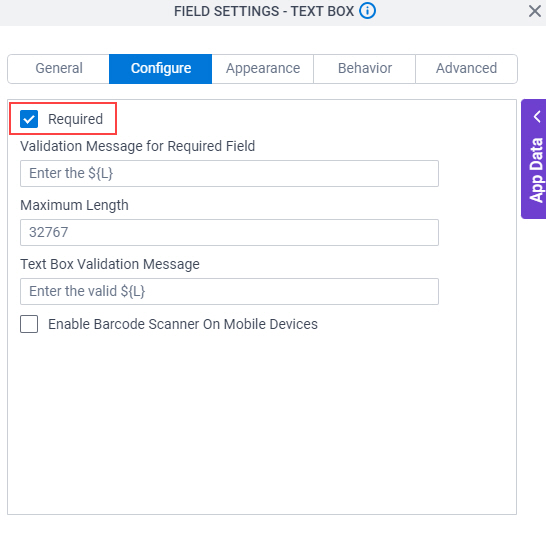
- To save the changes, click Close Screen .
Step 7: Configure a Text Area Form Control (HR Comments)
Next, configure the Text Area form control to enter comments on the Set Available Leave Hours form.
Procedure
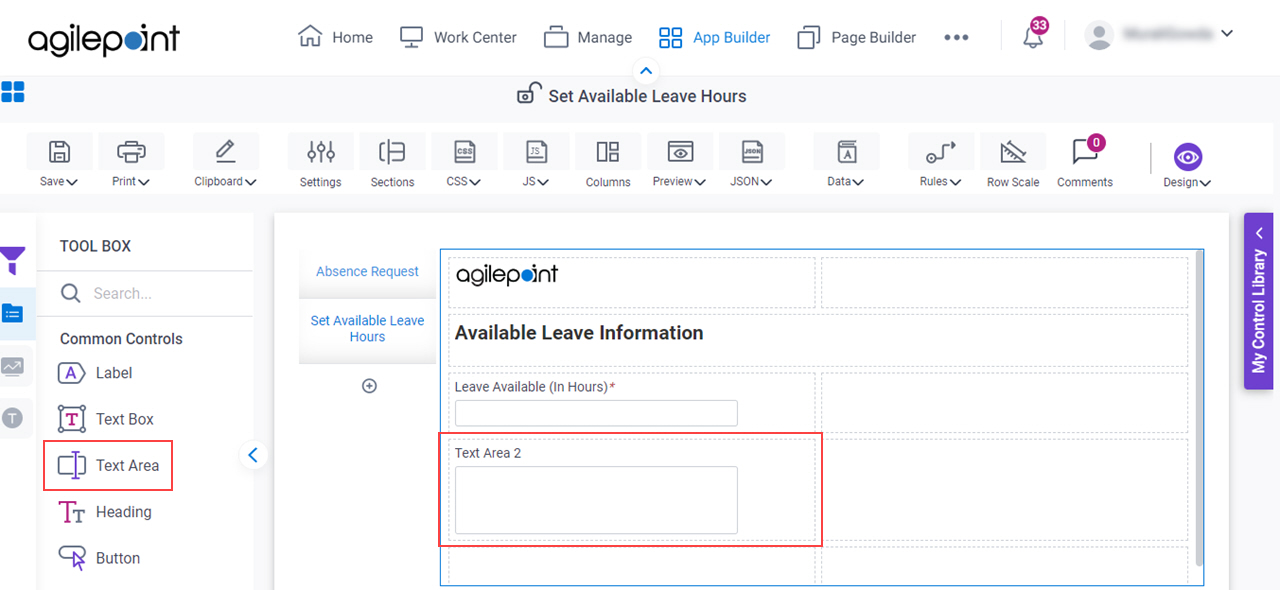
- On the
Common Controls tab, drag a Text Area
 form control onto your eForm.
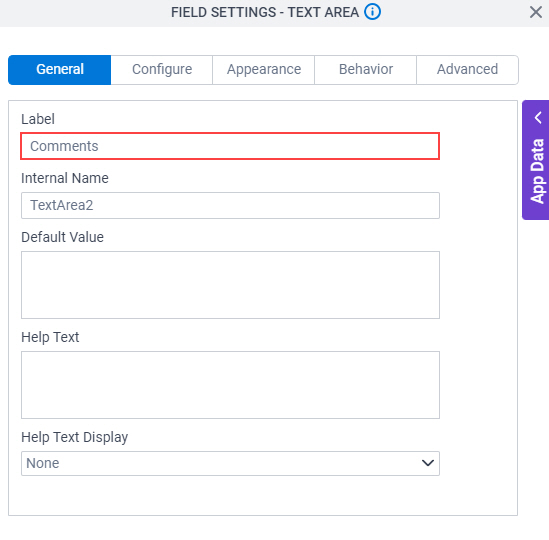
- On the Field Settings - Text Area screen, in the Label field, enter Comments.
- In the Internal Name field, enter HRComments.
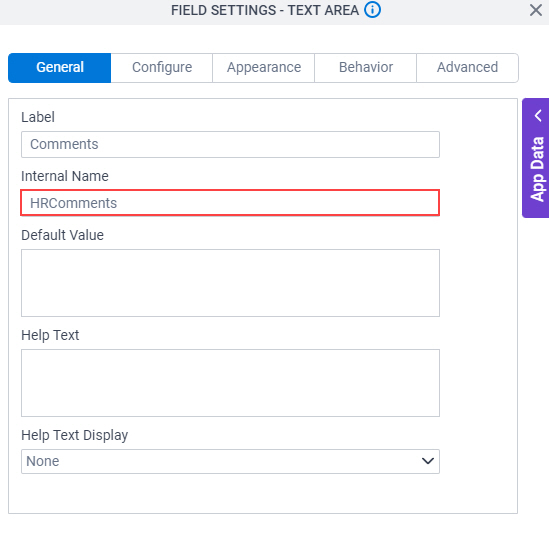
- To save the changes, click Close Screen .
Step 8: Complete the eForm (Set Available Leave Hours)
Next, complete the Set Available Leave Hours eForm and return to the Absence Request process.
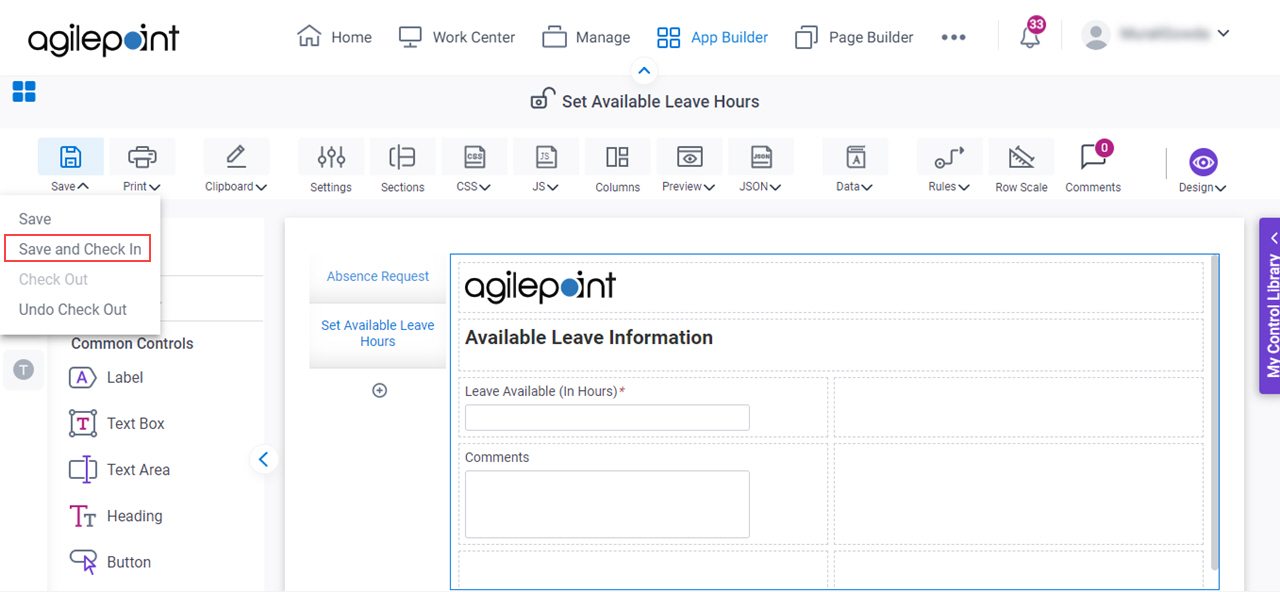
Target Result
When you complete this step, the finished eForm will look like this.
Procedure
- On the eForm Builder screen, click Save > Save and Check In.
The eForm Builder screen closes and the eForm Configuration screen shows in the Process Builder.
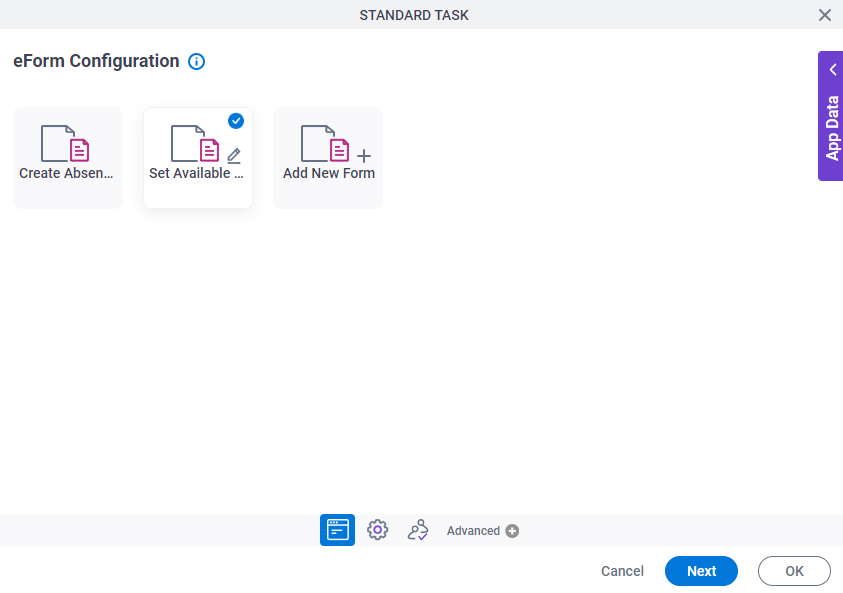
- Click Ok.
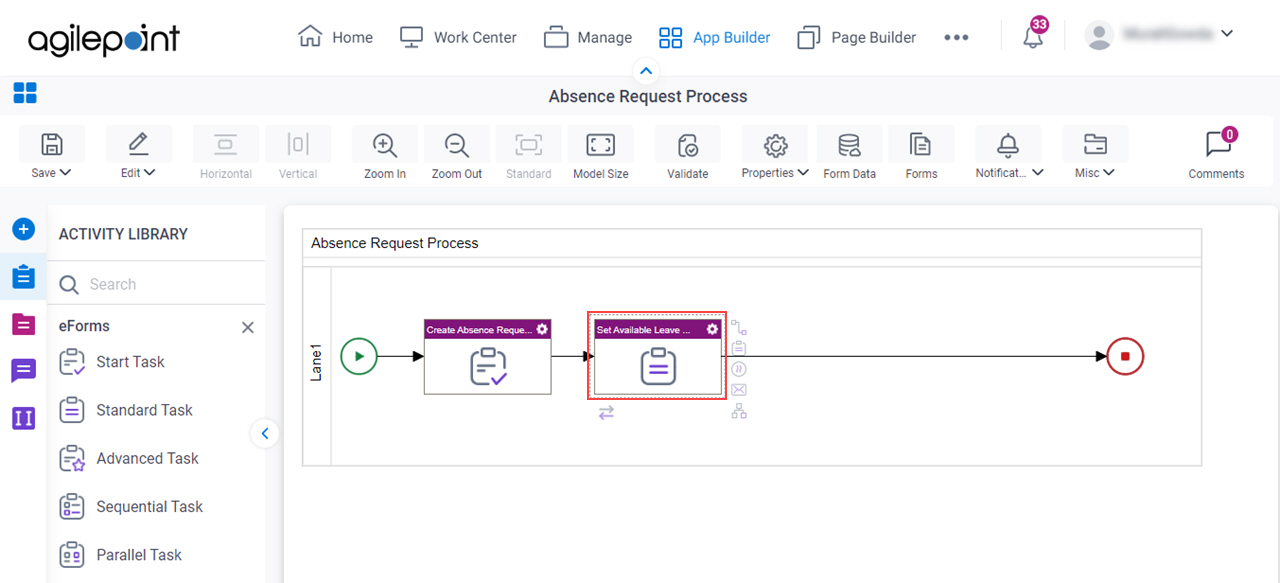
The Process Builder shows the process model with the Set Available Leave Hours standard task.