
(Example) Configure the Data Grid Form Control
This example shows how to configure the Data Grid form control.
Background and Setup
Result
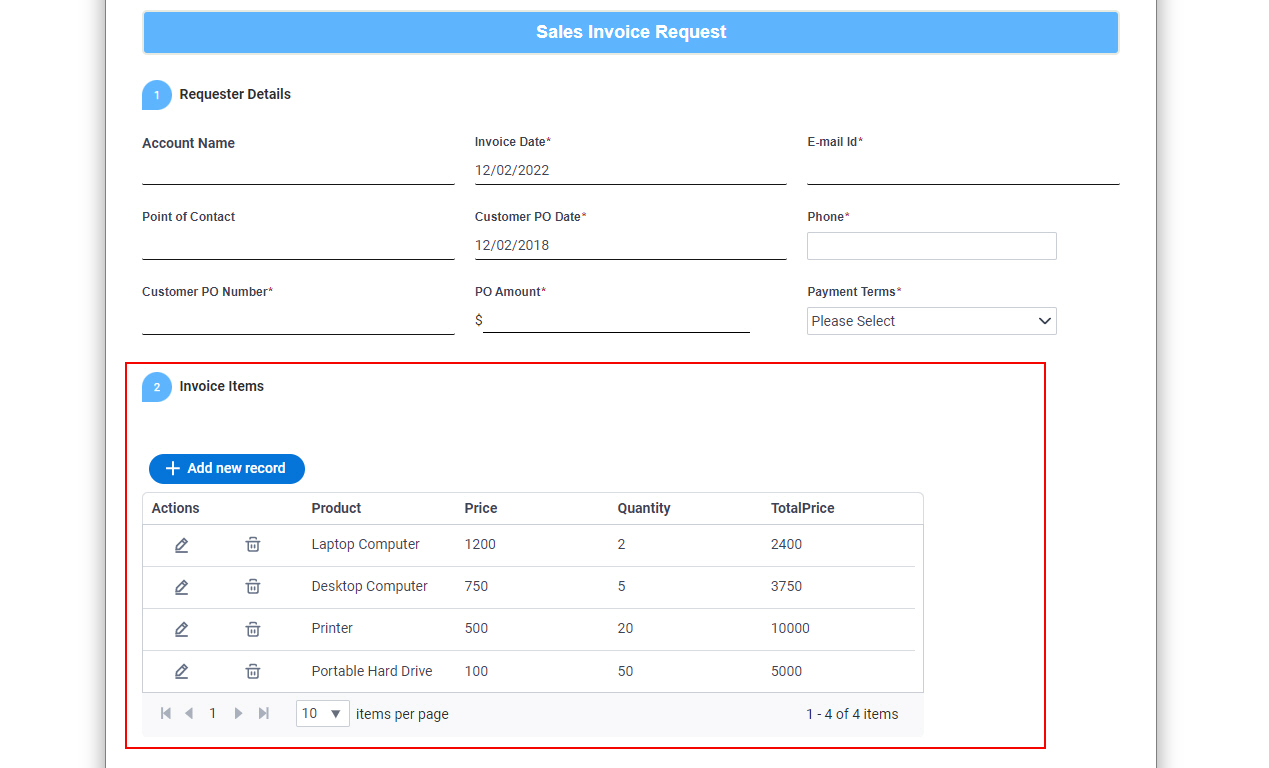
This example shows how to configure the Data Grid form control in the Sales Invoice Request form to populate the data from a Microsoft Excel file to the Invoice Items field. At runtime, the eForm shows the data from the Excel file in a Data Grid form control.
Prerequisites
- This example topic uses the lookup created in the (Example) Configure an Auto-Lookup Form Control with Microsoft Excel. Refer to that topic for more information about configuring the lookup.
The lookup name is Sales Invoice Items.
- This example uses the Microsoft Excel file
created in (Example) Create a Microsoft Excel File to Use as a Data Source for an App.
Refer to that topic for information about configuring the Excel file.
The Microsoft Excel file name is Sales Invoice Items.xlsx.
- This example uses the Sales Invoice app from the AgilePoint NX App Store.
For more information, refer to How to Get the App
Good to Know
- The Sales Invoice app creates an invoice for a product sale.
For the use case in this example, when the Sales Invoice Request form opens, it populates the information from a Microsoft Excel file to the Invoice Items field, which uses a Data Grid form control.
- In the version of the Sales Invoice app released on May 1, 2018, the eForms use the Subform (Legacy) form control for the Invoice Items field. In this example, the Subform (Legacy) form control is replaced with the Data Grid form control.
Step 1: Configure the Data Grid Form Control with a Lookup
First, configure the Data Grid form control with the lookup to populate data from the Microsoft Excel file at runtime.
How to Start
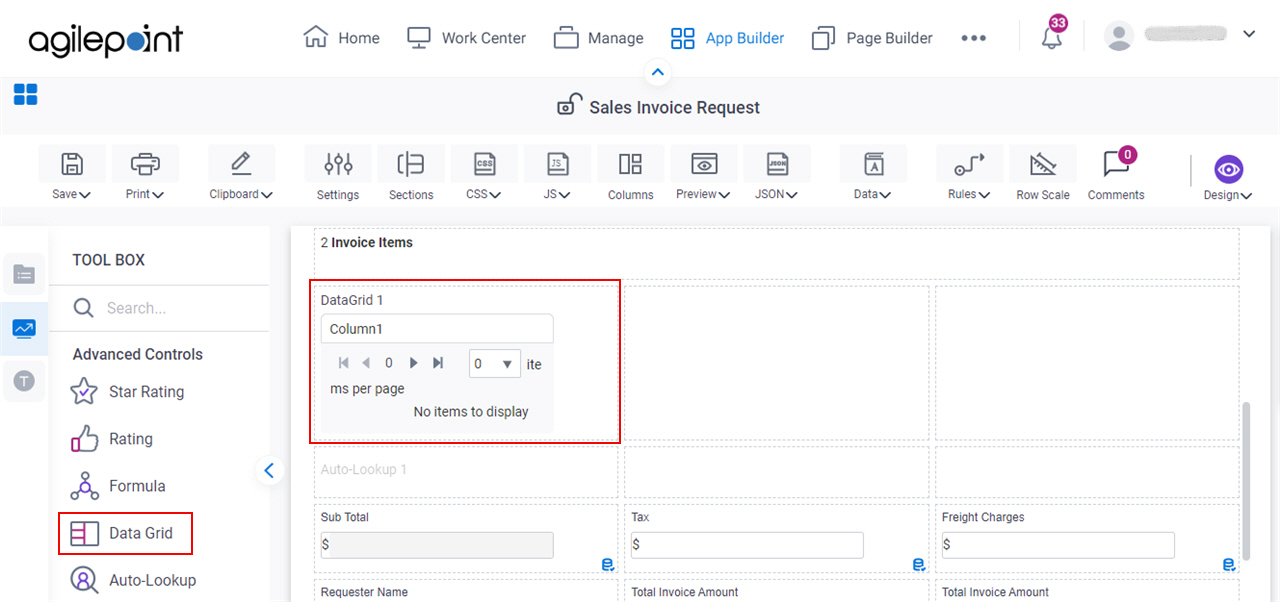
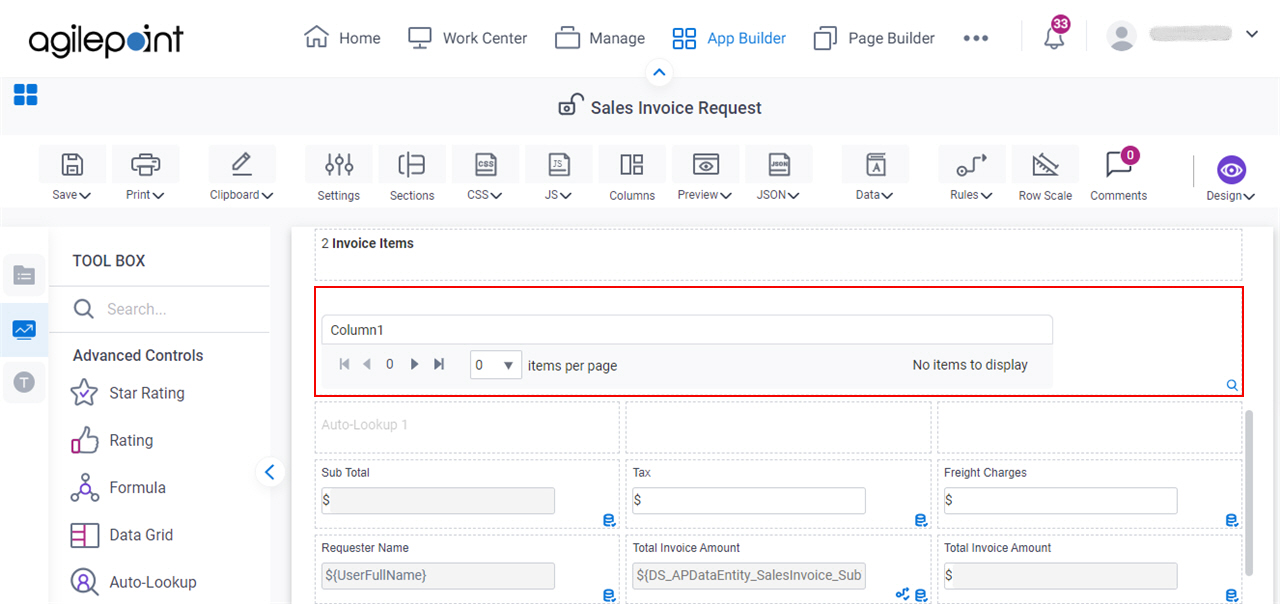
- On the Sales Invoice Request form, in the Advanced Controls tab, drag a Data Grid
 form control onto your eForm.
Procedure
- On the Sales Invoice Request form, put your cursor over the Data Grid form control, and the form control toolbar shows.
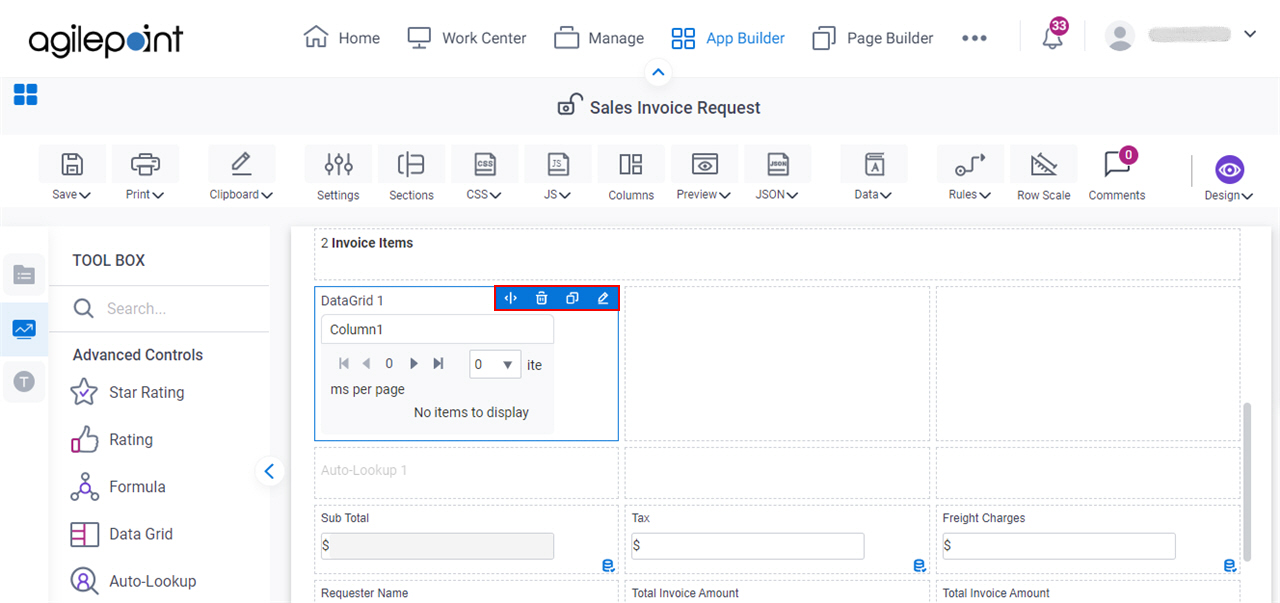
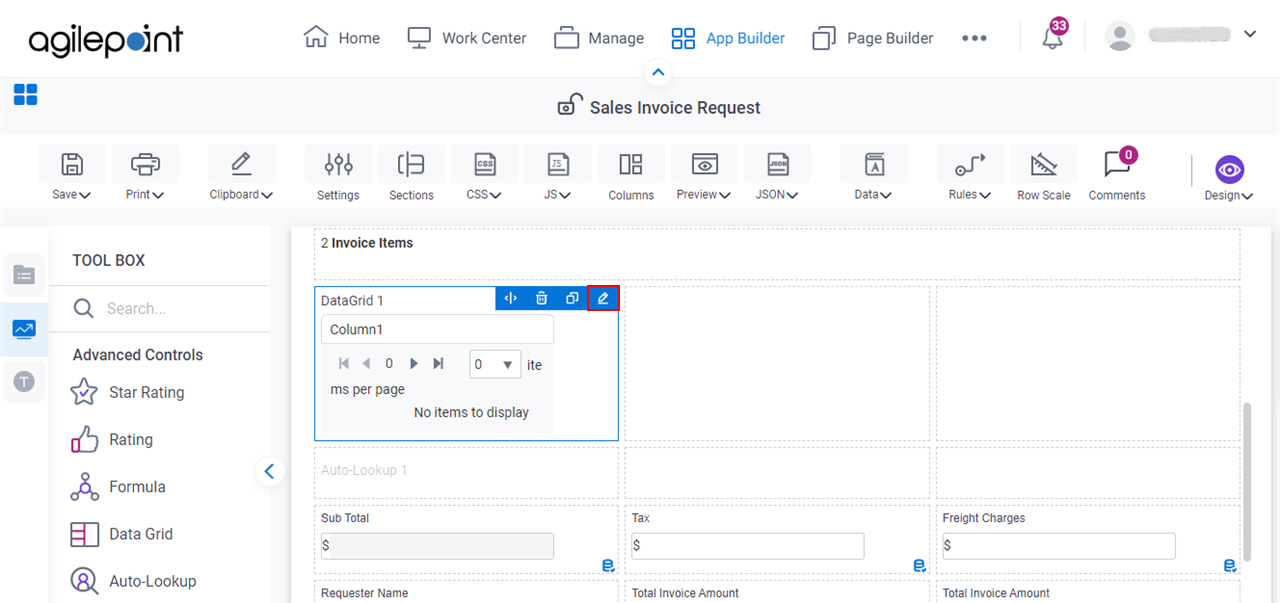
- Click Edit Properties
 .
.
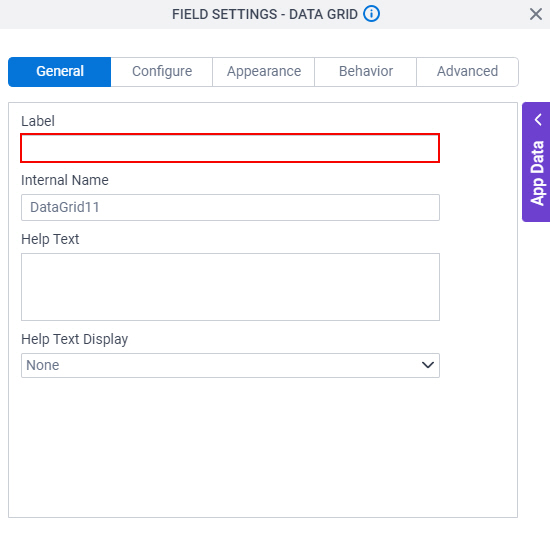
- On the Field Settings - Data Grid screen, delete the default label name from the Label field.
In this example, the form has a label for this field. The label name for this field is not required.
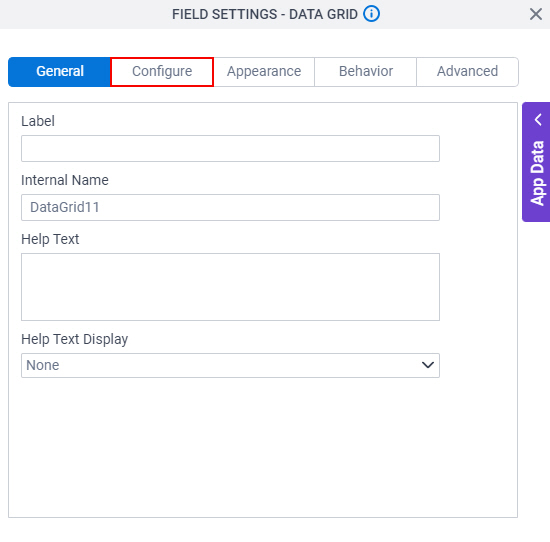
- Click the Configure tab.
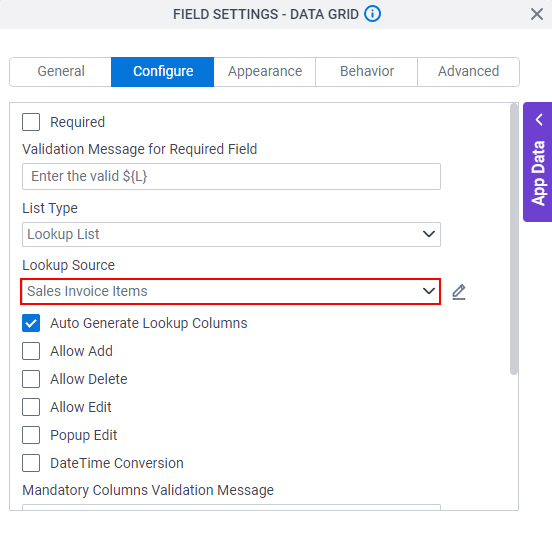
- On the Configure tab, in the List Type field, select Lookup List.
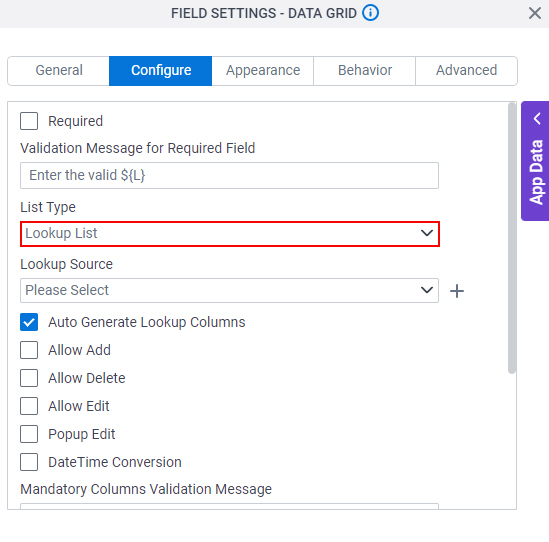
- On the Lookup Source field, select the lookup that use to populate data to the Data Grid form control.
In this example, the lookup name is Sales Invoice Items. For information about how to create the Sales Invoice Items lookup, refer to (Example) Configure an Auto-Lookup Form Control with Microsoft Excel.
- To show the options to add, change, or delete records at runtime, select these fields:
- Allow Add
- Allow Delete
- Allow Edit
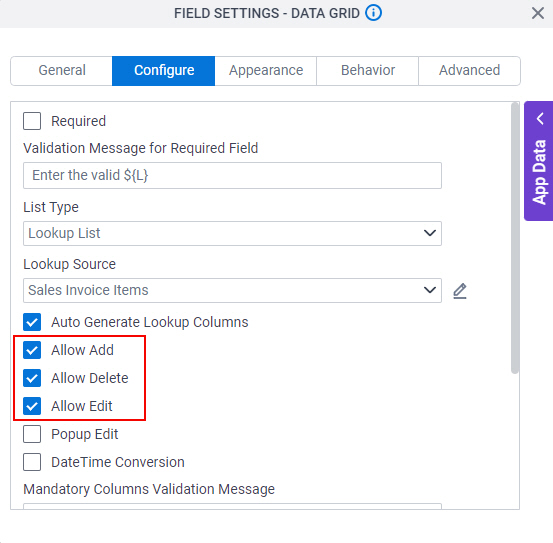
- To save the changes, click Close Screen
 .
. - On the Sales Invoice Request form, expand the Data Grid form control to the width to show on the eForm.
Step 2: (Optional) Save, Check In, and Publish the Process-Based App
Next, save, check in, and publish the process-based app.
For more information, refer to (Example) Save, Check In, and Publish a Process-Based App.
Step 3: (Optional) Run the App
Next, run the app.
For more information, refer to My Apps screen (Modern)
How to Get the App
This example is based on the Sales Invoice app from the AgilePoint NX App Store. Use this procedure to get the app.
Prerequisites
- AgilePoint NX OnDemand (public cloud), or AgilePoint NX Private Cloud or AgilePoint NX OnPremises v7.0 or higher.
Good to Know
- This procedure is optional. It is provided so you can test the example with an out-of-the-box app.
- This is part of the Background and Setup procedures, but many users preferred this step to appear after the example, not before it.
Procedure
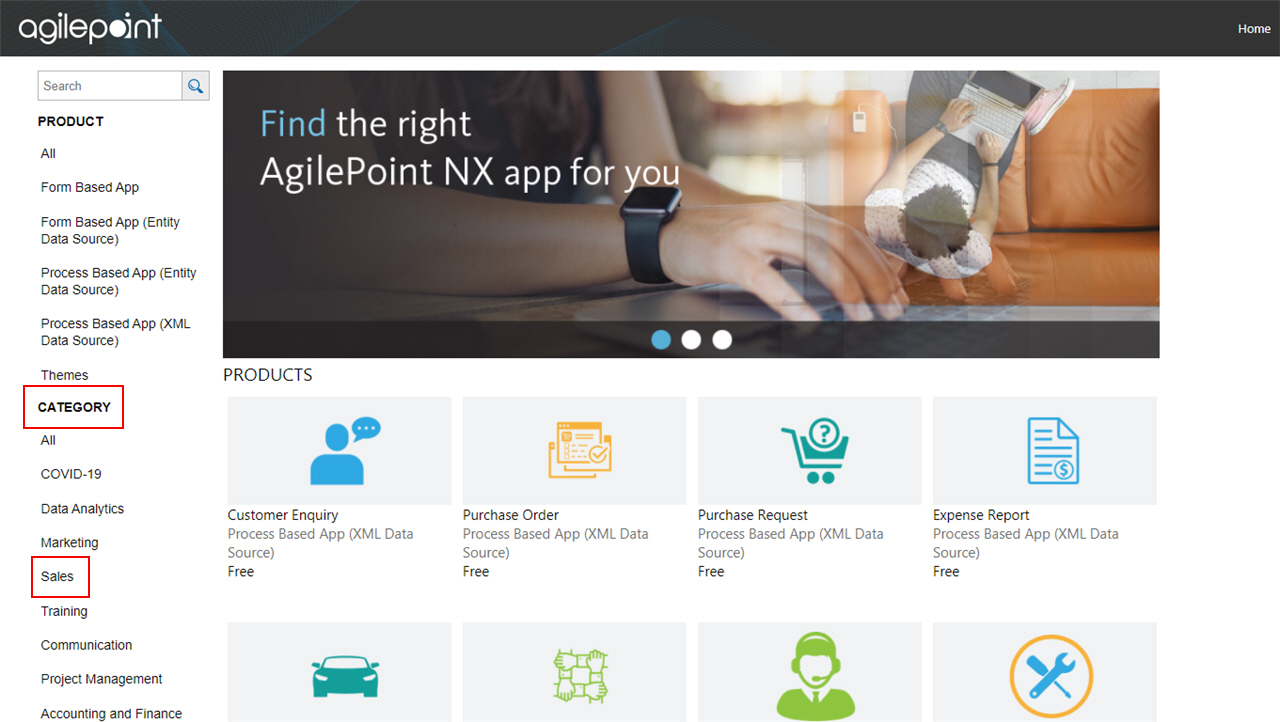
- Click App Store
 .
.

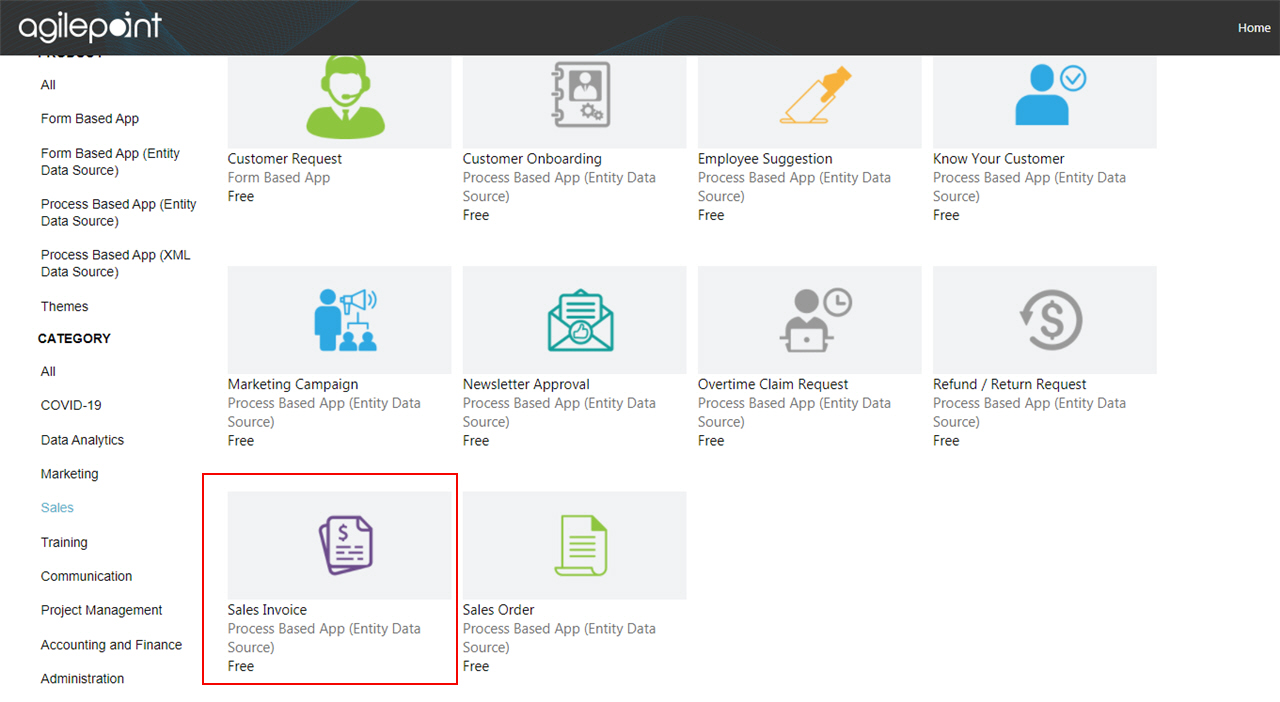
- In the CATEGORY section, click Sales.
- Click the Sales Invoice app.
- On the Sales Invoice screen, click Add.
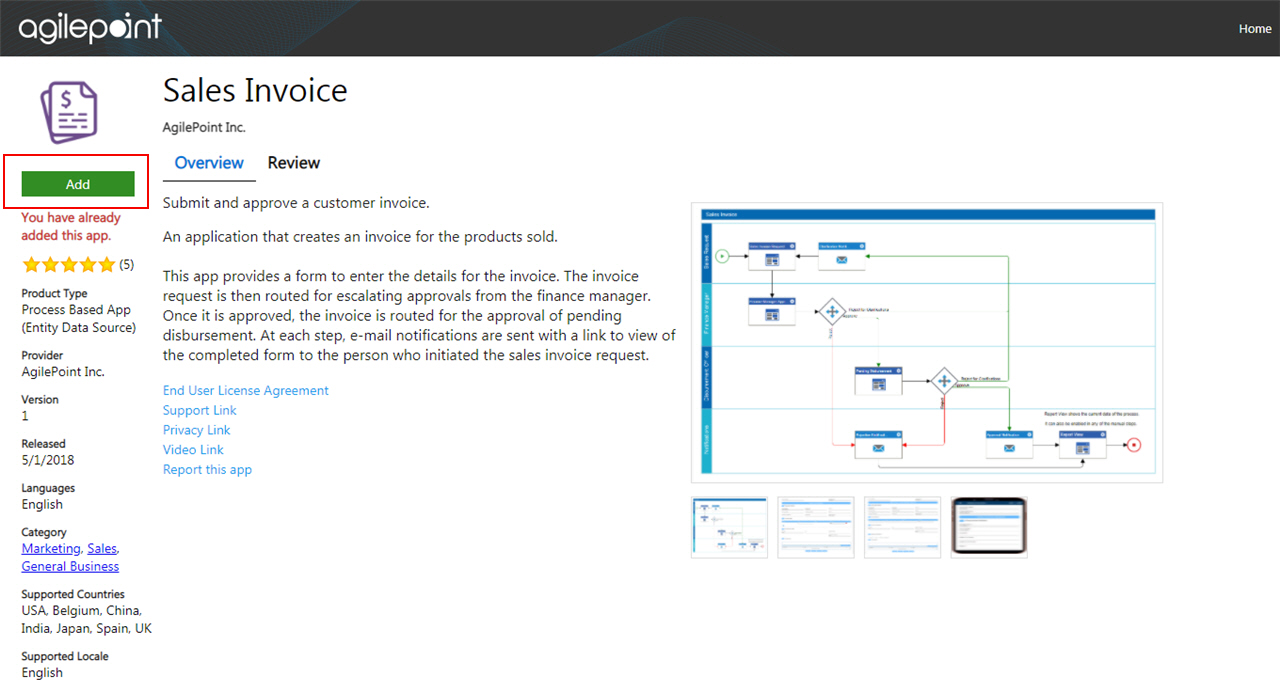
- On the Trust App screen, click Trust it.
- Click Return to site.