
(Example) Create a Microsoft Excel File to Use as a Data Source for an App
This example shows how to create a Microsoft Excel file to use as a data source for an app.
Background and Setup
Good to Know
- This example shows how to create, configure, and format the data as a table in a Microsoft Excel file to use as a data source for an app.
In this example, the Microsoft Excel file name is Sales Invoice Items.xlsx.
- This procedure applies to any use of a Microsoft Excel file as a data source for an AgilePoint NX app. This includes Excel files used for eForm lookups.
- This topic is different from an Excel file that can be used to import data to a subform.
For more information, refer to Rules for Using Microsoft Excel Files with AgilePoint NX.
- The Excel file that is created in this example is also used in these examples:
Step 1: Create a Microsoft Excel File with Column Headers
First, create the Microsoft Excel file with the column headers to use as a data source.
Good to Know
- In the Excel file, in the first row, each column must have a unique text string. AgilePoint NX uses this text as the column name.
The supported characters are:
- English letters
- Numbers
- Underscores (_)
How to Start
- Open Microsoft Excel.
- Click Blank workbook.
- Save an Excel file with the file name Sales Invoice Items.xlsx.
Procedure
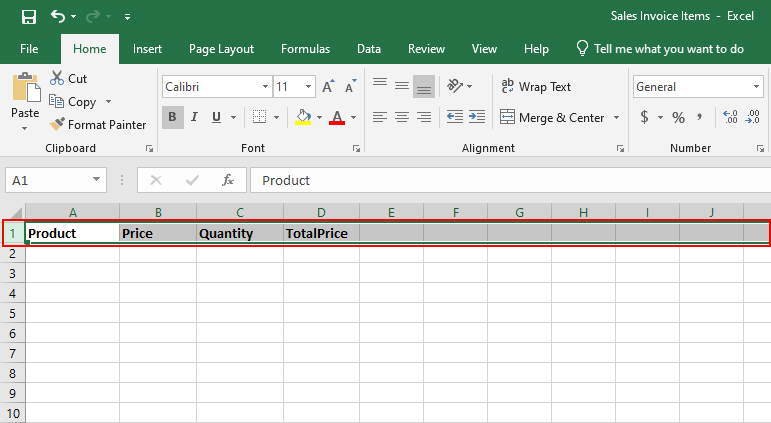
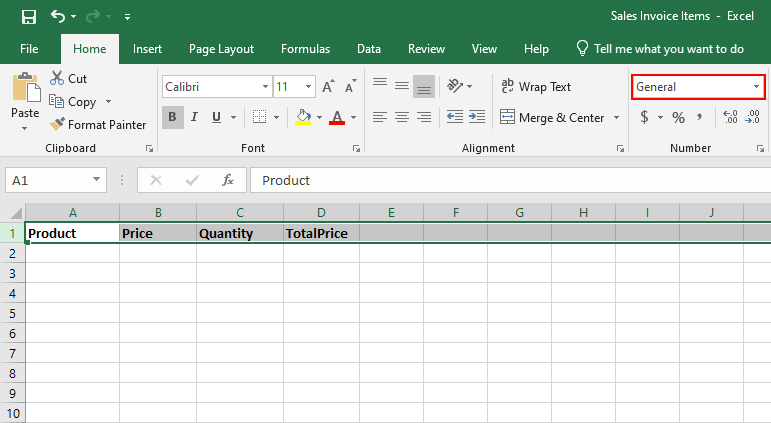
- On the Sales Invoice Items.xlsx file, in the first row, enter the column names as shown in this table:
Product Price Quantity TotalPrice 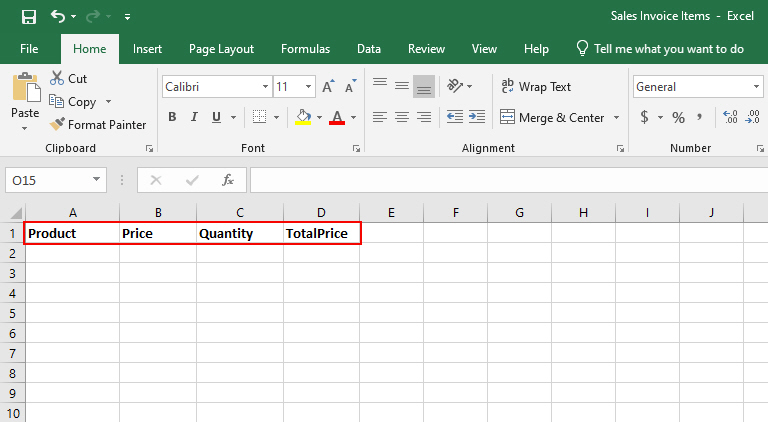
The column headers are not required to be bold. But, in this example, the column headers are entered in bold to differentiate the column names and data.
- Save the Sales Invoice Items.xlsx file.
Step 2: Configure the Data Type for the Column Headers
Next, configure the column headers with a data type in the Microsoft Excel file.
Prerequisites
- A Microsoft Excel file with the column headers.
For more information, refer to Step 1: Create a Microsoft Excel File with Column Headers
Good to Know
- Each column must specify a data type, such as date, currency, or text, to match the data you enter in the Excel file.
Procedure
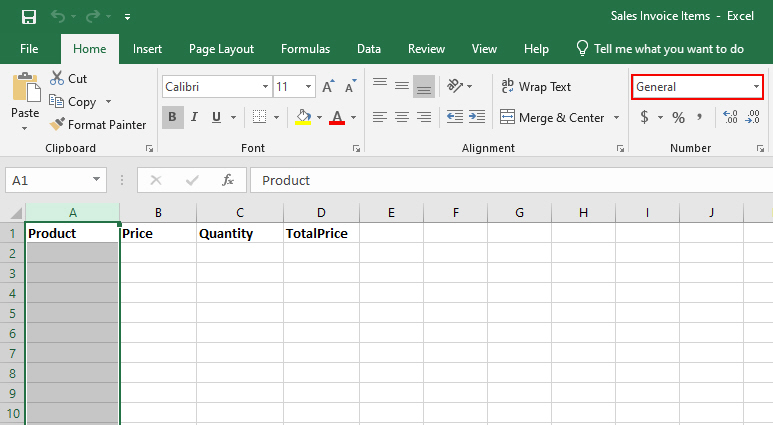
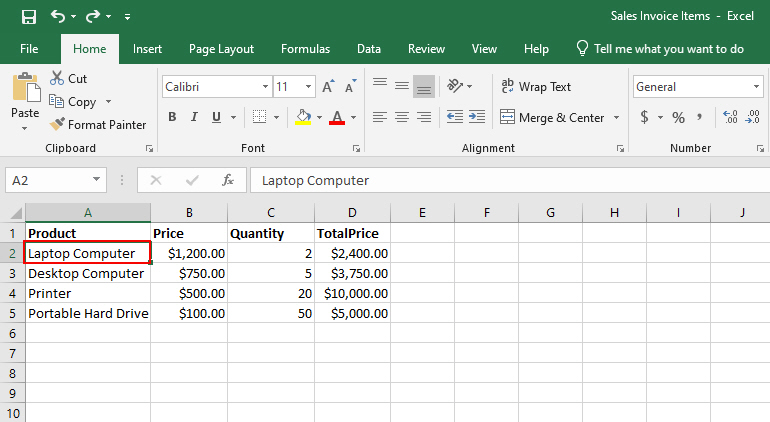
- In the Sales Invoice Items.xlsx file, select the Product column.
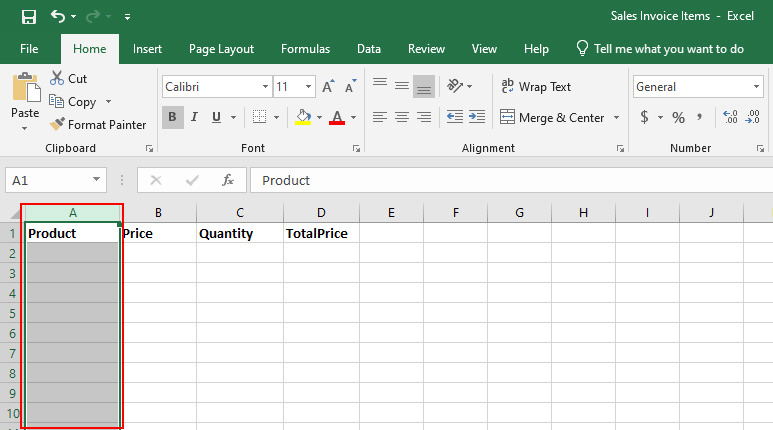
- On the Excel ribbon, in the Number Format field, select General.
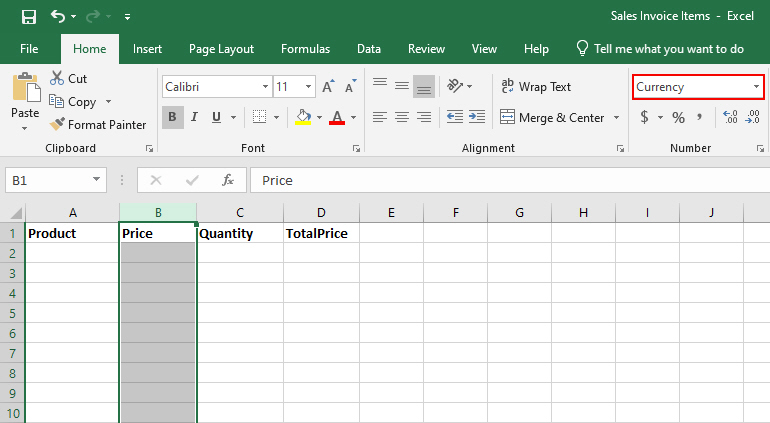
- Select the Price column.
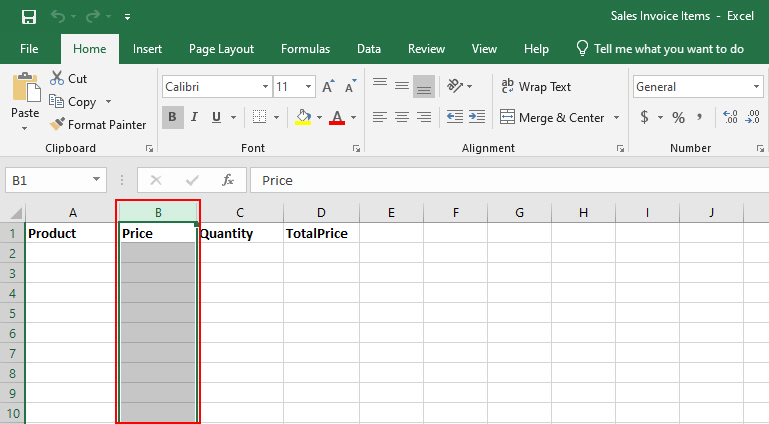
- In the Number Format field, select Currency.
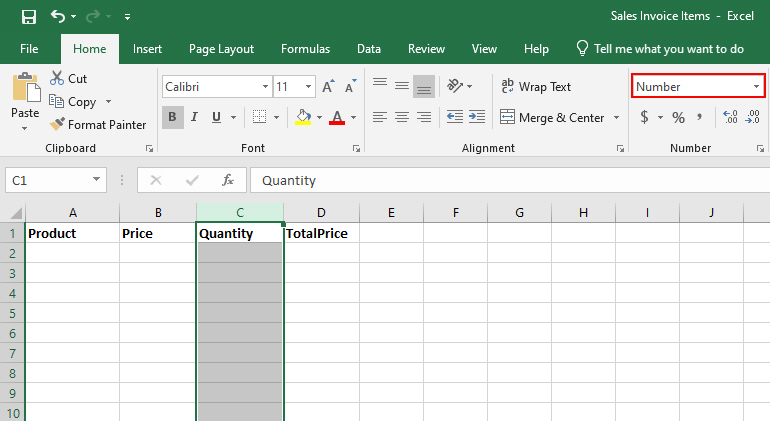
- Select the Quantity column.
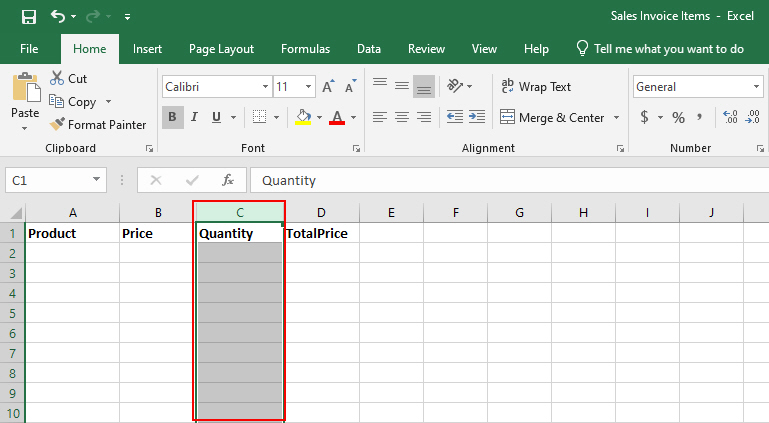
- In the Number Format field, select Number.
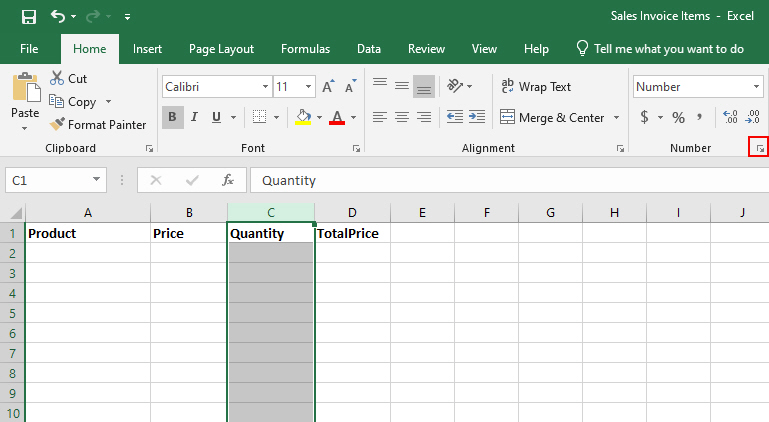
- In the Number submenu, click the dialog launcher.
- On the Format Cells screen, in the Decimal places field, select 0 to remove the decimals.
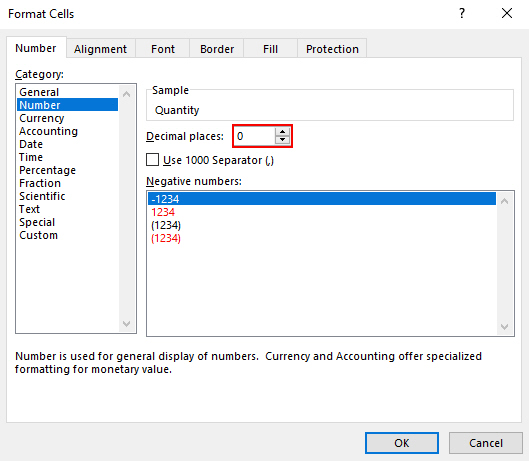
- Click Ok.
The Excel file shows.
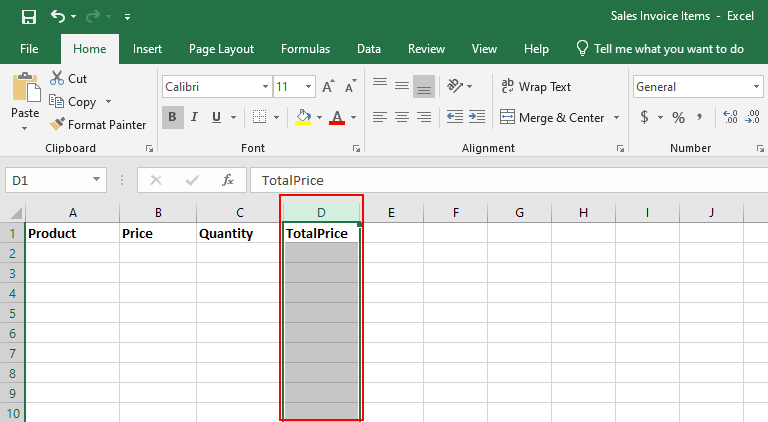
- In the Excel file, select the TotalPrice column.
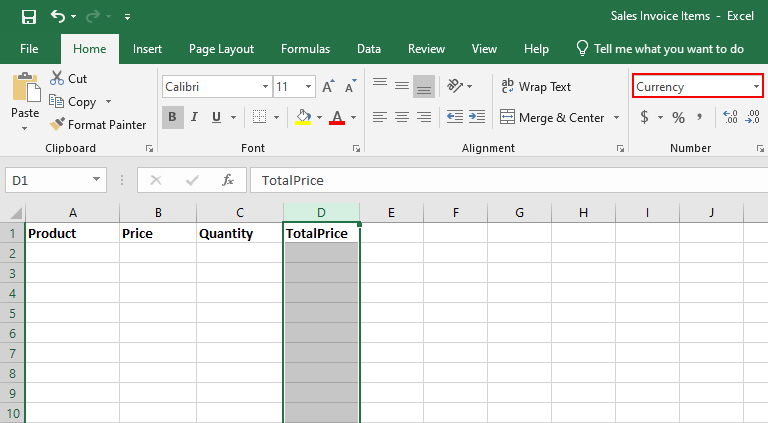
- In the Number Format field, select Currency.
- Select the row number 1.
- In the Number Format field, select General.
- Save the Sales Invoice Items.xlsx file.
Step 3: Enter the Data into the Microsoft Excel File
Next, enter the data into the Microsoft Excel file to use in your app.
Prerequisites
- A formatted Microsoft Excel file.
For more information, refer to Step 2: Configure the Data Type for the Column Headers
Good to Know
- In your Excel file, the data must be entered in rows and columns.
This is the data your AgilePoint NX app will read in your Excel file.
Procedure
- In the Sales Invoice Items.xlsx file, enter the values for each column as shown in this table:
Product Price Quantity TotalPrice Laptop Computer 1200 2 2400 Desktop Computer 750 5 3750 Printer 500 20 10000 Portable Hard Drive 100 50 5000 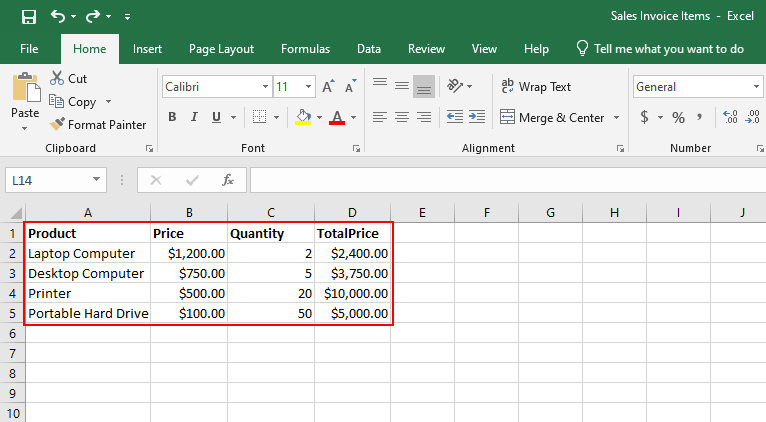
- Save the Sales Invoice Items.xlsx file.
Step 4: Format the Data as Excel Table
Next, format the data in the Microsoft Excel file as a table.
Good to Know
- For AgilePoint NX to read the data in Excel, it must be defined as a table.
- The table name functions like a database table name. This name lets AgilePoint NX locate your data in the Excel file.
- The supported characters are:
- English letters
- Numbers
- Underscores (_)
Procedure
- In the Sales Invoice Items.xlsx file, select a cell that has your data.
- On the Excel ribbon, click Format as Table > select a table.

The Format As Table screen shows the range for your data. Adjust the range if necessary.
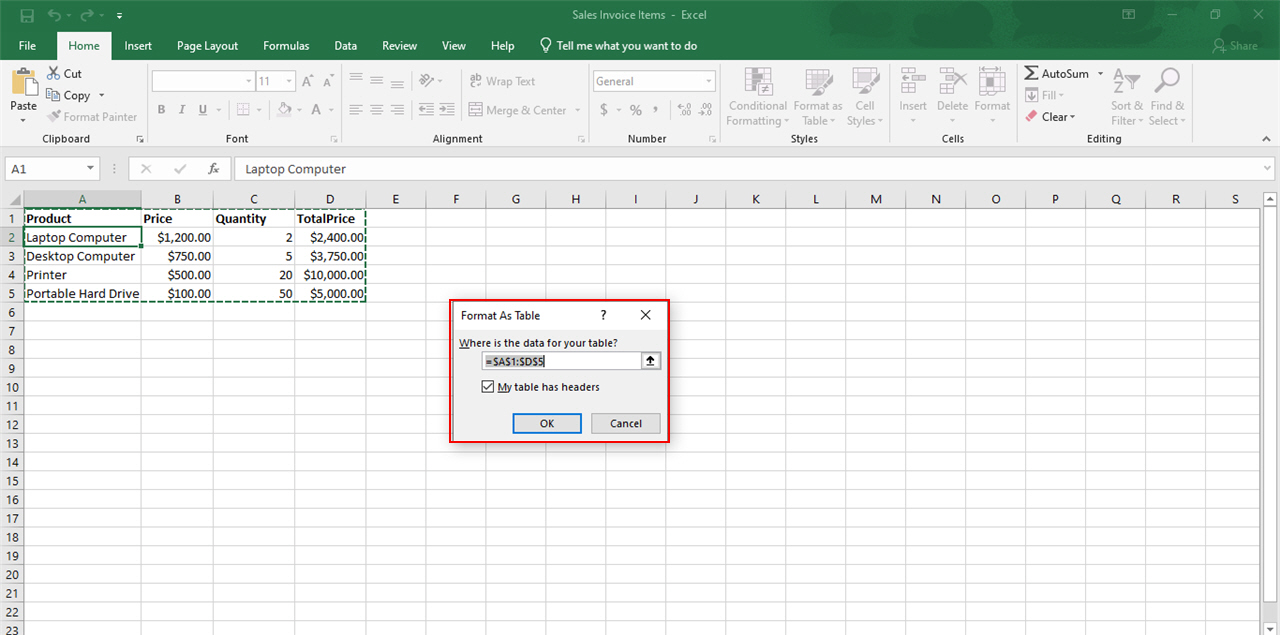
- Click Ok.
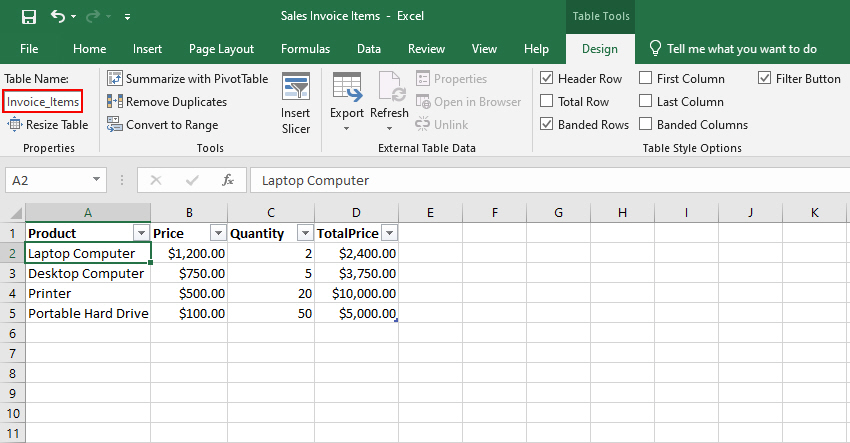
- On the Excel ribbon, in the Table Name field, and enter a name for your table.
In this example, the table name is Invoice_Items.
- Save the Sales Invoice Items.xlsx file.