
(Example) Start an AgilePoint Workflow Through UiPath
This document shows how to start an AgilePoint NX process (workflow) with UiPath.
Background and Setup
Prerequisites
- AgilePoint NX OnDemand (public cloud), or AgilePoint NX Private Cloud or AgilePoint NX OnPremises v7.0 Software Update 1 or higher.
- Download the Customer Enquiry app from the AgilePoint NX App Store.
For more information, refer to How to Get the App.
This app is used for example purposes because it is available for free from the AgilePoint NX App Store. In a production environment, use an app that is appropriate for your use case.
Customer Enquiry is an app that lets customers submit questions about a company, or its products or services.
- A UiPath account.
- UiPath Studio installed on your machine.
Step 1: Configure a Workflow in UiPath Studio
To configure a workflow in UiPath Studio, do the procedure in this topic.
Prerequisites
- Download the UIPath.AgilePoint.Activities component from https://go.uipath.com/.
- Install UIPath.AgilePoint.Activities component in UiPath Studio.
- Get the credentials for an AgilePoint NX user account with permission to edit and run your AgilePoint NX app.
- Create a process named CustomerEnquiryProcess in UiPath Studio.
This is an example value that is specific to the scenario in this document. In a production environment, use a value that is appropriate to your use case.
How to Start
- Open UiPath Studio.
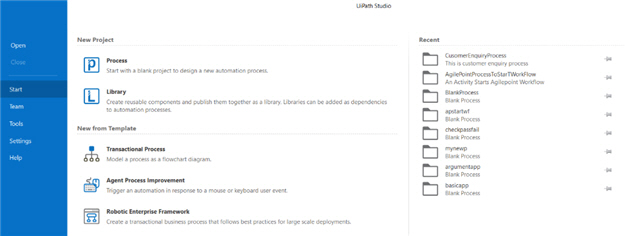
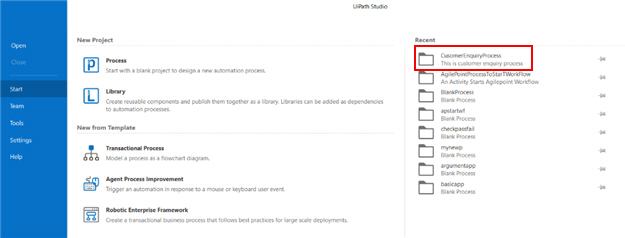
- Click CustomerEnquiryProcess.
- On the Design tab, in the Available section, drag the
Start Workflow activity to the right pane.
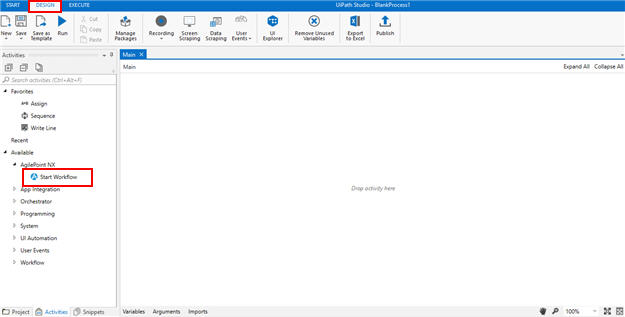
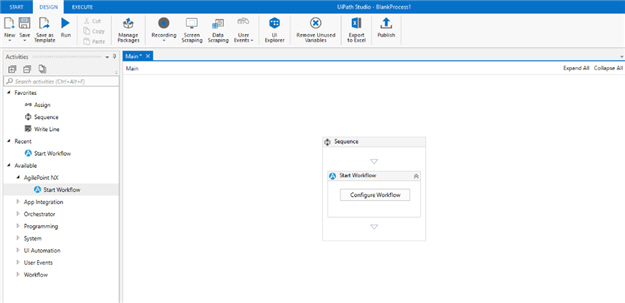
This screen shows.
Procedure
- On the right pane, click Configure Workflow.
Figure: Customer Enquiry Process screen 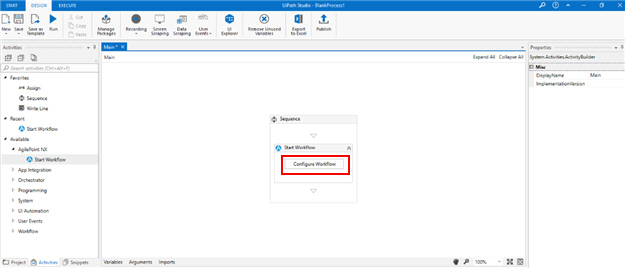
- On the Start Workflow screen, in the AgilePoint Server URL field, enter the REST URL for your AgilePoint Server instance.
For more information, refer to Find your AgilePoint Server Instance REST URL.
Figure: Start Workflow screen 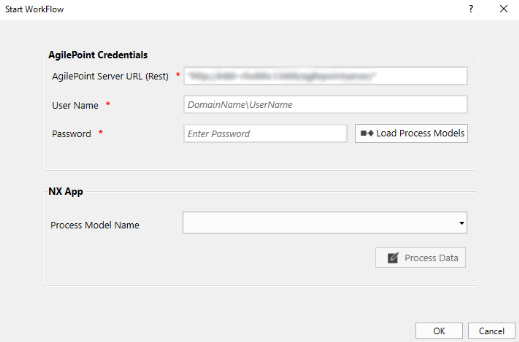
- In the User Name field, enter the user name for an AgilePoint NX user with permission run your AgilePoint NX app.
Figure: Start Workflow screen 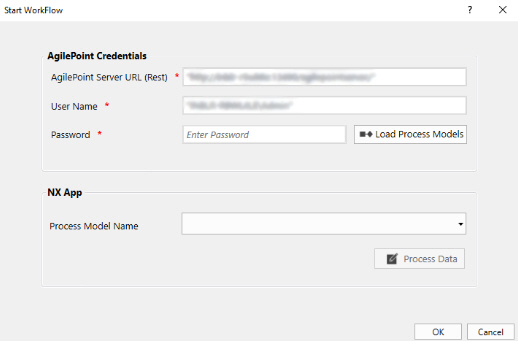
- In the Password field, enter the password for your AgilePoint NX user.
Figure: Start Workflow screen 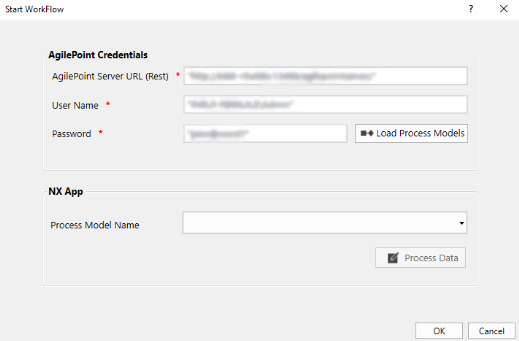
- Click Load Process Models.
Figure: Start Workflow screen 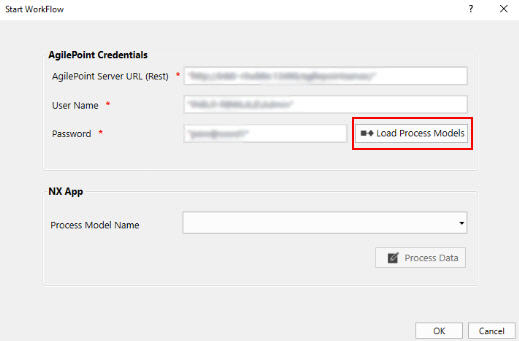
- In the Process Model Name list, select Customer Enquiry.
Customer Enquiry is an app you can download from AgilePoint NX App Store.
For more information, refer to How to Get the App.
Figure: Start Workflow screen 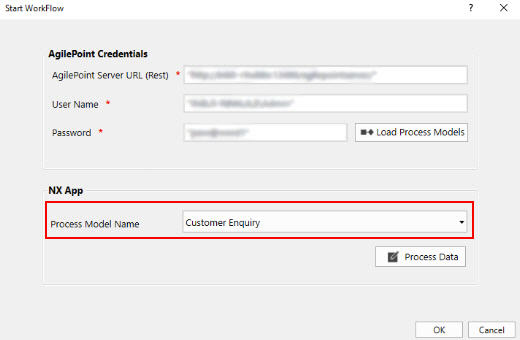
- Click Process Data.
Figure: Start Workflow screen 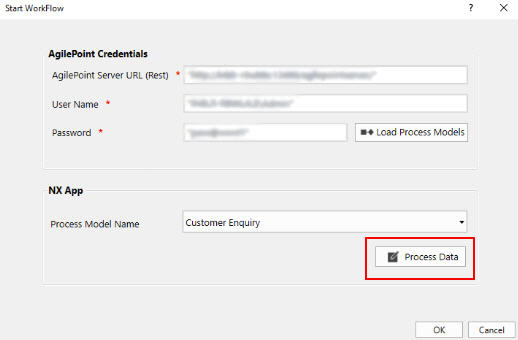
- On the Set Process Data screen, enter the value for each field on the screen.
The values in the Name field are the Xpath of the Customer Enquiry form fields in the Customer Enquiry app.
Figure: Set Process Data screen 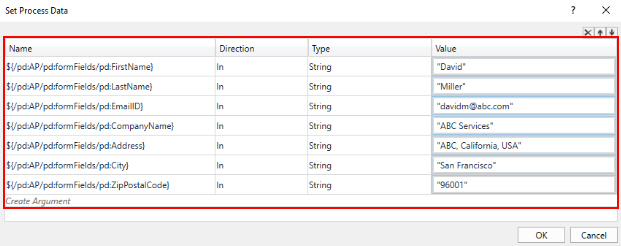
- Click OK.
This screen shows.
Figure: Customer Enquiry Process screen 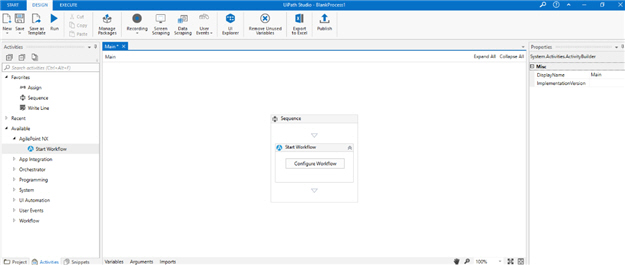
Step 2: Publish a Process in UiPath Studio
To publish a process in UiPath Studio, do the procedure in this topic.
How to Start
- In UiPath Studio, on the Design tab, click Publish
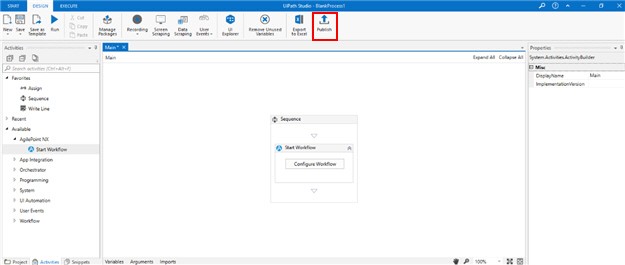
Procedure
- On the Publish Project screen, click Publish.
Figure: Publish Project screen 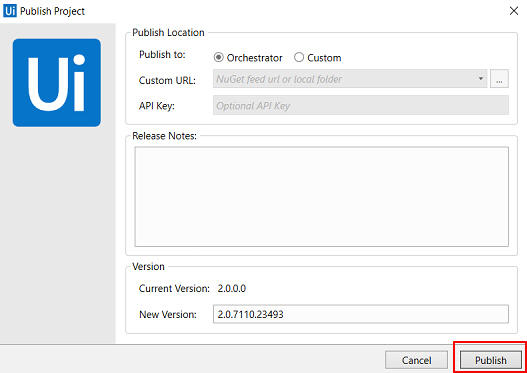
When the process is published, this message shows.
Figure: Process Publish Message screen 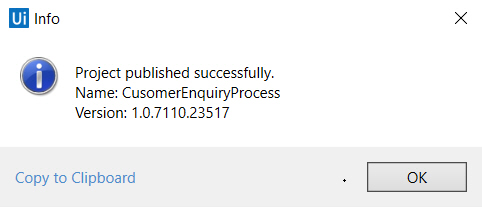
Step 3: Deploy the Process in UiPath Orchestator
To deploy the process in UiPath Orchestator, do the procedure in this topic.
Prerequisites
- Create a service named DevelopmentService in UiPath Orchestrator.
This is an example value that is specific to the scenario in this document. In a production environment, use a value that is appropriate to your use case.
How to Start
- Go to https://platform.uipath.com.
Procedure
- On the UiPath Orchestator Home screen, in the left pane, click SERVICES.
Figure: UiPath Orchestator Home screen 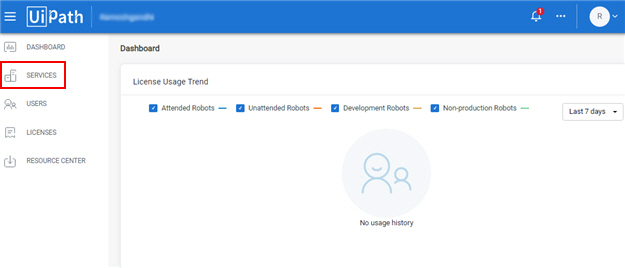
- On the Services screen, click DevelopmentService.
This is an example value that is specific to the scenario in this document. In a production environment, use a value that is appropriate to your use case.
Figure: Services screen 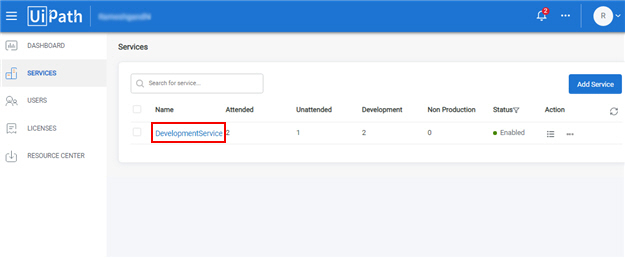
- On the Development Service screen, in the left pane, click PROCESSES.
Figure: Development Service screen 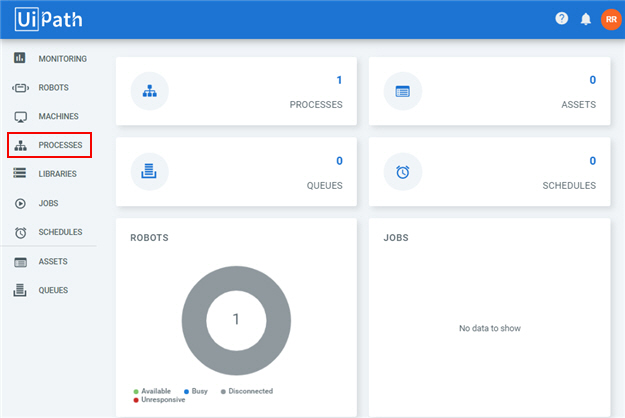
- On the Processes screen, click Add
 .
.
Figure: Processes screen 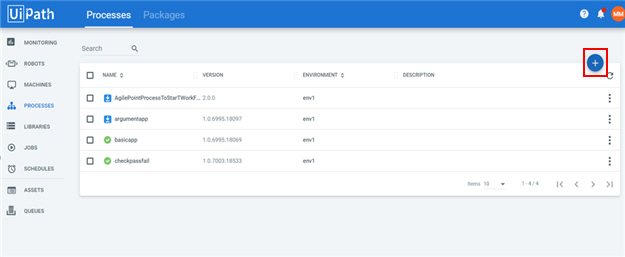
- On the Deploy Process screen, in the Package Name field, select CustomerEnquiryProcess.
This is an example value that is specific to the scenario in this document. In a production environment, use a value that is appropriate to your use case.
Figure: Deploy Process screen 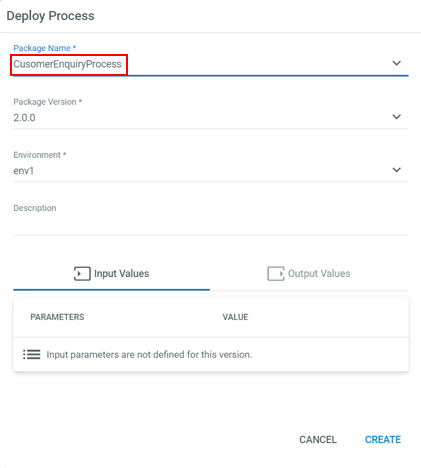
- Click Create.
The UiPath Orchestator shows your deployed process.
Figure: Deployed Processes screen 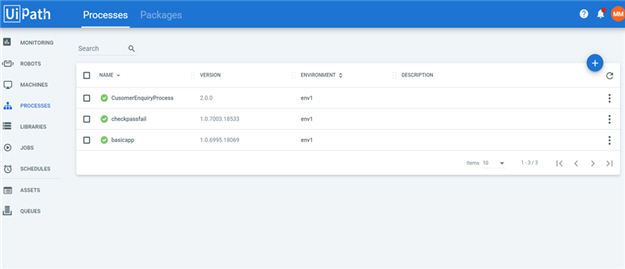
Step 4: Start a Job in UiPath Orchestator
To start a job in UiPath Orchestator, do the procedure in this topic.
Prerequisites
- Create a robot named Robot in UiPath Orchestrator.
This is an example value that is specific to the scenario in this document. In a production environment, use a value that is appropriate to your use case.
Procedure
- On the Development Service screen, in the left pane, click JOBS.
Figure: Development Service screen 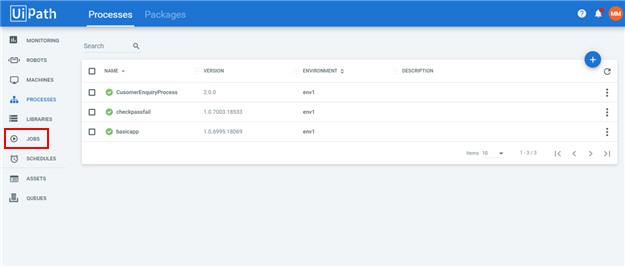
- On the Jobs screen, click Start Job.
Figure: Jobs screen 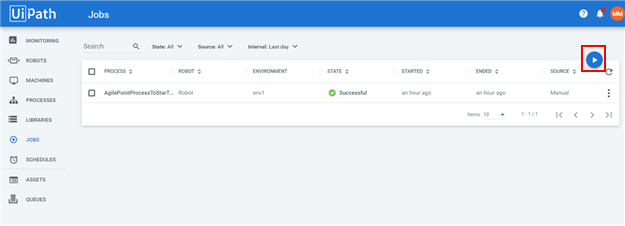
- On the Start Job screen, in the Process field, select CustomerEnquiryProcess_env1.
Figure: Start Job screen 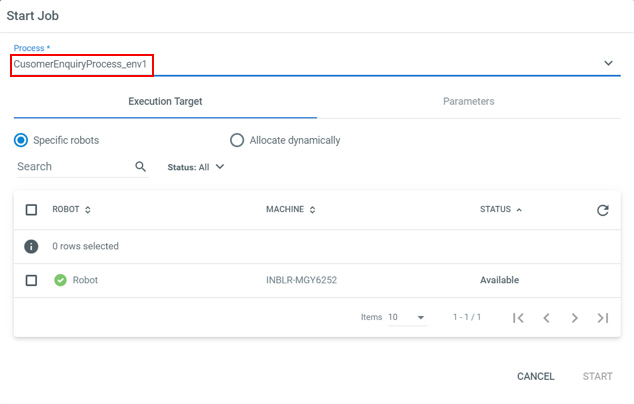
- On the Specific Robot tab, select Robot.
This is an example value that is specific to the scenario in this document. In a production environment, use a value that is appropriate to your use case.
Figure: Start Job screen 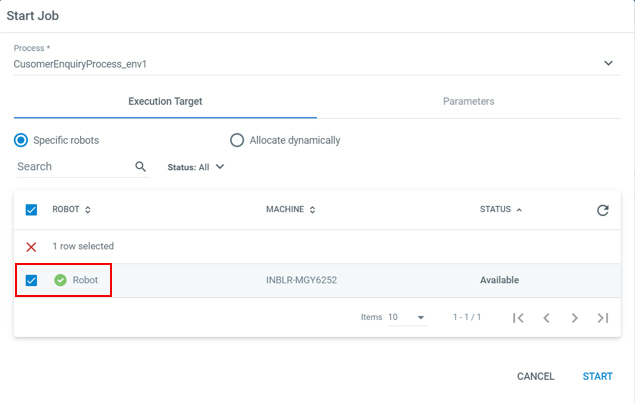
- Click Start.
The UiPath Orchestator shows your executed process.
Figure: Executed Processes screen 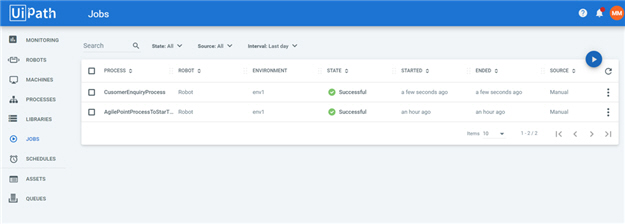
Step 5: (Optional) View the Records in Your eForm
To view the records you created in UiPath Orchestator, do the procedure in this topic.
How to Start
- On the AgilePoint NX Portal, click Work Center.
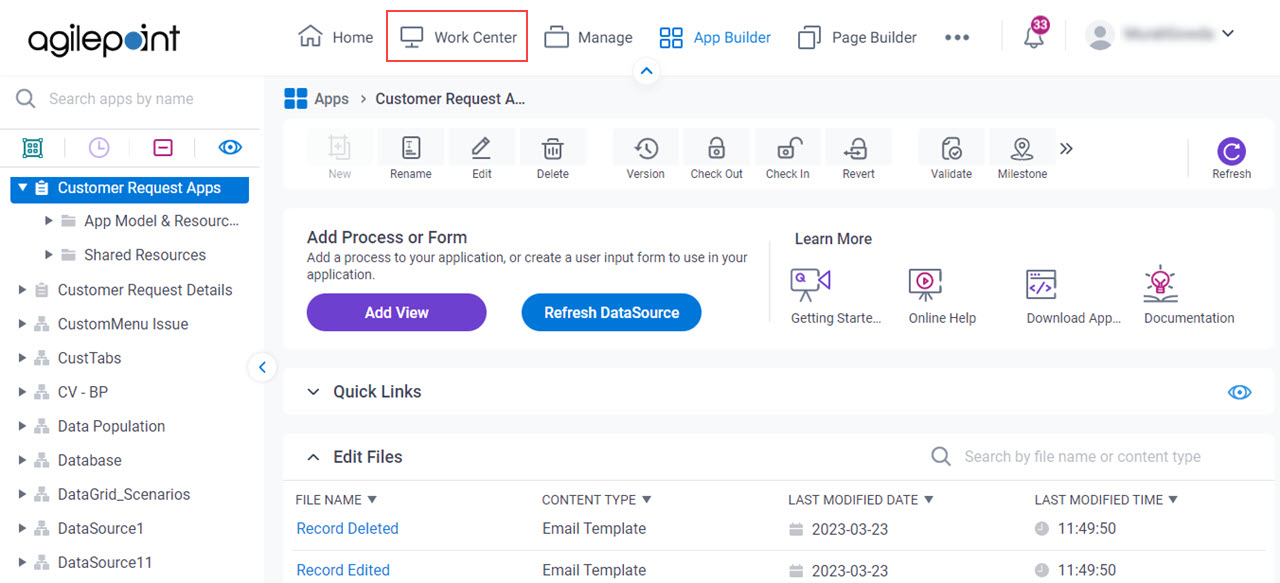
- On the Work Center screen, click Inbox > Processes.
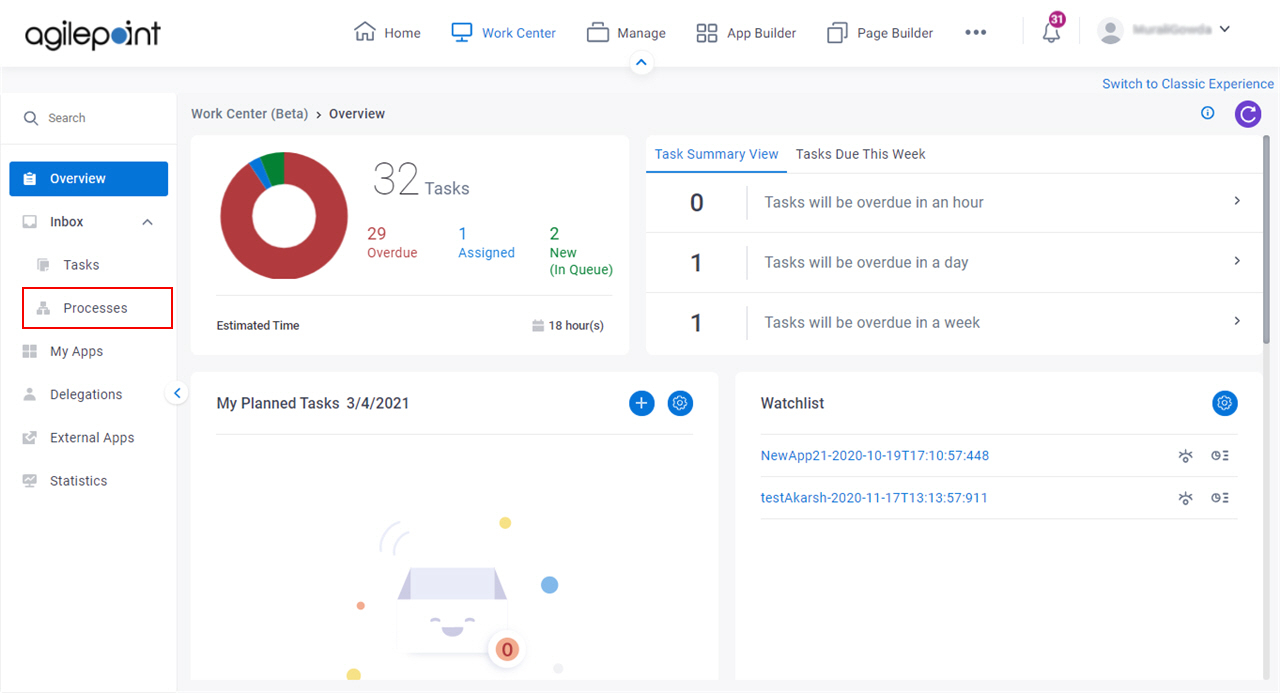
Procedure
- On the Processes screen, click Processes > I Started.
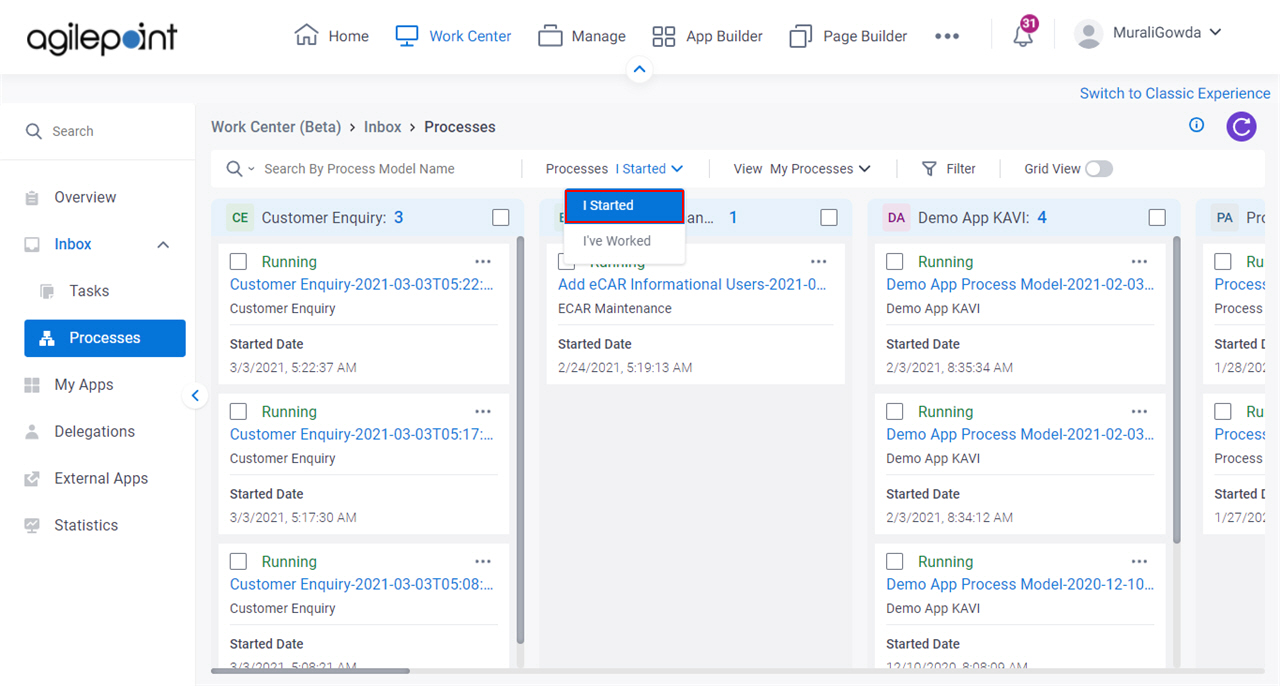
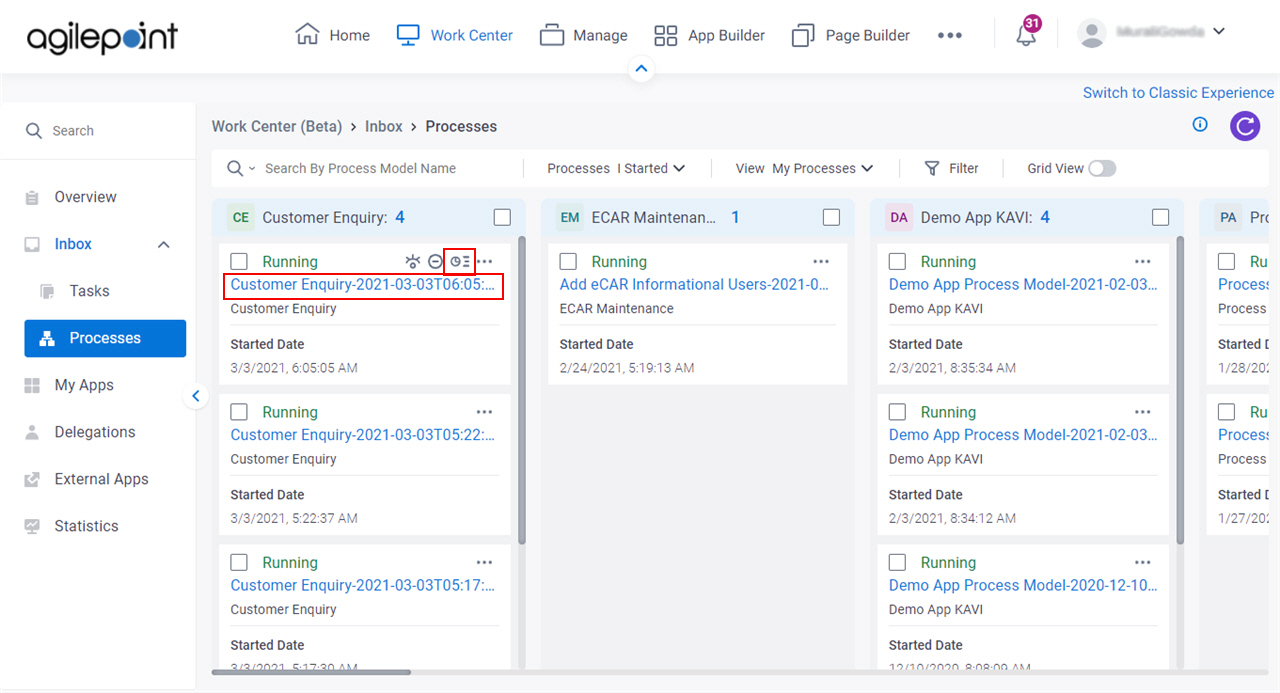
- On the Processes I Started tab,
click Customer Enquiry > eForm Report View
 .
.
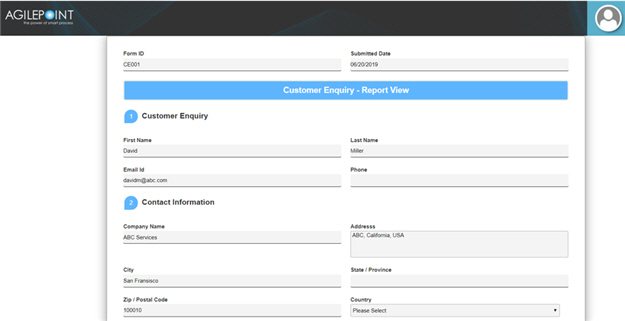
- The View form shows the
records you created in UiPath Orchestator.
How to Get the App
This example is based on the Customer Enquiry app from the AgilePoint NX App Store. Use this procedure to get the app.
Prerequisites
- AgilePoint NX OnDemand (public cloud), or AgilePoint NX Private Cloud or AgilePoint NX OnPremises v7.0 or higher.
Good to Know
- This procedure is optional. It is provided so you can test the example with an out-of-the-box app.
- This is part of the Background and Setup procedures, but many users preferred this step to appear after the example, not before it.
Get the App
- Click App Store
 .
.
- In the CATEGORY section, click Marketing.
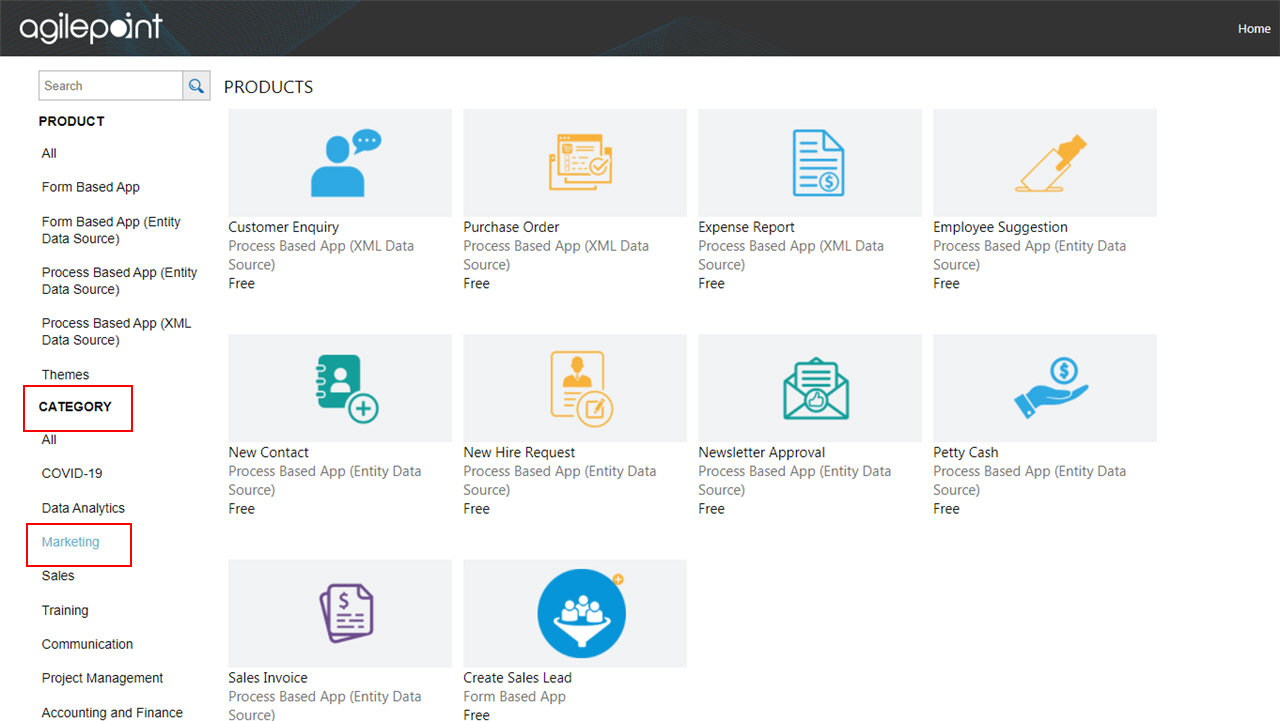
- Click the Customer Enquiry app.

- On the Customer Enquiry screen, click Add.
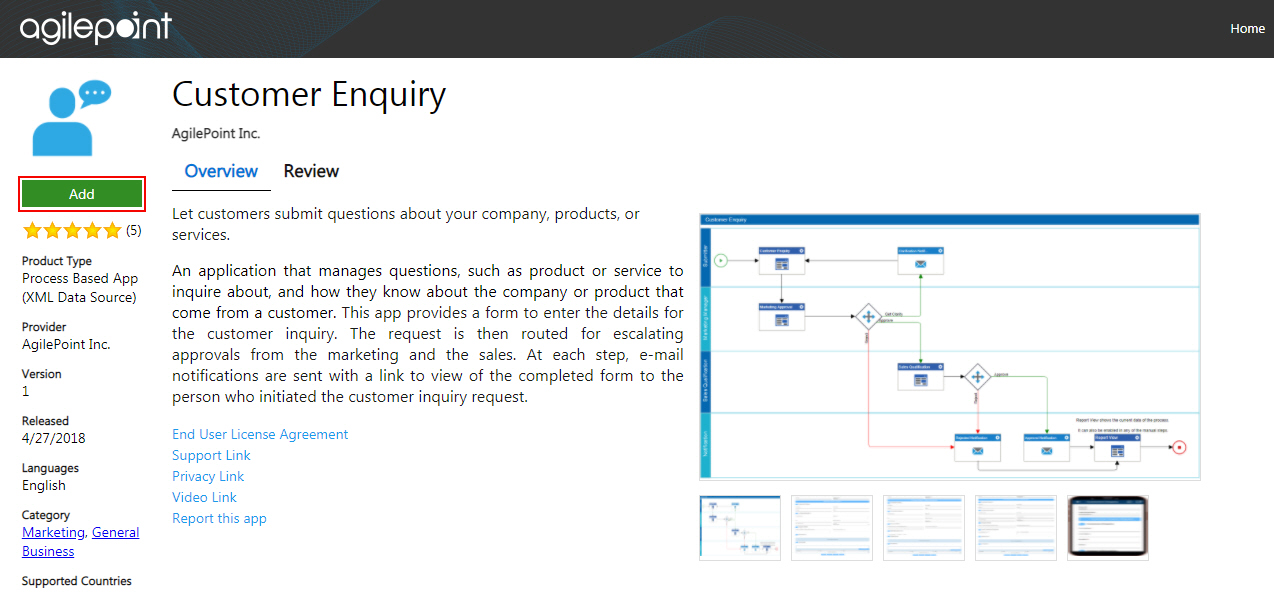
- On the Trust App screen, click Trust it.
- Click Return to site.