
(Example) Configure an Auto-Lookup Form Control with Microsoft Excel
This example shows how to configure the Auto-Lookup form control with Microsoft Excel as a data source.
Background and Setup
Prerequisites
- This example uses the Microsoft Excel file
created in (Example) Create a Microsoft Excel File to Use as a Data Source for an App.
Refer to that topic for information about configuring the Excel file.
The Microsoft Excel file name is Sales Invoice Items.xlsx.
- The Micorosoft Excel file must be uploaded to a document repository
that has an
access token the app can use.
This example uses a SharePoint repository and access token.
For more information, refer to Access Token for SharePoint.
- This example uses the Sales Invoice app from the AgilePoint NX App Store.
For more information, refer to How to Get the App
Good to Know
- The lookup created in this example is also used in these examples:
Step 1: Create a Lookup with Microsoft Excel as the Data Source
First, create a lookup with a Microsoft Excel file stored in SharePoint as the data source based on multiple columns for the Auto-Lookup form control.
Good to Know
- On the Configure Lookup screen, in the Data Mapping section:
- The Source Column includes the column for the RecordID. The RecordID column is created by default to store the ID for the records.
- You can configure the columns to show or hide in an eForm.
- You can specify custom names for the columns to show on an eForm.
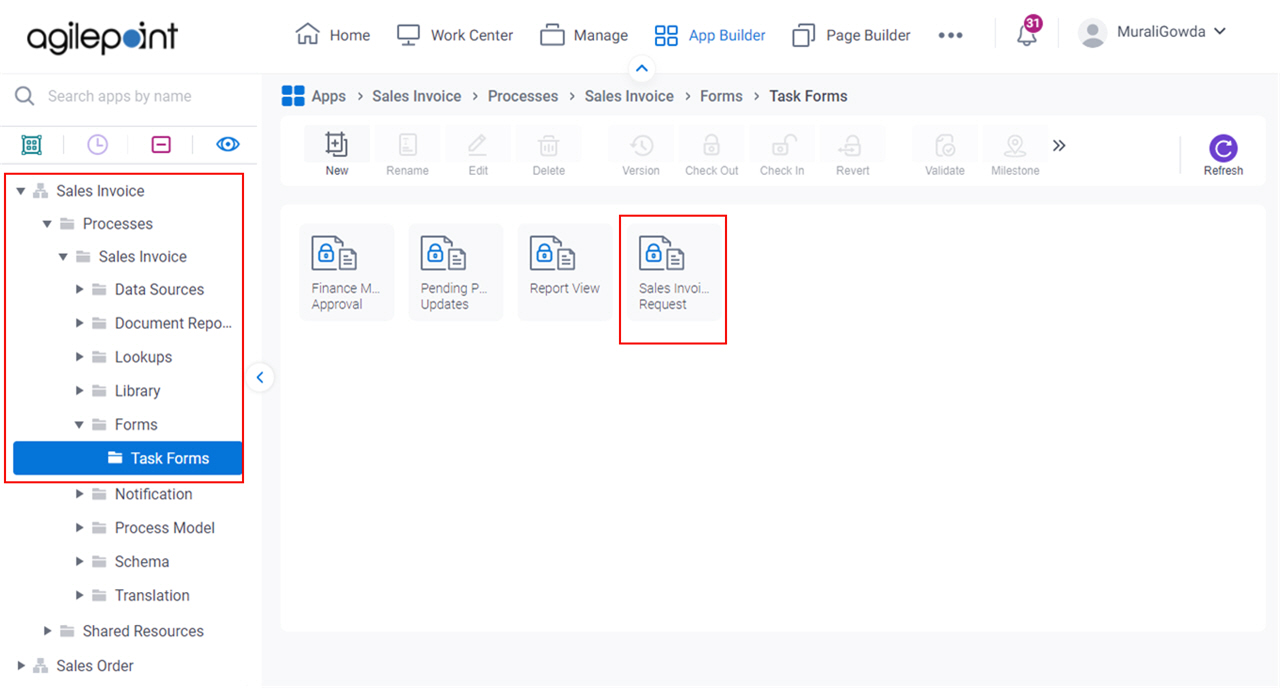
How to Start
- Click App Builder.

- On the Application Explorer screen,
click Sales Invoice > Processes > Sales Invoice > Forms > Task Forms > Sales Invoice Request.
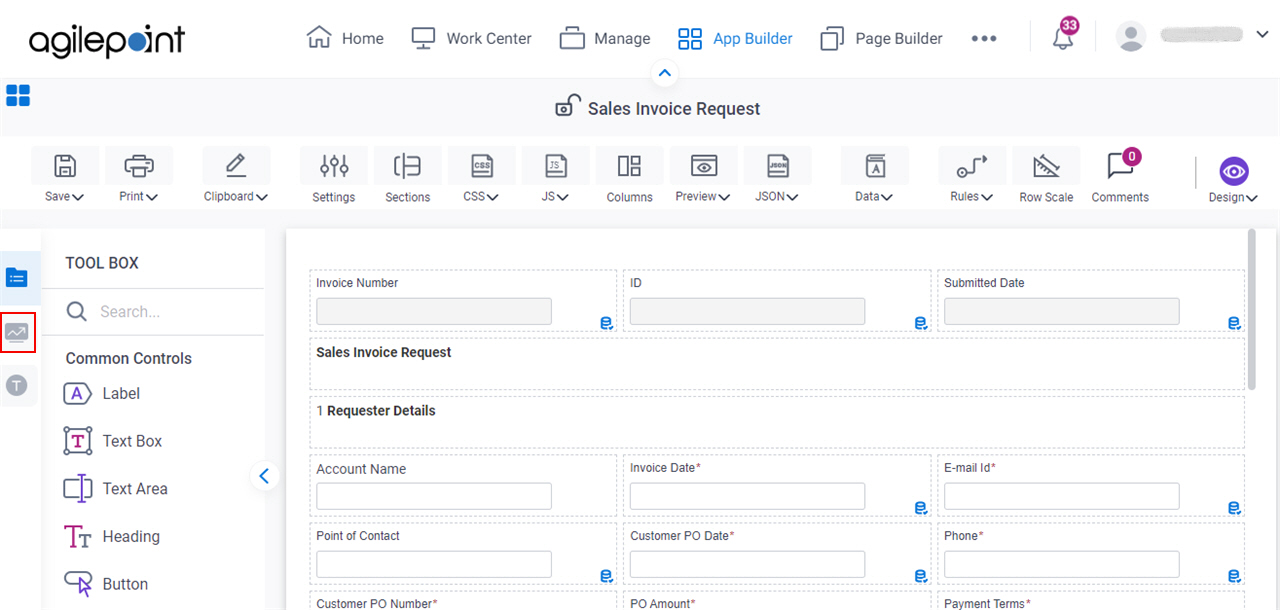
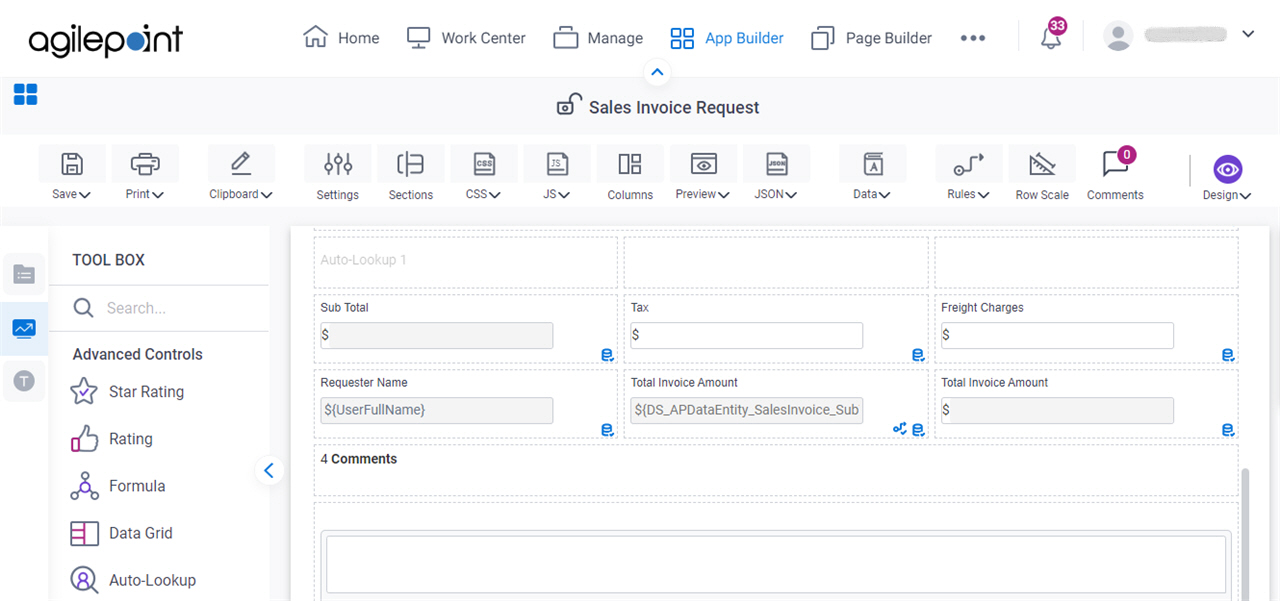
- On the Sales Invoice Request form, in the Toolbox,
open the Advanced Controls tab.
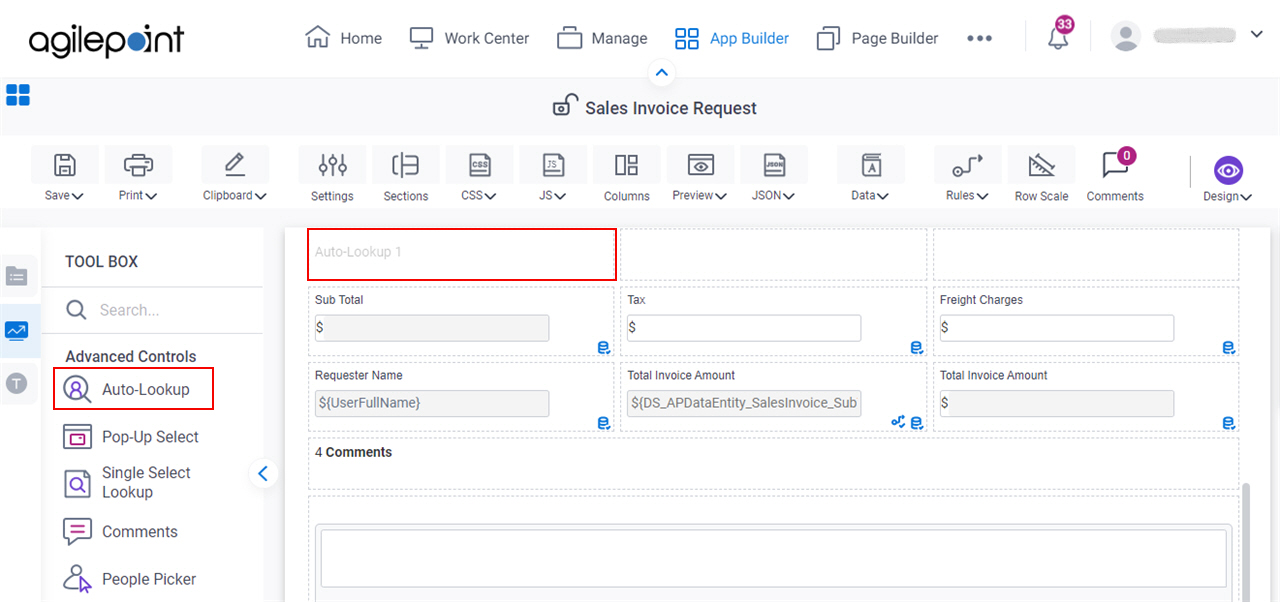
- On the Advanced Controls tab, drag a Auto Lookup
 form control onto your eForm.
Procedure
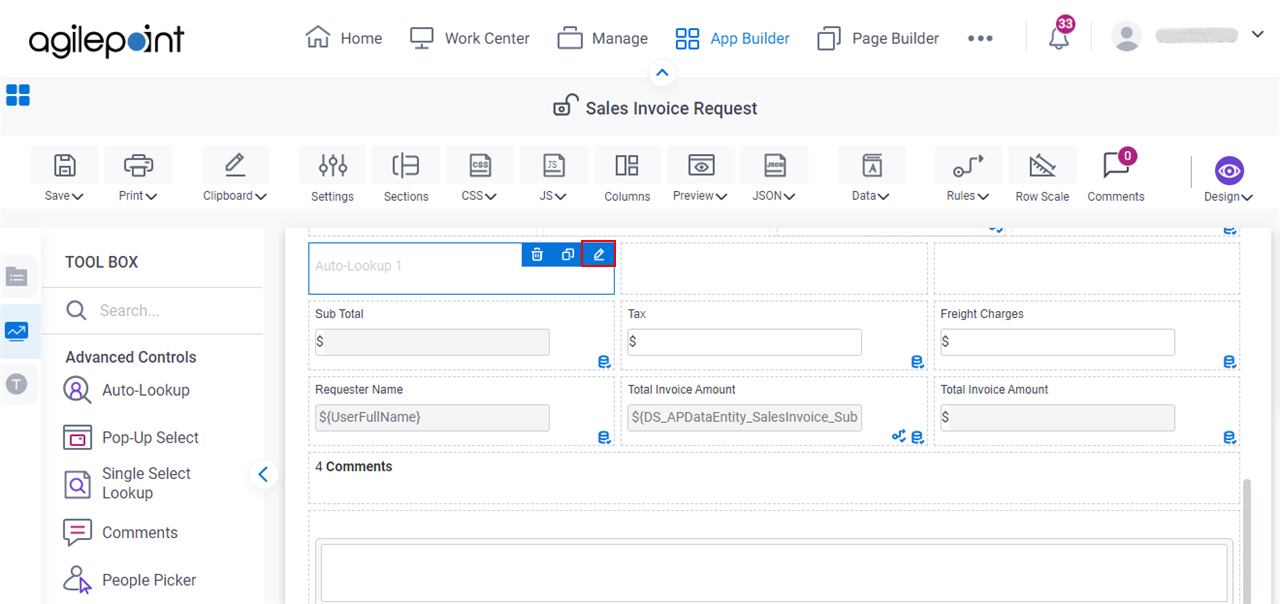
- On the Sales Invoice Request form, put your cursor over the Auto-Lookup form control, and the form control toolbar shows.
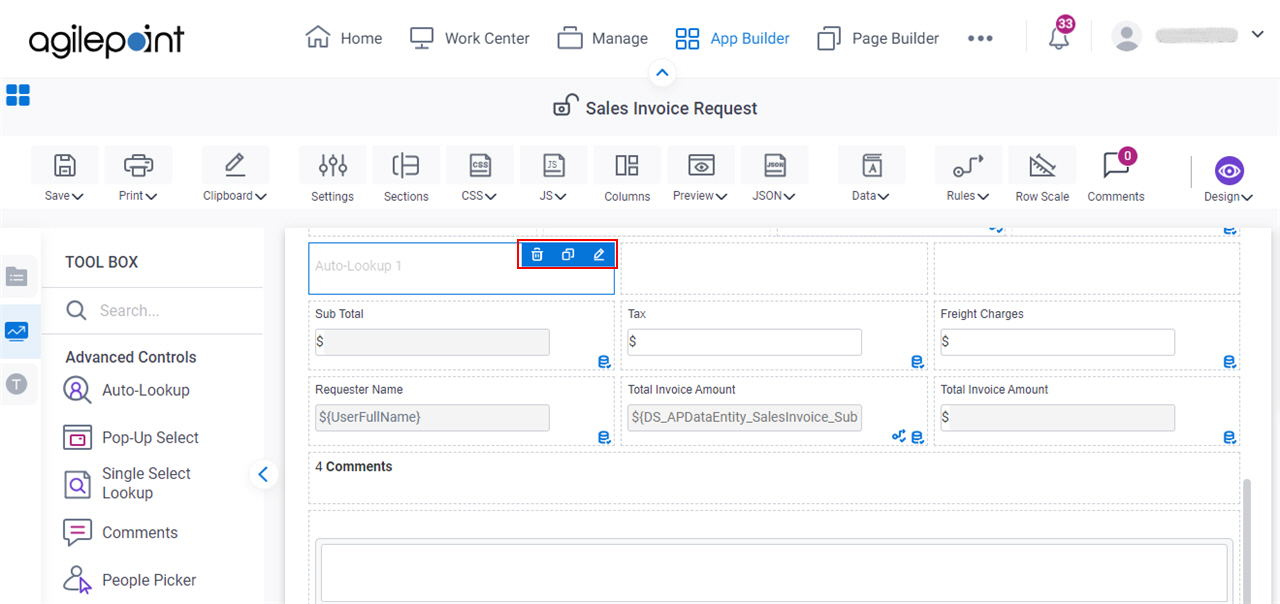
- Click Edit Properties
 .
.
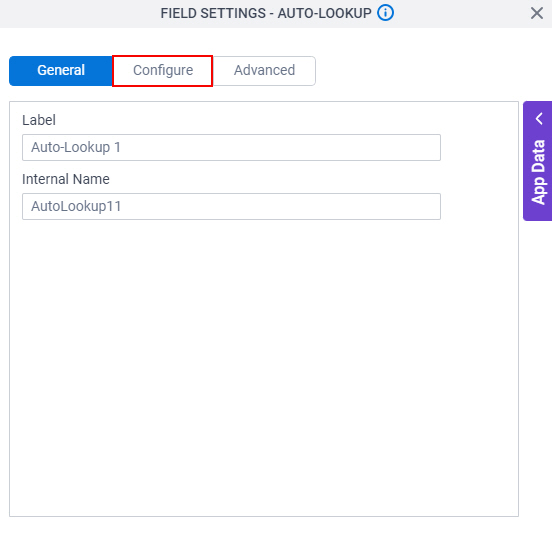
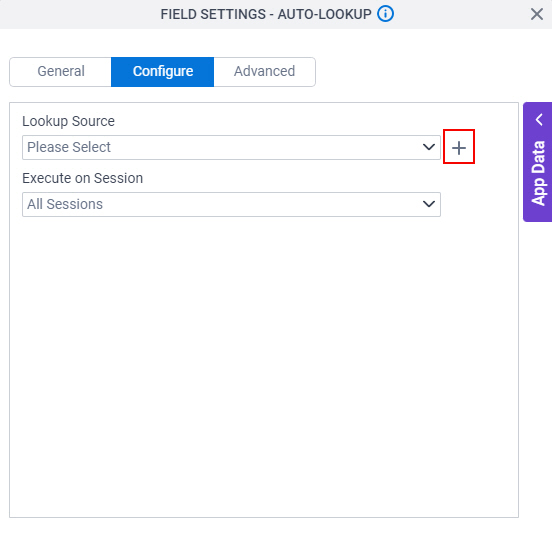
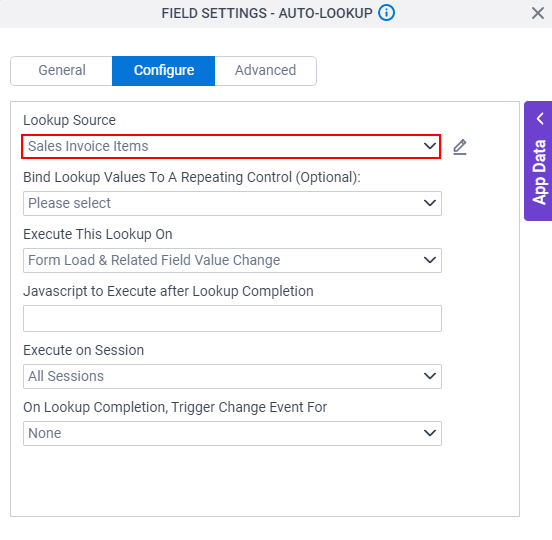
- On the Field Settings - Auto-Lookup screen, click the Configure tab.
- On the Configure tab, in the Lookup Source field, click Add Lookup
 .
.
- On the Select Data Source Type screen, select Microsoft Excel.
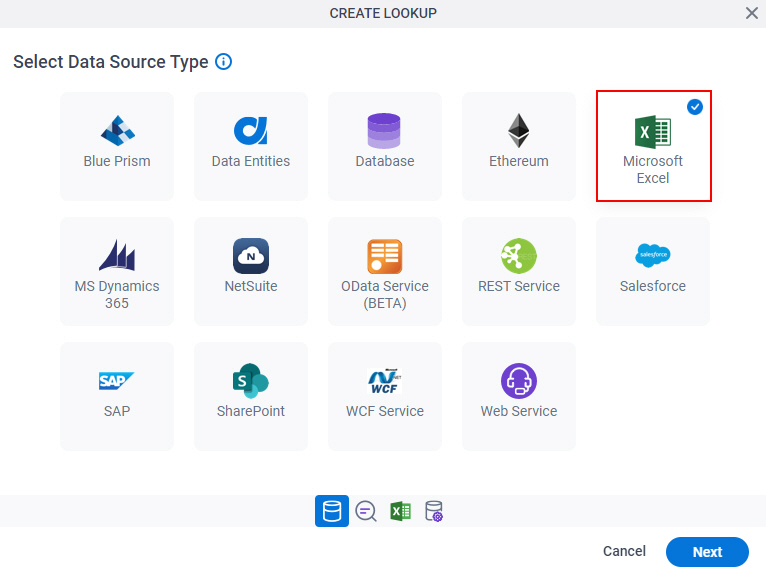
- Click Next.
- On the Lookup Details screen, in the Lookup Name field, enter Sales Invoice Items.
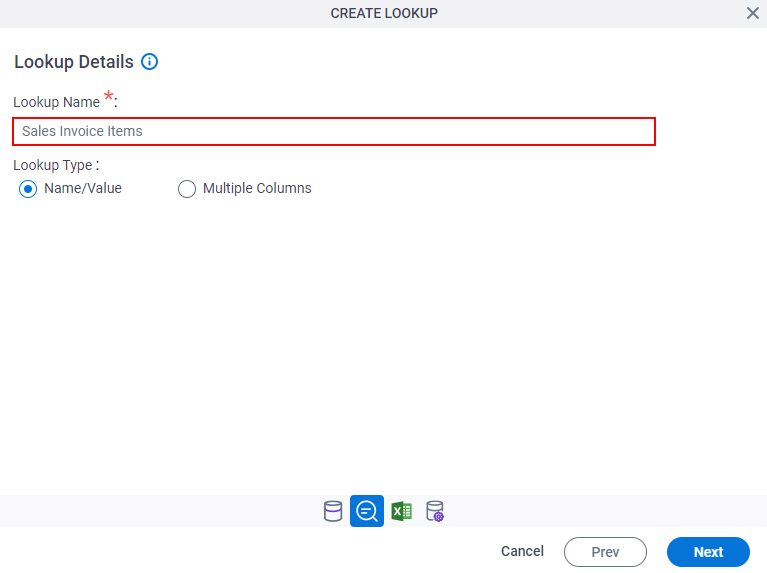
- In the Lookup Type field, select Multiple Columns.
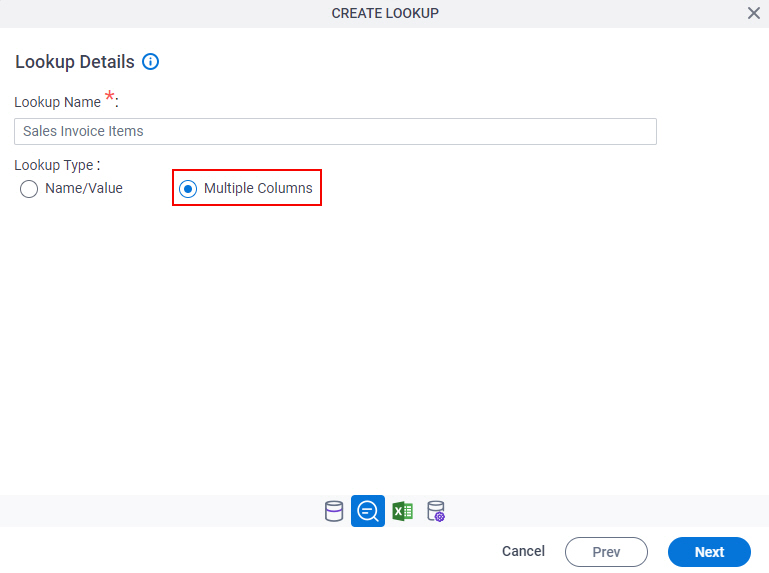
- Click Next.
- On the Choose Document Repository screen, select SharePoint.

- Click Next.
- On the Configure Action screen, in the Access Token field, select SharePoint for Sales.
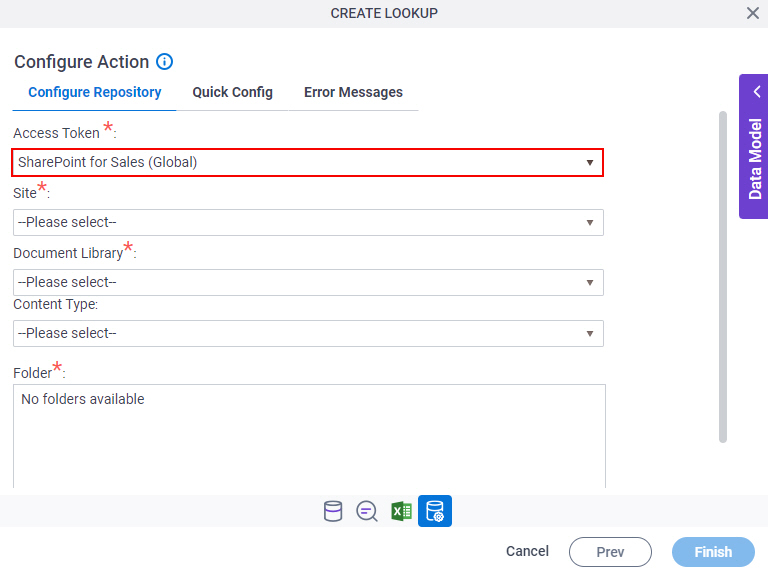
- In the Site field, select Sales Invoice.
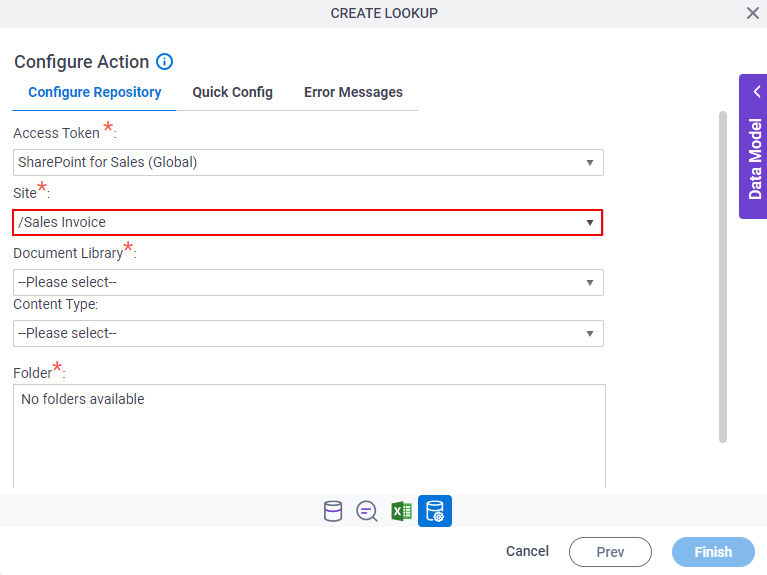
- In the Document Library field, select Documents.
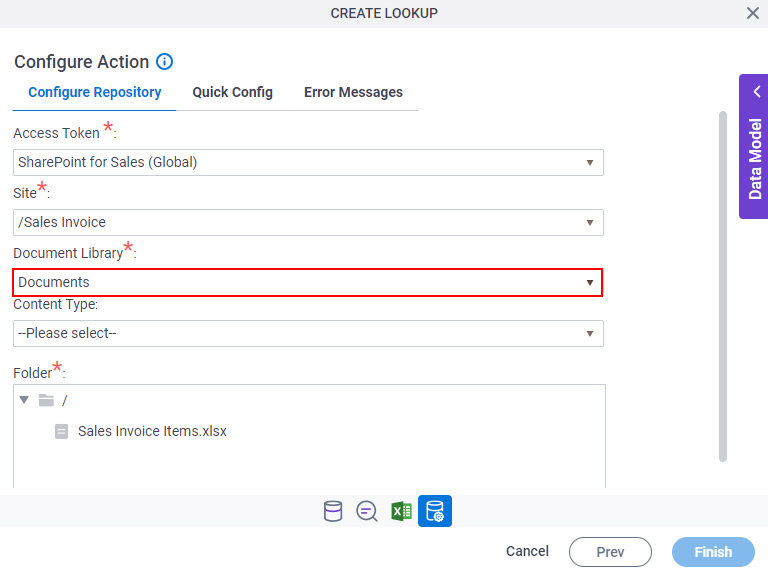
- In the Folder field, select the Sales Invoice Items.xlsx file.
As a prerequisite, the Sales Invoice Items.xlsx file must exist in SharePoint.

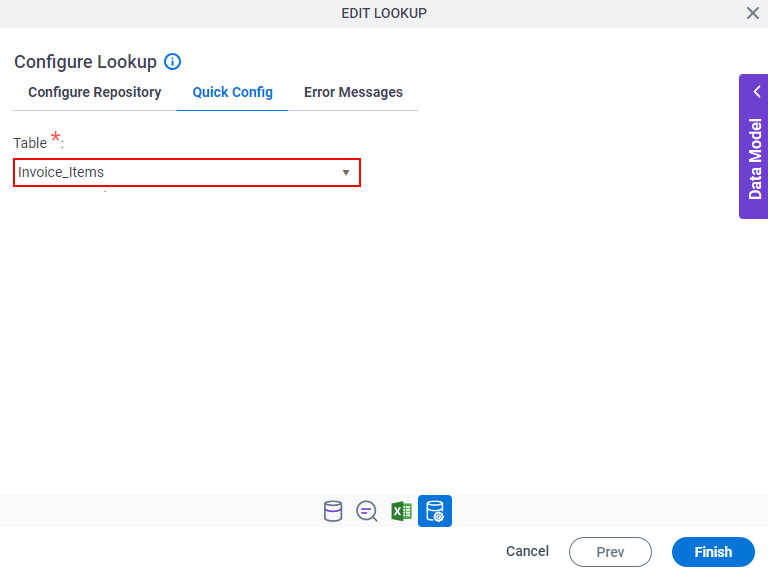
- Click the Quick Config tab.

- On the Quick Config tab, in the Table field, select Invoice_Items.
As a prerequisite, the Invoice_Items table must create in the Sales Invoice Items.xlsx file.
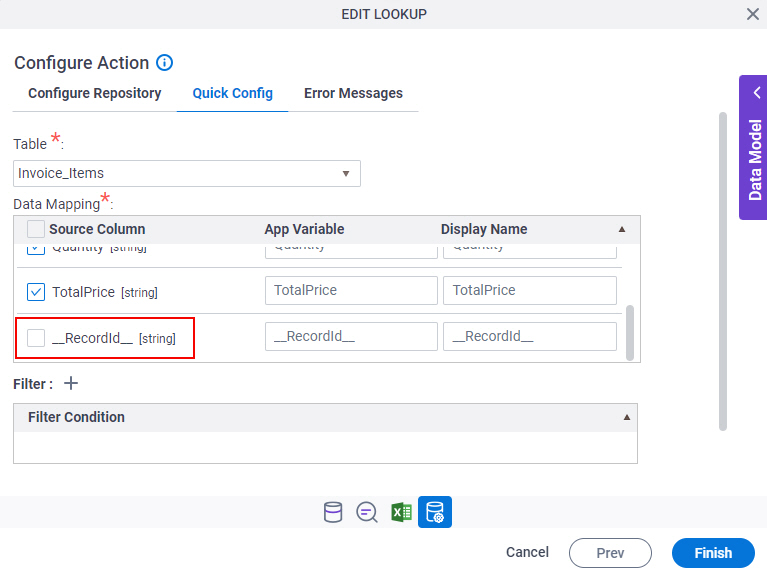
- On the Data Mapping field, deselect RecordID.
The RecordID column is not required to show at runtime.
- Click Finish.
The Field Settings - Auto-Lookup screen shows the lookup Sales Invoice Items in the Lookup Source field.
- To save the changes, click Close Screen
 .
.
The Sales Invoice Request form shows.
To view the results for the lookup, you must configure the lookup with the supported form controls. For examples that use this lookup, refer to:
How to Get the App
This example is based on the Sales Invoice app from the AgilePoint NX App Store. Use this procedure to get the app.
Prerequisites
- AgilePoint NX OnDemand (public cloud), or AgilePoint NX Private Cloud or AgilePoint NX OnPremises v7.0 or higher.
Good to Know
- This procedure is optional. It is provided so you can test the example with an out-of-the-box app.
- This is part of the Background and Setup procedures, but many users preferred this step to appear after the example, not before it.
Procedure
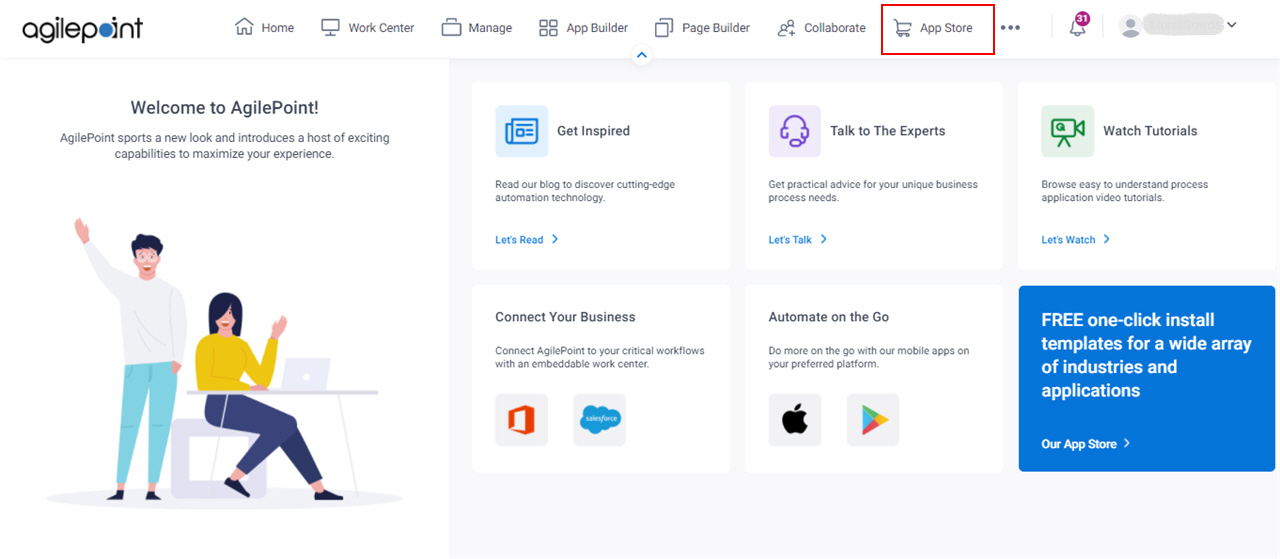
- Click App Store
 .
.
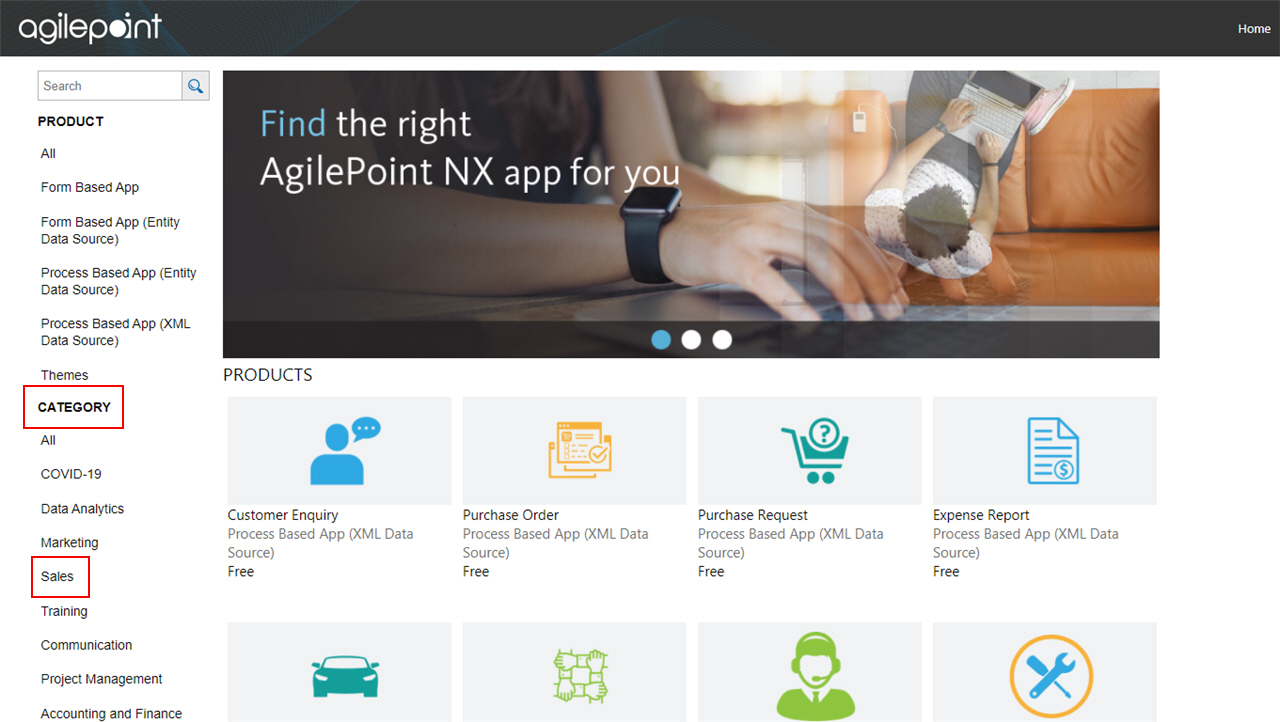
- In the CATEGORY section, click Sales.
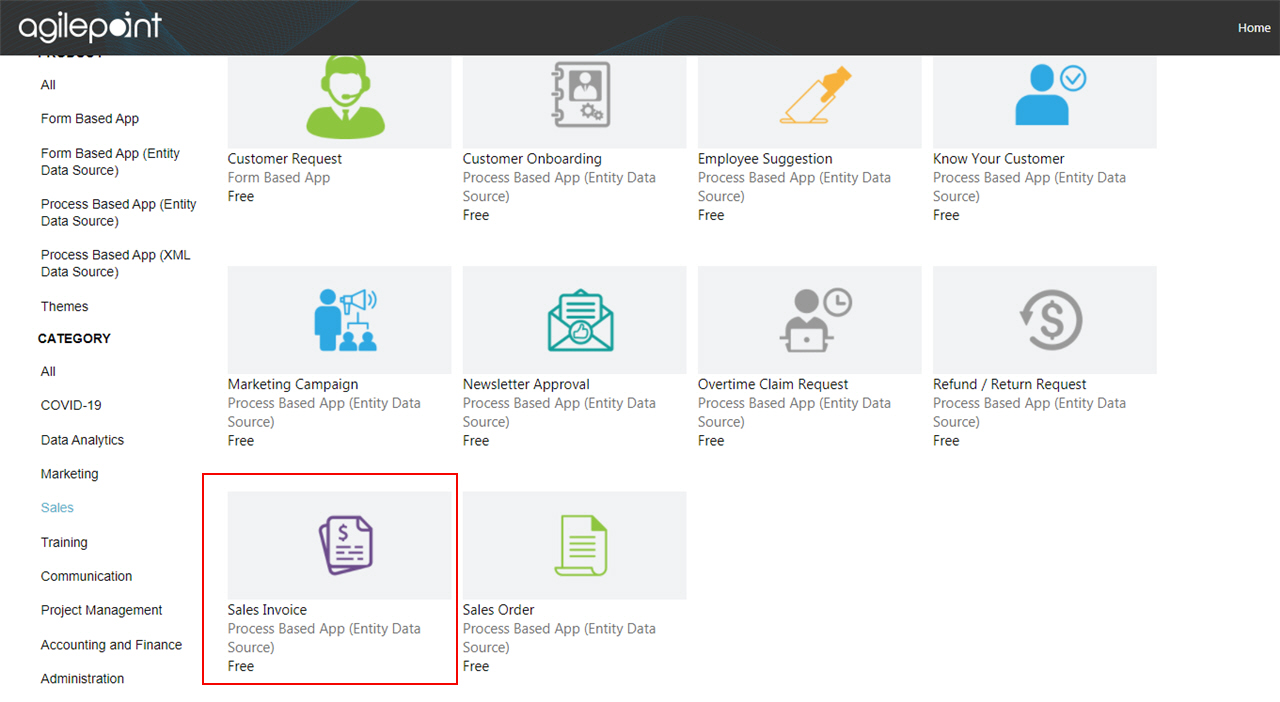
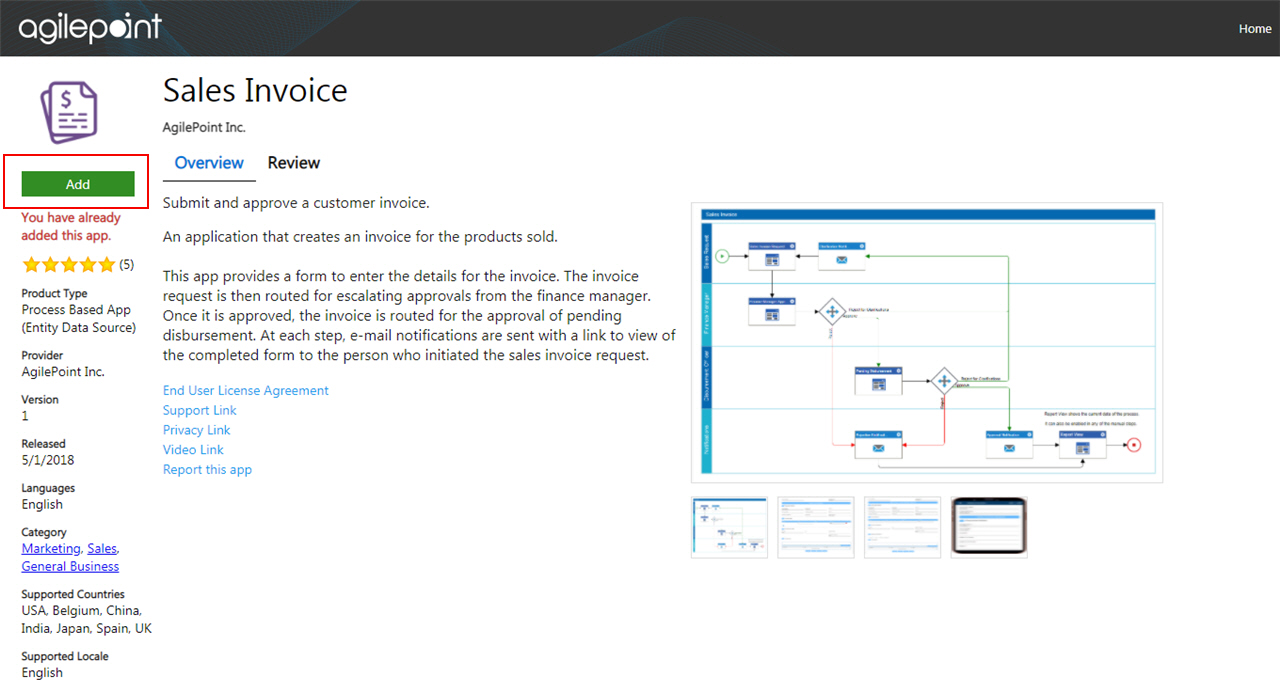
- Click the Sales Invoice app.
- On the Sales Invoice screen, click Add.
- On the Trust App screen, click Trust it.
- Click Return to site.