
(Example) Create a Word Document and PDF File with Data from an App
This example shows how to configure the Microsoft Word activity to update mail merge fields in a Microsoft Word document with data from an eForm and NX entity. The Microsoft Word activity then creates a PDF file from the updated Word document.
Background and Setup
Result
This example shows how to add and configure the Microsoft Word activity in Sales Invoice app to update mail merge fields in a Microsoft Word document with data from an eForm and create a PDF file from the updated Word document.
Prerequisites
- This example uses the Sales Invoice app from
the AgilePoint NX App Store.
For more information, refer to How to Get the App
- Create an access token for
Google Drive. In this example, the access token name
is Word Template Location.
For more information, refer to Access Token for Google Workspace.
- You must have Google account.
- Upload your Microsoft Word file — Sales Invoice.docx in this example — to the Google Drive folder you want to use for your app.
Good to Know
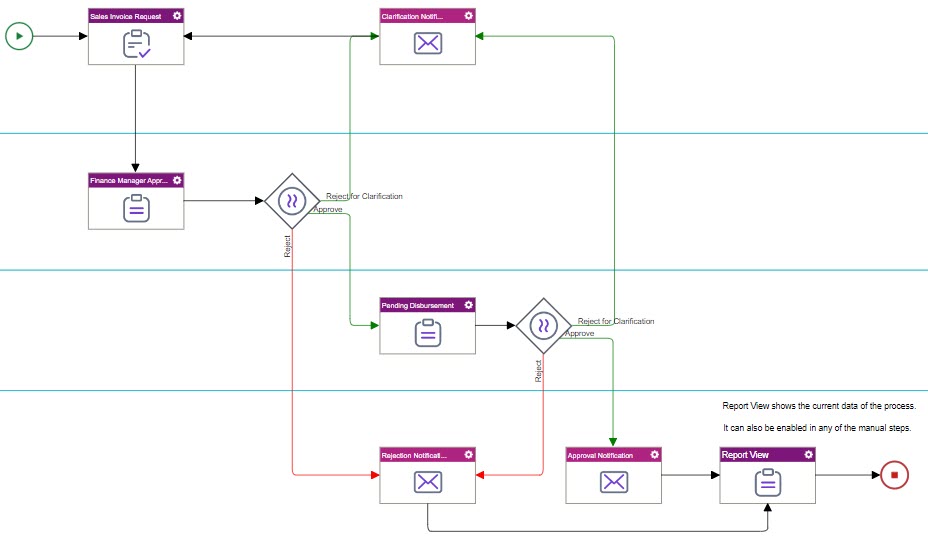
- The Sales Invoice app is a process-based app that creates an invoice for a sale.
For the use case in this example, once the invoice information is entered in the eForm and approved, the form data is used to update mail merge fields in a formatted Microsoft Word document. The updated Word document is saved as a PDF file to Google Drive using a Microsoft Word activity.
Step 1: Create Mail Merge Fields in Microsoft Word
First, create and configure mail merge fields in the Microsoft Word file.
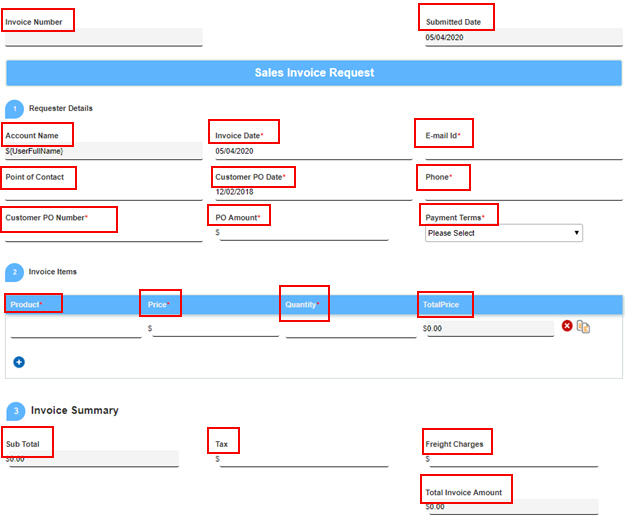
In this example, the mail merge fields are associated with specified fields from the Sales Invoice Request eForm.
How to Start
- In Microsoft Word, create a new document.
- Save the documnet with the file name Sales Invoice.docx.
Procedure
- In Sales Invoice.docx, click Insert > Quick Parts > Field.
- On the Field screen, in the Categories list, select Mail Merge.
- In the Field names list, select MergeField.
- In the Field name, enter InvoiceNumber.
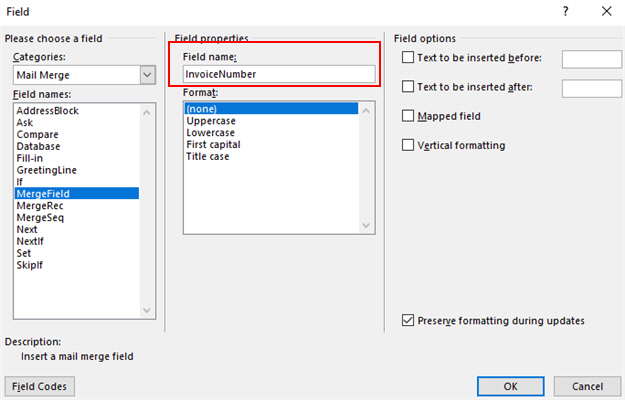
- Click OK.
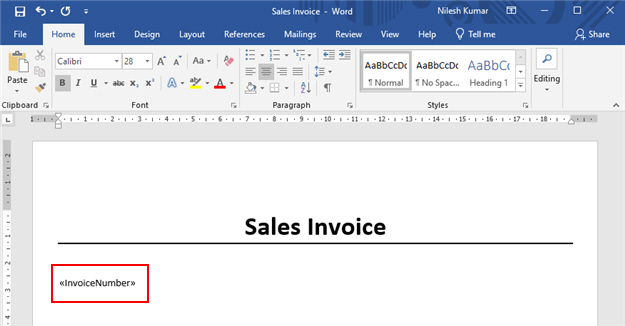
The mail merge field InvoiceNumber shows.
- Repeat steps 1-5 to create mail merge fields for each eForm field in this table.
eForm Field Label Mail Merge Field Name Comments Submitted Date
SubmittedDate
Account Name
AccountName
Invoice Date
InvoiceDate
E-mail Id
Email
Phone
PhoneNumber
Point of Contact
PointofContact
Customer PO Date
CustomerPODate
Customer PO Number
CustomerPONumber
PO Amount
CustomerPOAmount
Payment Terms
PaymentTerms
Product
Product
On the eForm, this field is part of a repeating subform. For information about how to create repeating table rows in Microsoft Word, refer to Step 2: Create a Repeating Table in Microsoft Word Template File. Price
Price
On the eForm, this field is part of a repeating subform. For information about how to create repeating table rows in Microsoft Word, refer to Step 2: Create a Repeating Table in Microsoft Word Template File. Quantity
Quantity
On the eForm, this field is part of a repeating subform. For information about how to create repeating table rows in Microsoft Word, refer to Step 2: Create a Repeating Table in Microsoft Word Template File. Total Price
TotalPrice
On the eForm, this field is part of a repeating subform. For information about how to create repeating table rows in Microsoft Word, refer to Step 2: Create a Repeating Table in Microsoft Word Template File. Sub Total
Subtotal
Tax
Tax
Freight Charges
FreightCharges
Total Invoice Amount
InvoiceAmount
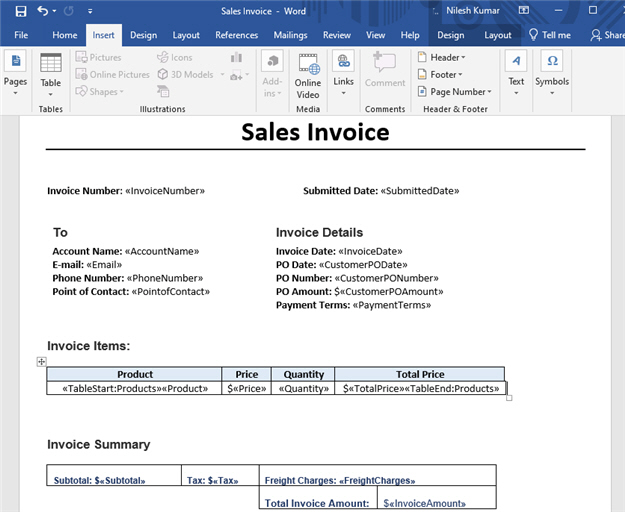
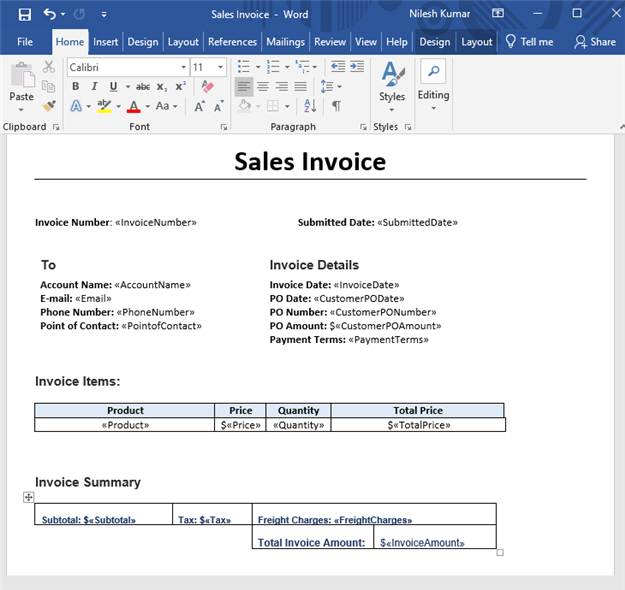
After you create the mail merge fields, Sales Invoice.docx looks like this:

- Add content and formatting as necessary to Sales Invoice.docx. In this example, each mail merge field is associated with a text label.
The fields for Product, Price, Quantity, and TotalPrice are placed in one table row because as part of a repeating subform, they are repeating fields. For information about how to create repeating table rows in Microsoft Word, refer to Step 2: Create a Repeating Table in Microsoft Word Template File
Step 2: Create a Repeating Row in Microsoft Word
Next, create a repeating row in Microsoft Word to accept the data from the repeating subform in the eForm.
In this example, the repeating rows associated with these subform fields in Sales Invoice Request eForm:
Good to Know
- To create a repeating row in a Microsoft Word document, the first cell in the row must have a TableStart: mail merge field, and the last cell in the row must have a TableEnd: mail merge field. These mail merge fields are separate from the ones that are associated with eForm data. They tell Microsoft Word to create new rows for additional instances of repeating data.
- The TableStart: and TableEnd: tags must have the same row ID. The example uses the ID Products.
- The row ID can be any line of text with no spaces. For example, it could be Repeat or LineItem. This name is only a label for Microsoft Word. It is not associated with the eForm or any other data in the app.
- Each repeating table row must have a unique ID, which is associated with a specific repeating subform. The Microsoft Word activity uses these tags to identify the mail merge fields that are associated with a specific repeating table row in Microsoft Word.
Example:
Product Price Total Price <<TableStart:Products>><<Product>>
$<<Price>>
$<<TotalPrice>> <<TableEnd:Products>>
Procedure
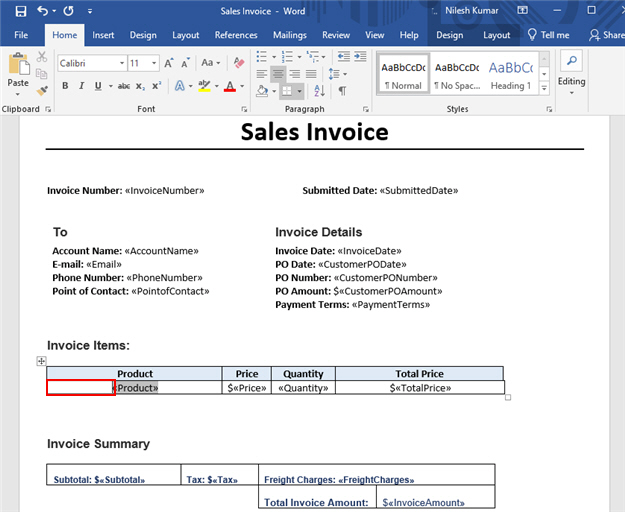
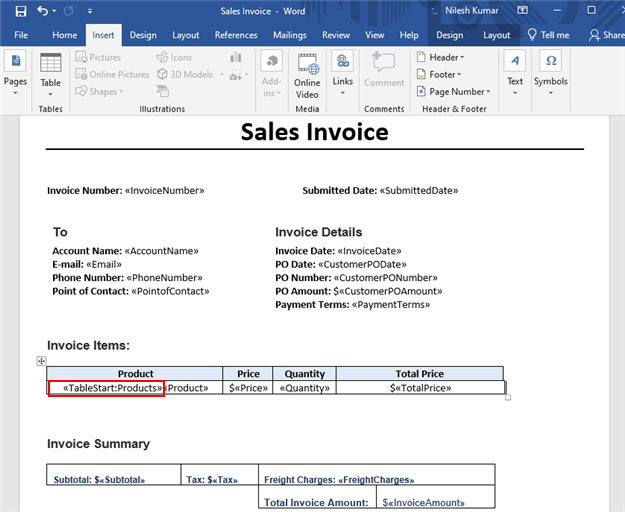
- To start a repeating table row, in Sales Invoice.docx, in the Product cell, insert your cursor before the Product mail merge field.
- Click Insert > Quick Parts > Field.
- On the Field screen, in the Categories list, select Mail Merge.
- In the Field names list, select MergeField.
- In the Field name, enter
TableStart:Products.
The TableStart and TableEnd tags must specify the same row name. For example, TableStart:Products and TableEnd:Products where Products is a row name.
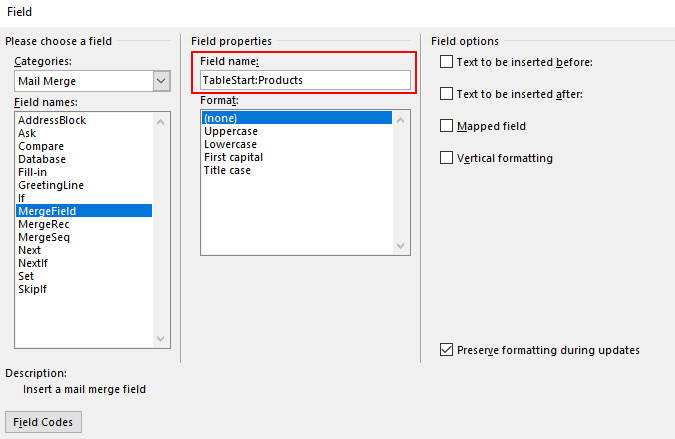
The TableStart:Products field shows.
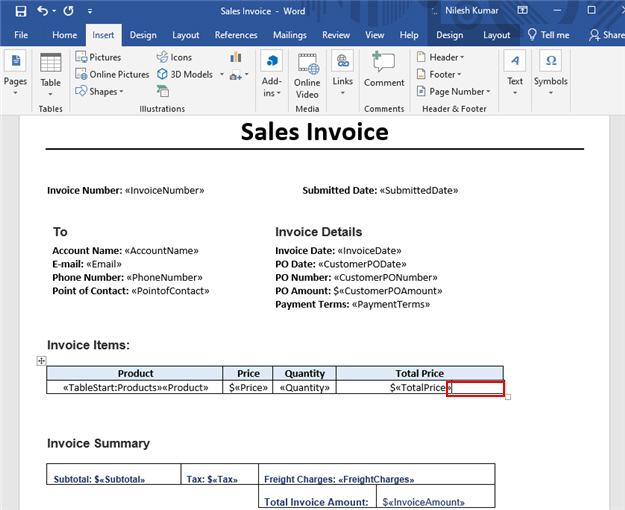
- To specify the end of the repeating row, in the Total Price cell, place your cursor after the TotalPrice mail merge field.
- In Sales Invoice.docx, click Insert > Quick Parts > Field.
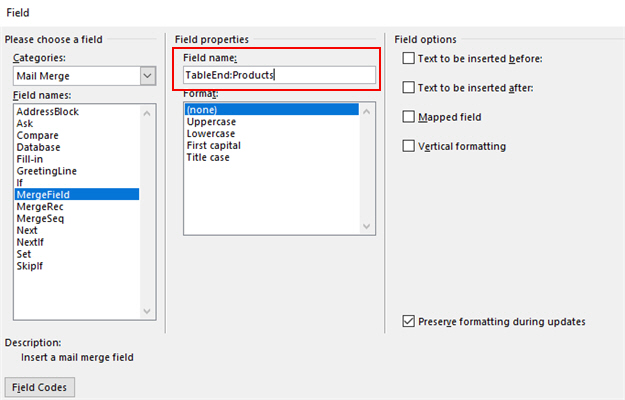
- On the Field screen, in the Categories list, select Mail Merge.
- In the Field names list, select MergeField.
- In the Field name, enter
TableEnd:Products.
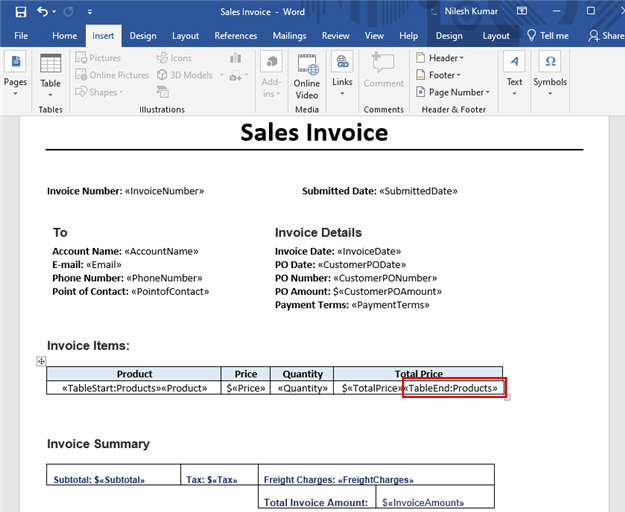
The TableEnd:Products tag shows.
Step 3: Configure the Microsoft Word Activity
Next, add and configure the Microsoft Word activity.
How to Start
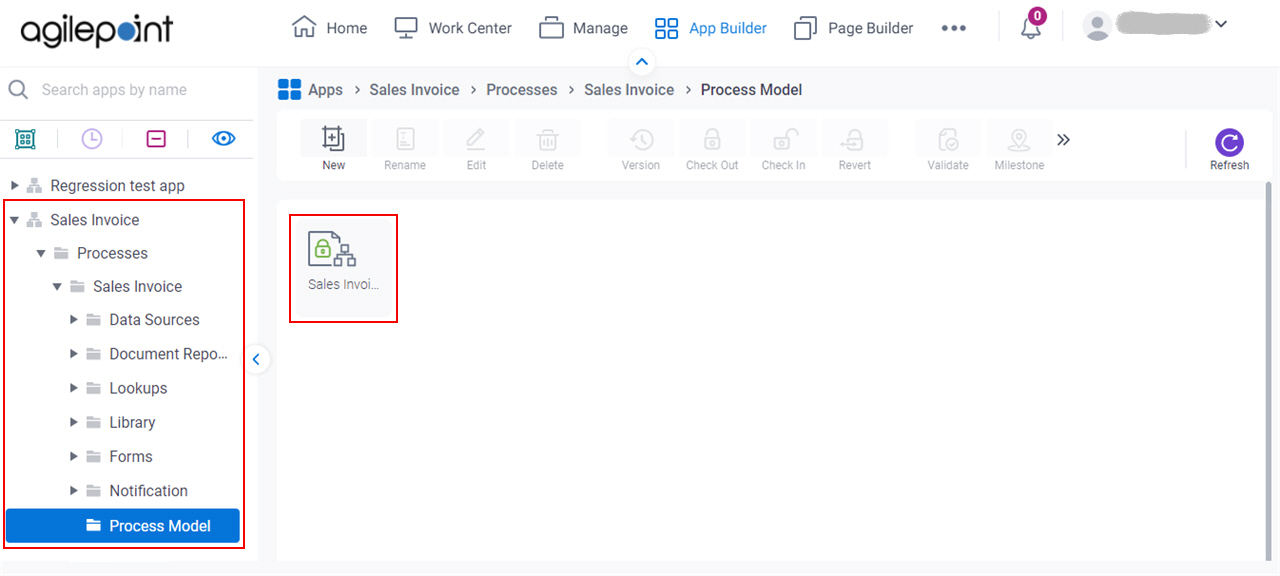
- Click App Builder.

- On the App Explorer screen,
click Sales Invoice > Processes > Sales Invoice > Process Model > Sales Invoice.
Procedure
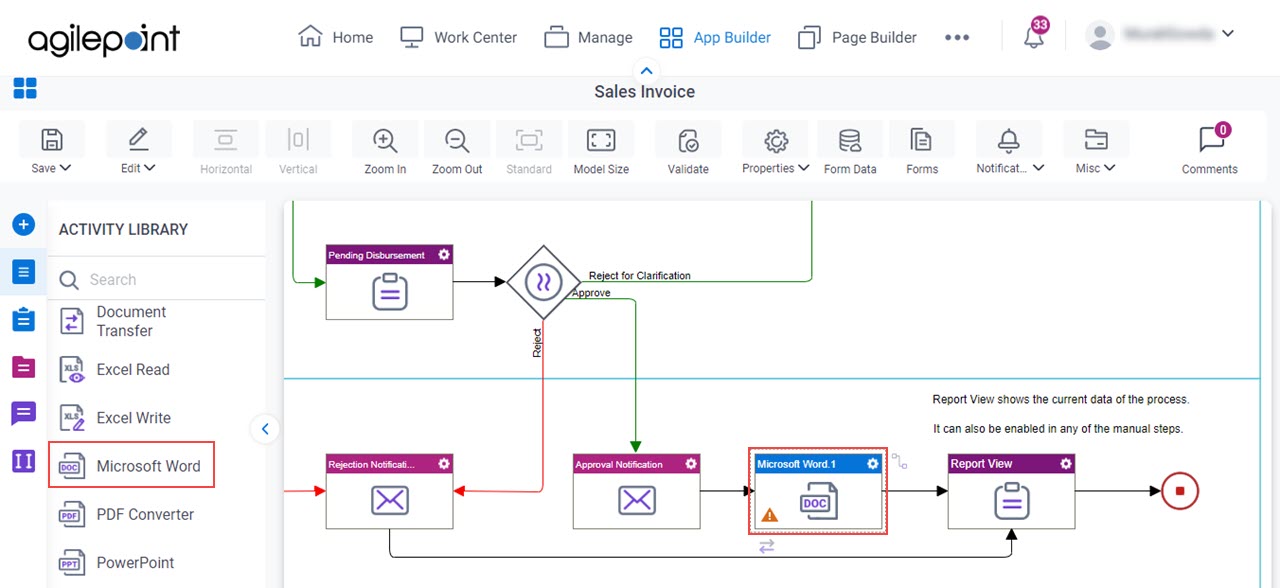
- In Process Builder, in the Activity Library,
open the Document tab.

- On the Document
tab,
drag the Microsoft Word
activity onto your process.
- On the General Configuration screen, in the Display Name field,
enter Create PDF from Word file.
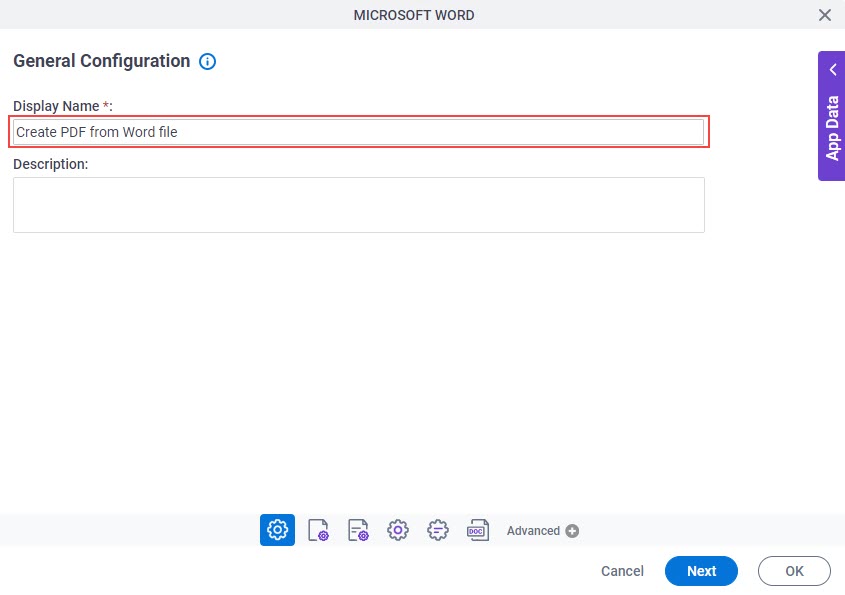
- Click Next.
- On the Source Repository screen, select Google Drive.
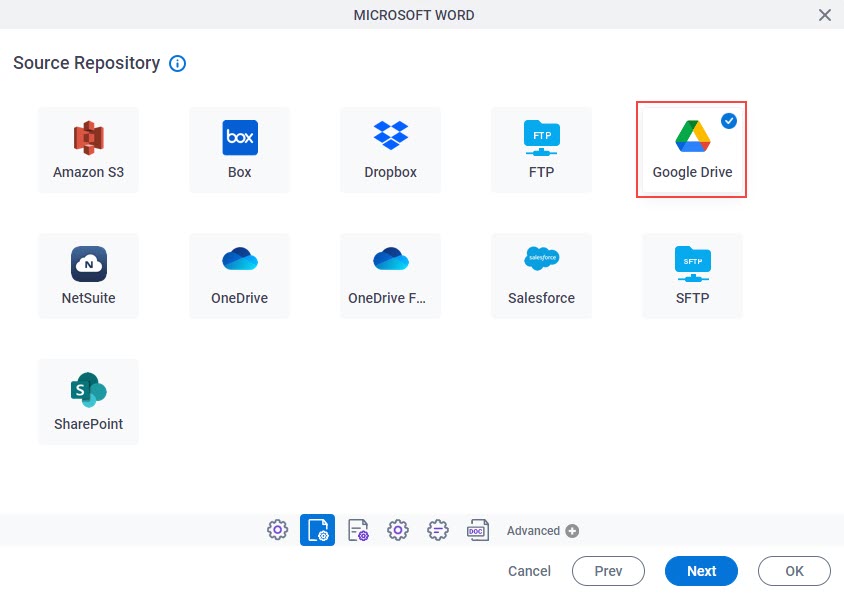
- Click Next.
- On the Source Repository Configuration screen, in the Google Workspace list,
select Word Template Location access token.
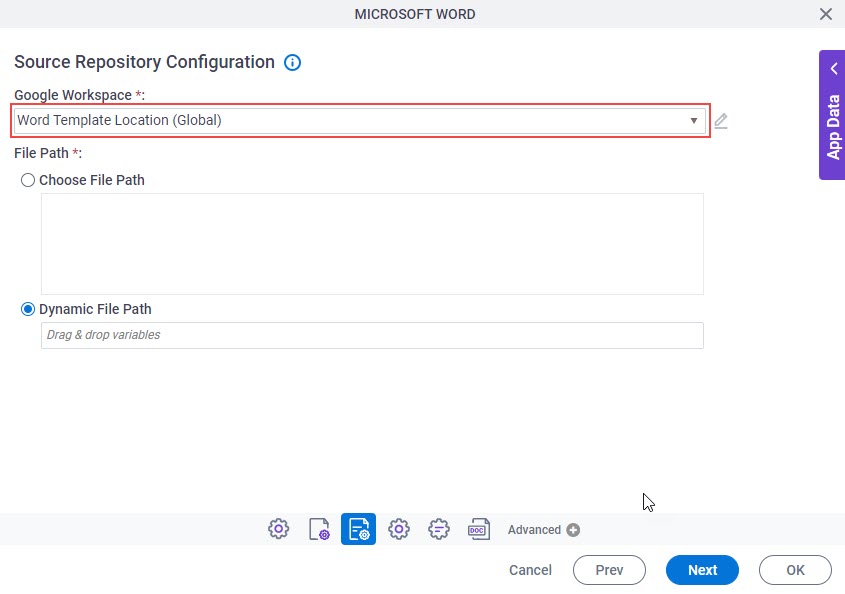
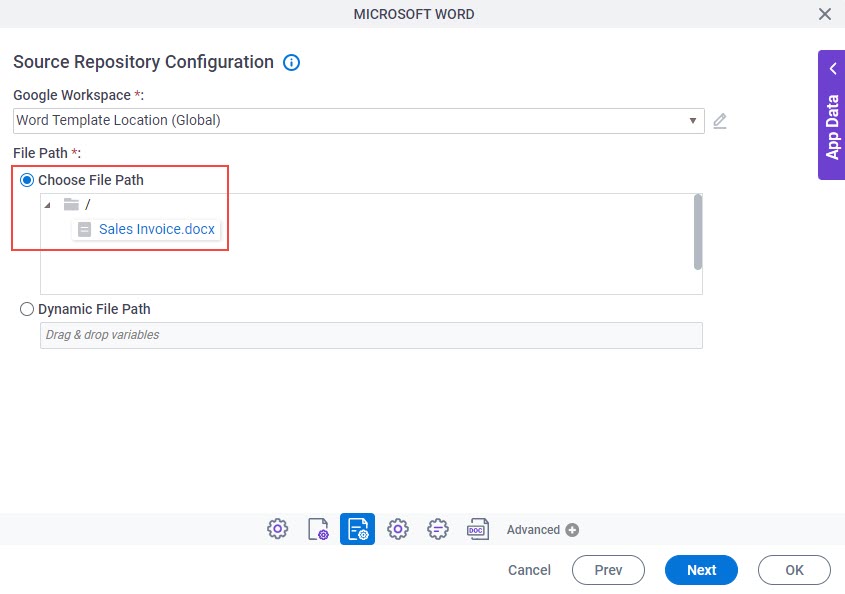
- In the File Path section, select Choose File Path > Sales Invoice.xlsx.
As a prerequisite, Sales Invoice.docx must exist in Google Drive.
- Click Next.
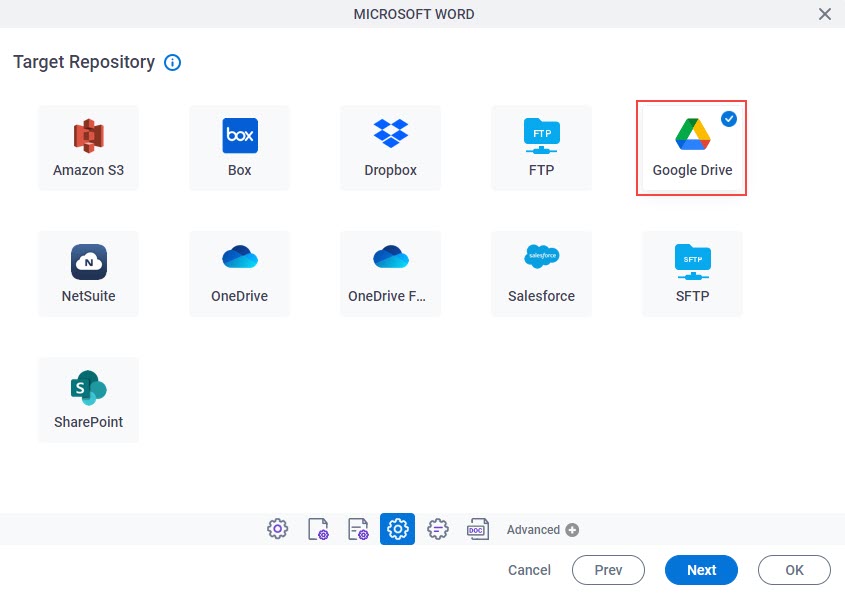
- On the Target Repository screen, select Google Drive.
- On the Target Repository Configuration screen, in the
Google Workspace list, select Word Template Location.
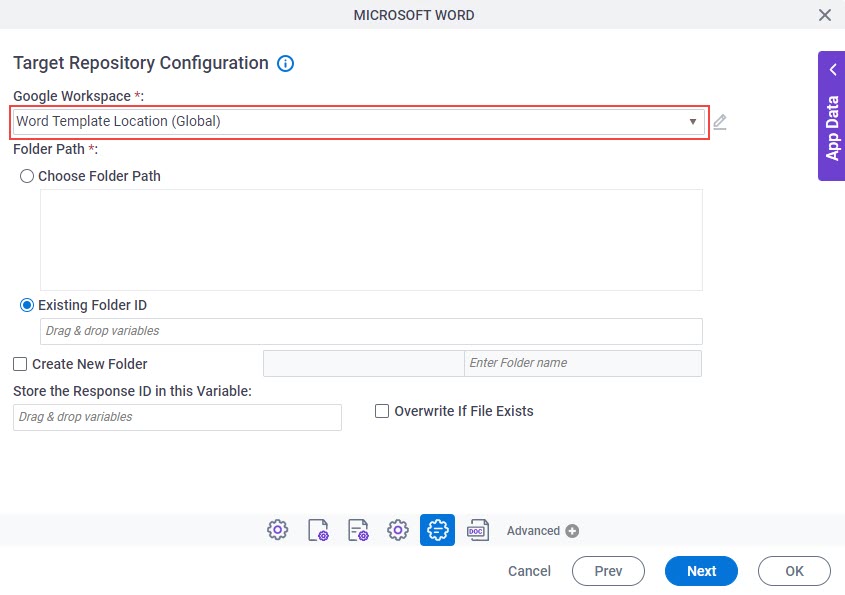
- In the File Path section, select Choose File Path, and select the parent folder where you want to create a subfolder.
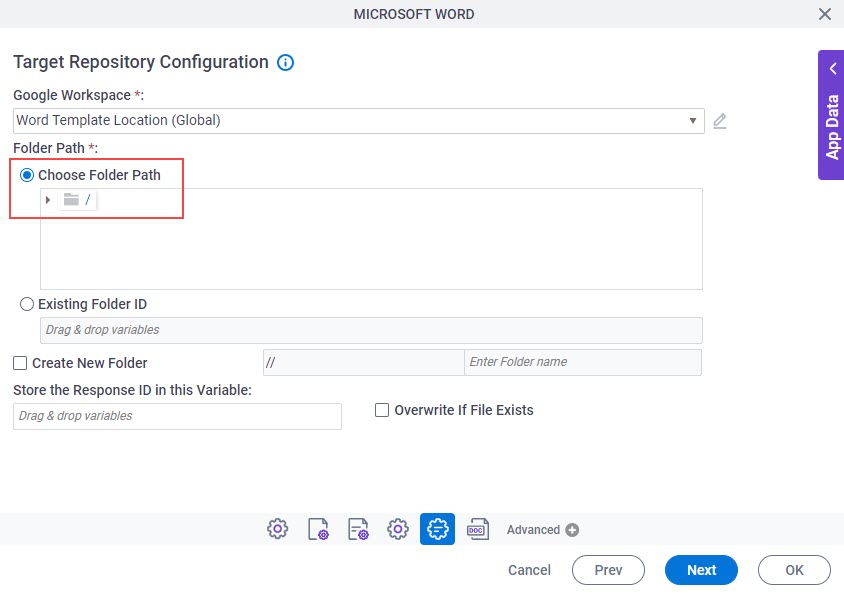
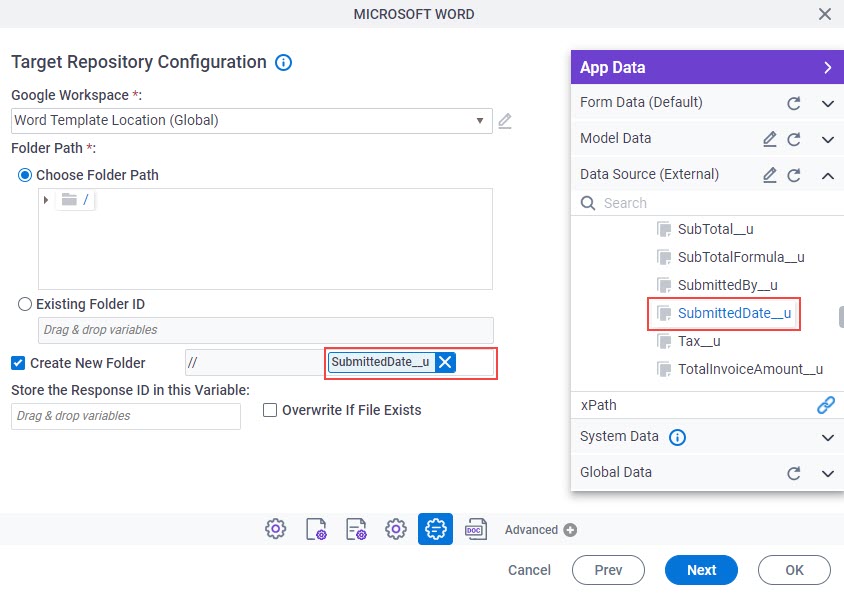
- Select Create New Folder.

- In the Enter Folder Name field, drag SubmittedDate_u from Data Source (External).
The SubmittedDate_u entity field is associated with form controls in the Sales Invoice app.
- Click Next.
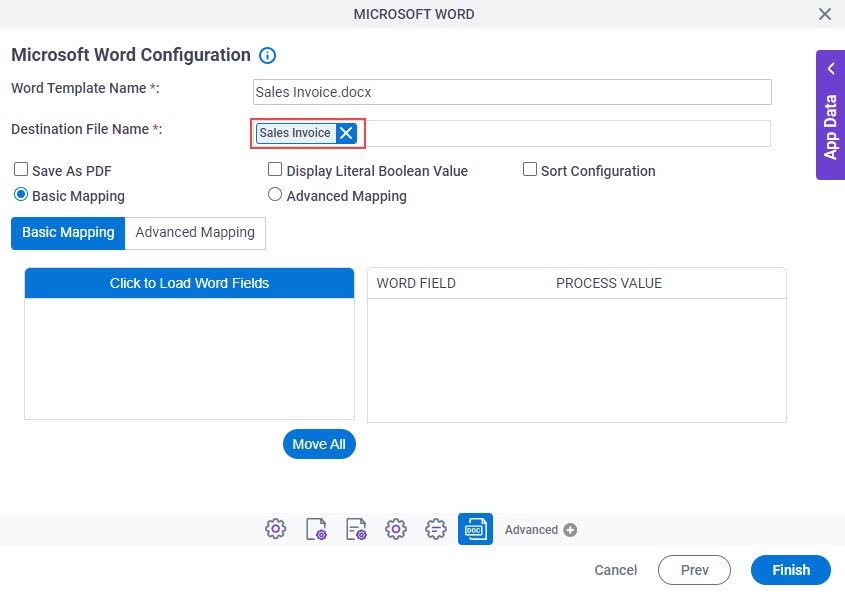
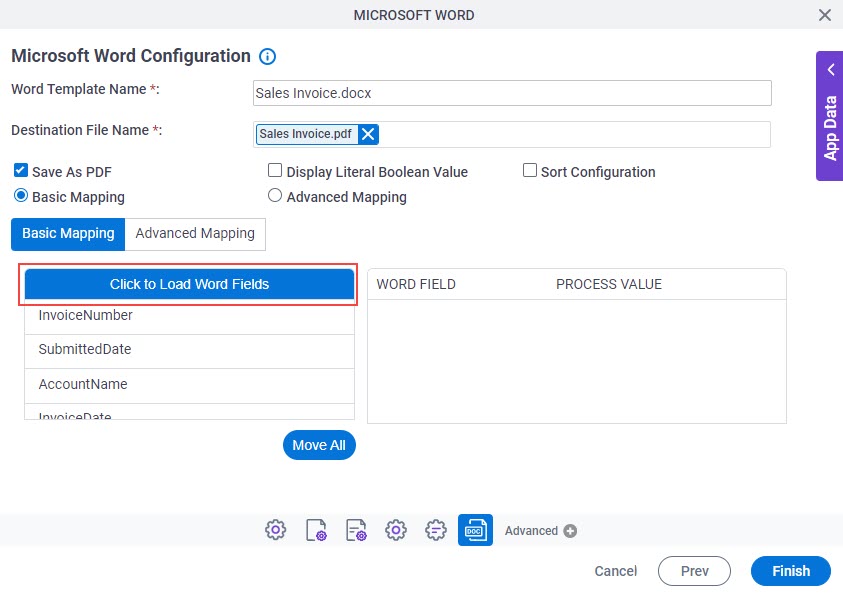
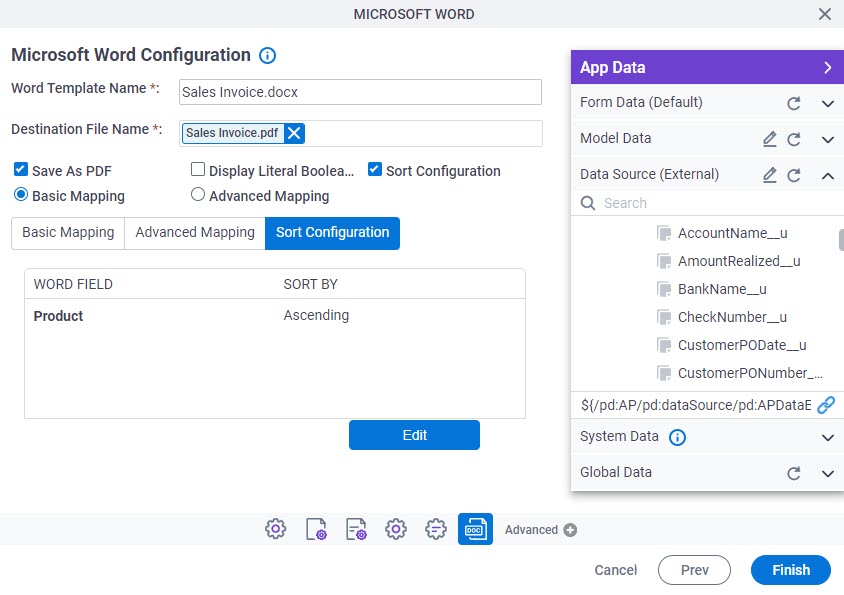
- On the Microsoft Word Configuration screen, in the Destination File Name, enter the file name Sales Invoice.
- Click Save As PDF.
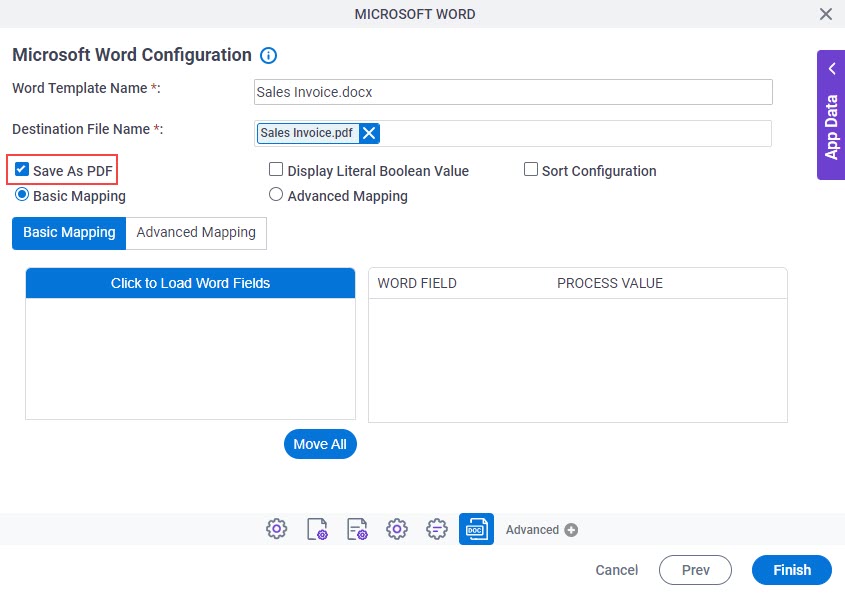
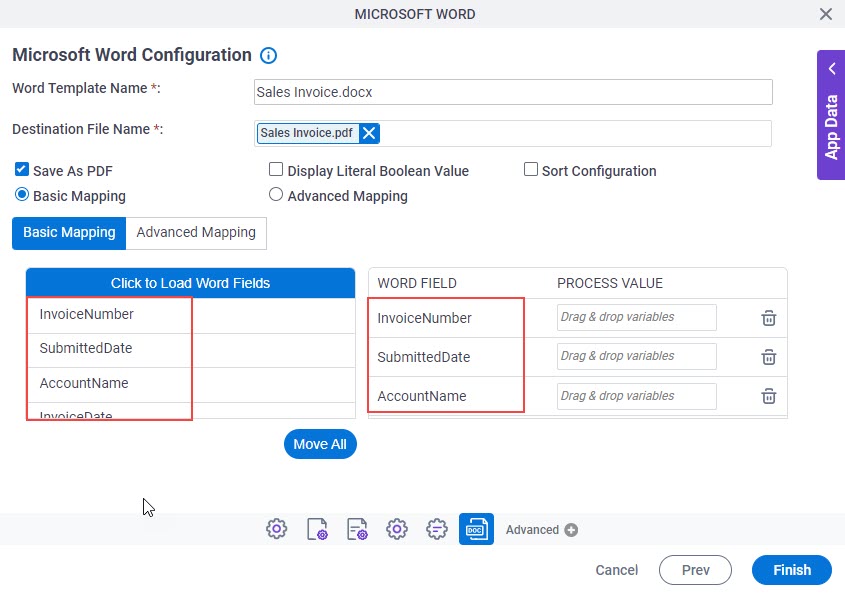
- Click Click to Load Word Fields.
The mail merge fields in Sales Invoice.docx show in this box.
- Drag these Mail Merge Fields from Click to Load Word Fields to
Word Field.
- InvoiceNumber
- SubmittedDate
- AccountName
- InvoiceDate
- CustomerPODate
- PhoneNumber
- PointofContact
- CustomerPONumber
- CustomerPOAmount
- PaymentTerms
- Product
- Price
- Quantity
- TotalPrice
- Subtotal
- Tax
- FreightCharges
- InvoiceAmount
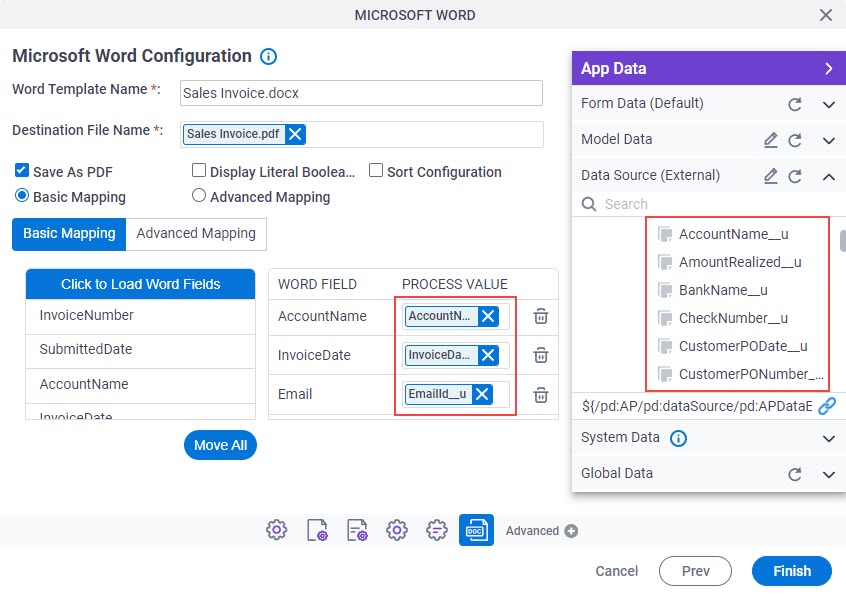
- In the Process Value field, drag the form fields from DataSource (External) as shown in this table to map the form fields to the Word fields.
These entity fields are associated with form controls in the Sales Invoice app.
Entity Fields (Process Value) Mail Merge Fields (Word Field) InvoiceNumber__u
InvoiceNumber
SubmittedDate__u
SubmittedDate
AccountName__u
AccountName
InvoiceDate__u
InvoiceDate
EmailId__u
Email
CustomerPODate__u
CustomerPODate
Phone__u
PhoneNumber
PointofContact__u
PointofContact
CustomerPONumber__u
CustomerPONumber
POAmount__u
CustomerPOAmount
PaymentTerms__u
PaymentTerms
Product__u
Product
Price__u
Price
Quantity__u
Quantity
Total Price__u
TotalPrice
Subtotal__u
Subtotal
Tax__u
Tax
FreightCharges__u
FreightCharges
TotalInvoiceAmount__u
InvoiceAmount
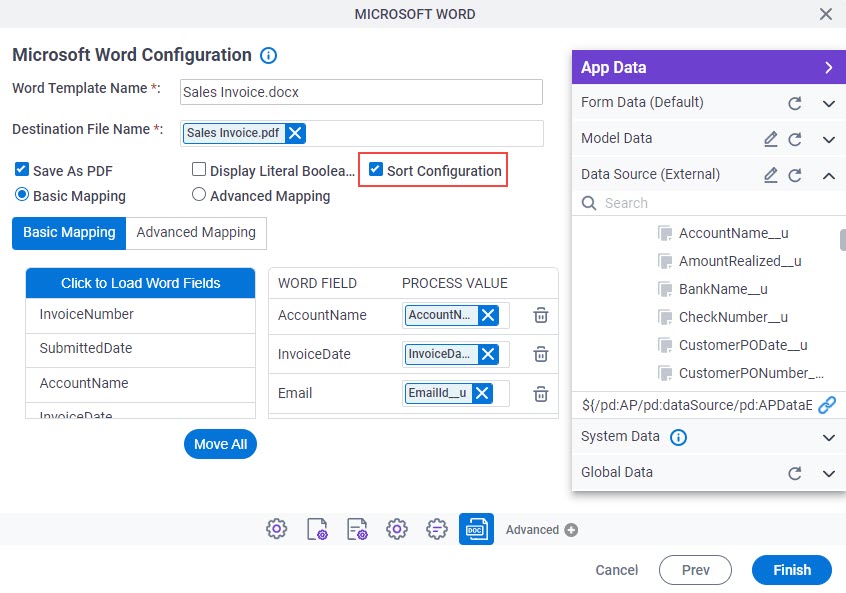
- (Optional) Click Sort Configuration to sort the data in ascending or descending order in the output document.
This option sorts only the repeating table rows in Sales Invoice.docx.
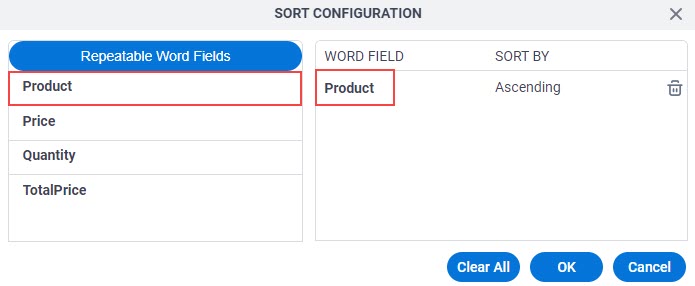
- On the Sort Configuration screen, drag the ProductName field from Repeatable Word Fields to Word field.
This sorts the rows in the repeating table by the ProductName field. You can use only 1 field to sort the rows of a table. If Sales Invoice.docx had 2 or more tables with repeating rows, each table could have 1 sort field. NX uses the IDs for the TableStart and TableEnd mege fields to associate a field with a table row.
- In the Sort by list, select Ascending to sort the data in ascending order in the output file.
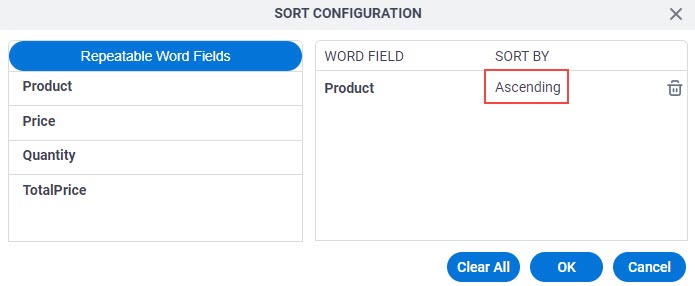
- Click OK.
The Sort Configuration tab shows on the Microsoft Word Configuration screen.
- On the Sort Configuration screen, drag the ProductName field from Repeatable Word Fields to Word field.
- Click Finish.
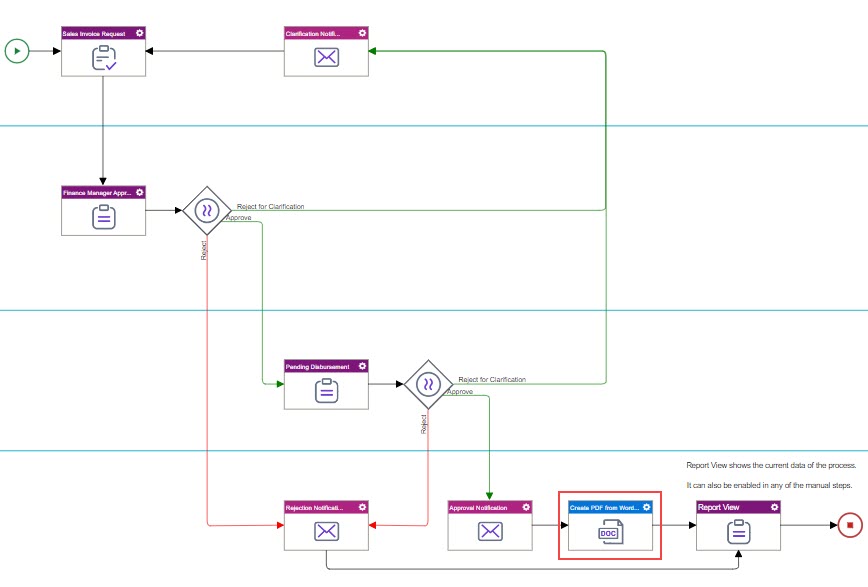
The Process Builder shows with the Microsoft Word activity.

Step 4: (Optional) Save, Check In, and Publish the Process-Based App
Next, save, check in, and publish the process-based app.
For more information, refer to (Example) Save, Check In, and Publish a Process-Based App.
Step 5: (Optional) Run the App
Next, run the app to create the Microsoft Word document and PDF file.
Procedure
- To run the app, refer to My Apps screen (Modern).
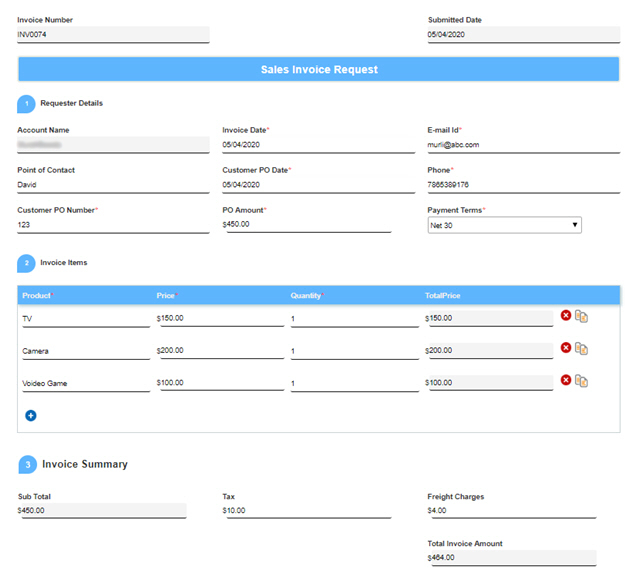
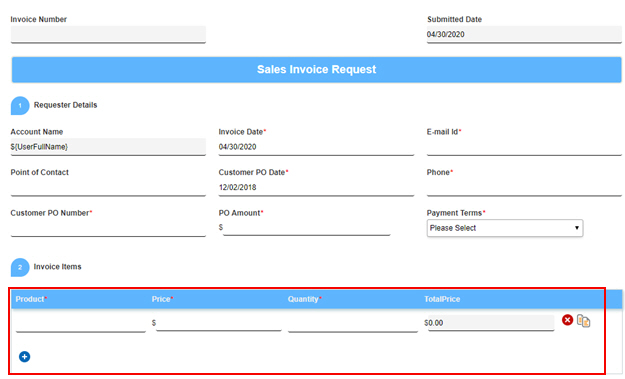
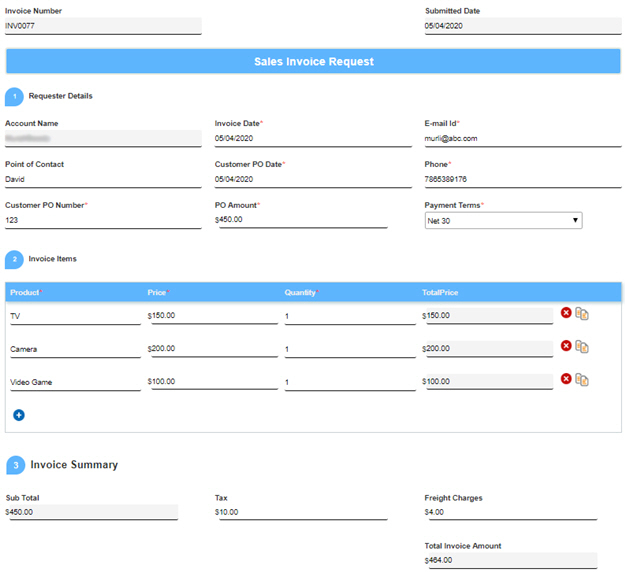
- Complete and submit the Sales Invoice Request form.
- In the Work Center, complete the approaval tasks.
When the Pending Disbursement Approval task is complete, the Microsoft Word activity creates the folder 2020-05-04 (named for the date at runtime) in GoogleDrive.
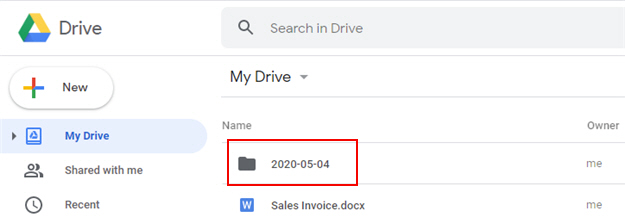
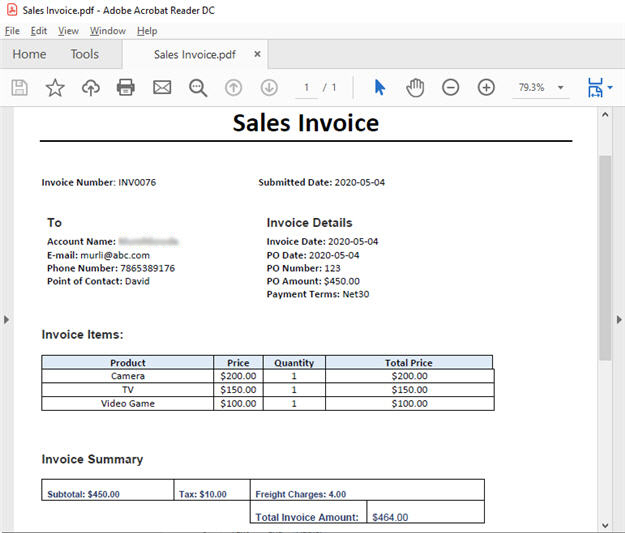
When you open the Sales Invoice.pdf file from the folder 2020-05-04, the PDF file shows the data from the Sales Invoice.docx.
How to Get the App
This example is based on the Sales Invoice app from the AgilePoint NX App Store. Use this procedure to get the app.
Prerequisites
- AgilePoint NX OnDemand (public cloud), or AgilePoint NX Private Cloud or AgilePoint NX OnPremises v7.0 or higher.
Good to Know
- This procedure is optional. It is provided so you can test the example with an out-of-the-box app.
- This is part of the Background and Setup procedures, but many users preferred this step to appear after the example, not before it.
Procedure
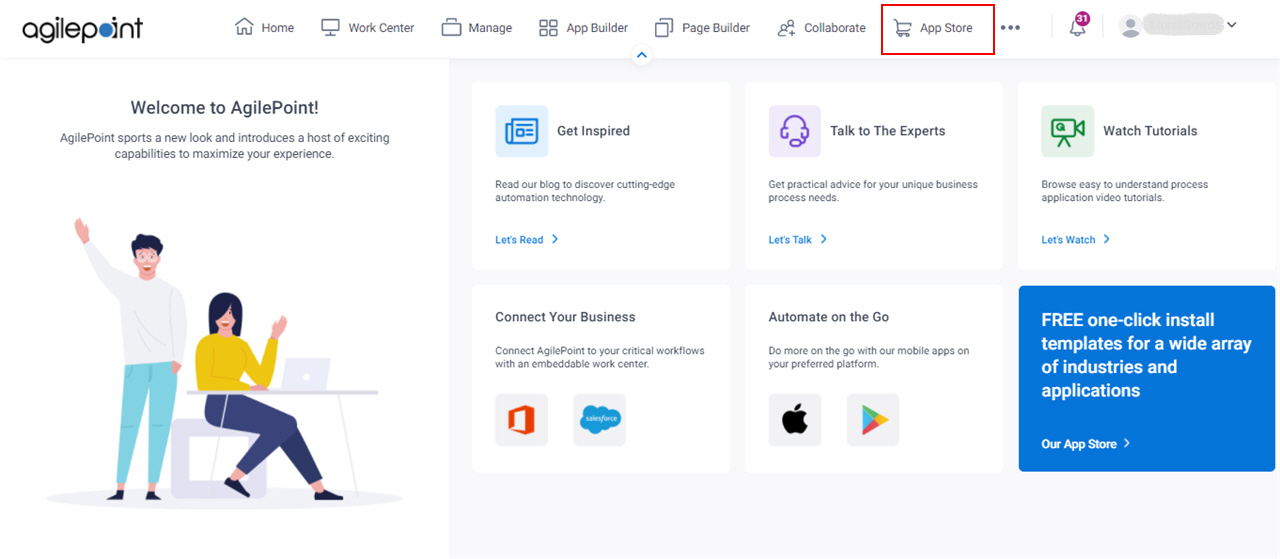
- Click App Store
 .
.
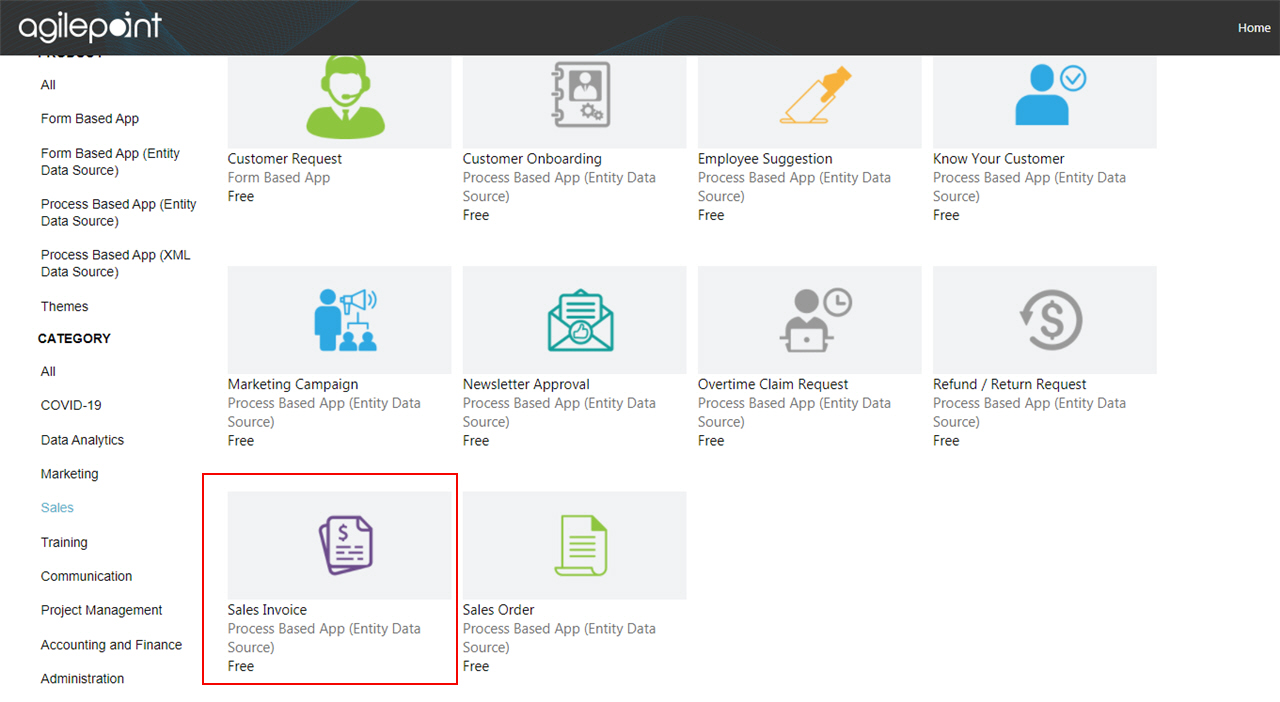
- In the CATEGORY section, click Sales.
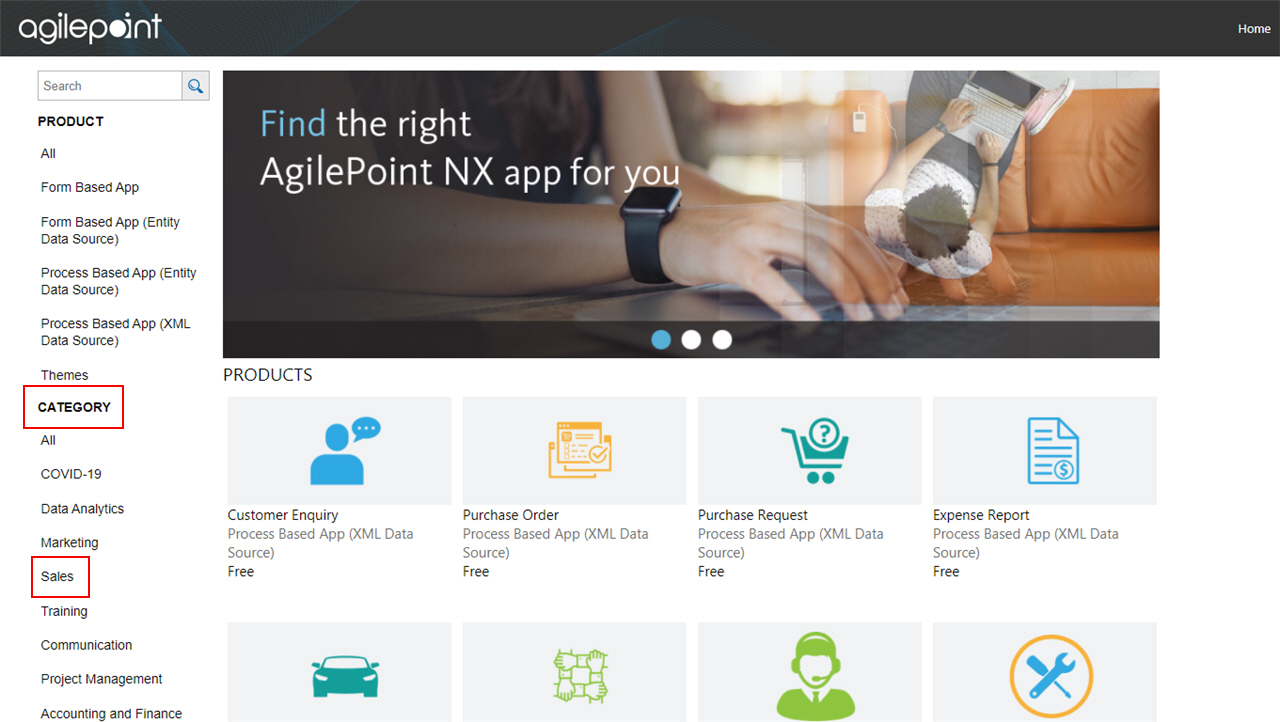
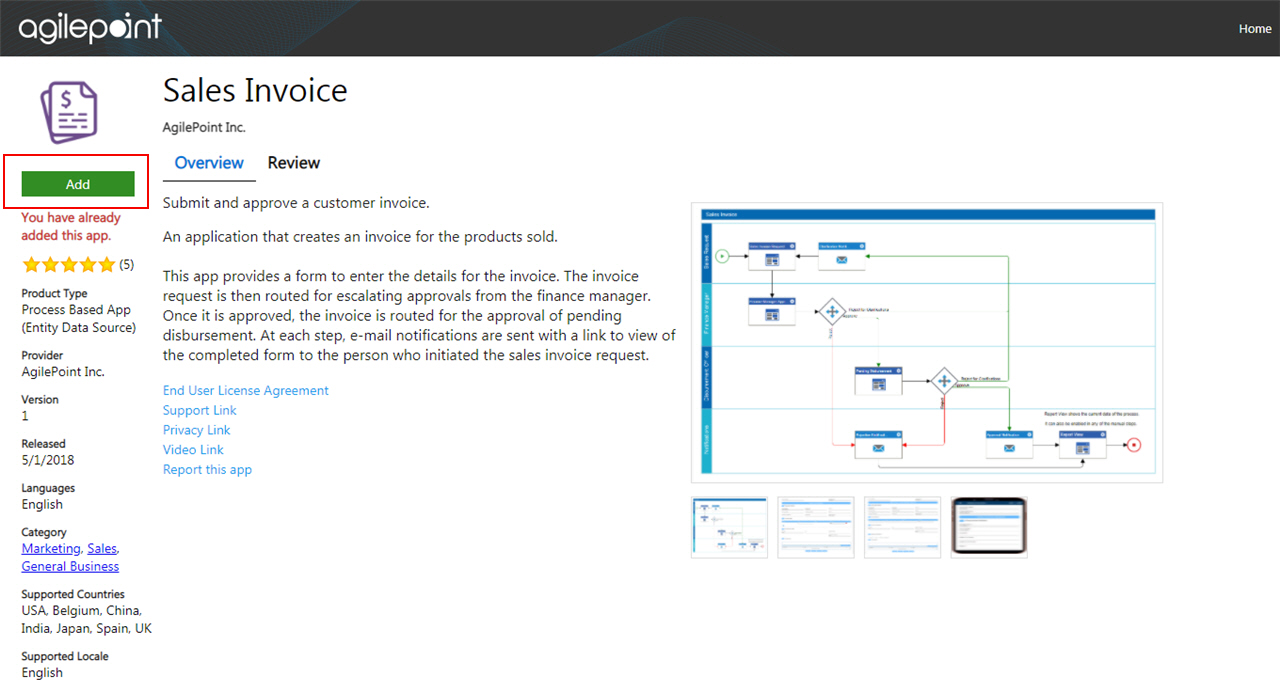
- Click the Sales Invoice app.
- On the Sales Invoice screen, click Add.
- On the Trust App screen, click Trust it.
- Click Return to site.