
(Example) Configure the Sequence Number Form Control
This example shows how to configure the Sequence Number form control.
Background and Setup
Result
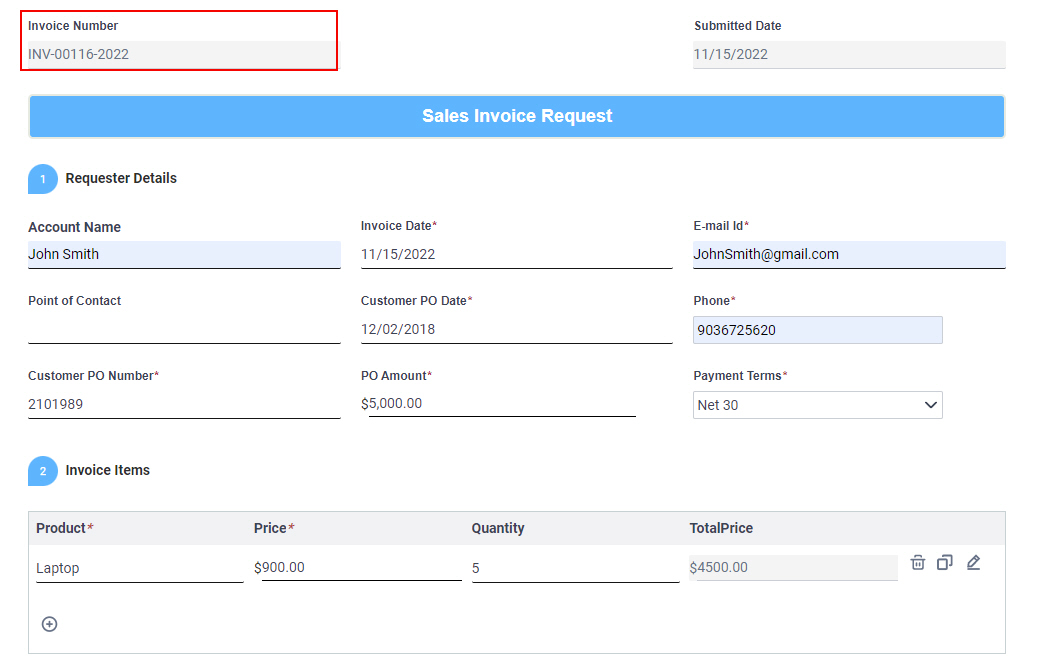
This example shows how to create the Sequence Number form control that is configured in the Sales Invoice app to show an alphanumeric string with a number that increments each time a new instance of an eForm starts.
Prerequisites
- This example uses the Sales Invoice app from the AgilePoint NX App Store.
For more information, refer to How to Get the App
Good to Know
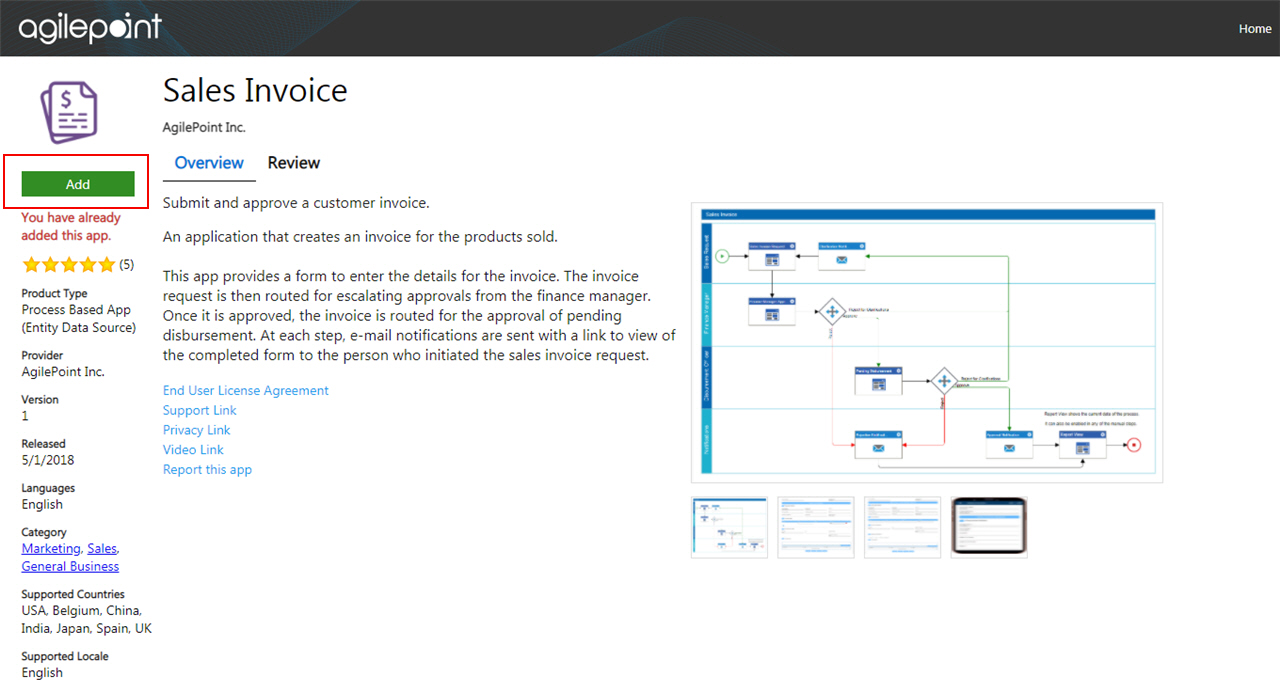
- Sales Invoice is an app that creates an invoice for the products sold. This app provides a Sales Invoice Request eForm to enter the details for the invoice. When you configure the Sequence Number form control in the request eForm, the invoice number increments each time a new instance of an eForm starts. This results in a unique number for the eForm instance, which serves as an invoice number.
- If a form user starts a new instance of an eForm, and then cancels it without submitting the form, the sequence number created for the eForm instance becomes unusable. The next time an eForm instance is created, a new sequence number is created.
Step 1: Configure the Sequence Number form control
First, configure the Sequence Number form control on the Sales Invoice Request eForm.
How to Start
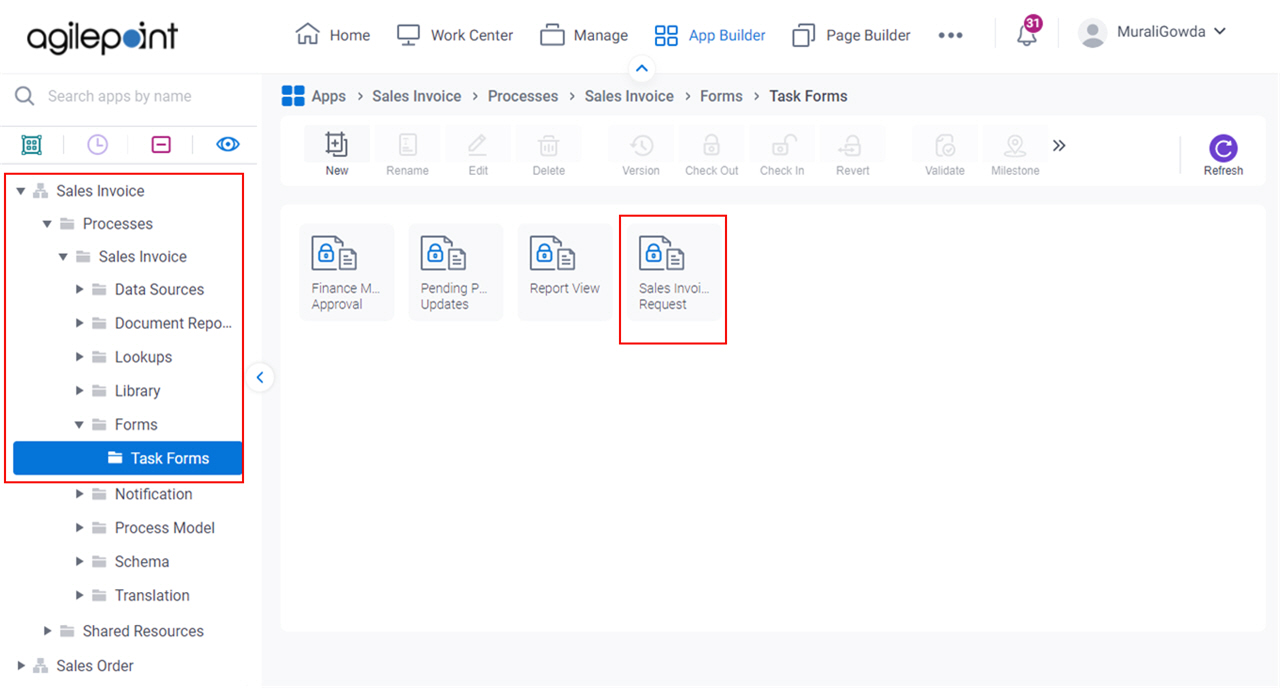
- Click App Builder.

- On the Application Explorer screen,
click Sales Invoice > Processes > Sales Invoice > Forms > Task Forms > Sales Invoice Request.
Procedure
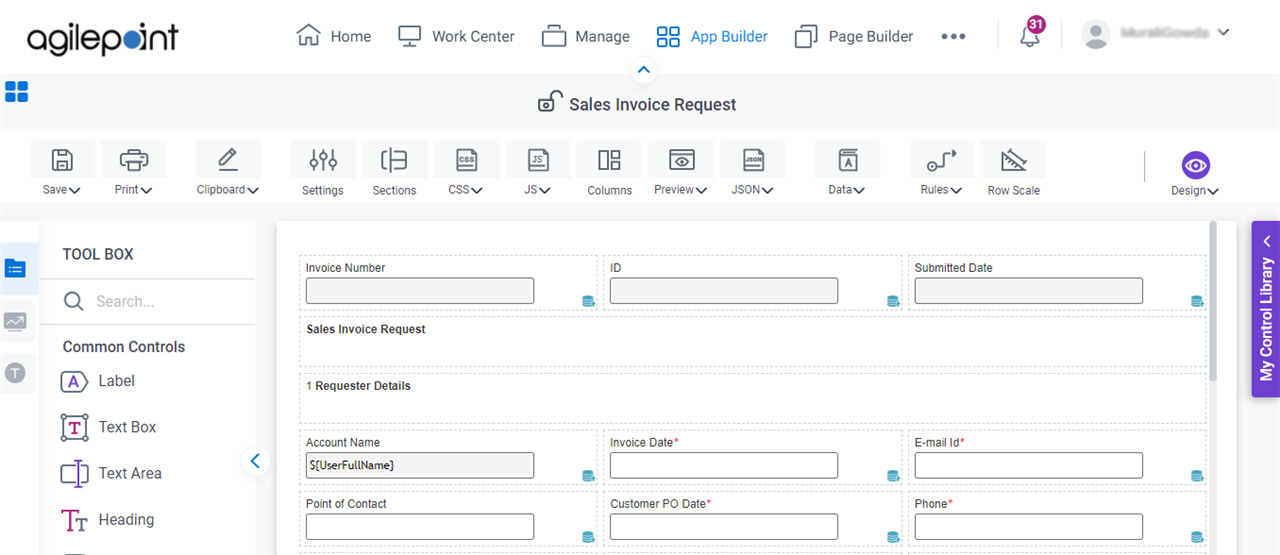
- On the Sales Invoice Request form, put your cursor over the Invoice Number form control, and the form control toolbar shows.
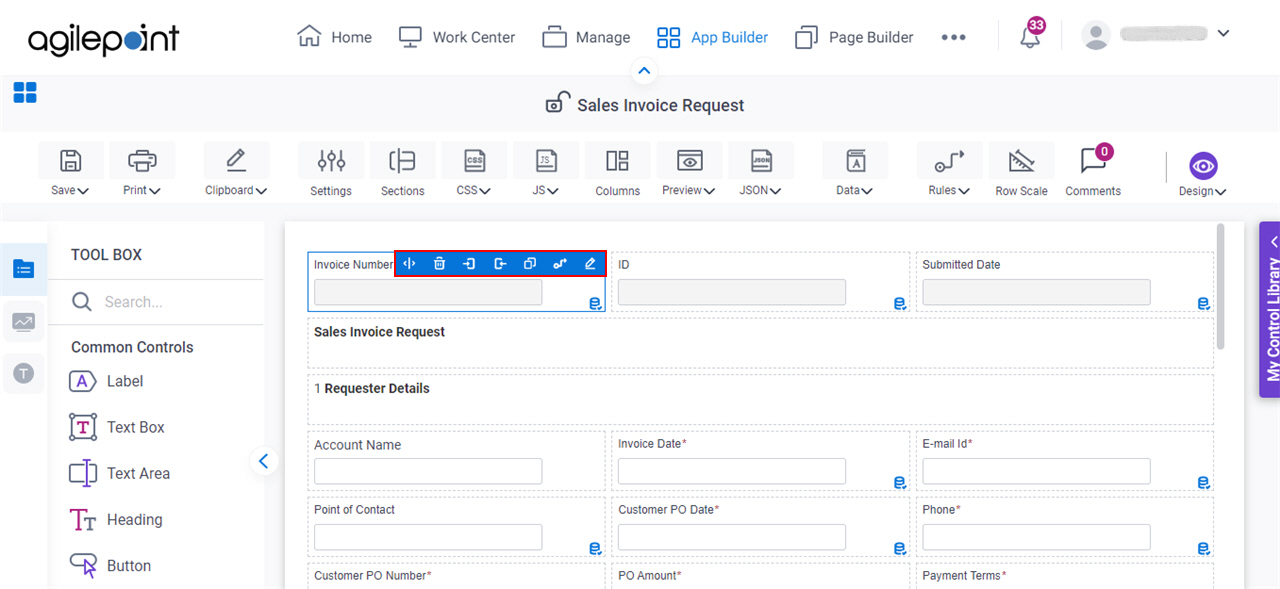
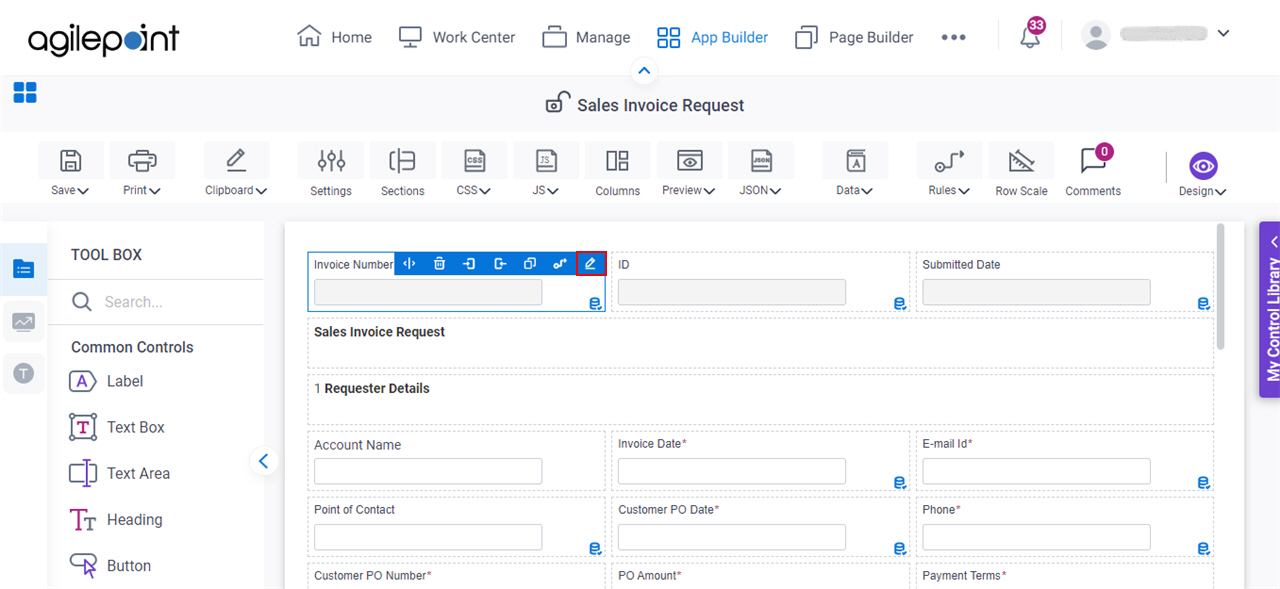
- Click Edit Properties
 .
.
- On the Field Settings - Sequence Number screen, on the General tab, in the Label field, enter Invoice Number.
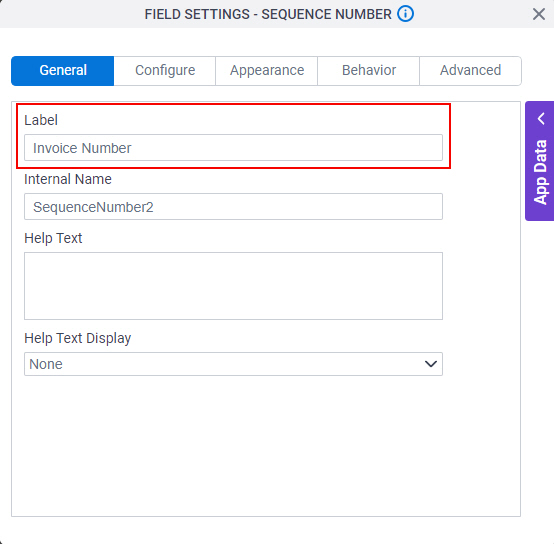
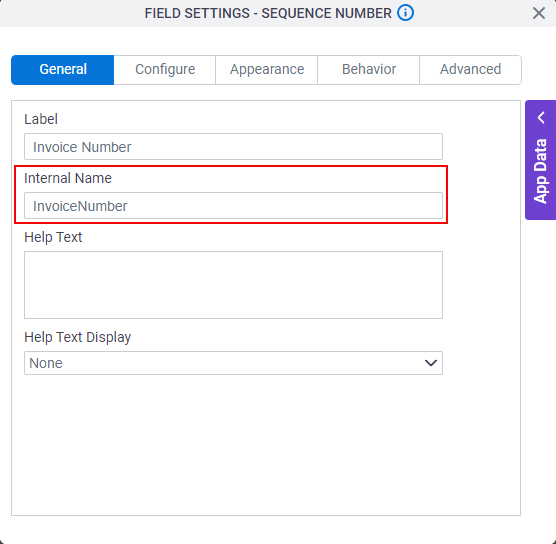
When you click the Internal Name field, this field complete by default based on the value you enter in the Label field.
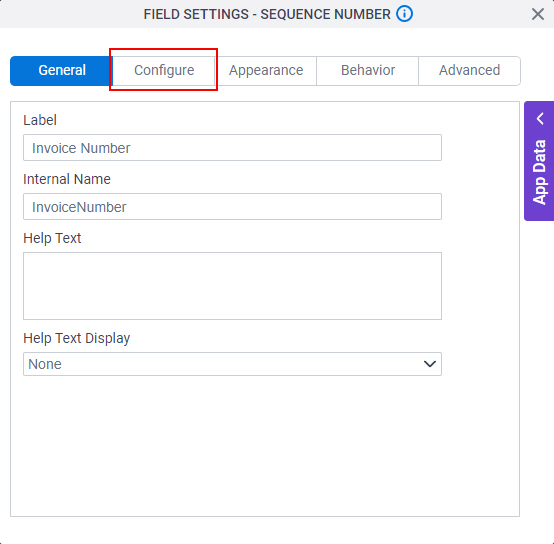
- Click the Configure tab.
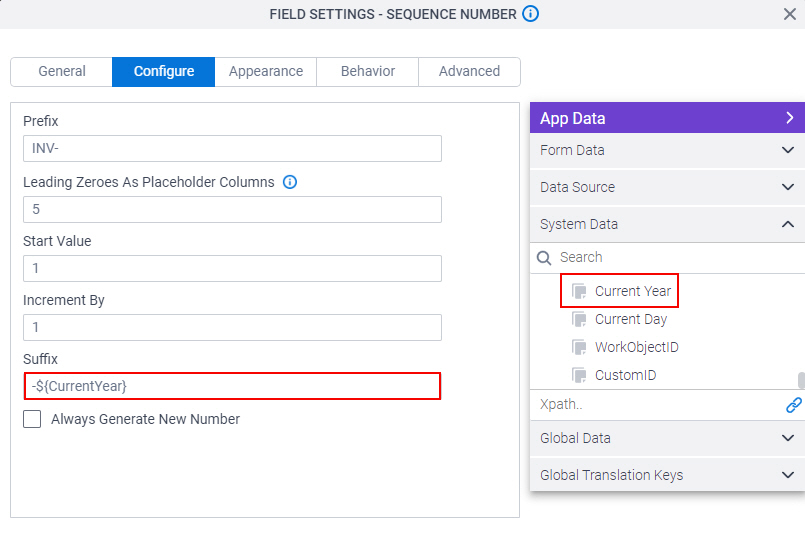
- On the Configure tab, in the Prefix field, enter INV- to show before the invoice number.
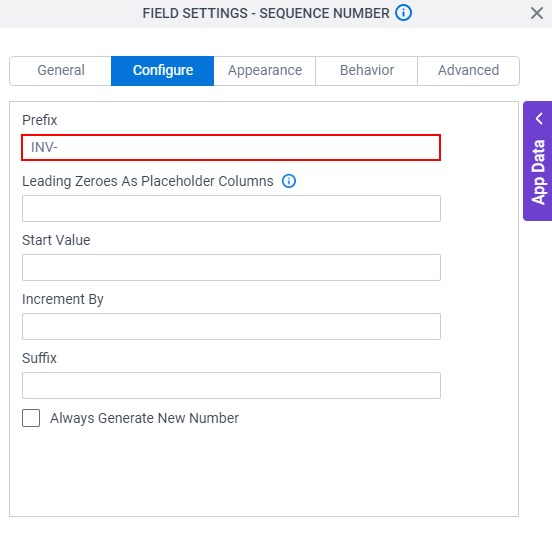
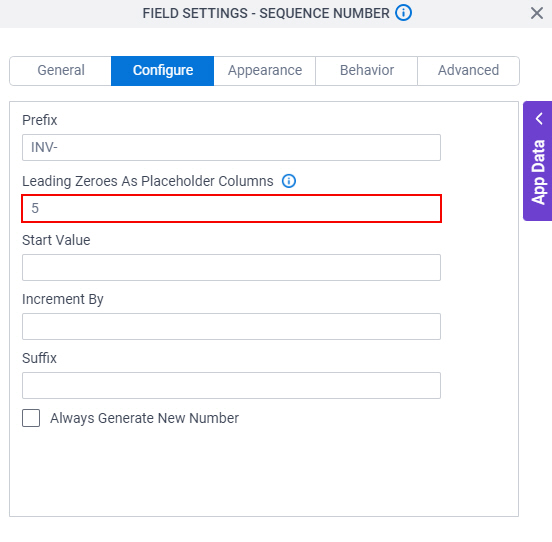
- In the Leading Zeroes As Placeholder Columns field, enter 5 to add the leading zeroes (0).
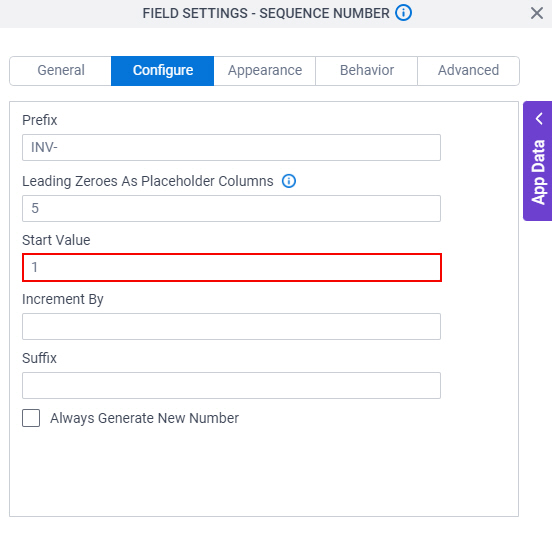
- In the Start Value field, enter 1 that shows the first number in the increment series.
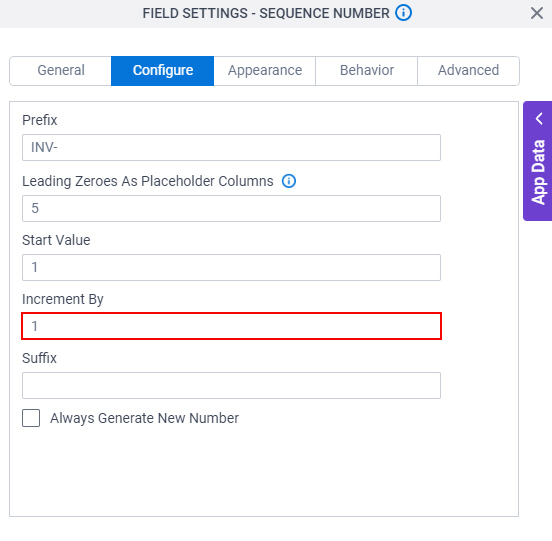
- In the Increment By field, enter 1 to increment the invoice number each time by 1.
- In the Suffix field, enter -, and drag Current Year from the System Data tab.
- To save the changes, click Close Screen
 .
.
The Sales Invoice Request form shows.
To check the Sequence Number form control, you must publish and run the app to create an instance of the eForm.
Step 2: (Optional) Save, Check In, and Publish the Process-Based App
Next, save, check in, and publish the process-based app.
For more information, refer to (Example) Save, Check In, and Publish a Process-Based App.
Step 3: (Optional) Run the App
Next, run the app.
For more information, refer to My Apps screen (Modern)
How to Get the App
This example is based on the Sales Invoice app from the AgilePoint NX App Store. Use this procedure to get the app.
Prerequisites
- AgilePoint NX OnDemand (public cloud), or AgilePoint NX Private Cloud or AgilePoint NX OnPremises v7.0 or higher.
Good to Know
- This procedure is optional. It is provided so you can test the example with an out-of-the-box app.
- This is part of the Background and Setup procedures, but many users preferred this step to appear after the example, not before it.
Procedure
- Click App Store
 .
.

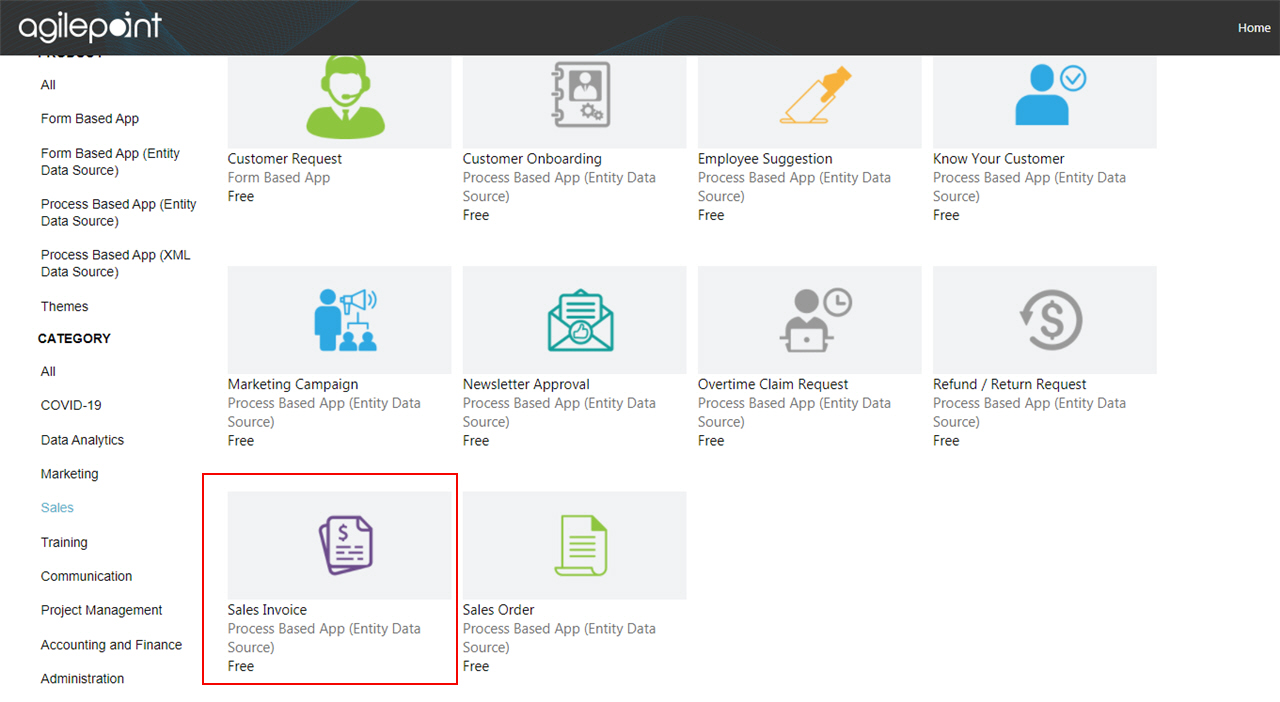
- In the CATEGORY section, click Sales.

- Click the Sales Invoice app.
- On the Sales Invoice screen, click Add.
- On the Trust App screen, click Trust it.
- Click Return to site.