(Example) Configure the Sequential Approval Check Box Form Control
To configure the Approvers check box form control to let the manager, human resource, and director approve or reject the absence request, do the procedure in this topic.
Prerequisites
- participants to use in the process.
For more information, refer to Add a New User.
- These groups:
- Manager
- Human resources
- Director
For more information, refer to Create a Group.
Good to Know
- The approver selects the check box based on his or her group.
- The rule shows or hides the radio buttons based on the selected approver.
- For a list of limitations for AgilePoint NX example documentation, refer to (Example) Create a Process-Based Application.
How to Start
- (Example) Create a Process-Based Application for an Absence Request.
- (Example) Start an Absence Request Process with an eForm.
- (Example) Create an eForm to Set Available Leave Hours.
- (Example) Configure a Condition Activity to Check the Leave Hours Available in the Absence Request Process.
- (Example) Create a Sequential Approval Task.
- (Example) Set Sections for the Sequential Approval eForm.
Procedure
- On the eForm Builder screen, in the Toolbox, open the Common Controls
 tab.
tab.
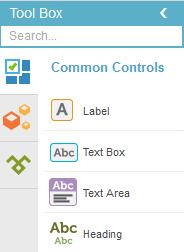
- On the Common Controls
 tab,
drag a Check Box
  form control onto your eForm.
 - On the Field Setting - Check Box screen, click the General tab.
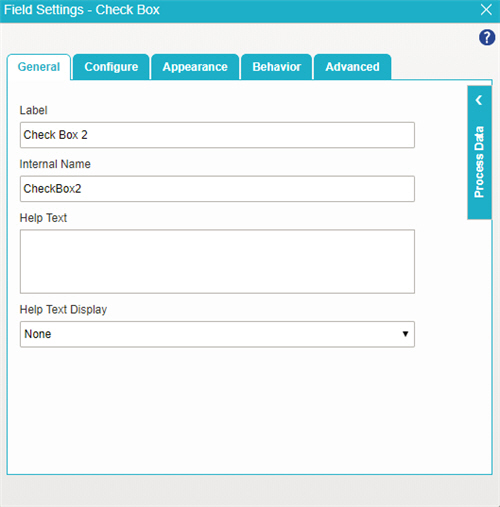
- In the Label field, enter Approver List.
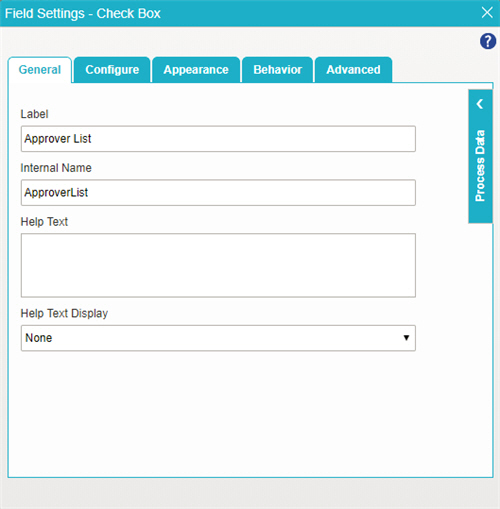
- Click the Configure tab.
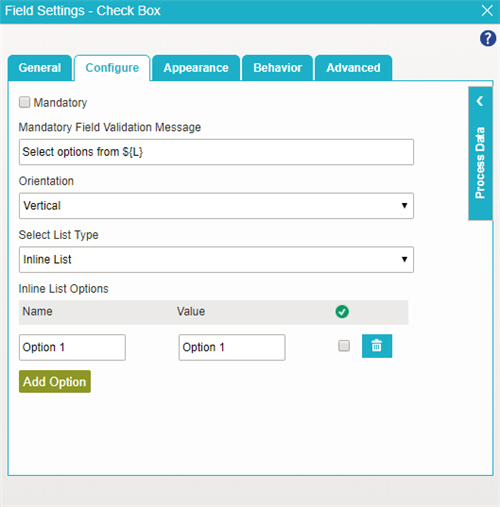
- On the Configure tab, set the Orientation to Horizontal.
- In the Inline List Options section, click Add Option.
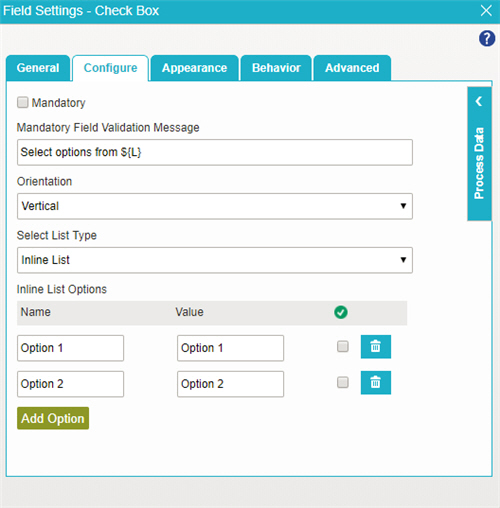
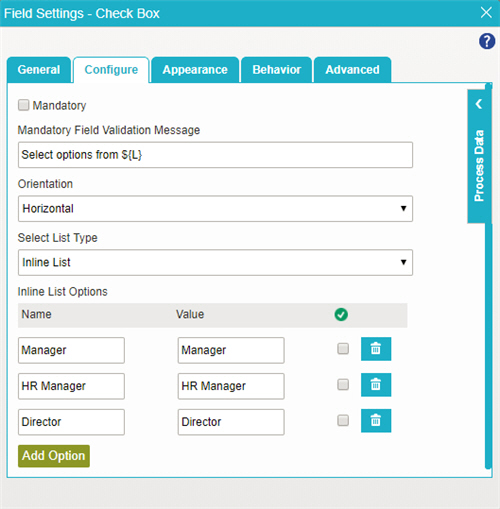
- In the Name and Value fields, enter these values:
- Manager
- HR Manager
- Director
- To save the changes, click Close Screen
 .
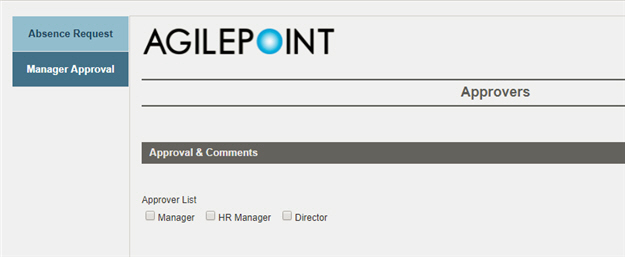
. - The eForm Builder shows the Manager, HR Manager, and Director check box form control for the Approvers
eForm.
