(Example) Create a Voting-Based Approval Task
To create a task with more than one approver that uses voting-based approval, do the procedure in this topic.
Target Result
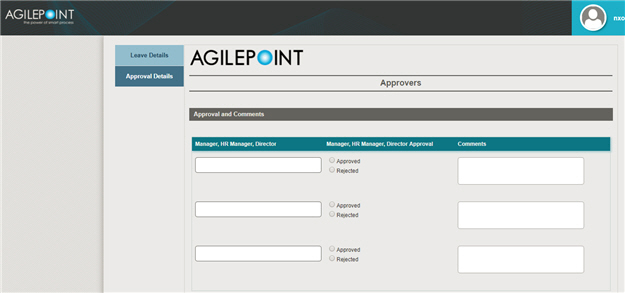
When you complete this example procedure, the finished eForm will look like this.
Good to Know
- For a list of limitations for AgilePoint NX example documentation, refer to (Example) Create a Process-Based Application.
- This example uses parallel approval. You can also use sequential approvals with voting.
How to Start
Procedure
- On the eForms
 tab,
drag the Advanced Task (eForms)
  .
.

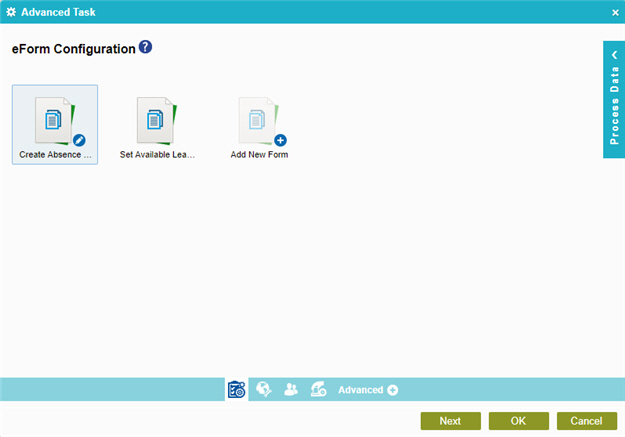
- On the Advanced Task Configuration screen, select the Create Absence Request eForm.
This step is a shortcut to complete the configuration for the activity. This is not the eForm to use for this task.
- Click Next.
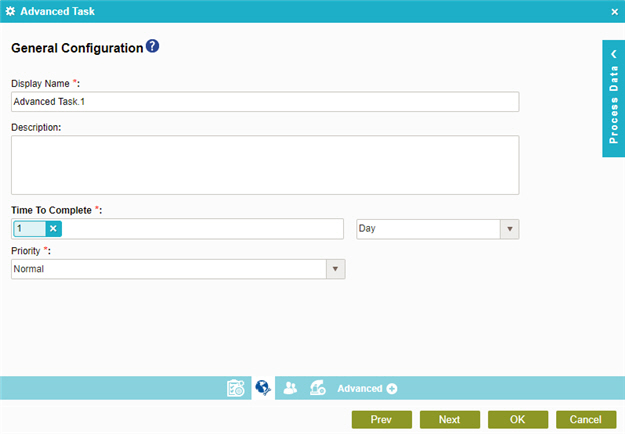
- The General Configuration screen opens.
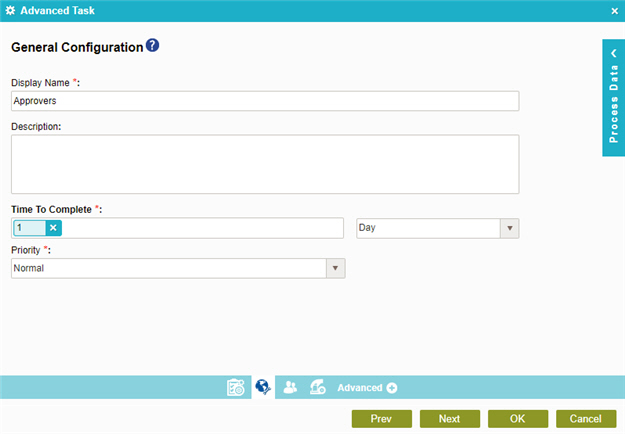
- In the Display Name field, enter Approvers.
- Click Next.
- On the Participants screen, in the Approval Order field, select Parallel.
- Click Next.
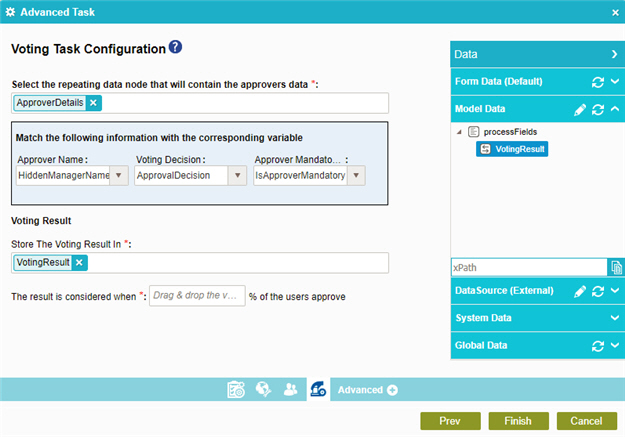
- On the Voting Task Configuration screen, Process Data > Form Data screen, drag the ApproverDetails
process data variable to the Select the repeating data node that will contain the approvers data field.
The ApproverDetails process data variable is the internal name of the Approver Details subform form control that you configured on the Approvers eForm. For more information, refer to (Example) Configure the Approvers Details Subform for the Voting Approval eForm.
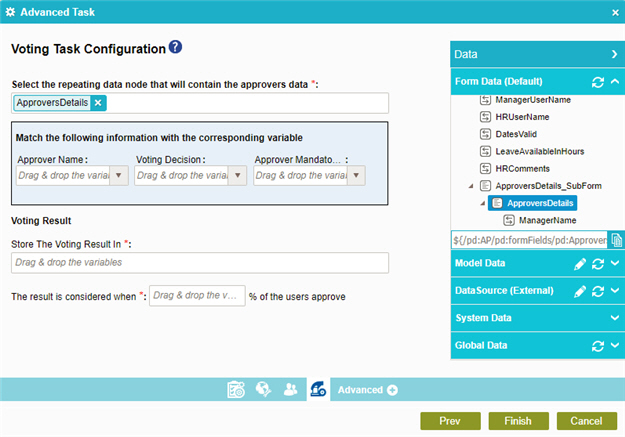
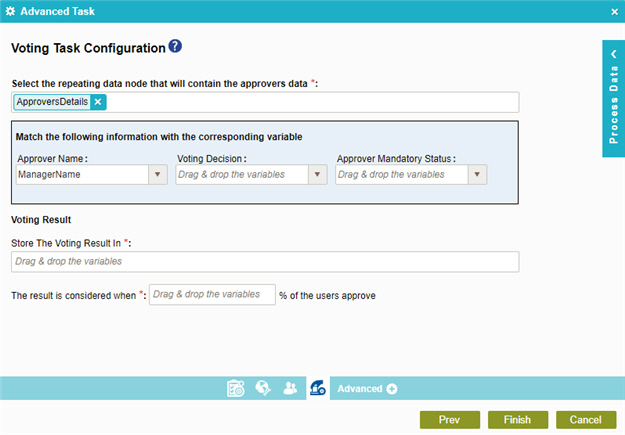
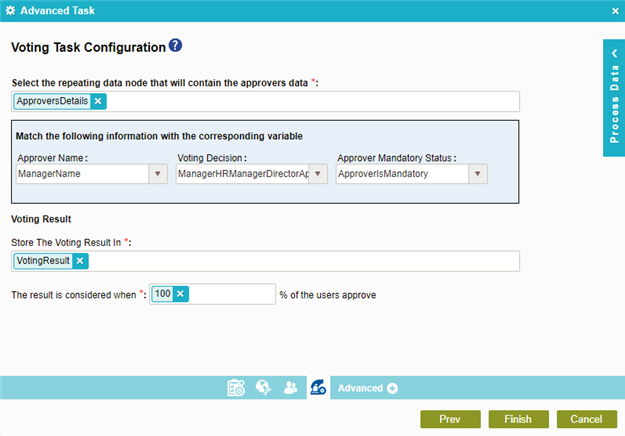
- In the Approver Name field, select ManagerName.
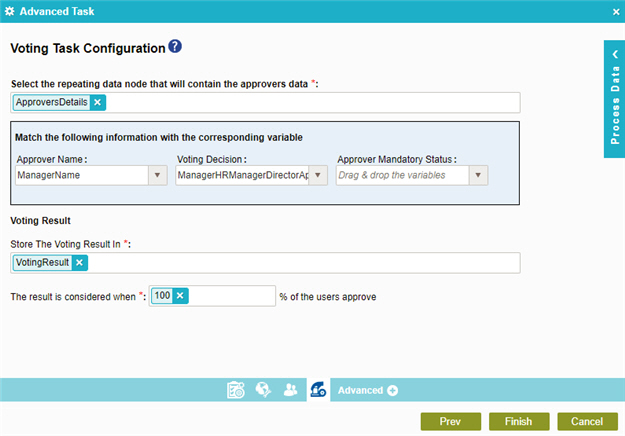
- (Optional) In the Voting Decision field, select ManagerHRManagerDirectorApproval.
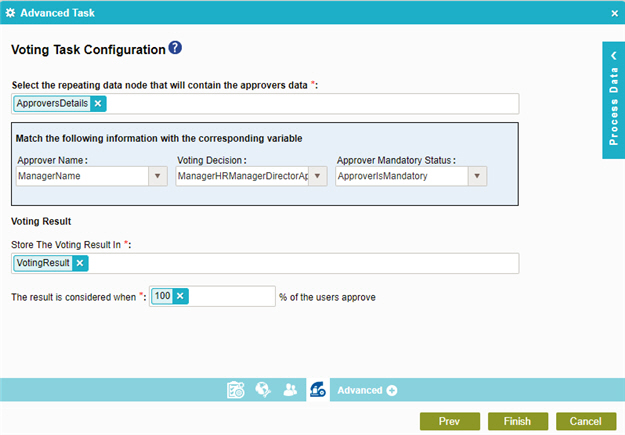
- (Optional) In the Approver Mandatory Status field, select ApproverIsMandatory.
- In the Store The Voting Result In field, drag the VotingResult process data variable.
- In the The result is considered when field, enter 100.
- Click Advanced Task Configuration
 .
. - On the Advanced Task Configuration screen, click Add New Form.

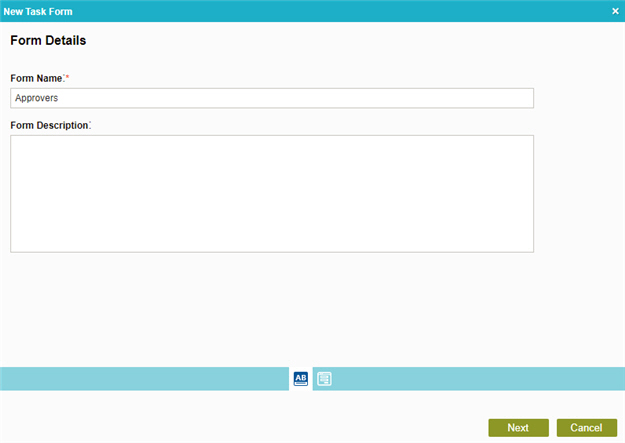
- On the Form Details screen, in the Form Name field, enter Approvers.
- Click Next.
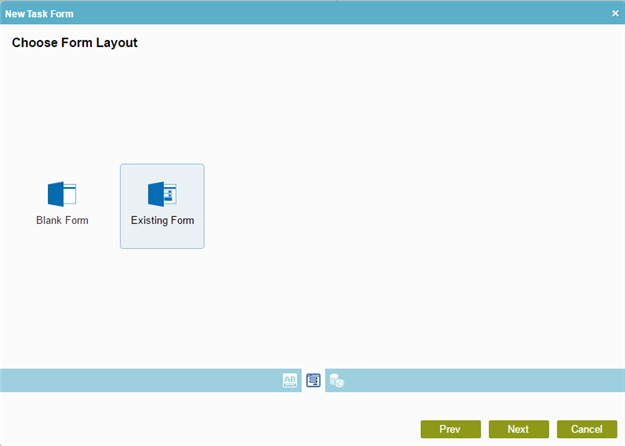
- On the Choose Form Layout screen, click Existing Form.
- Click Next.
- On the Select Existing Form screen, select
Set Available Leave Hours.
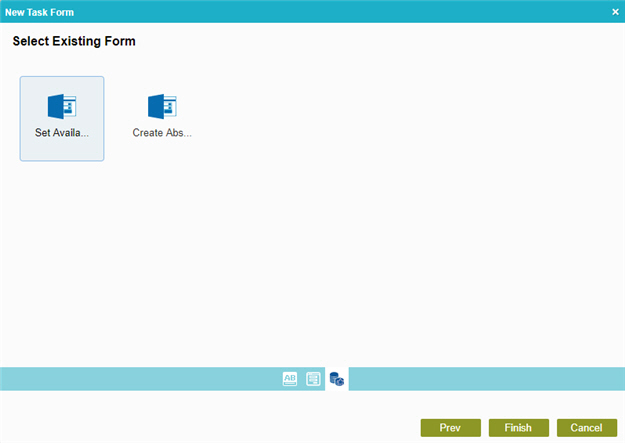
- Click Finish.
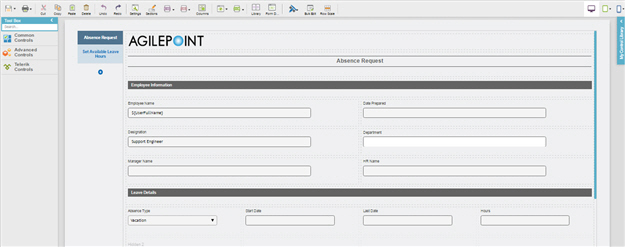
- The eForm Builder shows the selected eForm:
- On the eForm Builder screen, click Save
 .
. 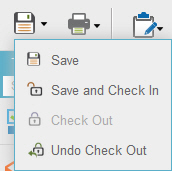
- In the Save quick menu, click Save and Check In
 .
. - The eForm Builder screen closes and the Advanced Task Configuration screen shows in the Process Builder.
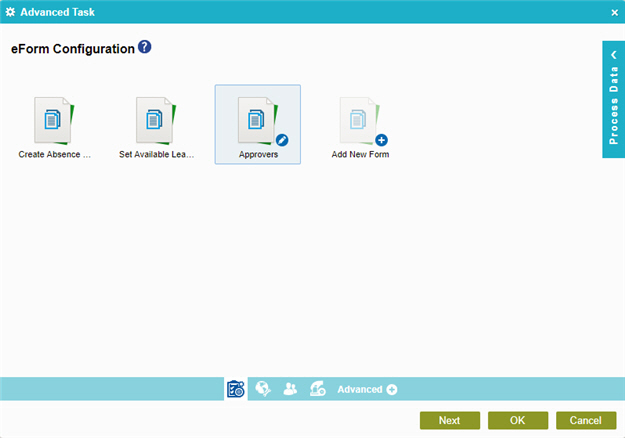
- Click OK.
- The Process Builder shows the process model with the Approvers Advanced task.


