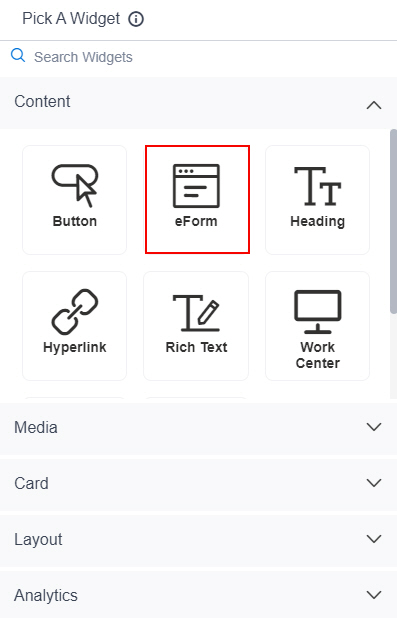
App Type |
- Description:
- Specifies the type of
app to add on your widget.
- Allowed Values:
-
- Default Value:
- None
- Example:
- Refer to:
- Limitations:
-
- The Anonymous URL option is available in these releases:
- This field
is available in these releases:
|
App |
- Description:
- Specifies the name of the
app from the list.
This field shows both
process-based app
and form-based app.
- To Open this Field:
-
- On the eForm Widget screen, in the App Type field,
select one of these:
- Process-Based App
- Form-Based App
- Allowed Values:
- An AgilePoint NX app from the list.
When you select Process-Based App, this field shows all
process-based app.
when you select Form-Based App, this field shows all
form-based app. - Default Value:
- None
- Example:
- Refer to:
- Limitations:
-
The option to select an application type is available in these releases:
|
Process |
- Description:
- Specifies the name of the
process model from
the list.
- To Open this Field:
-
- On the eForm Widget screen, in the App Type field, select
Process-Based App.
- In the App field, select the app name.
- Allowed Values:
- The process model name from the list.
When you select the app, the process models associated with the app show in this field. - Default Value:
- None
- Example:
- Refer to:
- Limitations:
-
The option to select an application type is available in these releases:
|
Form View |
- Description:
- Specifies the View form from the list .
- To Open this Field:
-
- On the eForm Widget screen, in the App Type field, select Form-Based App.
- In the App field, select the app name.
- Allowed Values:
- A view form from the list.
When you select the app, all view forms associated with the app show in this field. - Default Value:
- None
- Limitations:
-
The option to select an application type is available in these releases:
|
Key |
- Description:
- Specifies the unique key value for the process model name to show on your page.
To show an eForm on your page, do this after you publish your page:
- On your custom page, in the URL field in your web browser,
enter ?[key value]=[process model name].
- To reload the page, click Enter.
The page shows the first eForm in the process.
- To Open this Field:
-
- On the eForm Widget screen, in the App Type field,
select URL Query String.
- Allowed Values:
- One line of text (a string).
Not Accepted:
- Default Value:
- None
- Limitations:
-
|
eForm URL |
- Description:
- Specifies the URL for the anonymous form to show on the page.
- To Open this Field:
-
- On the eForm Widget screen, in the App Type field, select Anonymous URL.
- Allowed Values:
- One line of text (a string) in URL format.
To get the URL for an anonymous form, refer to:
- Default Value:
- None
- Limitations:
-
This field
is available in these releases:
|
Title |
- Description:
- Specifies the title for your
eForm.
The title shows on the top of your eForm.
- To Open this Field:
-
- Enable Show Title.
- Allowed Values:
- One line of text (a string).
Accepted:
- Default Value:
- None
|
Hide Background |
- Description:
- Specifies to hide the background of an
eForm.
- Allowed Values:
-
- On - Shows the background of an eForm.
- Off - Hides the background of an eForm.
- Default Value:
- Off
|
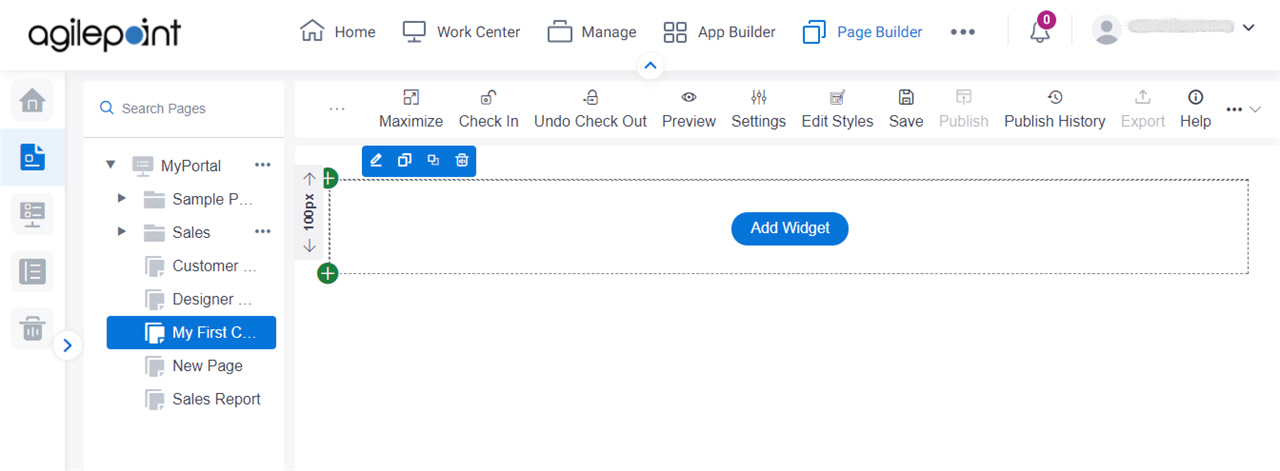
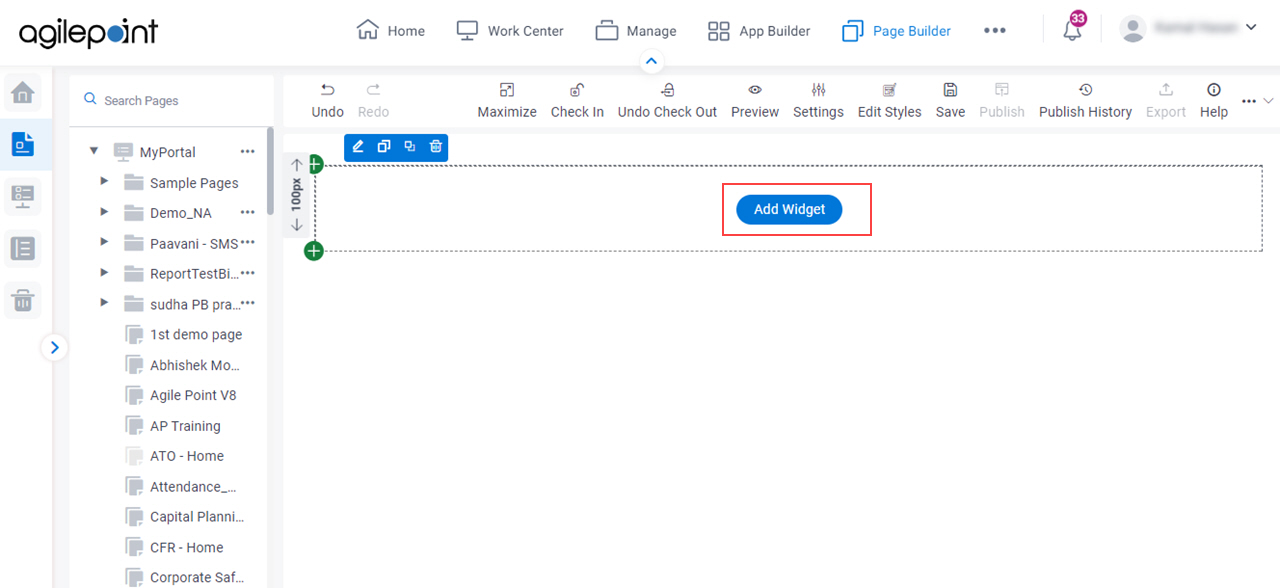
Add |
- Description:
- Adds the widget
to the custom page.
|