Export App activity

An activity that exports an app from AgilePoint NX to your repository.


Export Application activity

Configure the Export App activity

To configure the Export App activity, do the procedure in this topic.

Good to Know

How to Start

  1. Open Process Builder.

    For information about how to open this screen, refer to Process Builder.
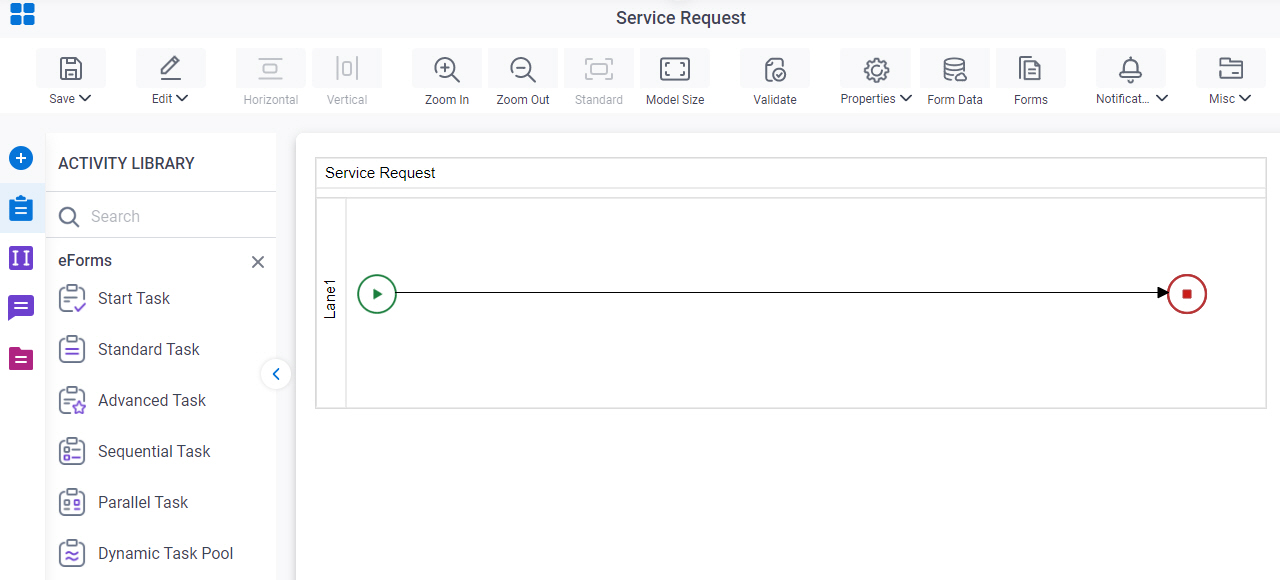

    Open Process Builder
  2. In Process Builder, in the Activity Library, open the AgilePoint NX tab.
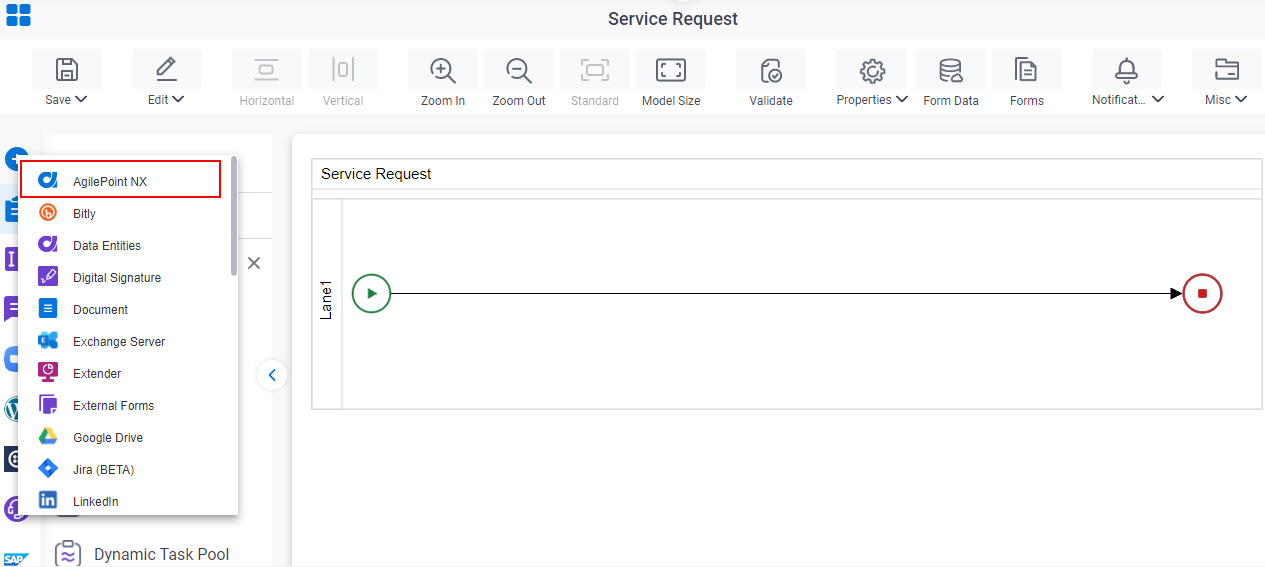
    AgilePoint NX tab
  3. On the AgilePoint NX tab, drag the Export App activity onto your process.
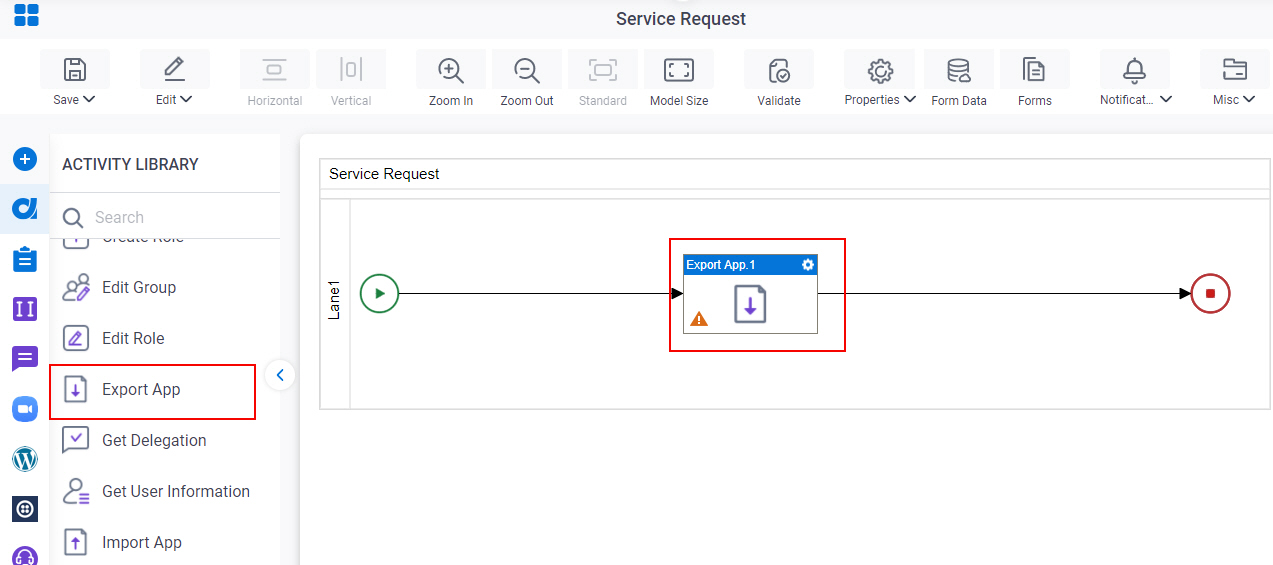
    Drag Export App activity

General Configuration

Specifies the basic settings for the Export App activity.
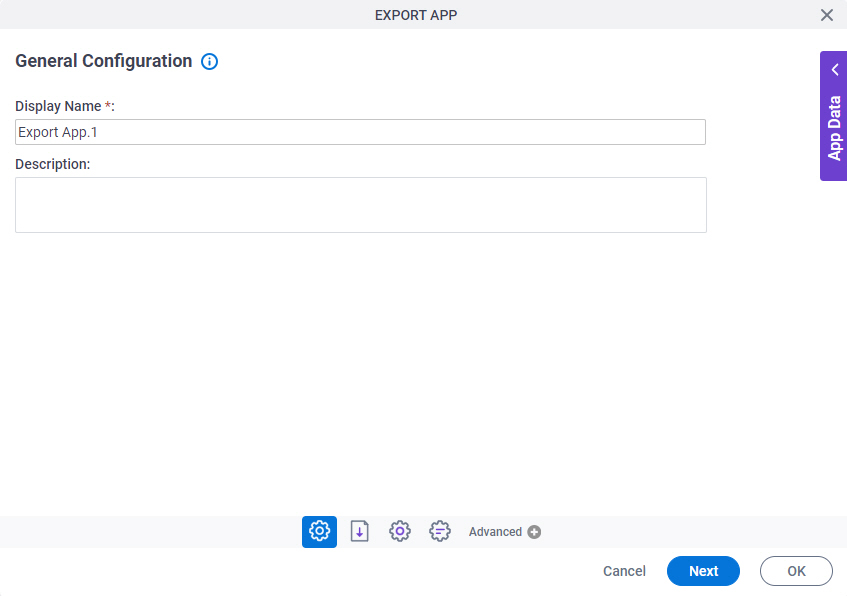
Figure: General Configuration screen

General Configuration screen

Good to Know

  • Documentation for this screen is provided for completeness. The fields are mostly self-explanatory.

Fields

Field NameDefinition

Display Name

Function:
Specifies the activity name that shows in your process.
Accepted Values:
One line of text that can have spaces.
Default Value:
None
Accepts Process Data Variables:
No
Example:
This is a common configuration field that is used in many examples. Refer to:
  • Examples - Step-by-step use case examples, information about what types of examples are provided in the AgilePoint NX Product Documentation, and other resources where you can find more examples.

Description

Function:
Specifies an optional text description for your activity.
Accepted Values:
More than one line of text.
Default Value:
None
Accepts Process Data Variables:
No

Export App Configuration

Specifies the configuration to export an app from AgilePoint NX to your repository.
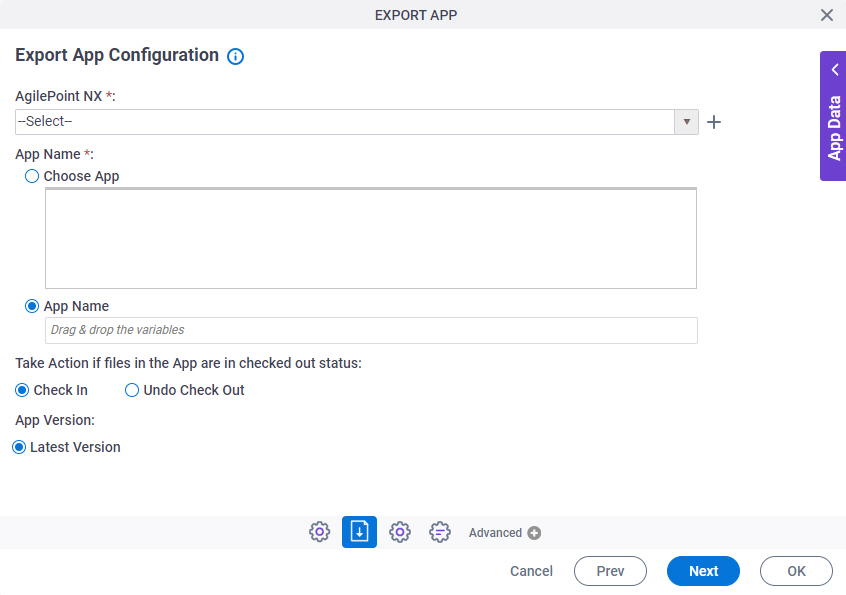
Figure: Export App Configuration screen

Export App Configuration screen

Fields

Field NameDefinition

AgilePoint NX

Function:
Specifies the access token that connects to your AgilePoint NX environment.
Accepted Values:
A list of access tokens configured for your environment.
Default Value:
None
Accepts Process Data Variables:
No

Create Add Token icon

Opens this Screen:
Access Token for AgilePoint NX
Function of this Screen:
Configure an access token to connect to AgilePoint NX.

App Name

Function:
Specifies a name for your app to which to export.
Accepted Values:
  • Choose App - Lets you choose an app.
  • App Name - Lets you specify a process data variable that stores the name of the app.
Default Value:
None

Check In

Function:
Specifies whether to check in the changes to the files from the previous version and export.
Accepted Values:
  • Selected - Check in the changes to the files from the previous version and export.
  • Deselected - Cancel, or undo the check out the files and export.
Default Value:
Selected

Undo Check Out

Function:
Specifies to cancel or undo the check out the files and export.
Accepted Values:
  • Selected - Cancel, or undo the check out the files and export.
  • Deselected - Check in the changes to the files from the previous version and export.
Default Value:
Selected

Latest Version

Function:
Specifies to export the latest version of the app.
Accepted Values:
  • Selected - Exports the latest version of the app.
Default Value:
Selected

Target Repository

Selects the target storage repository type for your files.
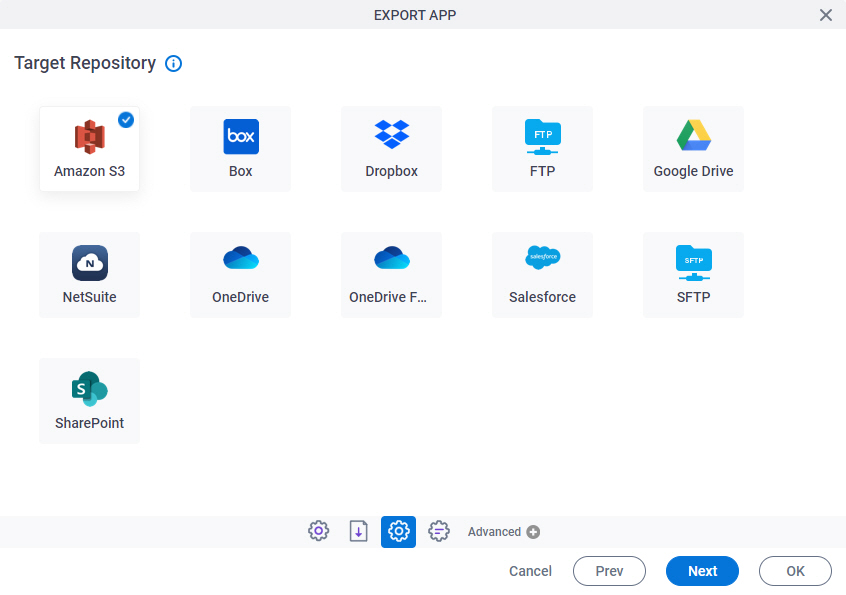
Figure: Target Repository screen

Target Repository screen

Fields

Field NameDefinition

Amazon S3 Amazon S3 icon

Function:
Specifies that Amazon S3 is the target location for your files.

To configure the target location for your file, complete the fields in Export App > Target Repository > Amazon S3.

Box Box icon

Function:
Specifies that Box is the target location for your files.

To configure the target location for your file, complete the fields in

Export App > Target Repository > Box.

Dropbox Dropbox icon

Function:
Specifies that Dropbox is the target location for your files.

To configure the target location for your file, complete the fields in Export App > Target Repository > Dropbox.

File System File System icon

Function:
Specifies that the file system on the AgilePoint Server machine is the target data source location for the file.

To select your file in the source location, complete the fields on Export App > Target Repository > File System.

FTP FTP icon

Function:
Specifies that FTP is the target location for your files.

To configure the target location for your file, complete the fields in Export App > Target Repository > FTP.

Google Drive Google Drive icon

Function:
Specifies that Google Drive is the target location for your files.

To configure the target location for your file, complete the fields in Export App > Target Repository > Google Drive.

NetSuite NetSuite icon

Function:
Specifies that NetSuite is the target location for your files.

To configure the target location for your file, complete the fields in Export App > Target Repository > NetSuite.

OneDrive OneDrive icon

Function:
Specifies that OneDrive is the target location for your files.

To configure the target location for your file, complete the fields in Export App > Target Repository > OneDrive.

OneDrive for Business OneDrive For Business icon

Function:
Specifies that OneDrive for Business is the target location for your files.

To configure the target location for your file, complete the fields in Export App > Target Repository > OneDrive for Business.

Salesforce Salesforce icon

Function:
Specifies that Salesforce is the target location for your files.

To configure the target location for your file, complete the fields in Export App > Target Repository > Salesforce.

SFTP SFTP icon

Function:
Specifies that SFTP is the target location for your files.

To configure the target location for your file, complete the fields in Export App > Target Repository > SFTP.

SharePoint SharePoint icon

Function:
Specifies that SharePoint is the target location for your files.

To configure the target location for your file, complete the fields in Export App > Target Repository > SharePoint.