
(Example) Create a REST Service Access Token
To create an access token to connect to a REST service, do the procedure in this topic.
How to Start
- Click Manage
 .
.
- On the Global Access Tokens screen, click Add Token

- On the Add Global Access Tokens screen, select REST Service
 .
. - Click Next.
Procedure
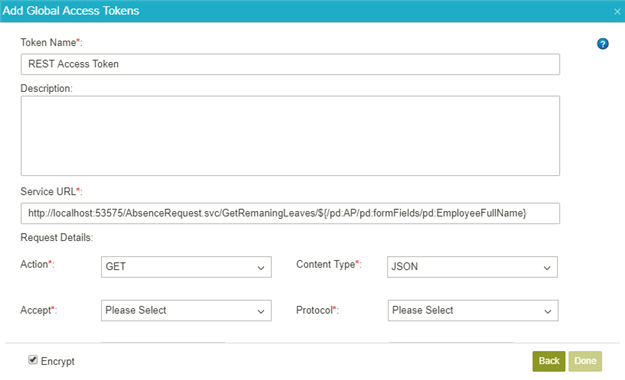
- On the Add Global Access Token screen, in the Token Name field, enter REST Access Token.
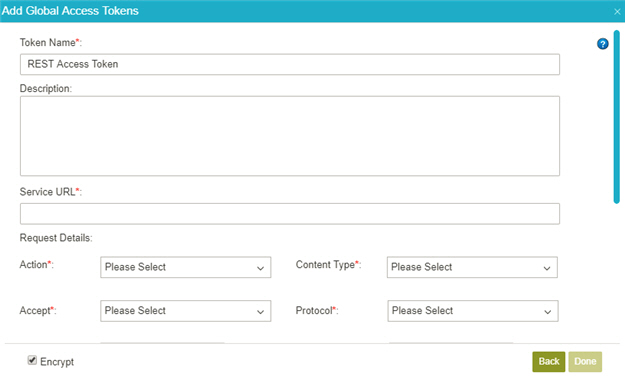
- In the Service URL, enter the URL of your REST service.
Example:
http://localhost:53575/AbsenceRequest.svc/GetRemaningLeaves/${/pd:AP/pd:formFields/pd:EmployeeFullName}
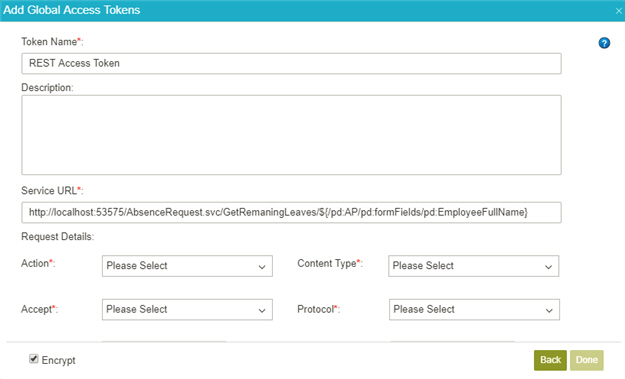
- In the Action list, select GET.
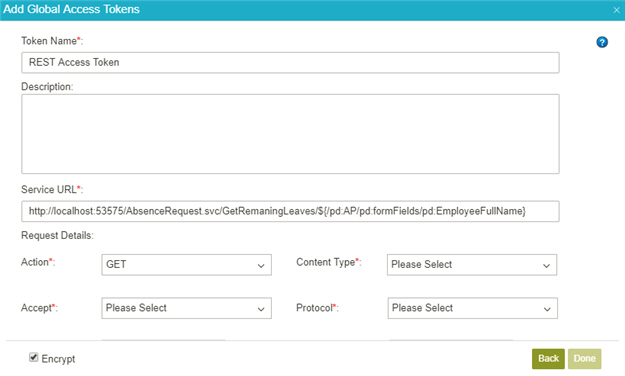
- In the Content Type list, select JSON.
- In the Accept list, select JSON.
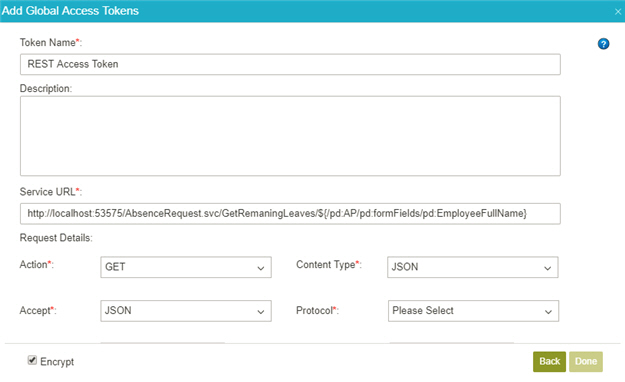
- In the Protocol list, select HTTP11.

- Click Authentication.
- Click Basic Authentication.
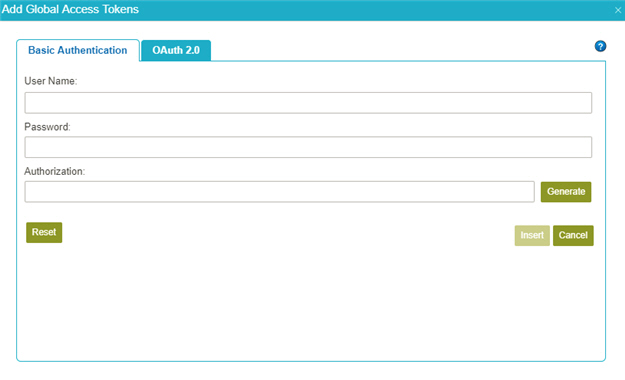
- In the User Name field, enter Administrator.

- In the Password field, enter the password for your REST service authentication account.

- Click Generate.
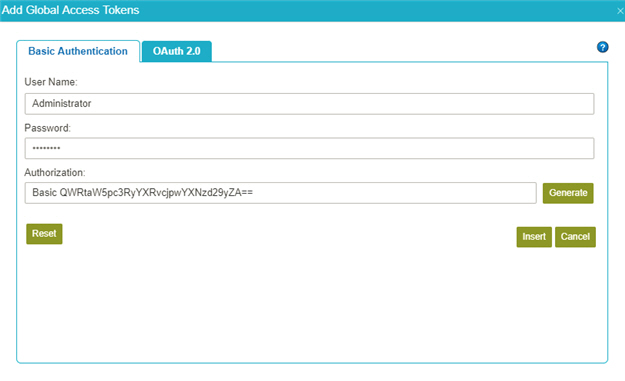
- Click Insert.
- to make sure the REST service account is correct, click Test Connection.
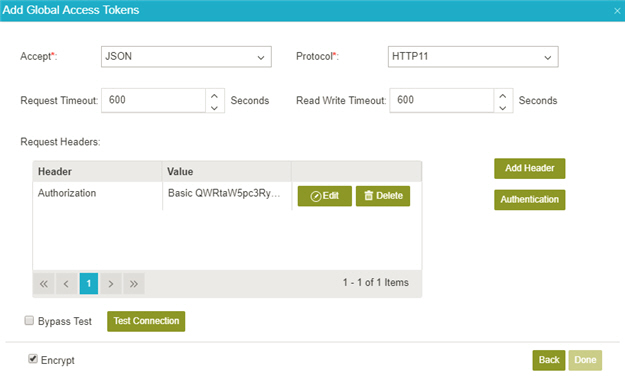
- Click Encrypt.
- Click Done.
Download Files
This file has the REST service used in this example. You can deploy this service in your environment to test it.