
Read a JSON File
To map data from a JSON code snippet to your process schema, do the procedure in this topic.
Prerequisites
- AgilePoint NX OnDemand (public cloud), or AgilePoint NX Private Cloud or AgilePoint NX OnPremises v7.0 or higher.
Good to Know
- In most text fields, you can use process data variables as an alternative to literal data values.
- You can configure whether this activity waits for other activities before it runs.
For more information, refer to How Do I Configure an Activity to Wait for Other Incoming Activities?
- Some information about third-party integrations is outside the scope of the AgilePoint NX Product Documentation. It is the responsibility of the vendors who create and maintain these technologies to provide this information. This includes specific business use cases and examples; explanations for third-party concepts; details about the data models and input and output data formats for third-party technologies; and various types of IDs, URL patterns, connection string formats, or other technical information that is specific to the third-party technologies. For more information, refer to Where Can I Find Information and Examples for Third-Party Integrations?
How to Start
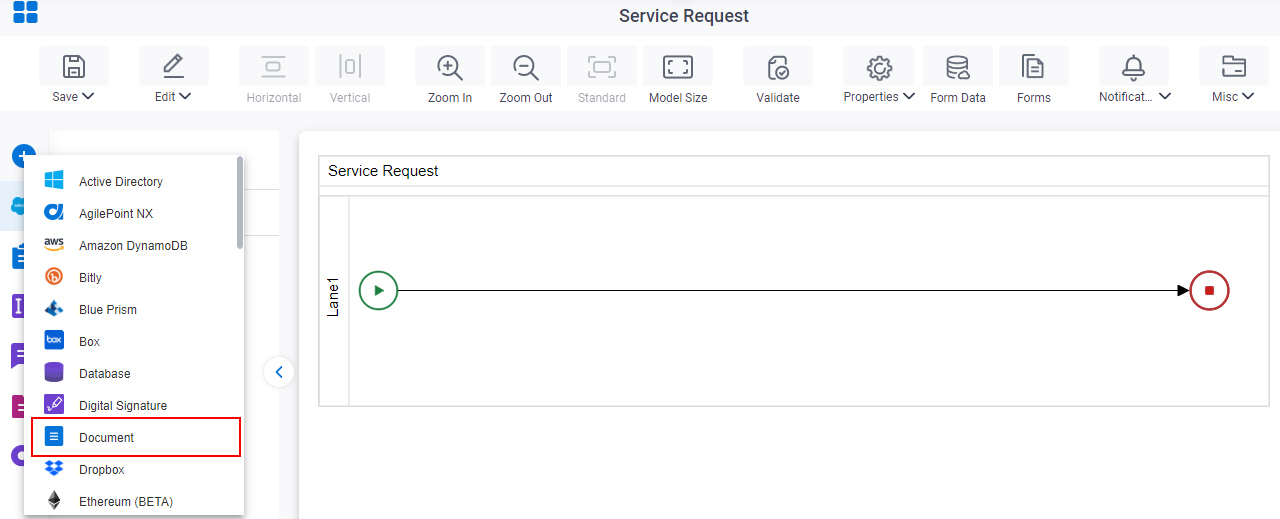
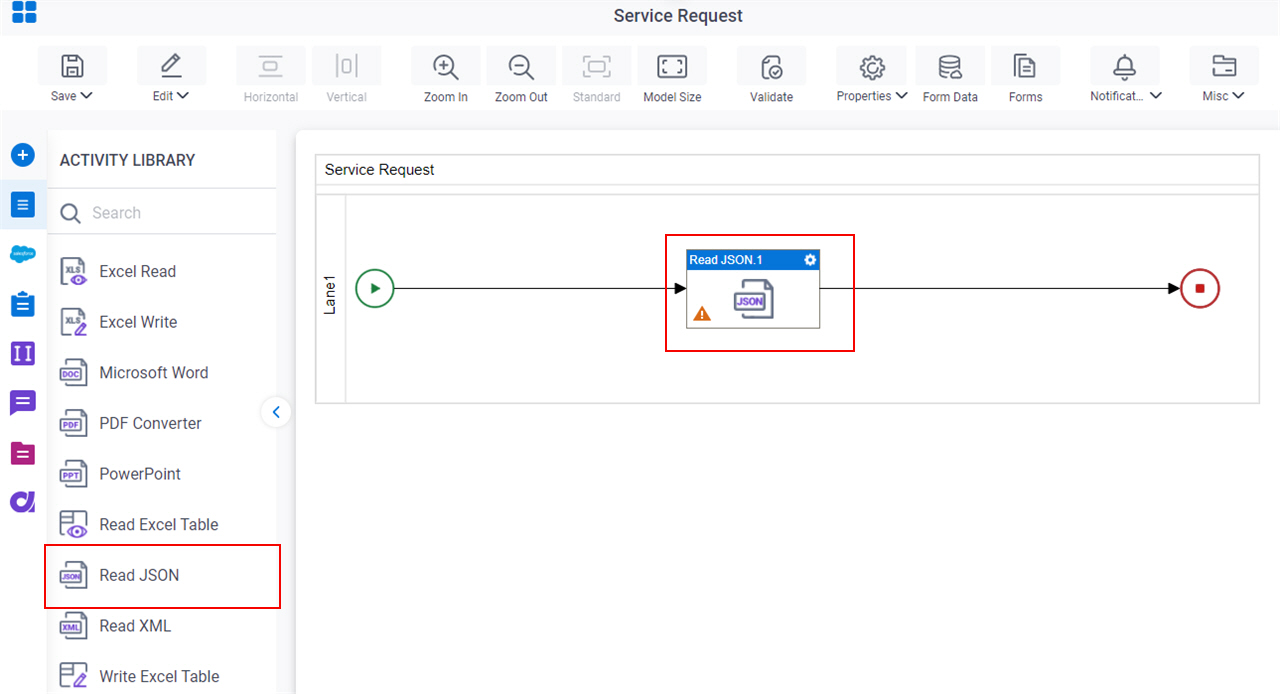
- On the App Explorer screen, do one of these:
- Do one of these:
Procedure
- Complete the fields on the General Configuration screen.
- Click Source Configuration
 .
. - On the Source Repository screen, select the source location of your JSON code snippet to map the values in your process schema.
- Click JSON Reader Configuration
 .
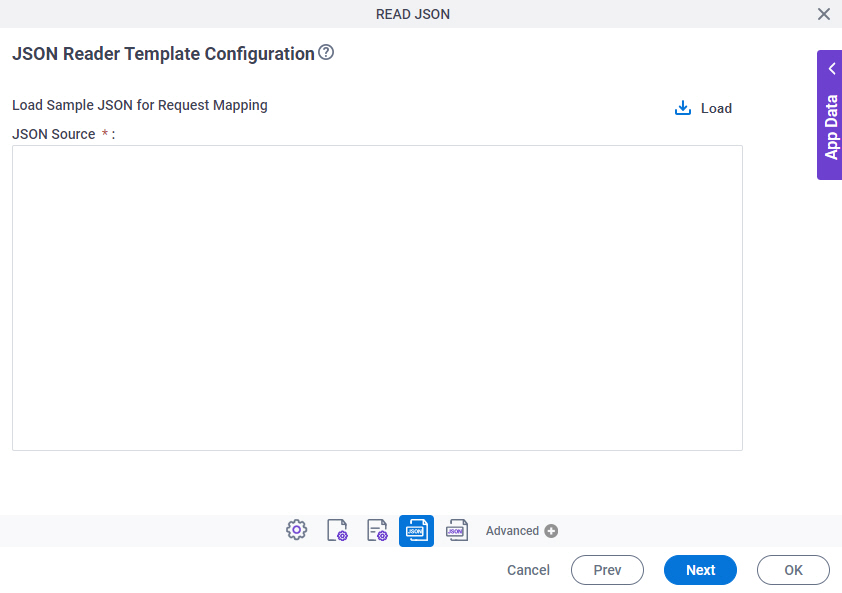
. - On the JSON Reader Template Configuration screen, complete these fields
as necessary.
Field Name Definition JSON Source
Load
- Function:
- Runs the JSON code to get data from the external service.
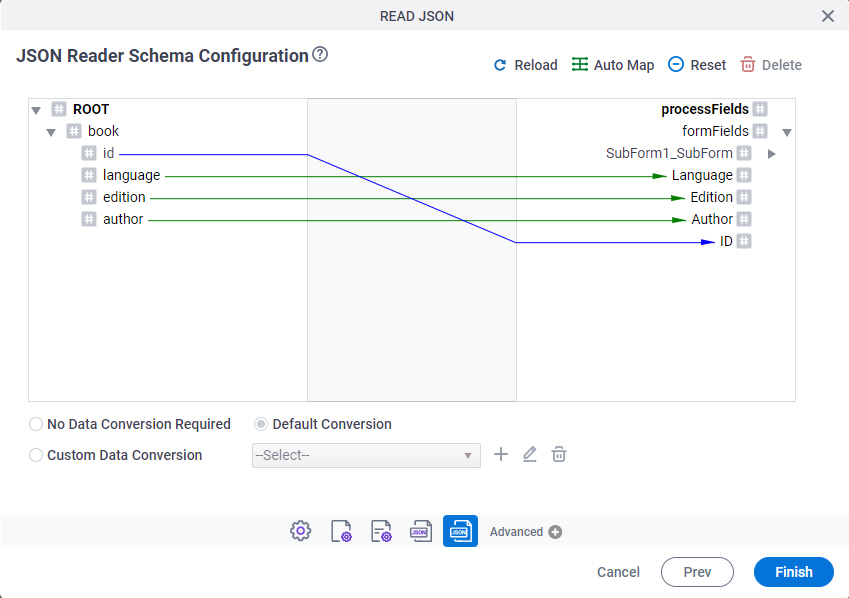
- Click JSON Reader Schema Configuration
 .
. - On the JSON Reader Template Configuration screen, complete this field
as necessary.
Field Name Definition Mapping Schema
- Function:
- Connects the schemas to your process schema.
The source and the destination schemas show in a tree view in the left and right panes.
- Accepted Values:
- Read only - However, the drag and drop operations are supported to map the schemas.
Drag a data node from the source schema pane to the destination schema pane:
- Green line - The data type of source and destination nodes matches.
- Blue line - The data type of source and destination nodes doesn't match. The data conversion is required to map the schemas.
- Red line - Specifies that the custom data conversion is required.
- Example:
- Refer to:
- (Optional) Complete these fields
as necessary.
Field Name Definition AutoMap
- Function:
- Maps all fields in the data source and the process schema that have the same name.
- Example:
- Refer to:
Reset
- Function:
- Deletes all connections that have been made in the Schema Mapper for this activity.
Data Conversion
- Function:
- Specifies the data conversion between the source and the destination schema fields.
- Accepted Values:
-
- No Data Conversion Needed - The data type of the source schema elements matches the data type of the target schema elements, or no data type conversion is necessary.
- Default Conversion - The data type of the source schema elements does not match the data type of the target schema elements. This option uses a default conversion methodology.
- Custom Data Conversion - Uses a data conversion method you specify.
If you specify a custom data conversion method, it must return the results in valid XML format.
- Default Value:
- No Data Conversion Needed
- Example:
- Refer to:
Add
- Opens this Screen:
- Custom Mapping screen
- Function of this Screen:
- Specifies custom C# code that can be used to map fields to an XML schema.
- Example:
- Refer to:
Edit
- Opens this Screen:
- Custom Mapping screen
- Function of this Screen:
- Specifies custom C# code that can be used to map fields to an XML schema.
Delete
- Function:
- Deletes the selected custom data conversion from the list.
Reload
- Function:
- Runs the JSON code to connect the data again.