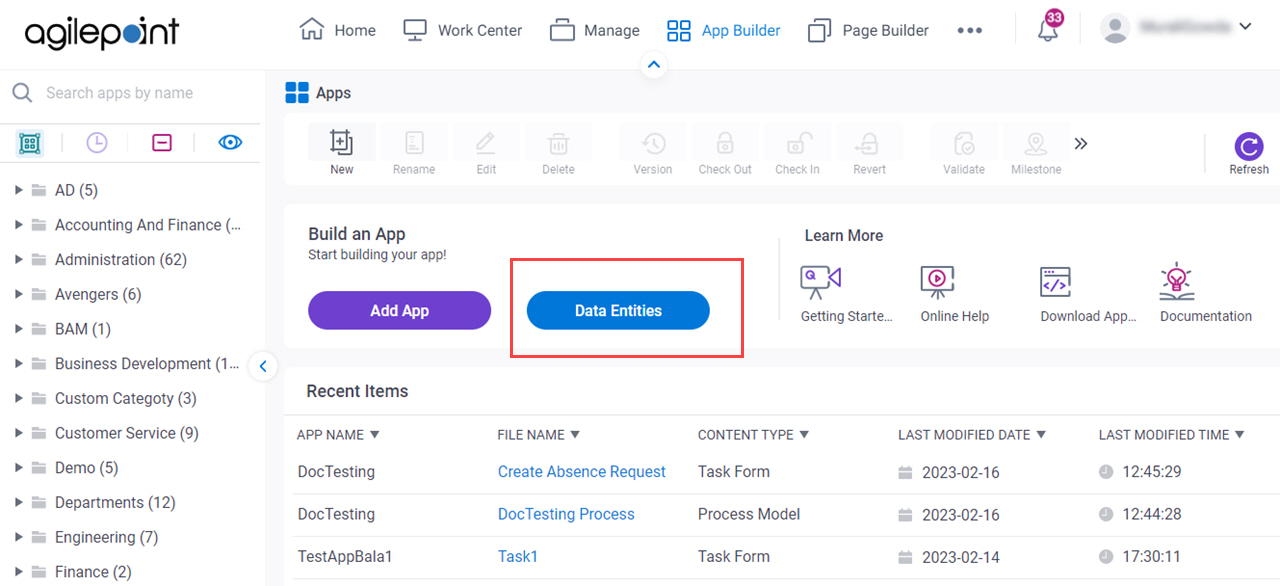
Navigate To Other Entity 
|
- Opens this Screen:
- Navigate To Entity screen.
- Function of this Screen:
- Shows the list of AgilePoint NX entities. You can click the entity names to see or configure the entity.
|
Refresh 
|
- Function:
- Updates the information on the screen.
|
Clone Entity 
|
- Opens this Screen:
- Clone Entity screen.
- To Open this Field:
-
- On the right side of the screen, click the Ellipses (...).
- Function of this Screen:
- Creates a copy of an
entity..
- Example:
- Refer to:
|
Export Entity Model
|
- Opens this Screen:
- Export Entity Model screen.
- To Open this Field:
-
- On the right side of the screen, click
Ellipses (...).
- Function of this Screen:
- Downloads an entity template from AgilePoint NX
Data Entities to your local machine
as an XML file,
a JSON file, or
a Microsoft Excel file.
- Example:
- Refer to:
|
Export Data
|
- Opens this Screen:
- Export Data screen.
- To Open this Field:
-
- On the right side of the screen, click
Ellipses (...).
- Function of this Screen:
- Downloads records from an entity as an XML file, a JSON file, or a Microsoft Excel file to your local machine.
- Example:
- Refer to:
|
Import Data
|
- Opens this Screen:
- Import Data screen.
- To Open this Field:
-
- On the right side of the screen, click
Ellipses (...).
- Function of this Screen:
- Uploads a collection of exported records from your local machine, and adds it to an entity in AgilePoint NX Data Entities.
- Example:
- Refer to:
|
Import Fields
|
- Opens this Screen:
- Import Fields screen.
- To Open this Field:
-
- On the right side of the screen, click
Ellipses (...).
- Function of this Screen:
- Uploads a group of exported entity fields from your local machine, and adds it to an entity in AgilePoint NX Data Entities.
- Limitations:
-
This field
is available in these releases:
|
|
Sync Analytics
|
- Function:
- Creates a connection between an entity with the Analytics database where the entity data is updated for reporting and analytics.
- To Open this Field:
-
- On the right side of the screen, click
Ellipses (...).
|
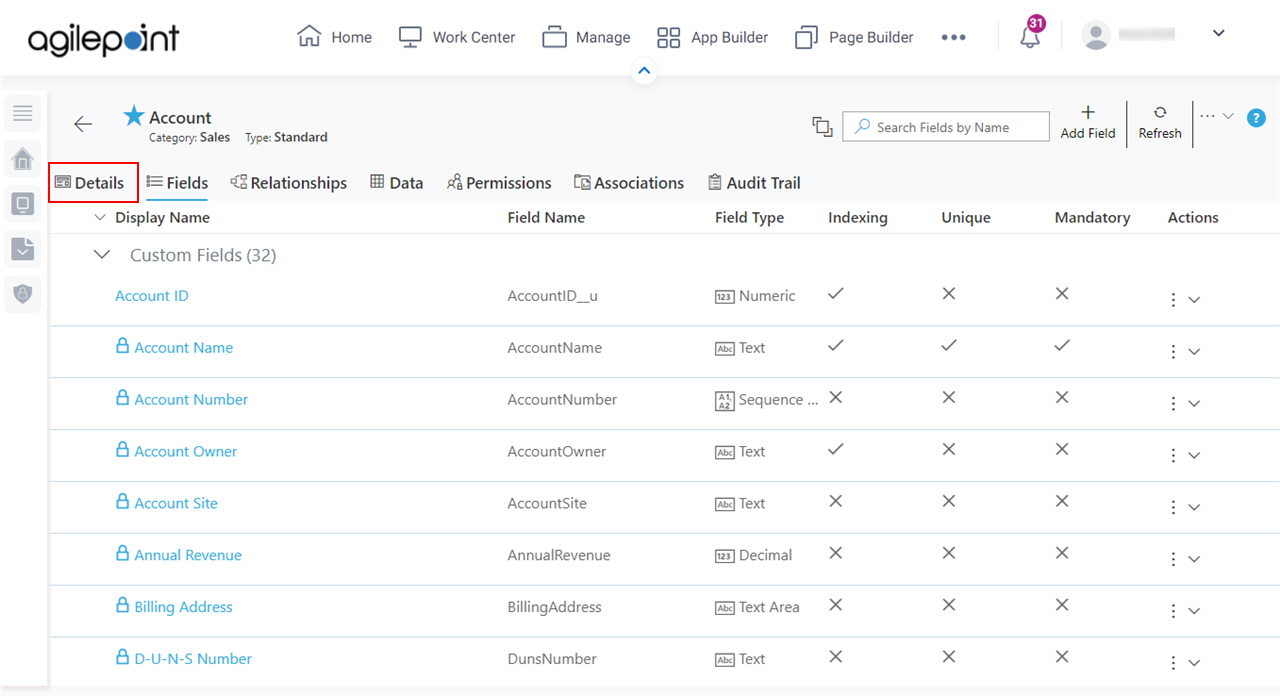
Delete Entity  |
- Opens this Screen:
- Type CONFIRM To... screen
- Function of this Screen:
- Deletes your custom entity.
To delete an entity, set Custom Entities Can Be Deleted to Yes on the
Data Entities Settings screen > Settings tab.
You can not delete a standard entity.
- Example:
- Refer to:
|
|
Edit 
|
- Function:
- Changes the information for a
custom entity.
- Example:
- Refer to:
|
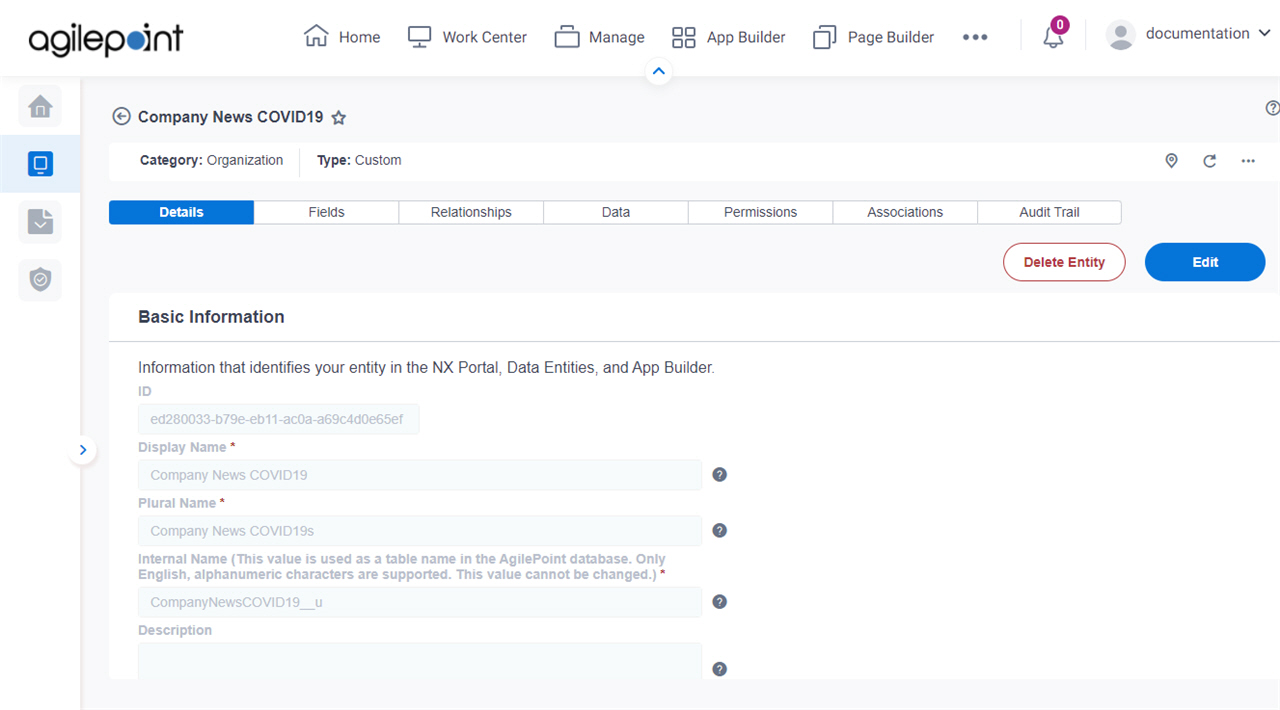
ID |
- Function:
- Shows the ID of an entity.
This ID is created by default.
- Accepted Values:
- Read only.
|
Display Name |
- Function:
- Specifies the name that shows for the
custom entity in AgilePoint NX.
- Accepted Values:
- One line of text that can have spaces.
- Default Value:
- None
- Example:
- Refer to:
|
Plural Name |
- Function:
- Specifies the name that shows for the
custom entity
when there is more than one. In other words, this is the plural version of the entity name.
- Accepted Values:
- One line of text that can have spaces.
- Default Value:
- None
- Example:
- If entity name is Country,
you may want to use the plural name Countries.
Also refer to:
|
Internal Name |
- Function:
- Shows a unique name for the
entity.
- Accepted Values:
- Read only.
- Example:
- Refer to:
|
Description |
- Function:
- Specifies an optional text description for your custom entity.
- Accepted Values:
- More than one line of text.
- Default Value:
- None
- Example:
- Refer to:
|
Category |
- Function:
- Specifies a category for your
custom entity.
- Accepted Values:
- A category from the list.
- Default Value:
- None
- Example:
- Refer to:
|
Owner |
- Function:
- Specifies the name of the user to be an owner of your
custom entity.
- Accepted Values:
- A user name from the list.
- Default Value:
- None
- Limitations:
-
This field
is available in these releases:
|
Owner Full Name |
- Function:
- Shows the full name of the user who is the owner of your
custom entity.
- Accepted Values:
- Read only.
- Default Value:
- The full name of the user specified in the Owner field.
|
Publish Status |
- Function:
- Specifies whether an entity is ready to use.
- Accepted Values:
-
- On - An entity is ready to use.
- Off - An entity is in draft.
- Default Value:
- Off
- Example:
- Refer to:
|
Record Limit |
- Function:
- Specifies the maximum number of
records to get from an
entity.
- Accepted Values:
- A positive integer up to 1000000.
- Default Value:
- 1000000
- Example:
- Refer to:
|
Active |
- Function:
- Specifies whether an entity
can be used by an app.
- Accepted Values:
-
- On - The entity can be used in apps.
- Off - The entity can be viewed or changed in
Data Entities, but it does not
show in the App Builder.
- Default Value:
- On
- Example:
- Refer to:
|
Use The Default Event Logging For AgilePoint NX Apps / Create Detailed Audit Logs For This Entity |
- Function:
- Specifies the audit level to track and store events that occur for the
custom entity.
- Accepted Values:
-
- On - Tracks and stores all events that occur on the entity.
- Off - Does not store events for the entity except normal error logging for your app.
- Default Value:
- Off
- Example:
- Refer to:
|
Allow Entity Model Import |
- Function:
- Lets which users can import entity model to AgilePoint NX
Data Entities.
- Accepted Values:
-
- Default Value:
- On
- Example:
- Refer to:
- Limitations:
- By default, this field is enabled in these releases:
|
Allow Entity Model Export |
- Function:
- Specifies which users can export an entity model.
- Accepted Values:
-
- On - All users who have access can export the entity model.
- Off - Only Administrator
and Entity Owners can export
the entity model.
- Default Value:
- On
- Example:
- Refer to:
- Limitations:
- By default, this field is enabled in these releases:
|
Allow Record Export |
- Function:
- Specifies which users can export the
records
from an entity.
- Accepted Values:
-
- Default Value:
- On
- Example:
- Refer to:
- Limitations:
- By default, this field is enabled in these releases:
|
Allow Record Import |
- Function:
- Specifies which users can import
records to
an entity.
- Accepted Values:
-
- Default Value:
- On
- Example:
- Refer to:
- Limitations:
- By default, this field is enabled in these releases:
|
Enable Analytics |
- Function:
- Specifies whether an entity
can be viewed or used for reports in
Analytics Center.
- Accepted Values:
-
- On - The entity can be viewed or used for reports in Analytics Center.
- Off - The entity cannot be viewed or used for reports in Analytics Center.
- Default Value:
- On
- Limitations:
-
This field
is available in these releases:
|
Update |
- Function:
- Saves the values and configuration you entered for the
entity.
- To Open this Field:
-
- On the
Details tab, click Edit .
|
Reset |
- Function:
- Deletes the values you entered for the
entity.
- To Open this Field:
-
- On the
Details tab, click Edit .
|
Back  |
- Function:
- Goes to the previous screen.
- To Open this Field:
-
- On the
Details tab, click Edit .
|