Import Data screen

Uploads a collection of exported records from your local machine, and adds it to an entity in AgilePoint NX Data Entities.
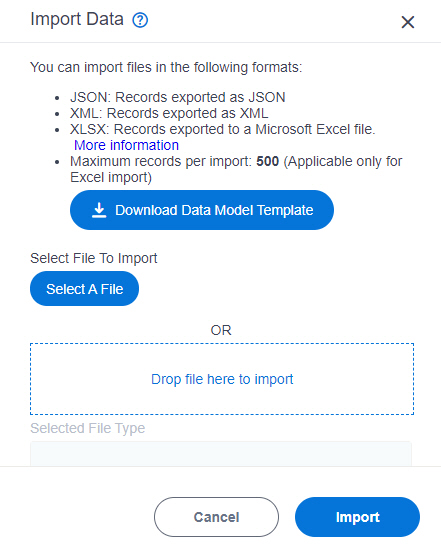
Figure: Import Data screen

Import Data screen

Video: Build Your First Data Entity

Prerequisites

How to Start

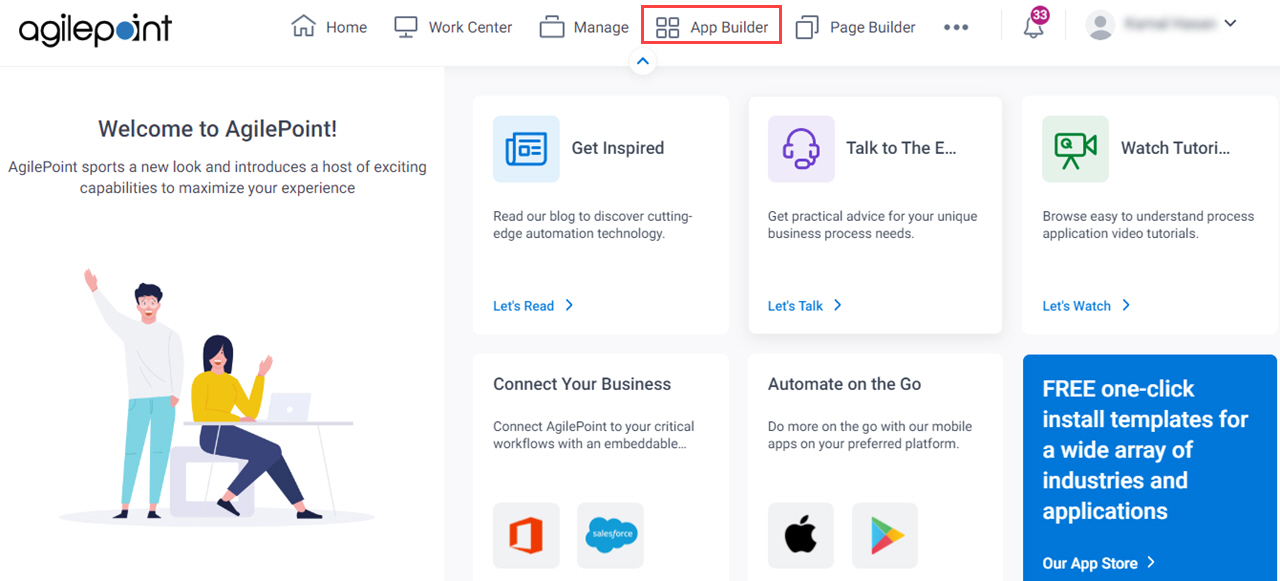
  1. Click App Builder.

    Build Apps screen
  2. On the App Explorer screen, click Data Entities.
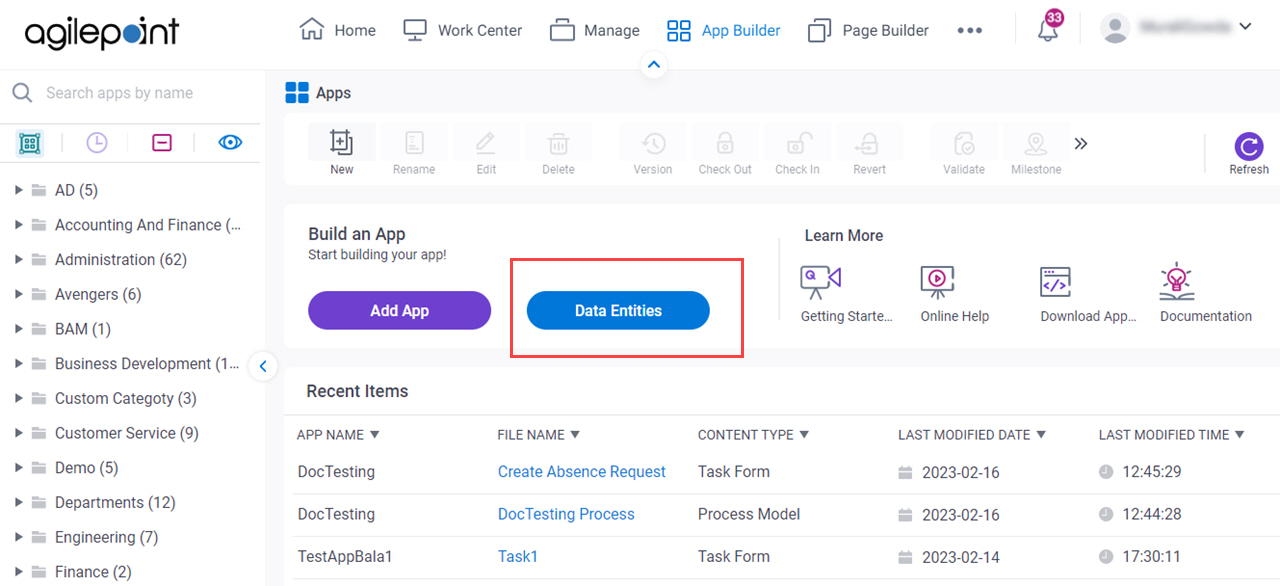
    Click Data Entities Screen
  3. On the Data Entities Home screen, click Entities.
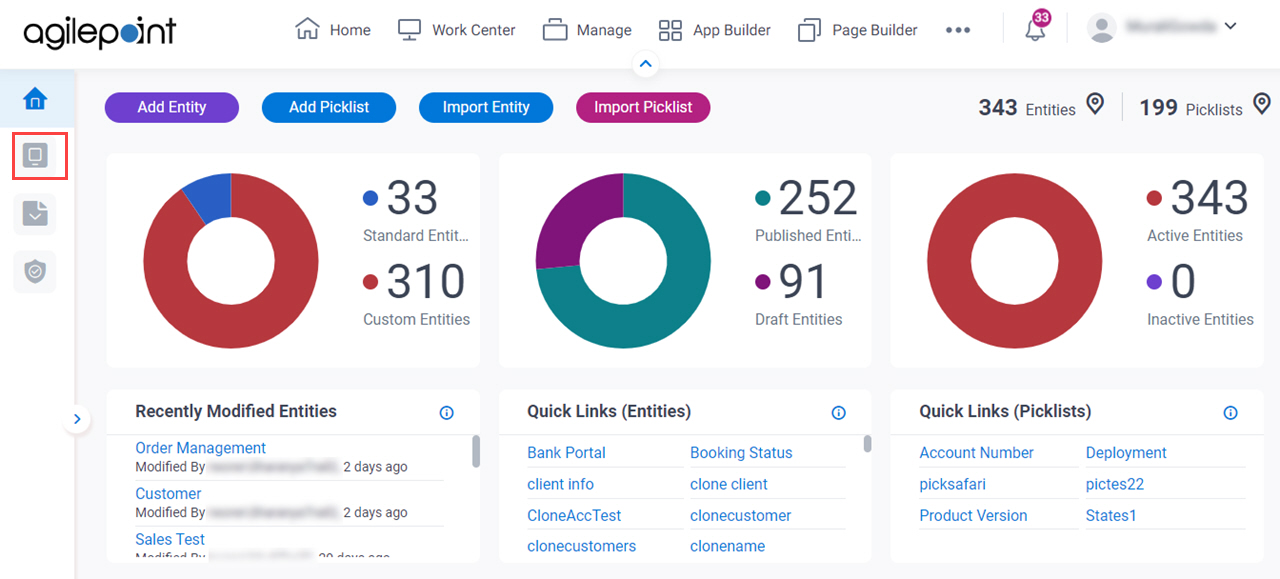
    Click Entities
  4. On the Entities screen, click an entity.
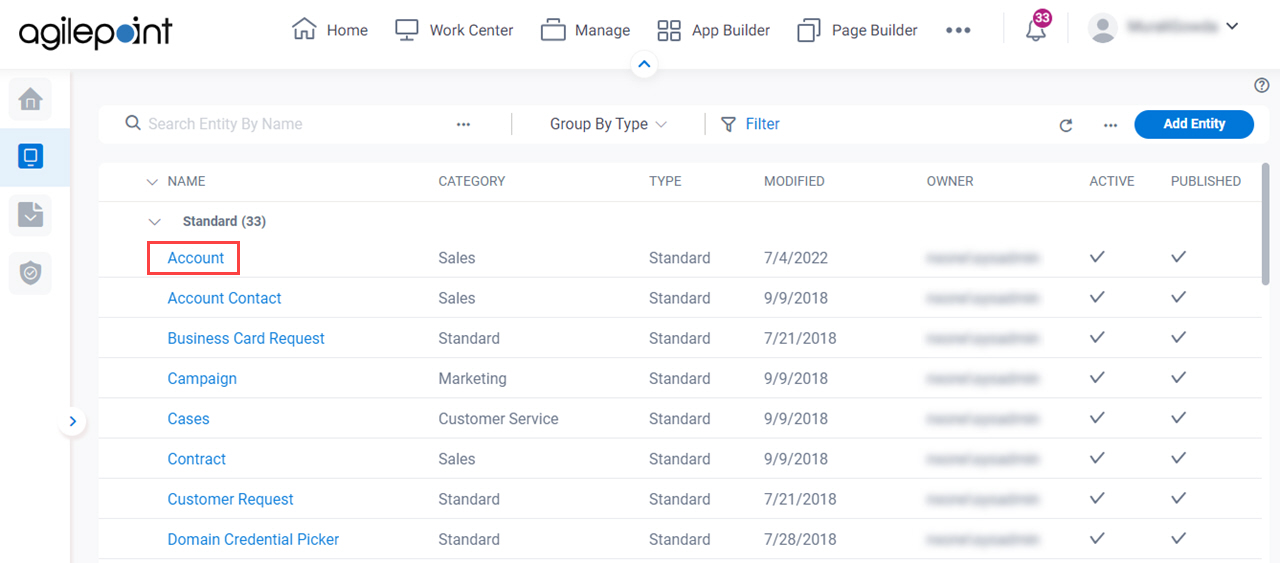
    Entities screen
  5. On the right side of the screen, click Ellipses (...) > Import Data.
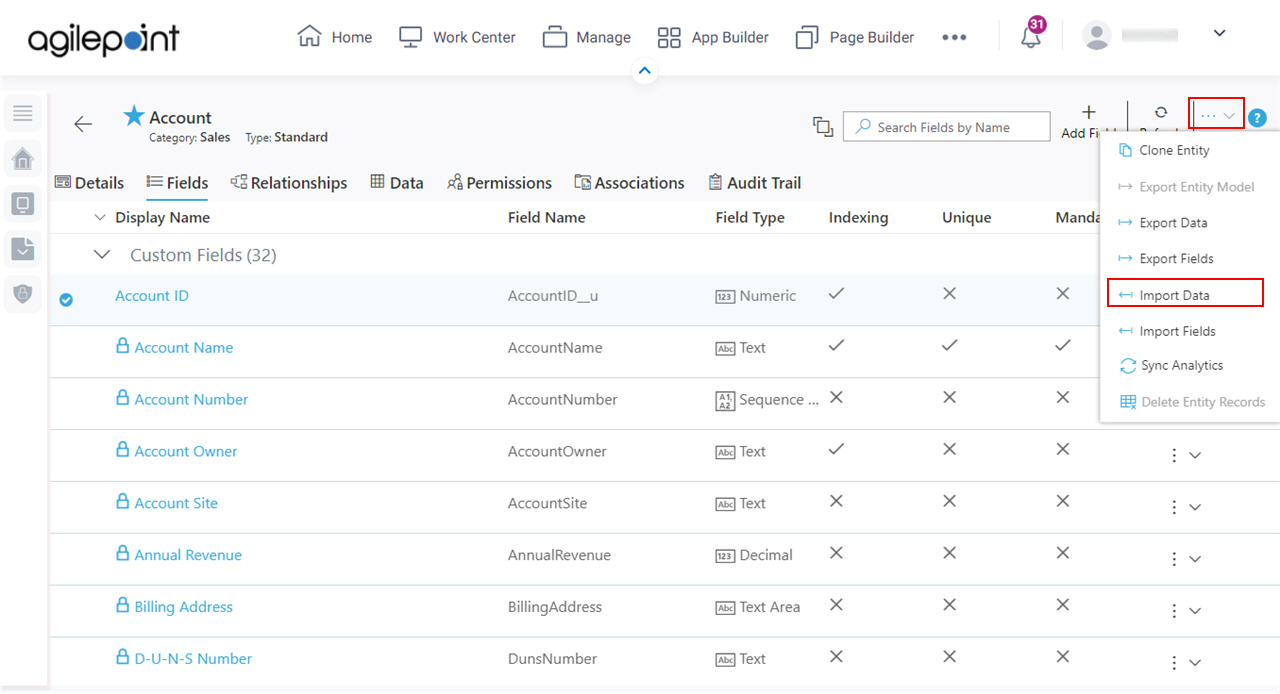
    Click Import Data

Fields

Field NameDefinition

Download Data Model Template

Function:
Downloads a Microsoft Excel file you can use to import new records or update existing records for an entity.

Select File To Import

Function:
Specifies a file that contains the records to use.
Accepted Values:
  • An XML or JSON file that contains an exported records.
  • A Microsoft Excel file that has exported records or new records.

Click the Select A File button to select a file from your local file system.

Default Value:
None

Selected File Type

Function:
Shows the type of file you selected in the Select File To Import field.
Accepted Values:
Read only.
Default Value:
None

Retain Record Field Value

Function:
Specifies whether to keep the value in the ID field from the records you import.

The ID field provides a unique identifier for each record.

Accepted Values:
  • On - Keeps the stored value in the ID field for each record you import.

    If you want to keep the value in the ID field for each record, turn on this field. This is the correct option if you move an entity from one environment to another environment.

  • Off - Replaces the value in the ID field for each record with a unique GUID that is generated by Data Entities.
Default Value:
Off
Limitations:
This field is available in these releases: