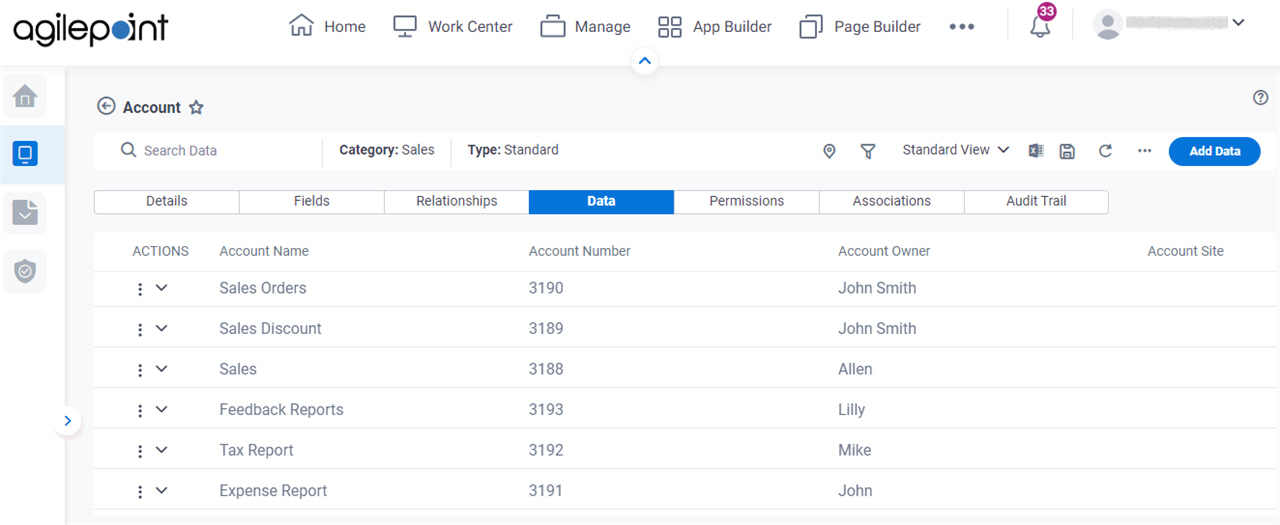
Figure: Entity Data screen Video: Build Your First Data Entity
VIDEO
Good to Know
The system supplies values to these standard fields. Therefore, you can not change
values to these fields:
ID Created Date Last Modified Date Created By Last Modified By How to Start
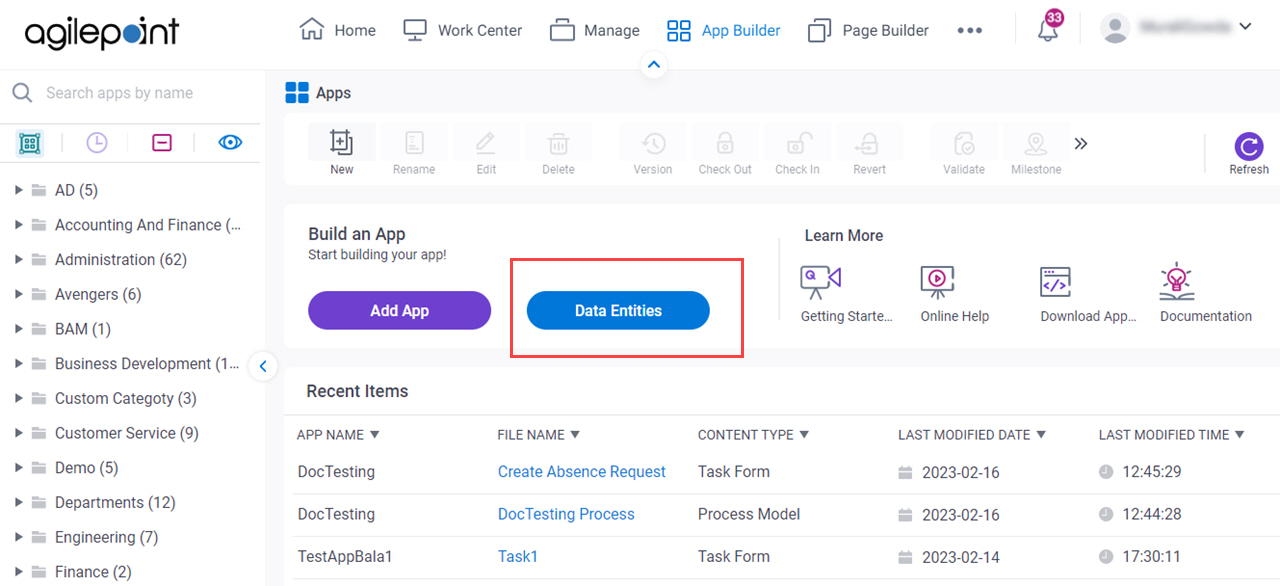
Click App Builder .
On the App Explorer screen ,
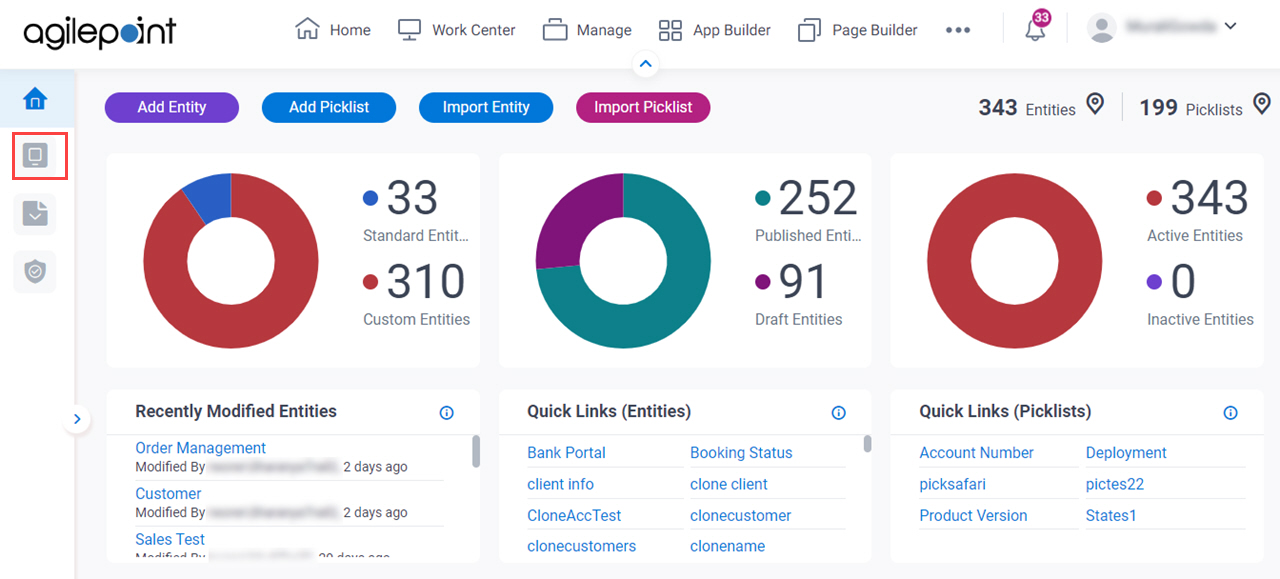
click Data Entities On the Data Entities Home screen , click Entities .
On the Entities screen ,
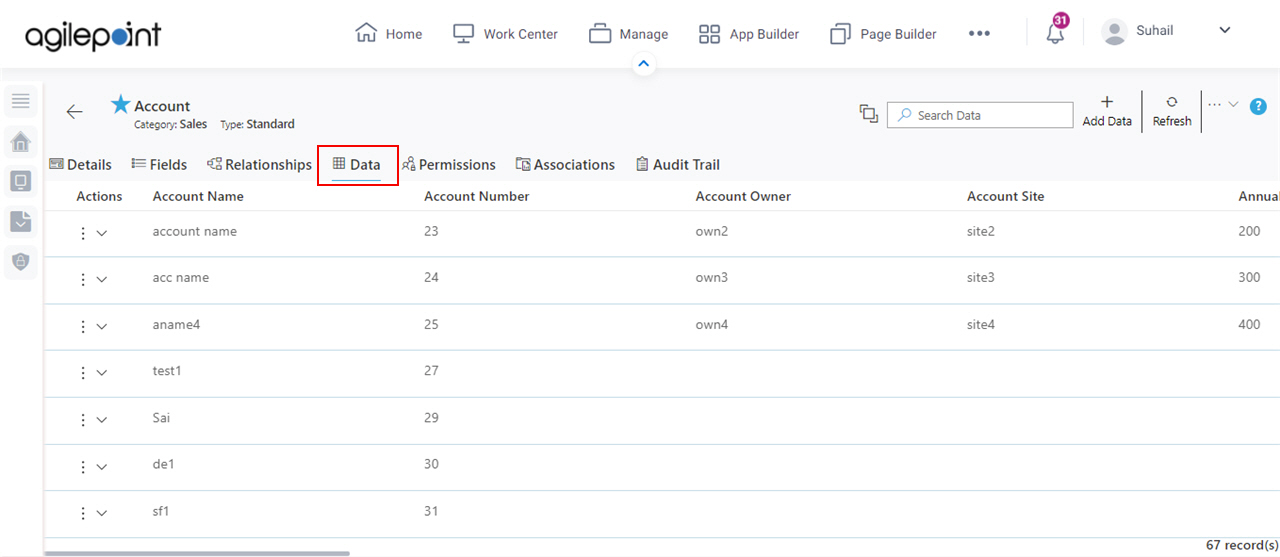
click an entity .
Click the Data tab.
Fields
Field Name Definition Navigate To Other Entity
Opens this Screen: Navigate To Entity screen .Function of this Screen: Shows the list of AgilePoint NX entities . Filters
Opens this Screen: Filter screen Function of this Screen: Filters the records on the
Entity screen > Data tab .Limitations:
This field
is available in these releases
Views List
Function: Shows the list of views that can be used in Data Entities. Save View
Opens this Screen: Save View screen Function of this Screen: Creates a custom view in Data Entities .Limitations:
This field
is available in these releases
Search Data
Function: Does a search for records Add Data
Opens this Screen: Inserts records entity fields entity Example: Refer to :
Refresh
Function: Updates the information on the screen. Clone Entity
Opens this Screen: Clone Entity screen To Open this Field: On the right side of the screen, click the Ellipses (...) .Function of this Screen: Creates a copy of an
entity Example: Refer to :
Export Entity Model
Opens this Screen: Export Entity Model screen .To Open this Field:
On the right side of the screen, click
Ellipses (...) . Function of this Screen: Downloads an entity template Data Entities XML JSON Microsoft Excel .Example: Refer to :
Export Data
Opens this Screen: Export Data screen .To Open this Field:
On the right side of the screen, click
Ellipses (...) . Function of this Screen: Downloads records entity XML JSON Microsoft Excel .Example: Refer to :
Import Data
Opens this Screen: Import Data screen .To Open this Field:
On the right side of the screen, click
Ellipses (...) . Function of this Screen: Uploads a collection of exported records entity Data Entities .Example: Refer to :
Import Fields
Opens this Screen: Import Fields screen .To Open this Field:
On the right side of the screen, click
Ellipses (...) . Function of this Screen: Uploads a group of exported entity fields entity Data Entities .Limitations:
This field
is available in these releases
Sync Analytics
Function: Creates a connection between an entity Analytics To Open this Field:
On the right side of the screen, click
Ellipses (...) .
Actions
Function: Specifies the type of action to do for the
records Accepted Values:
View/Edit Clone Delete Default Value: None Example: Refer to :
Delete Entity Record
Opens this Screen: Delete Entity Records screen To Open this Field:
On the right side of the screen, click the Ellipses (...) .Select the records to delete. Function of this Screen: Deletes the entity records