Picklists screen

Shows the picklists in AgilePoint NX Data Entities.
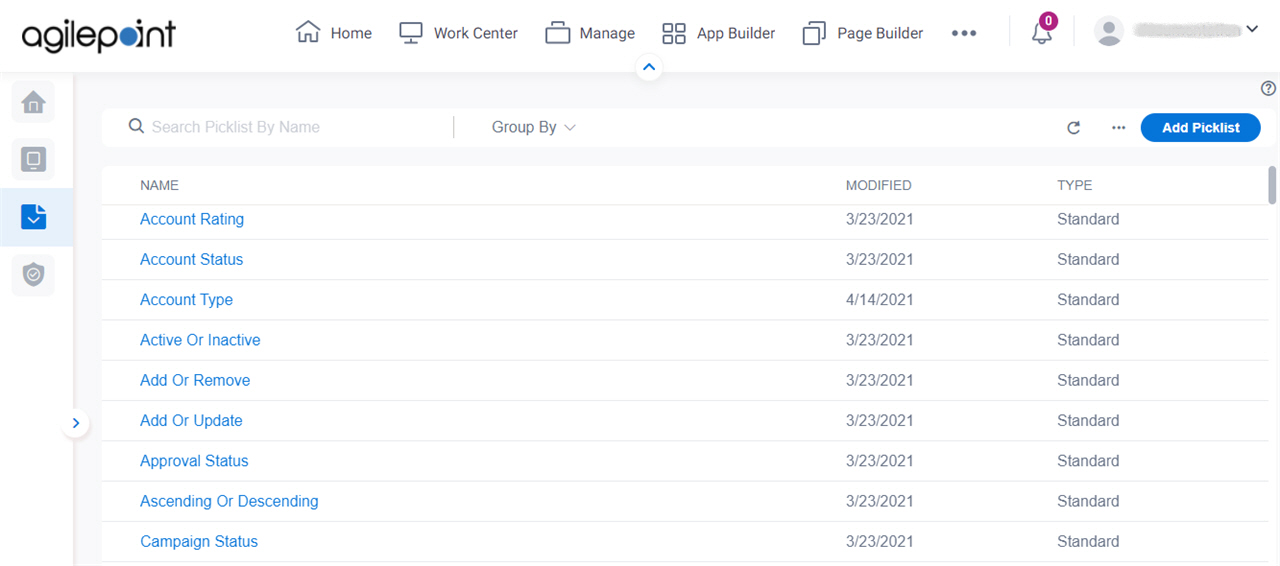
Figure: Picklists screen

Picklists screen

Video: Know Your Data Entity Designer

Examples

  • (Example) Create a Custom Picklist
  • Examples - Step-by-step use case examples, information about what types of examples are provided in the AgilePoint NX Product Documentation, and other resources where you can find more examples.

Prerequisites

How to Start

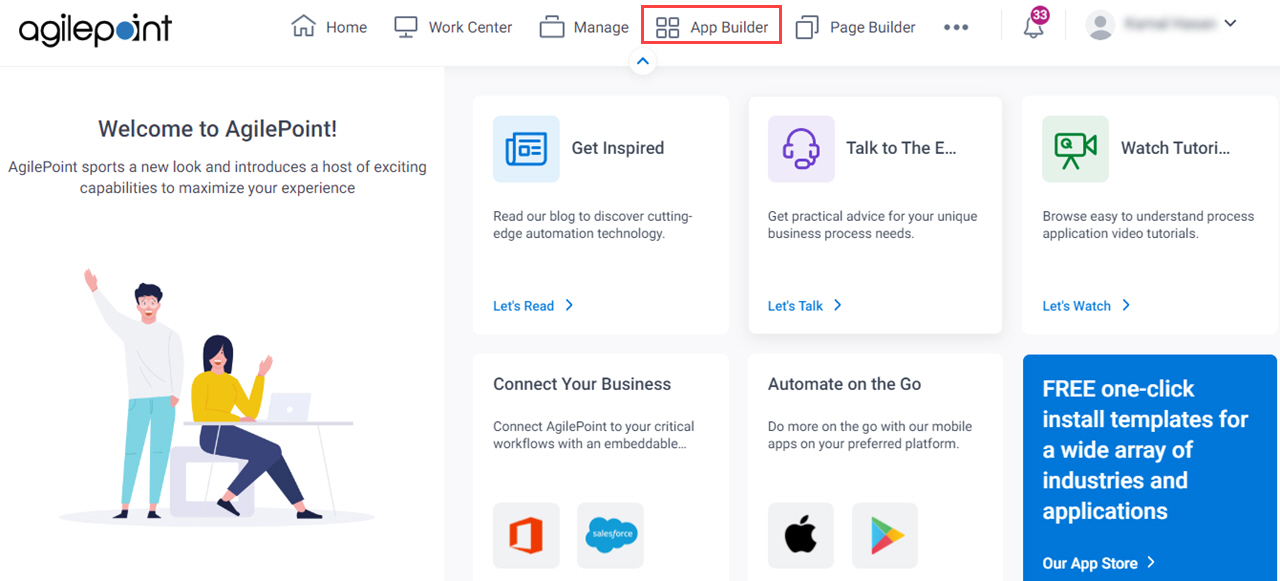
  1. Click App Builder.

    Build Apps screen
  2. On the App Explorer screen, click Data Entities.
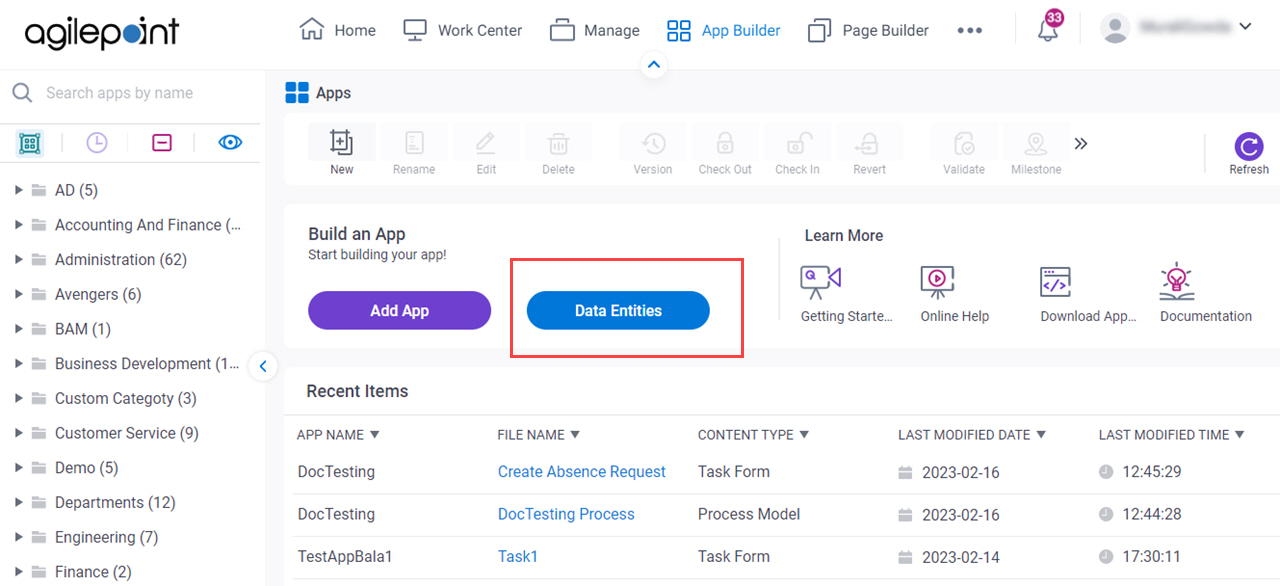
    Click Data Entities Screen
  3. On the Data Entities Home screen, click Picklists.
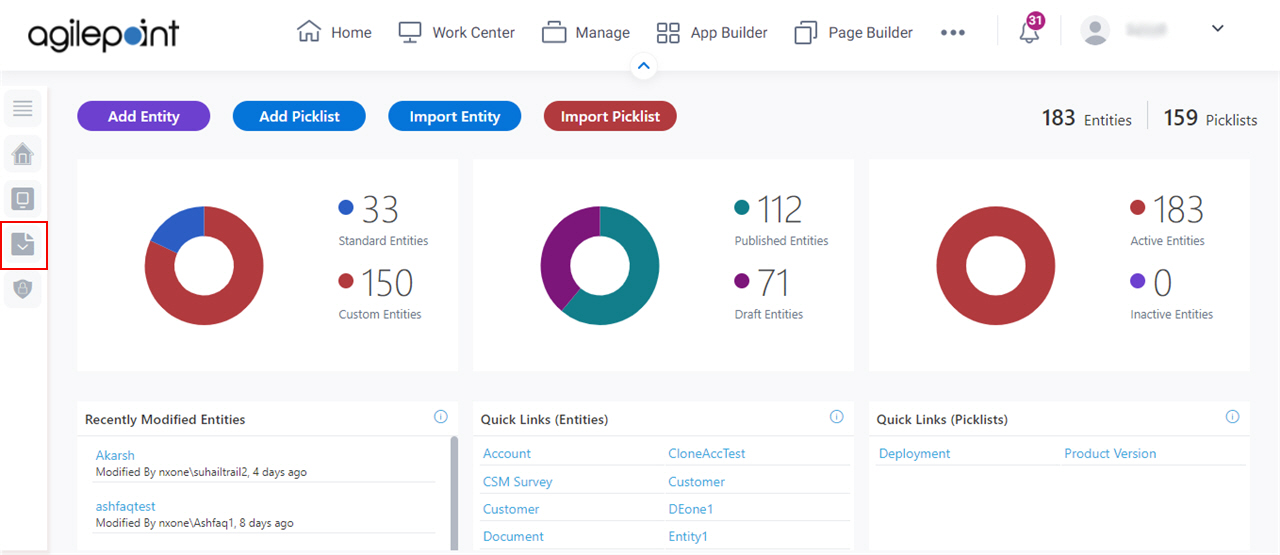
    Click Picklists screen

Fields

Field NameDefinition

Search Picklist By Name Search Picklist by Name icon

Function:
Does a search for picklists based on the display names.

Group By

Function:
Specifies how to group the picklists.
Accepted Values:
  • Group By Type - Groups the picklists by the picklist type.
Default Value:
None

Refresh Refresh icon

Function:
Updates the information on the screen.

Delete Picklists Delete Picklists icon

Opens this Screen:
Type CONFIRM To... screen
To Open this Field:
  1. Select the picklists.
  2. On the right side of the screen, click the Ellipses (...).
Function of this Screen:
Deletes your custom picklists.

Add Picklist

Opens this Screen:
New Picklist screen.
Function of this Screen:
Creates a picklist you can use in entity fields
Example:
Refer to:

Import Picklist

Opens this Screen:
Import Picklist screen.
To Open this Field:
On the right side of the screen, click the Ellipses (...).
Function of this Screen:
Uploads an exported picklist from your local machine to Data Entities

Name

Function:
Opens this Screen:
Picklists > Items screen.
Function of this Screen:
Creates or changes one or more picklist items..

Type

Function:
Shows the type of picklist.
Accepted Values:
  • Standard
  • Custom

Modified

Function:
Shows the date of the last change made to the picklist.
Accepted Values:
Read only.