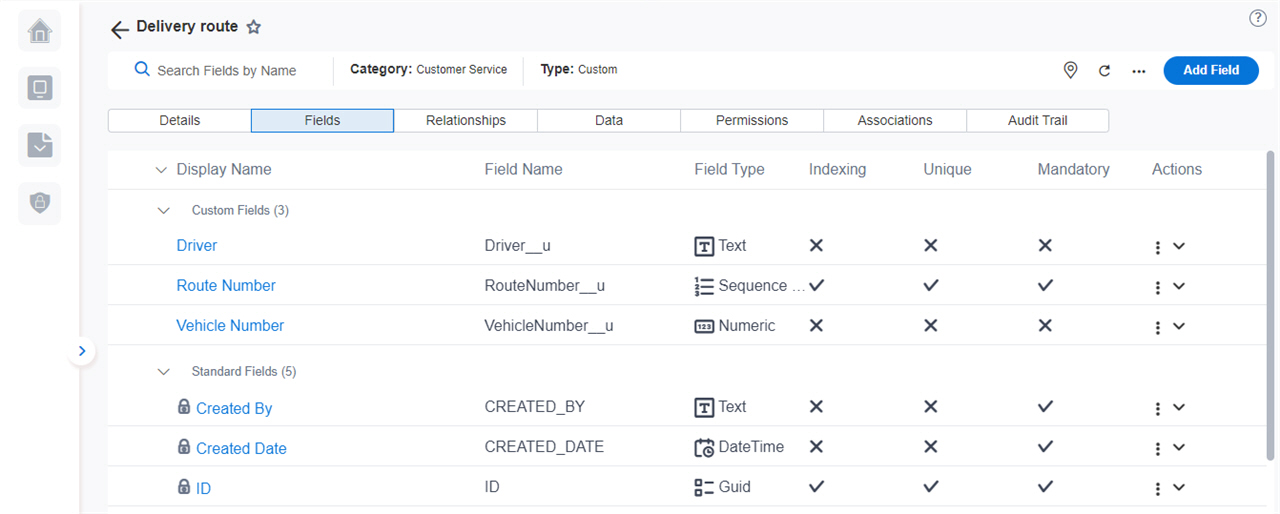
(Example) Create a Custom Entity in Data Entities
This example shows how to create a custom entity in Data Entities.
Video: Build Your First Data Entity
Prerequisites
- AgilePoint NX OnDemand (public cloud), or AgilePoint NX Private Cloud or AgilePoint NX OnPremises v7.0 or higher.
Good to Know
- This topic provides a simple example with a basic entity based on a sample use case. The use case is based on a shipping company that requires an entity to store information about delivery routes.
- This is a simple example. It is not intended as a real-world use case.
How to Start
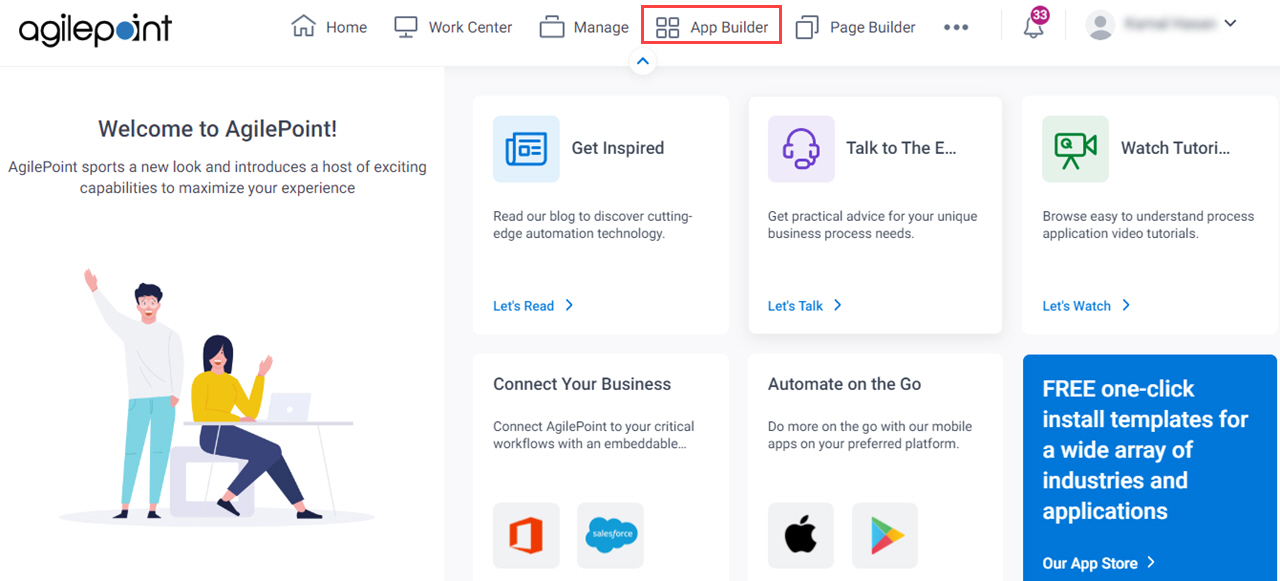
- Click App Builder.
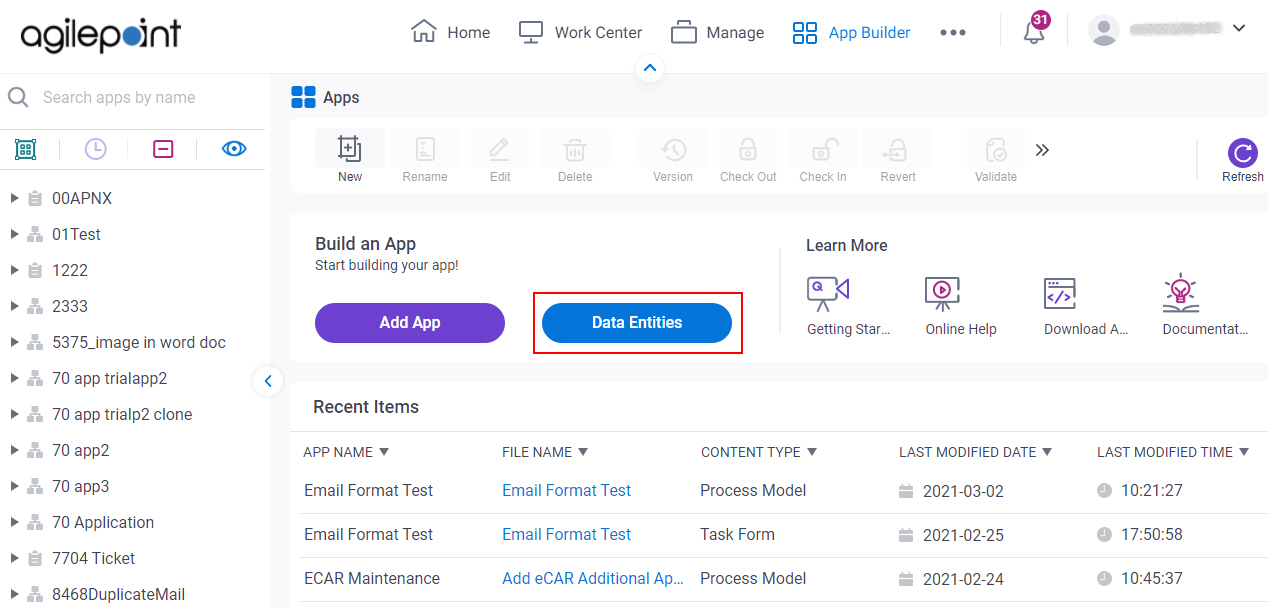
- On the App Explorer screen,
click Data Entities.
Procedure
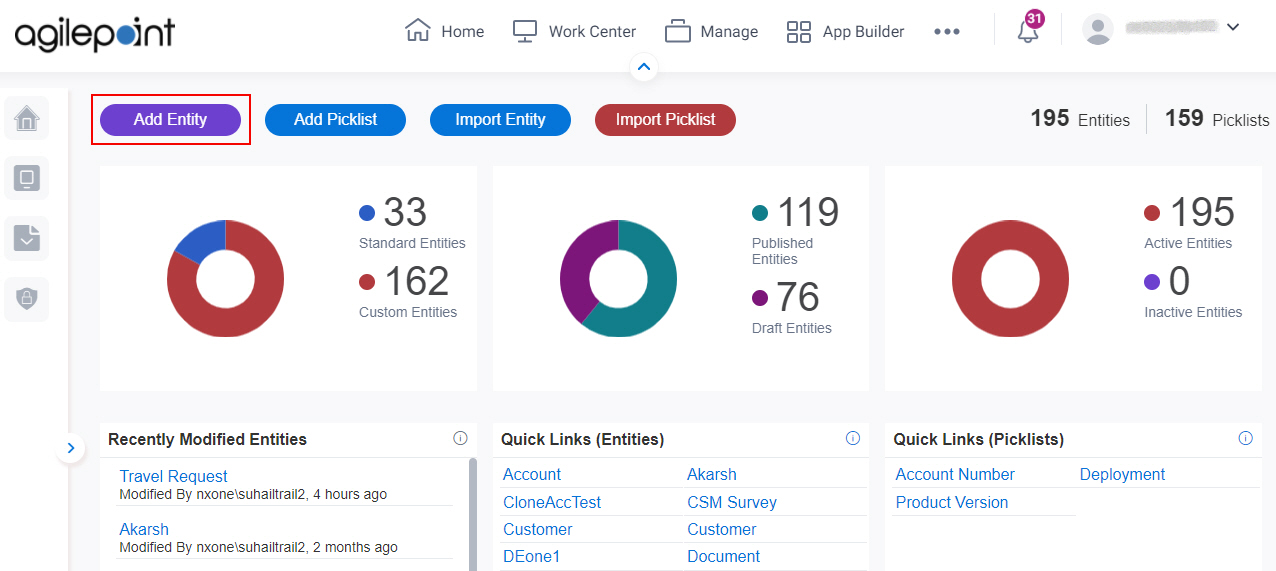
- On the Data Entities Home screen,
click Add Entity.
- On the New Entity screen,
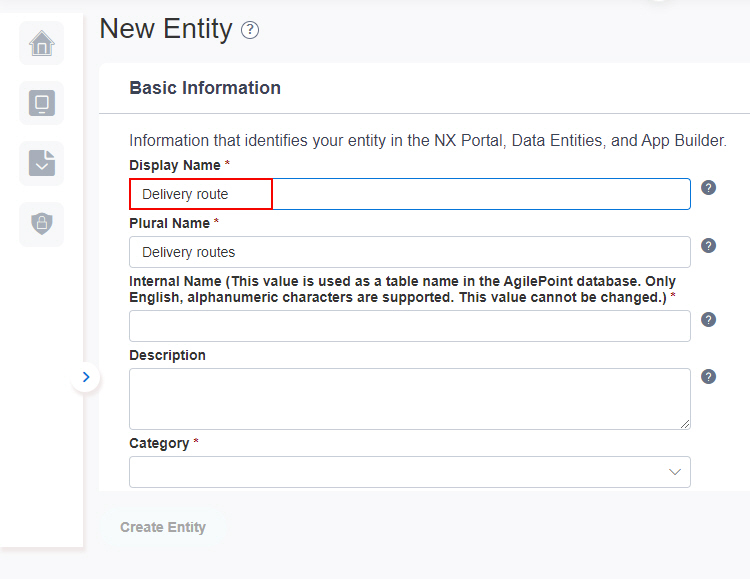
in the Display Name field, enter Delivery route.
When you click Plural Name and Internal Name fields, these fields complete by default based on the value you enter in Display Name field.
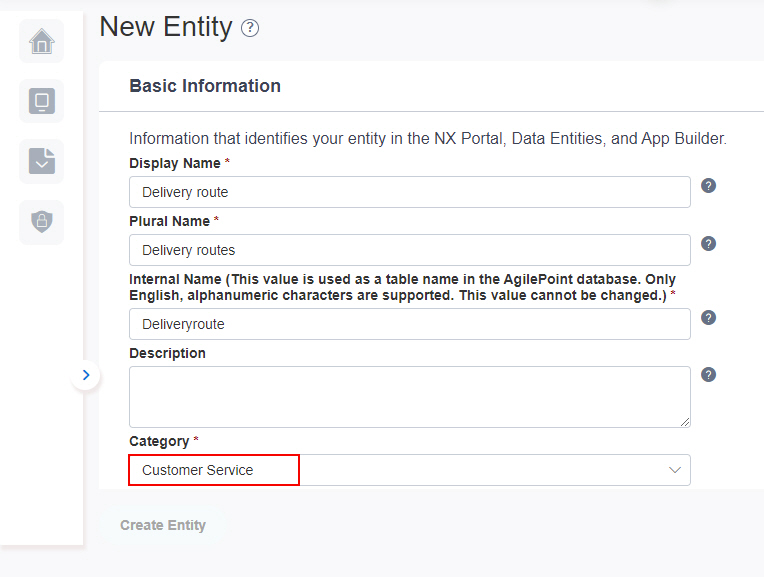
- In the Category field, select Customer Service.
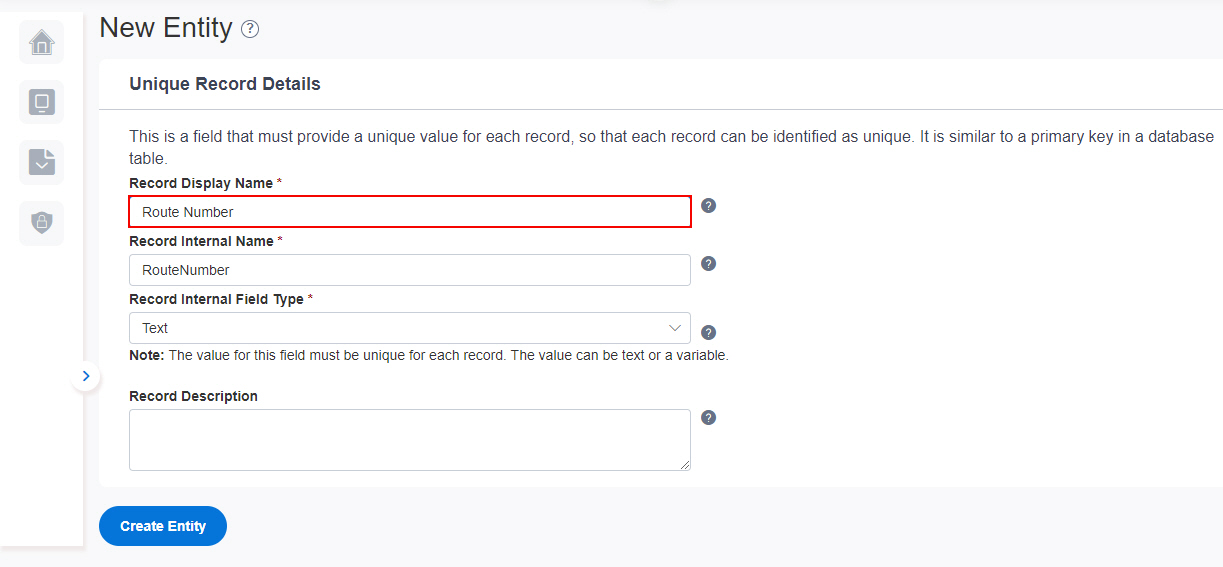
- Under Unique Record Details section, in the Record Display Name field, enter Route Number.
When you click Record Internal Name field, this field complete by default based on the value you enter in Record Display Name field.
- In the Record Internal Field Type field, select Auto Increment.
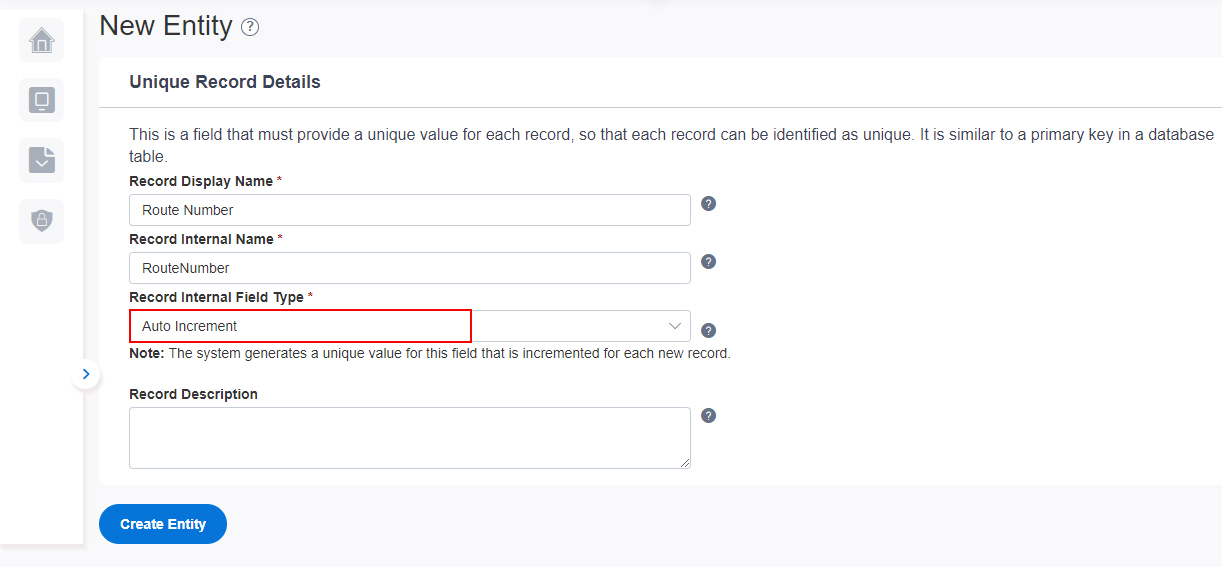
- Click Create Entity.
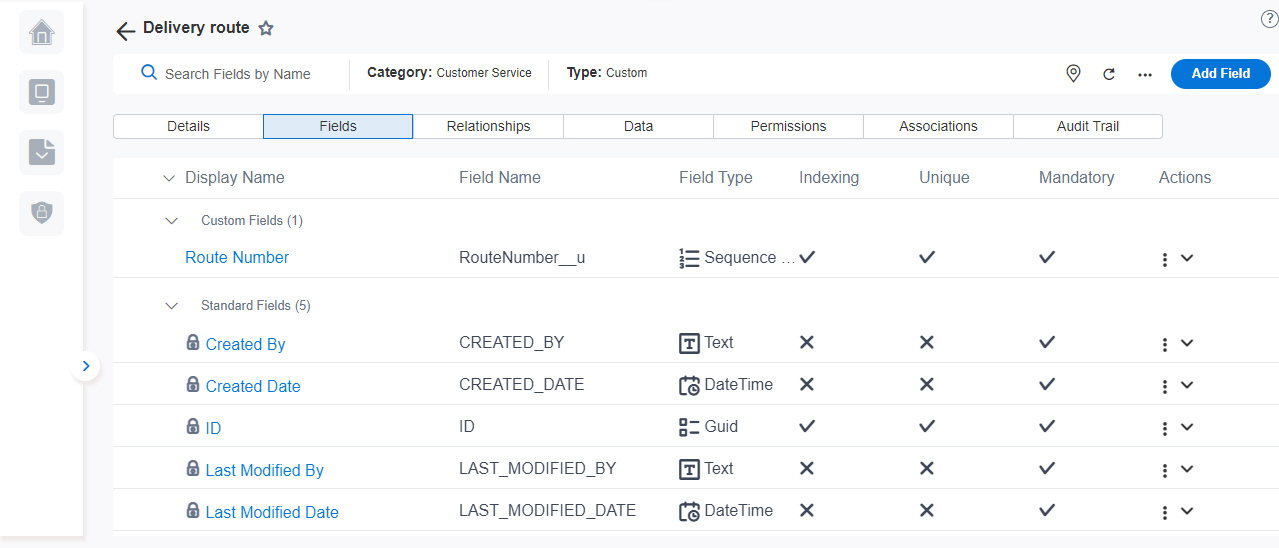
The Data entities creates a custom entity, Delivery Route and an entity field, Route Number.
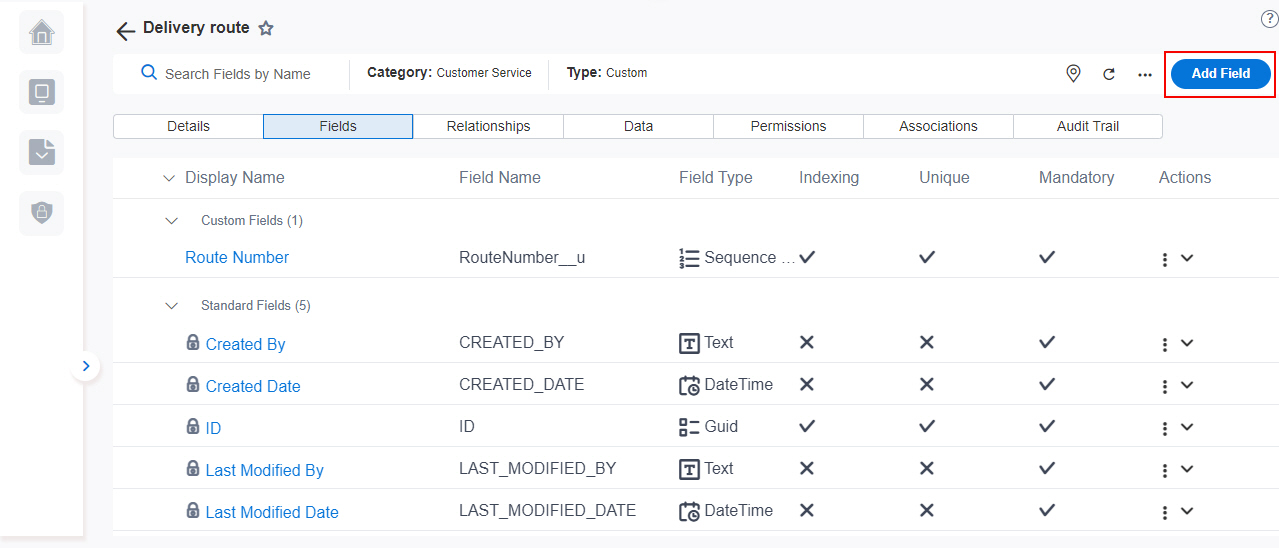
- Click Add Field.
- On the New Field screen, select Text.
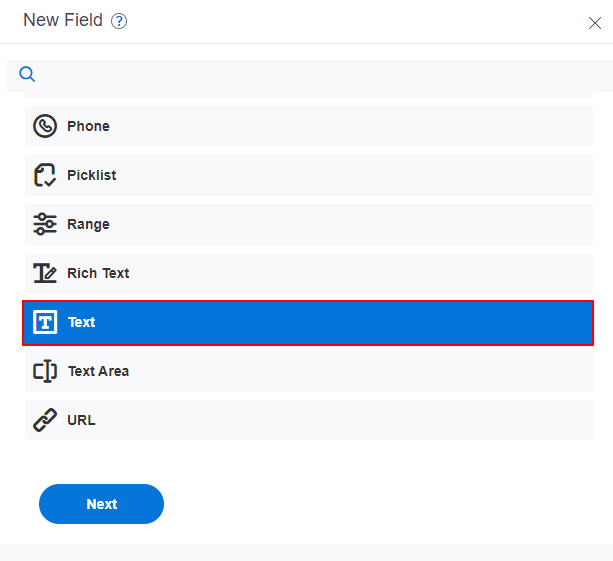
- Click Next.
- On the New Field screen, in the Display Name field, enter Driver.
When you click Internal Name field, this field complete by default based on the value you enter in Display Name field.
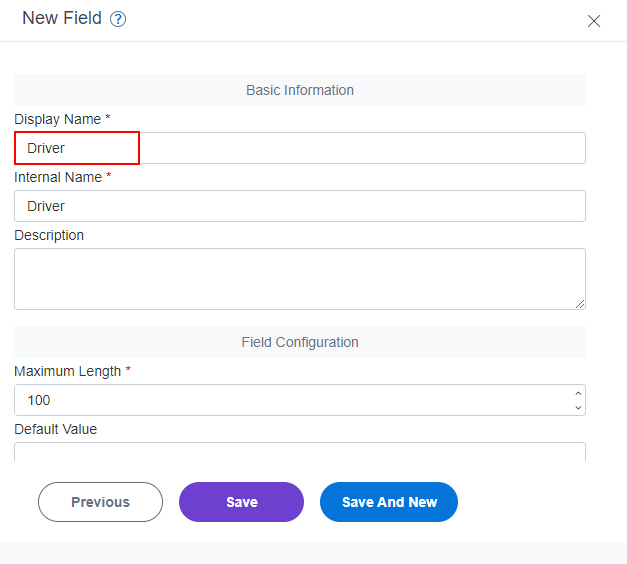
- Click Save and New.
- On the New Field screen, select Numeric.
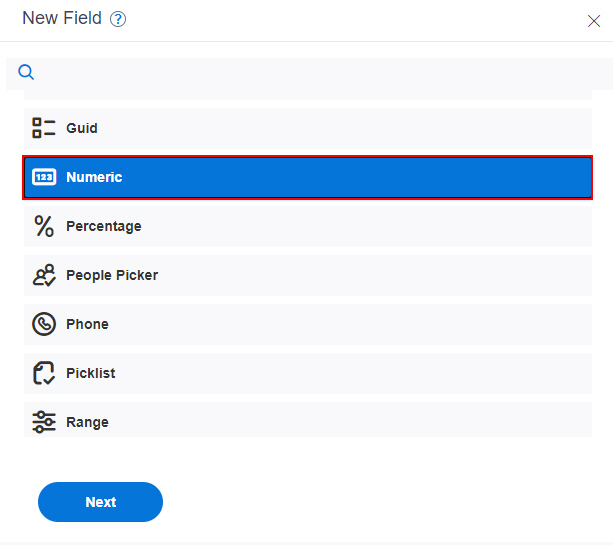
- Click Next.
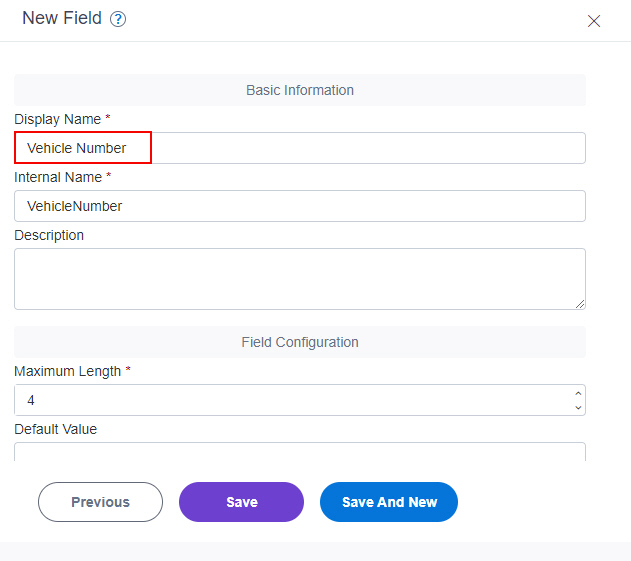
- On the New Field screen, in the Display Name field, enter Vehicle Number.
When you click Internal Name field, this field complete by default based on the value you enter in Display Name field
- Click Save.
The entity fields Driver and Vehicle Number are created on the custom entity.
