
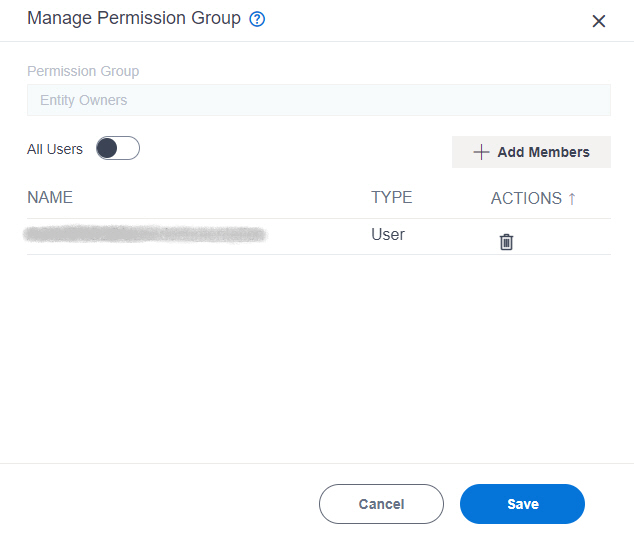
Manage Permission Group screen
Specifies the users and groups who are members of the selected permission group.
Video: Entity Permissions
Prerequisites
- On the Data Entity Settings screen, set Allow Entity Permission to Yes.
- AgilePoint NX OnDemand (public cloud), or AgilePoint NX Private Cloud or AgilePoint NX OnPremises v7.0 or higher.
Good to Know
- For more information about Data Entities permissions, refer to Data Entities Permissions Overview.
How to Start
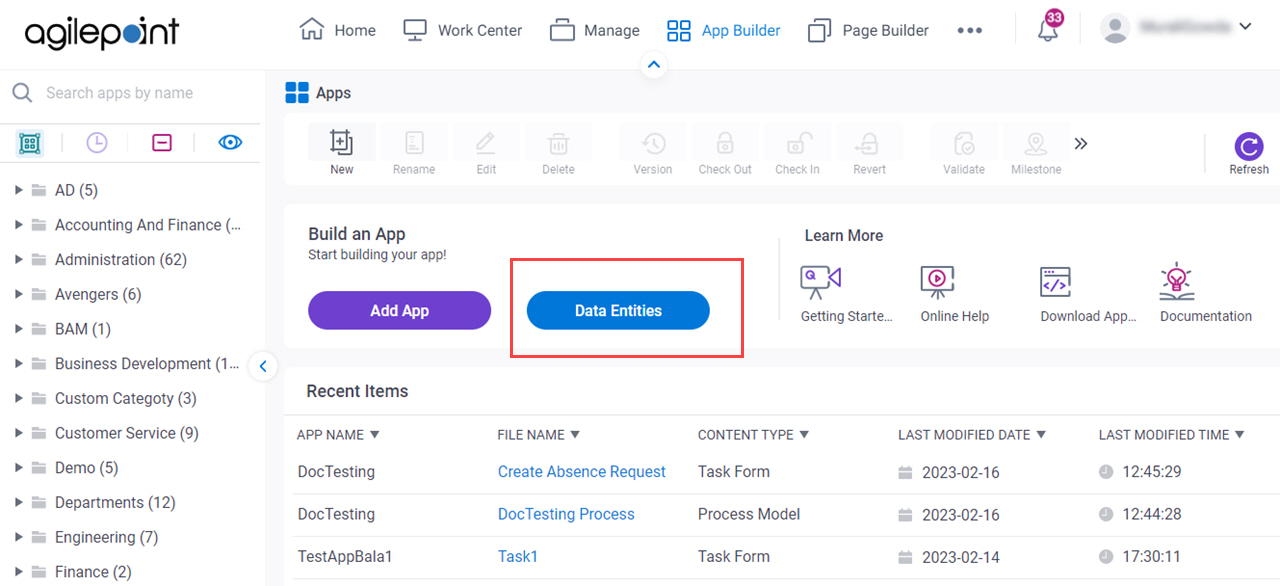
- Click App Builder.

- On the App Explorer screen,
click Data Entities.
- On the Data Entities Home screen, click Entities.
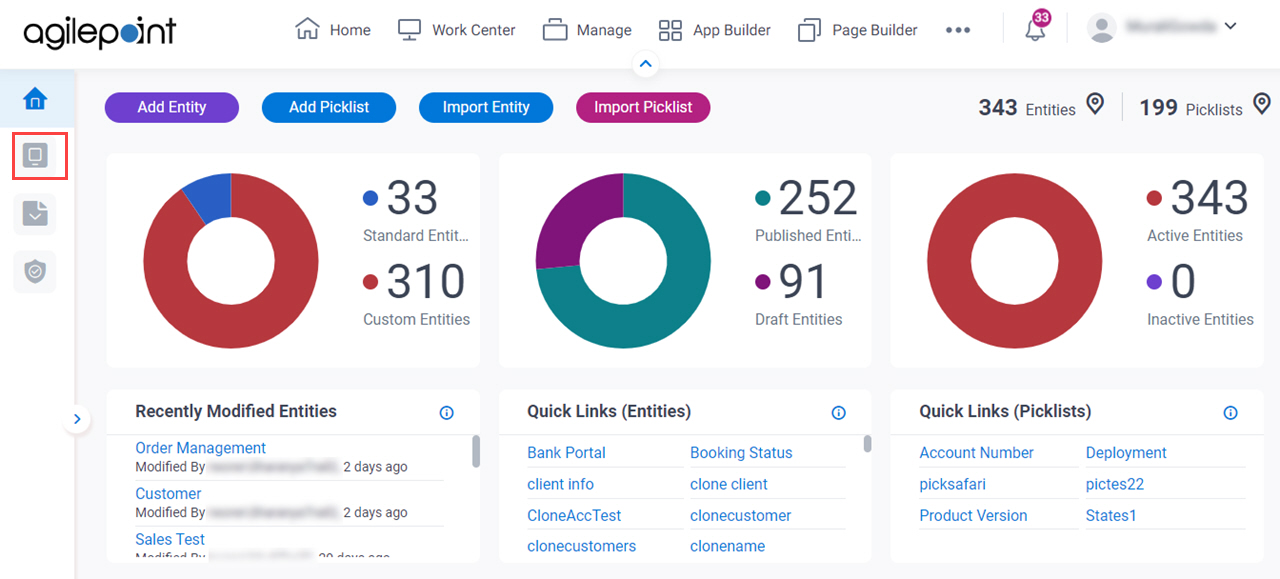
- On the Entities screen,
click an entity.

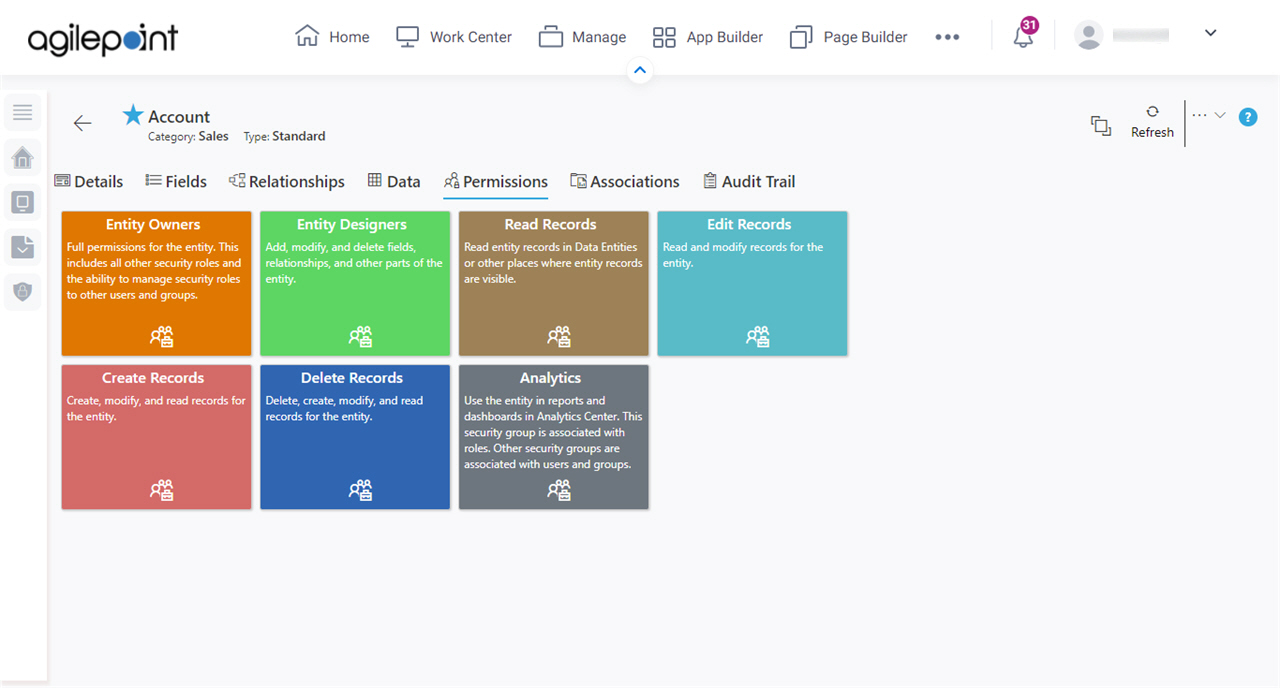
- Click the Permissions tab.
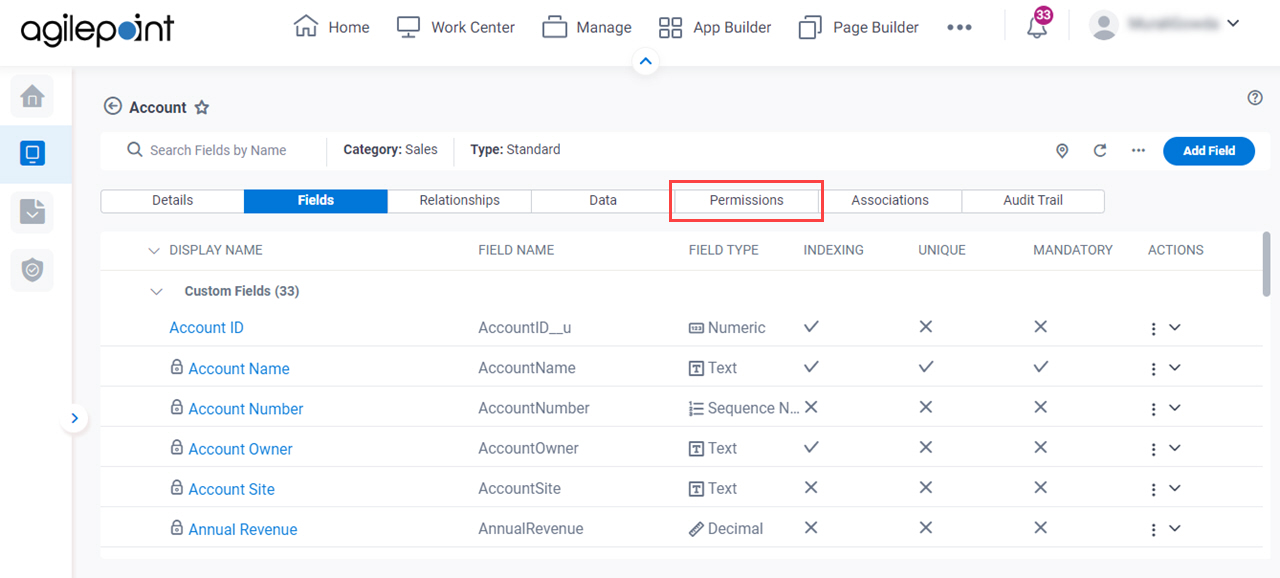
- On the Permissions tab, do one of these:
- Click Entity Owners.
- Click Entity Designers.
- Click Delete Records.
- Click Create Records.
- Click Edit Records.
- Click Read Records.
Fields
| Field Name | Definition |
|---|---|
Permission Group |
|
All Users |
|
Add Members |
|
Name | |
Type | |
|
Actions |

