
Secure Credentials form control
A form control that lets a form user submit information from an eForm to SAP with the user's SAP credentials. This helps with the security and traceability of the SAP transaction.
Configure the Secure Credentials form control
To configure
the
Secure Credentials  form control,
do the procedure in this topic.
form control,
do the procedure in this topic.
Video: Common Configuration Settings in eForm Controls
Prerequisites
- This form control can only be used for SAP connections with secure user accounts.
For more information, refer to Get Data from SAP with a Secure User Account.
- Access Tokens for your SAP system.
- The access token must have a Pool ID with connection mode set to User.
- AgilePoint NX OnPremises or AgilePoint NX PrivateCloud.
- Install the AgilePoint SAP Connector.
- You must install and configure the AgilePoint SAP Connector software. To use the credentials
of the user who completes the eForm,
the Connection Mode field must be set to User.
For more information, refer to SAP Integration AgileConnector.
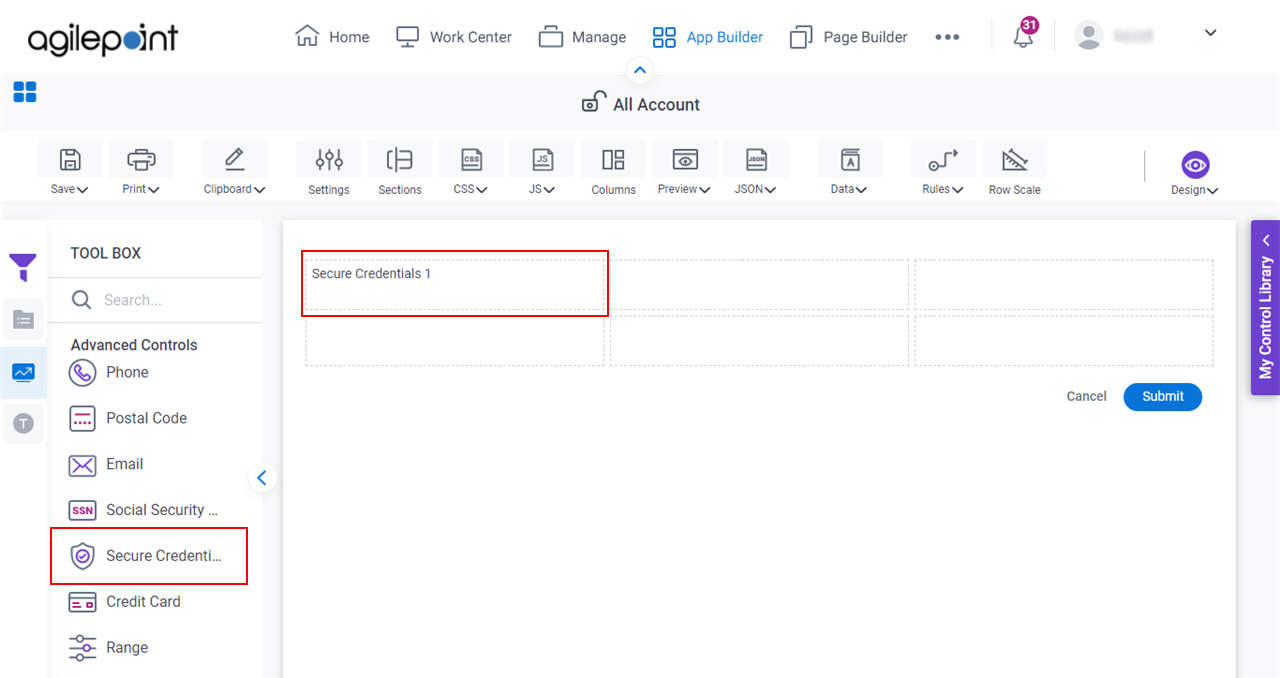
How to Start
- Open eForm Builder.
For information about how to open this screen, refer to eForm Builder screen.
- On the eForm Builder screen, in the Toolbox, open the Advanced Controls tab.
- On the Advanced Controls tab, drag a Secure Credentials
form control onto your eForm.
Procedure
- Complete the settings on the configuration screens.
You can use the Data screen screen to specify a variable.
General
Specifies the basic configuration for the Secure Credentials form control.
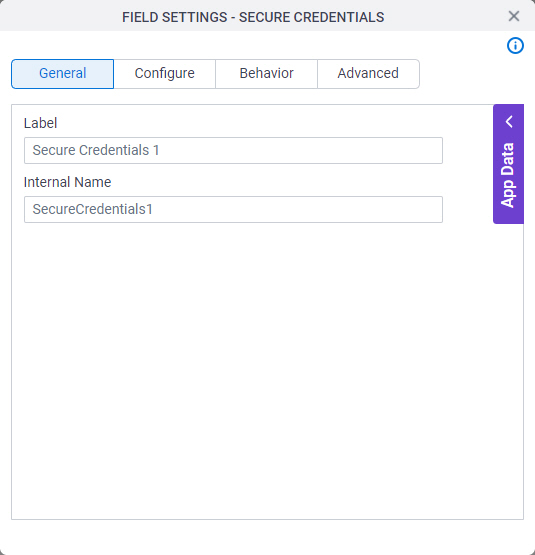
Fields
| Field Name | Definition |
|---|---|
Label |
|
Internal Name |
|
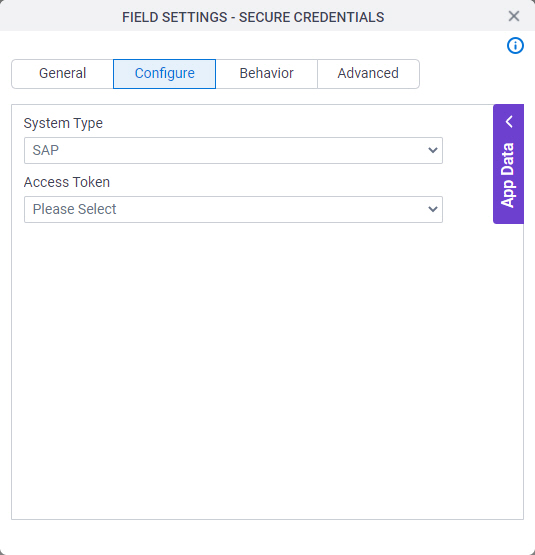
Configure
Configures advanced settings for your form control.
Fields
| Field Name | Definition |
|---|---|
System Type |
|
Access Token |
|
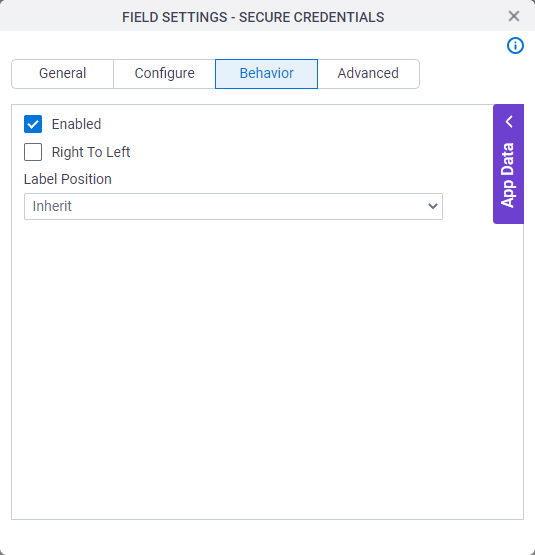
Behavior
Specifies how the control shows on your form.
Fields
| Field Name | Definition |
|---|---|
Enabled |
|
Right To Left |
|
Label Position |
|
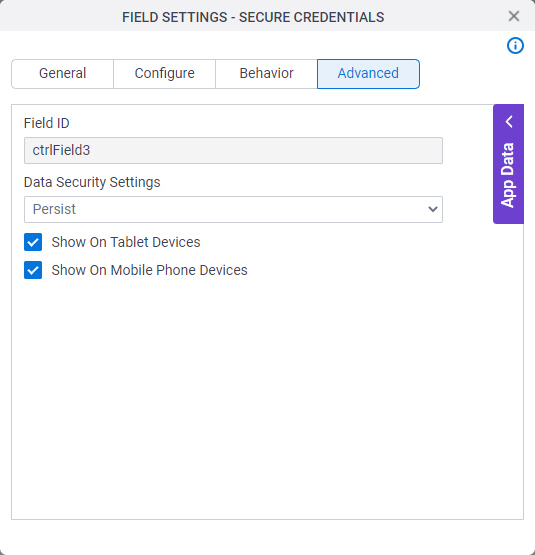
Advanced
Specifies advanced settings for your form control.
Fields
| Field Name | Definition |
|---|---|
Field ID |
|
Data Security Settings |
|
Show On Tablet Devices |
|
Show On Mobile Phone Devices |
|