Lets you delete and restore the pages from trash.
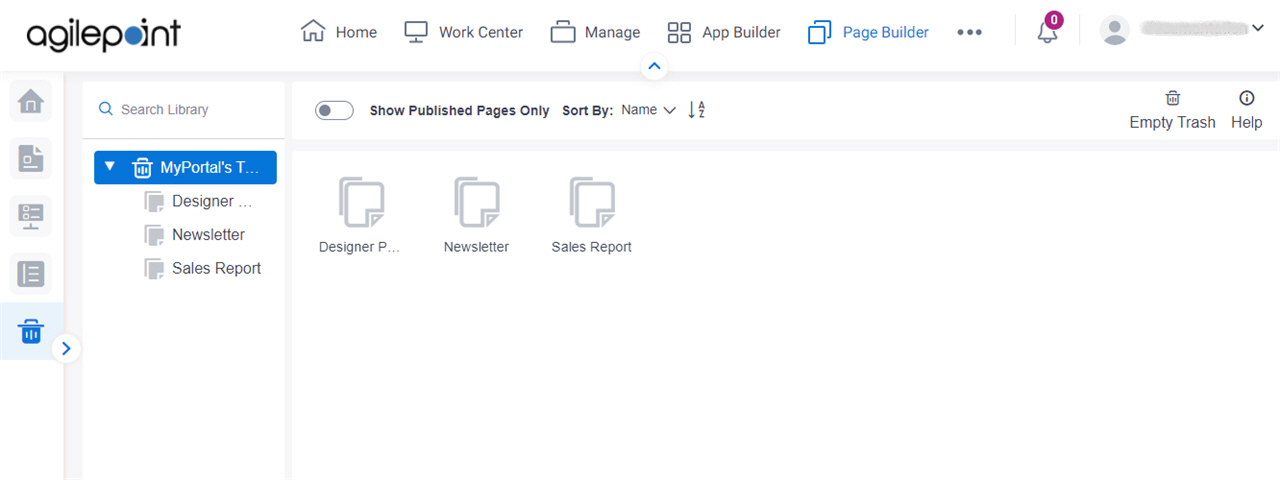
Figure: Trash screen
How to Start
- Click Page Builder.

- On the Home screen, in the left pane,
click Trash.

Fields
| Field Name | Definition |
|---|
Show Published Pages Only |
- Function:
- Specifies whether to show only published pages in trash.
- Accepted Values:
-
- Selected - Shows only published pages in trash.
- Deselected - Shows both published and unpublished pages in trash.
- Default Value:
- Deselected
- Limitations:
-
|
|
Sort By
|
- Function:
- Specifies the sort order for the pages in the trash.
- Accepted Values:
-
- Name - Sorts the pages in ascending, alphabetical order by page name.
- Modified Date - Sorts the pages by the dates they were last modified.
- Created Date - Sorts the pages by the dates they were created.
- Default Value:
- Name
|
Empty Trash |
- Opens this Screen:
- Type CONFIRM To... screen
- Function of this Screen:
- Deletes all pages from the trash.
|
Restore Folder |
- Opens this Screen:
- Type CONFIRM To... screen
- To Open this Field:
-
- On the Trash,
click a folder.
- Function of this Screen:
- Moves a folder from the trash to My Portal.
|
Restore Page |
- Opens this Screen:
- Type CONFIRM To... screen
- To Open this Field:
-
- On the Trash, click a page.
- Function of this Screen:
- Moves a page from the trash to My Portal in Page Builder.
|
Delete Folder |
- Opens this Screen:
- Type CONFIRM To... screen
- To Open this Field:
-
- On the Trash,
click a folder.
- Function of this Screen:
- Deletes a folder from the trash.
- Limitations:
-
This field
is available in these releases:
|
Delete Page |
- Opens this Screen:
- Type CONFIRM To... screen
- To Open this Field:
-
- On the Trash,
click a page.
- Function of this Screen:
- Deletes a page from the trash.
- Limitations:
-
This field
is available in these releases:
|
