
(Example) Cancel a Process from Manage Center
This example shows how to cancel a process instance in Manage Center.
Background and Setup
Prerequisites
- A process in any status other than Completed or Cancelled.
- These access rights:
- Enable Manage Center Access
- Cancel a Process
For more information, refer to:
- This example uses the Sales Invoice app from the AgilePoint NX App Store.
For more information, refer to How to Get the App
Good to Know
- As a best practice, cancelling a process in Manage Center is used for exception cases that are not handled in the configuration for an app.
- When you cancel a process, all tasks in Assigned status are removed from the participants' task list.
- As a best practice, if you cancel a process instance, it is recommended to search by process instance name
so that you do not cancel the wrong process.
To search by process instance name, you can retrieve it from Work Center. For more information, refer to:
In this example, the process instance name is Sales Invoice-2022-11-28T05:05:58:102.
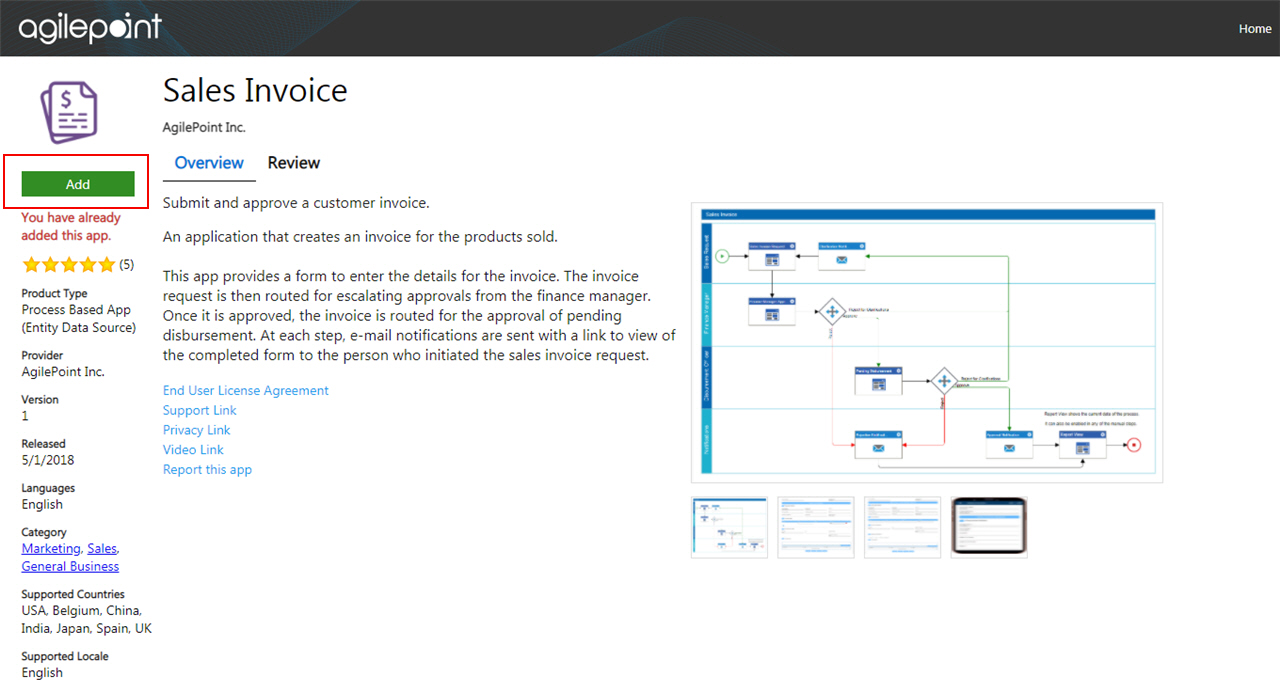
- The Sales Invoice app creates an invoice for products sold by an organization.
This app provides a form to enter information for the invoice. The invoice request is then routed for escalating approvals from the finance manager.
For the use case in this example, after the process starts, the customer has canceled the sales order. A user with the necessary access rights cancels the process in Manage Center.
How to Start
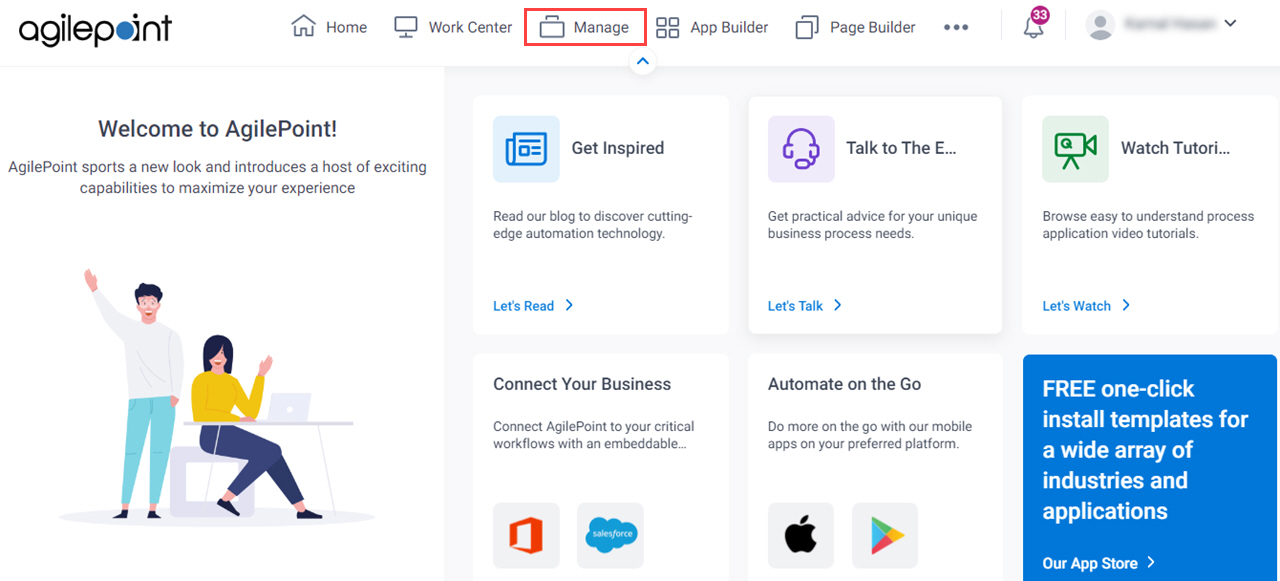
- Click Manage.
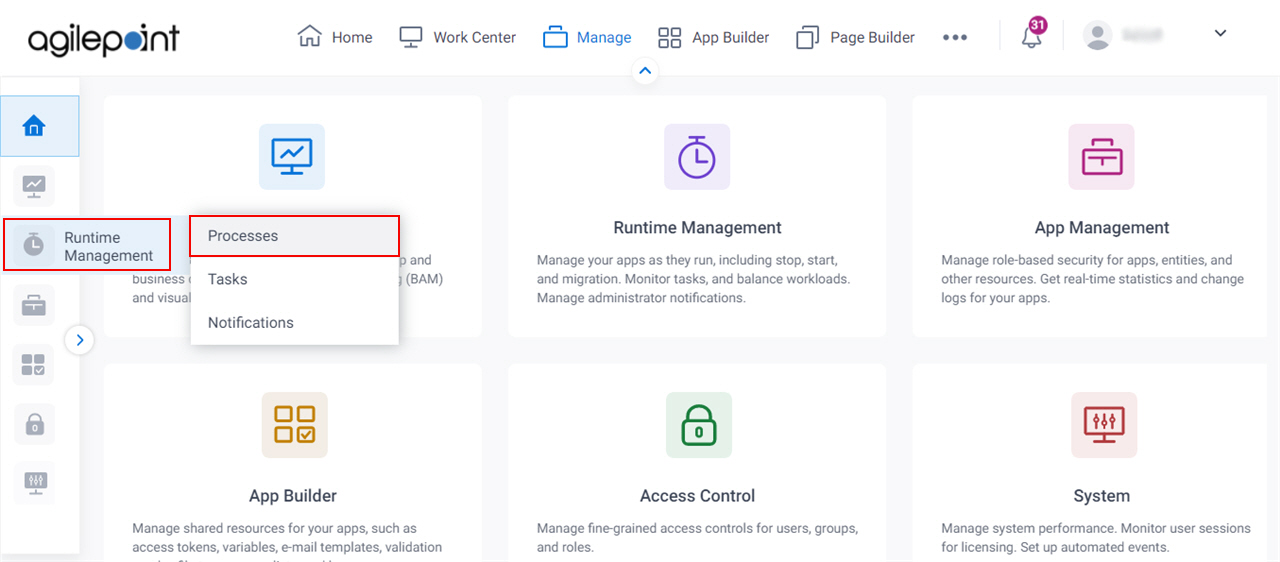
- In the Manage Center, click Runtime Management
> Processes.
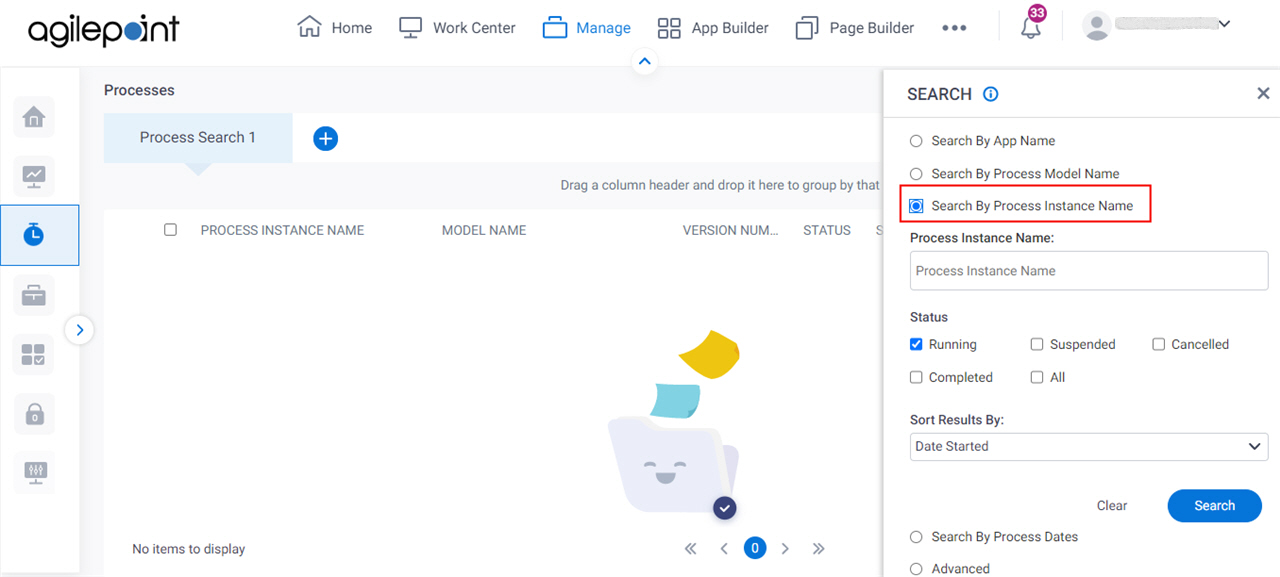
- On the Process Search screen,
select Search By Process Instance Name.
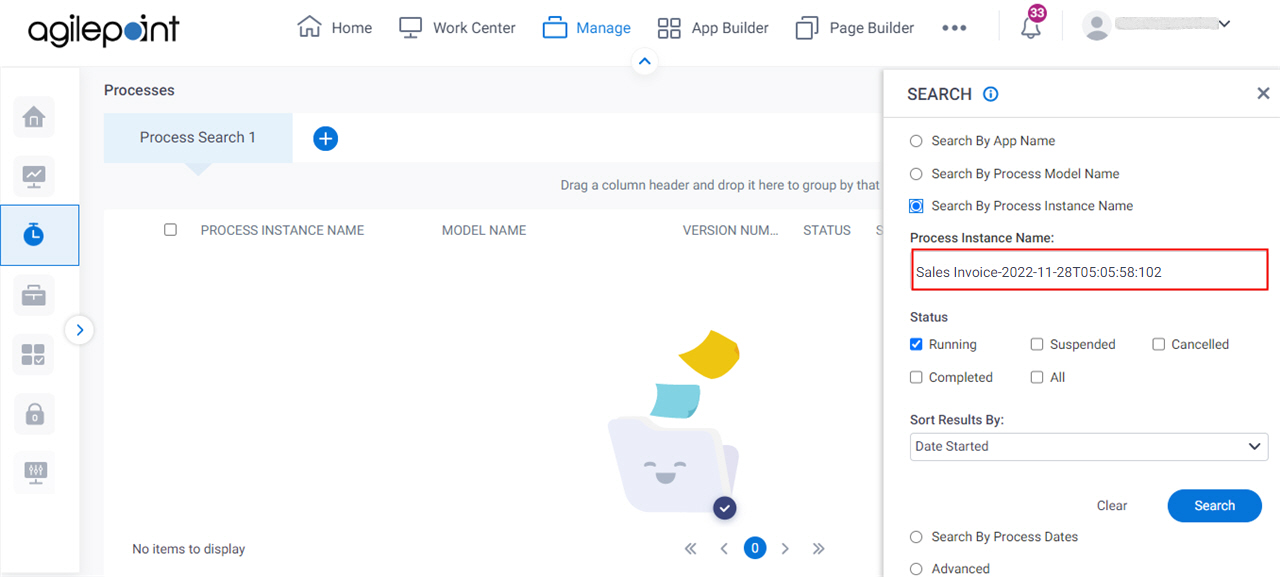
- In the Process Instance Name field,
enter the name of the process instance to cancel.
In this example, the process instance name is Sales Invoice-2022-11-28T05:05:58:102.
- In the Status field, select Running and Suspended.
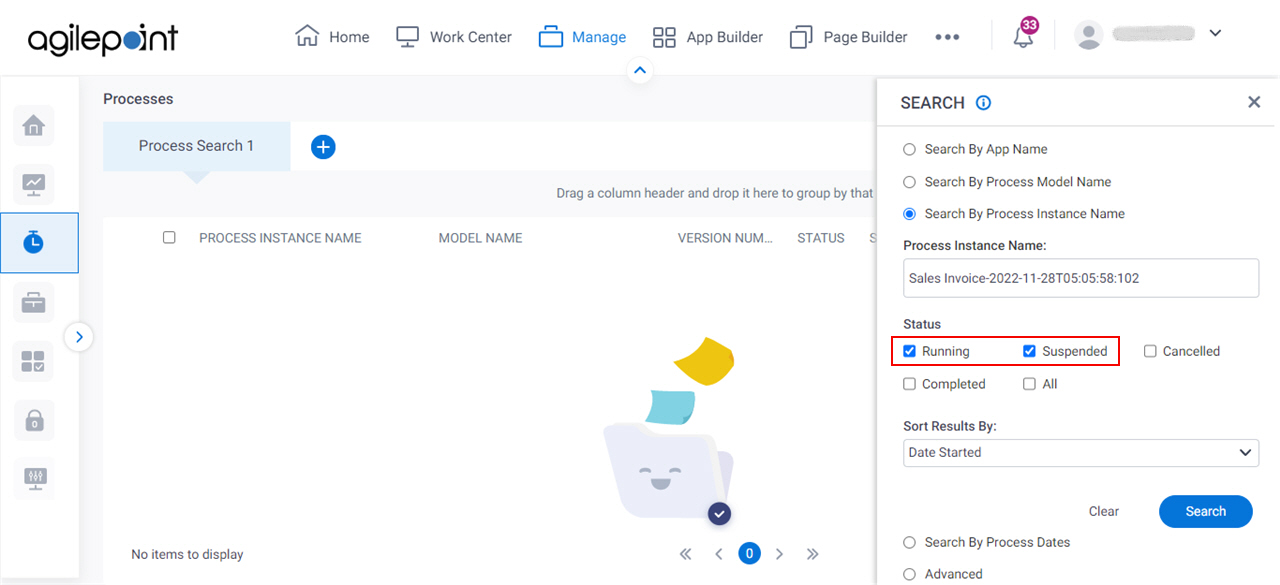
- Click Search.
Procedure
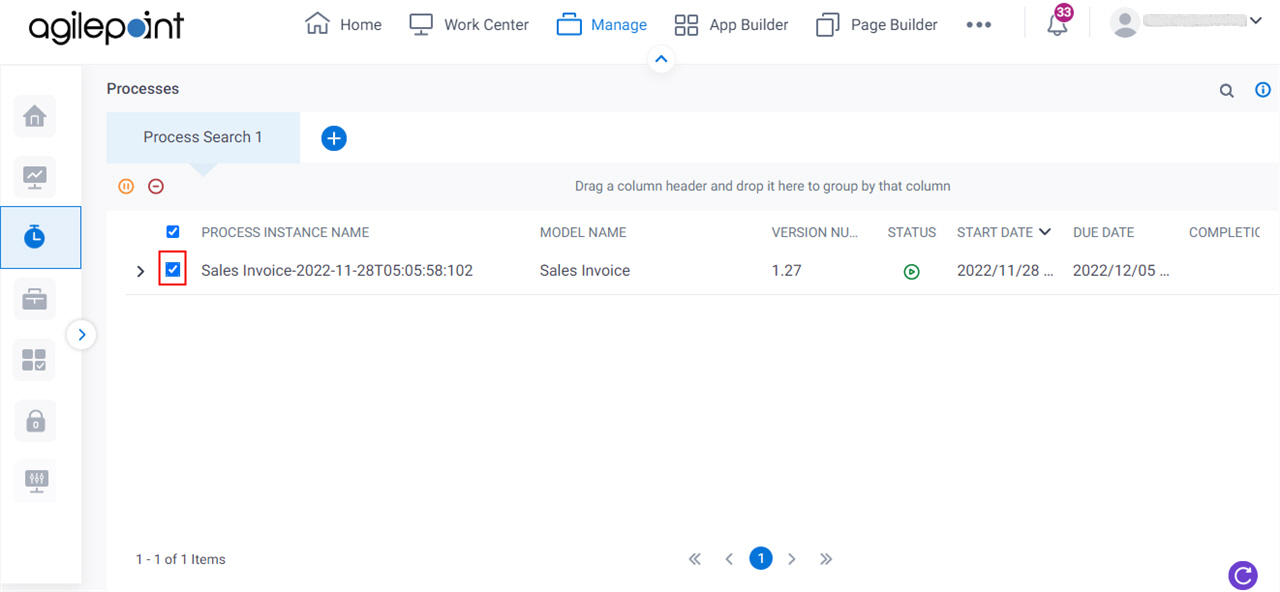
- On the Process Search screen, select the process instance.
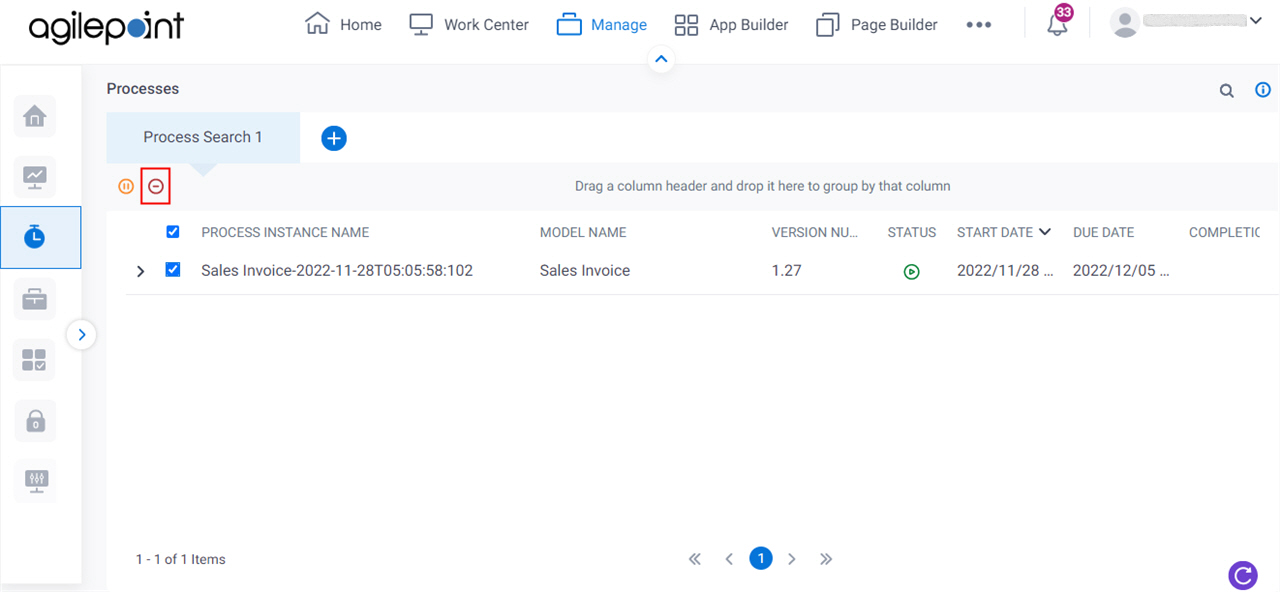
- Click Cancel
 .
.
- In the Reason field, enter the information about the cancel action.
In this example, the reason is The customer has cancelled the sales order.
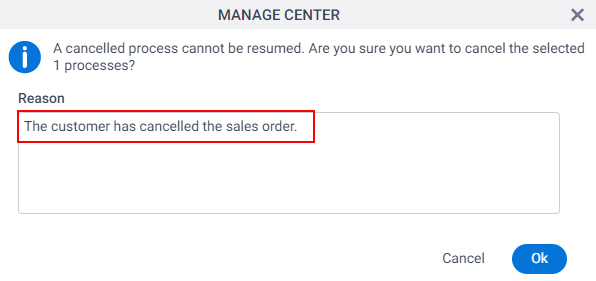
- Click Ok.
How to Get the App
This example is based on the Sales Invoice app from the AgilePoint NX App Store. Use this procedure to get the app.
Prerequisites
- AgilePoint NX OnDemand (public cloud), or AgilePoint NX Private Cloud or AgilePoint NX OnPremises v7.0 or higher.
Good to Know
- This procedure is optional. It is provided so you can test the example with an out-of-the-box app.
- This is part of the Background and Setup procedures, but many users preferred this step to appear after the example, not before it.
Procedure
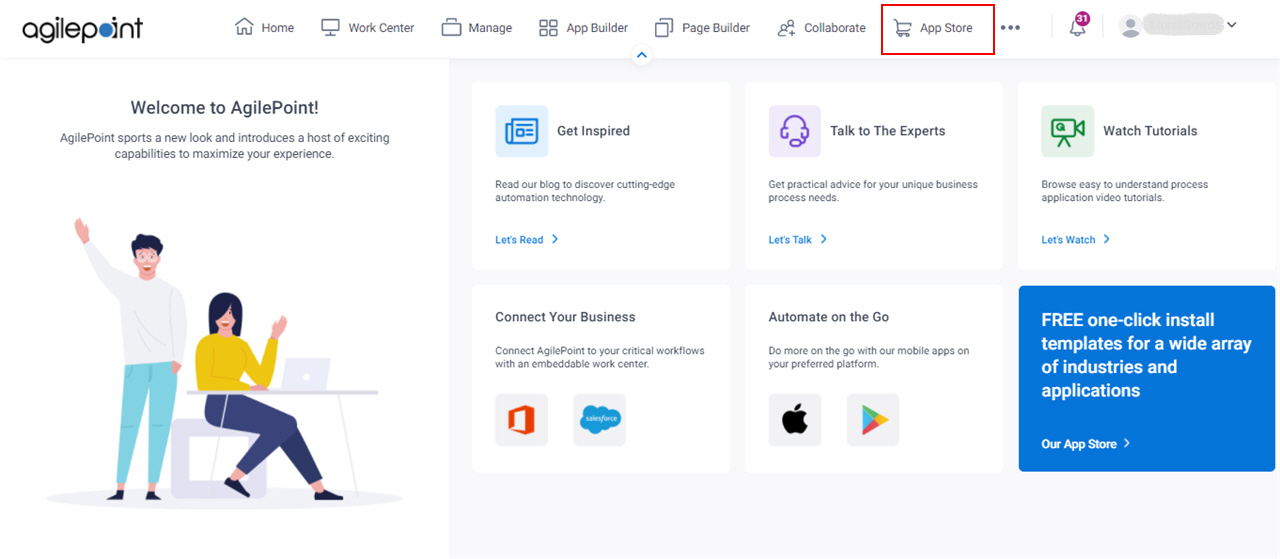
- Click App Store
 .
.
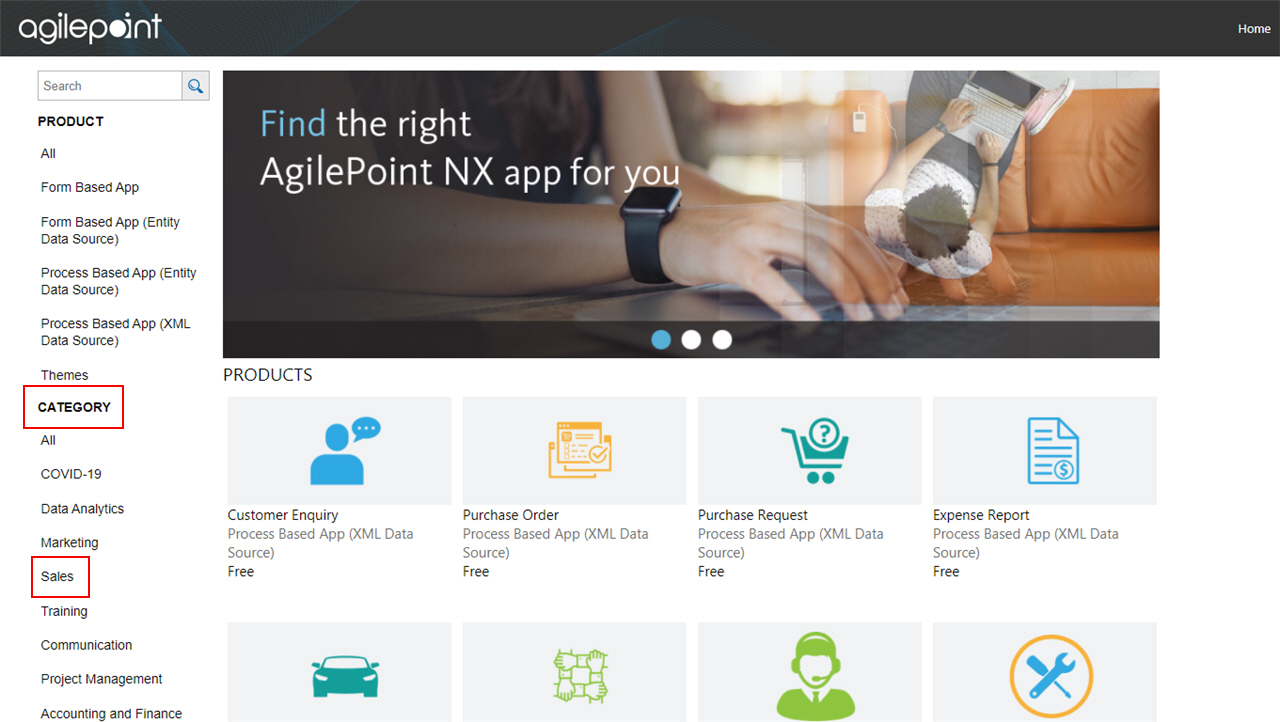
- In the CATEGORY section, click Sales.
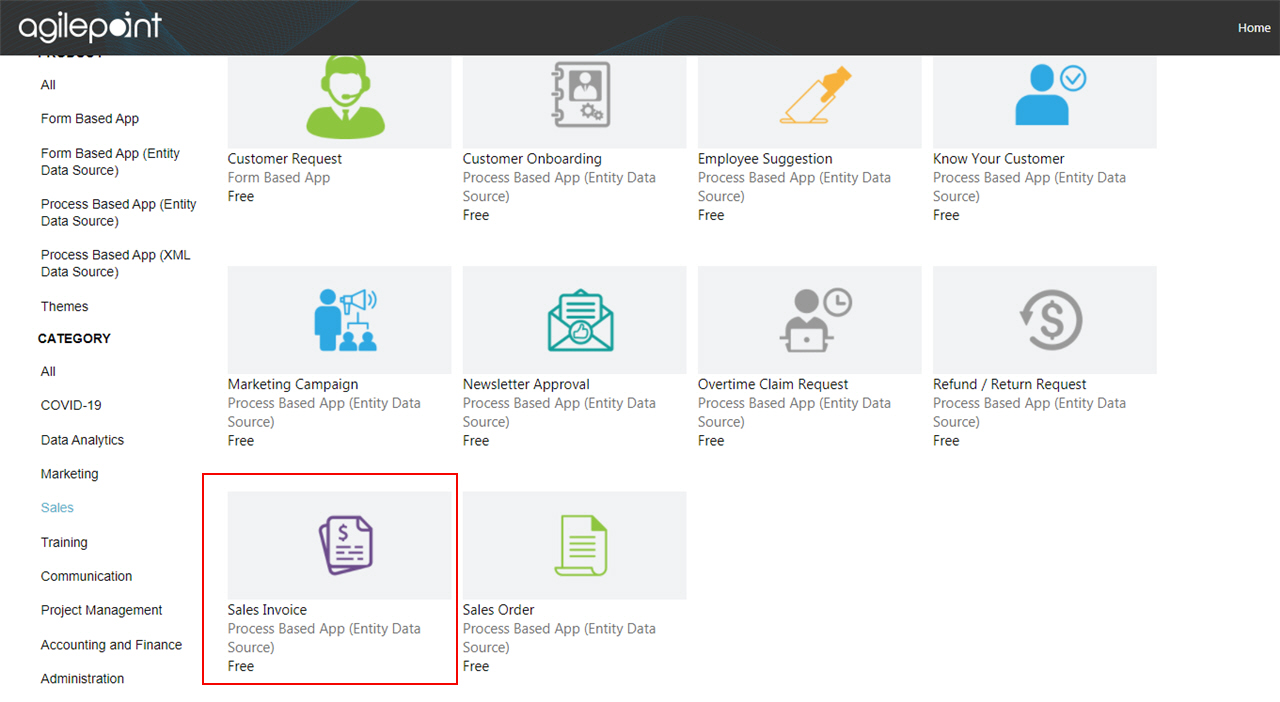
- Click the Sales Invoice app.
- On the Sales Invoice screen, click Add.
- On the Trust App screen, click Trust it.
- Click Return to site.