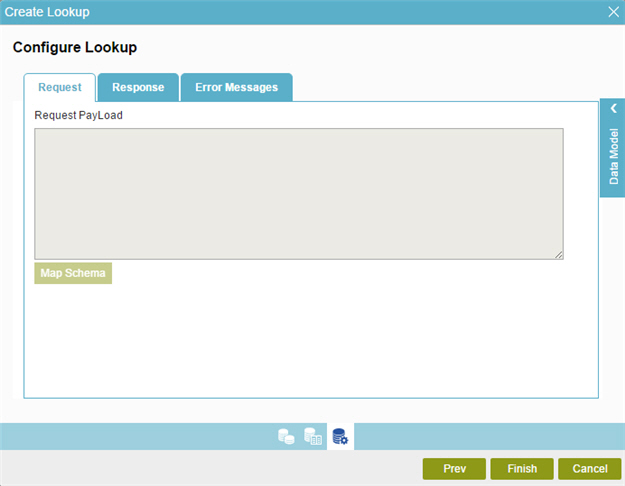
Configure Lookup for REST service > Name/Value > Request tab
Configures a lookup using the existing data format from your data source.

How to Start
- On the Application Explorer screen, do one of these:
- Do one of these:
- Add your form control:
- On the eForm Builder screen, in the Toolbox, open one of these tabs:
- Common Controls

- Advanced Controls

- Telerik Controls

- Common Controls
- On your tab, drag one of these controls onto your form:
- Auto-Suggest

- List Box

- Subform

- Check Box

- Auto Lookup

- List View

- Pop-Up Select

- Drop-Down List

- Auto-Suggest

- Chart

- Data Grid

- Drop-Down List

- Data Grid

- Multi-Select List Box

- Auto-Suggest
- On the eForm Builder screen, in the Toolbox, open one of these tabs:
- Change your form control:
- On your eForm, click the control, and click Edit
 .
.
- On your eForm, click the control, and click Edit
- Add your form control:
- On the Configure tab, click Add Lookup
 .
. - On the Select Data Source Type screen,
select REST Service
 , and click Next.
 - On the Lookup Details screen, select Name/Value, and click Next.
- On the Configure Lookup screen, click the Request tab.
Fields
| Field Name | Definition |
|---|---|
Request Payload |
|
Map Schema |
|


