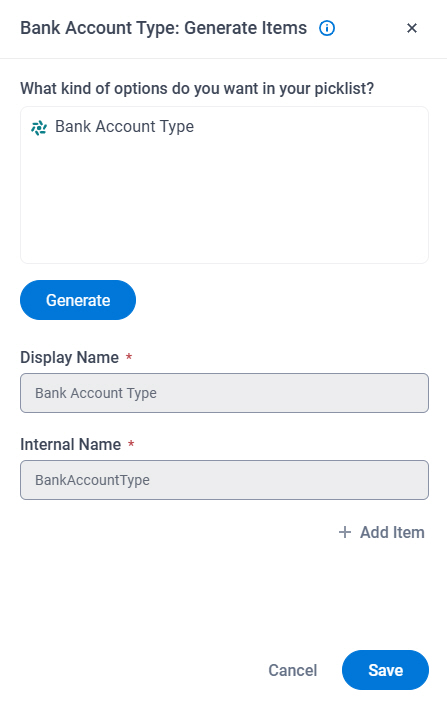
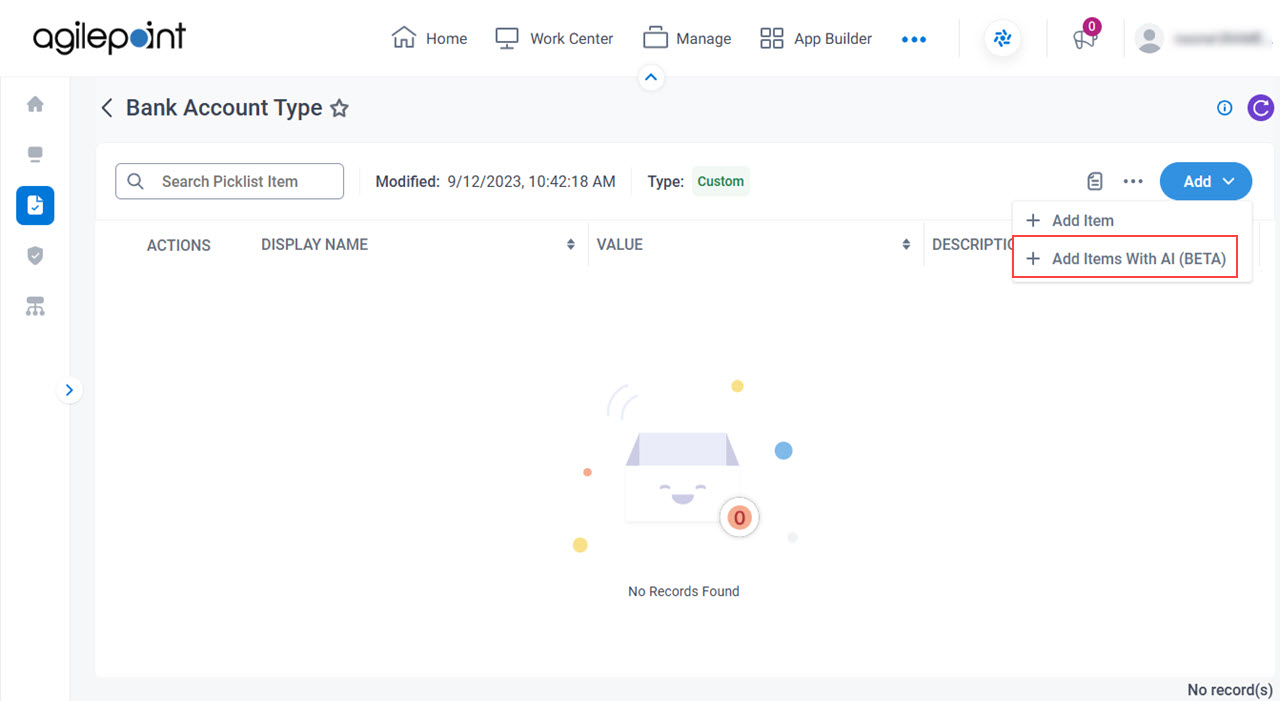
Add Items With AI screen
Creates picklist items with GenAI.
Prerequisites
- An AgilePoint license that supports GenAI.
- This access right:
- Allow Generative AI Access
For more information, refer to:
- You must be a member of the Entity Designers or Global Data Entities Permission Managers permission group.
- On the Data Entities screen (Settings), turn on Allow Gen AI.
- AgilePoint NX OnDemand (public cloud), AgilePoint NX PrivateCloud, or AgilePoint NX OnPremises v9.0 Software Update 1 or higher.
How to Start
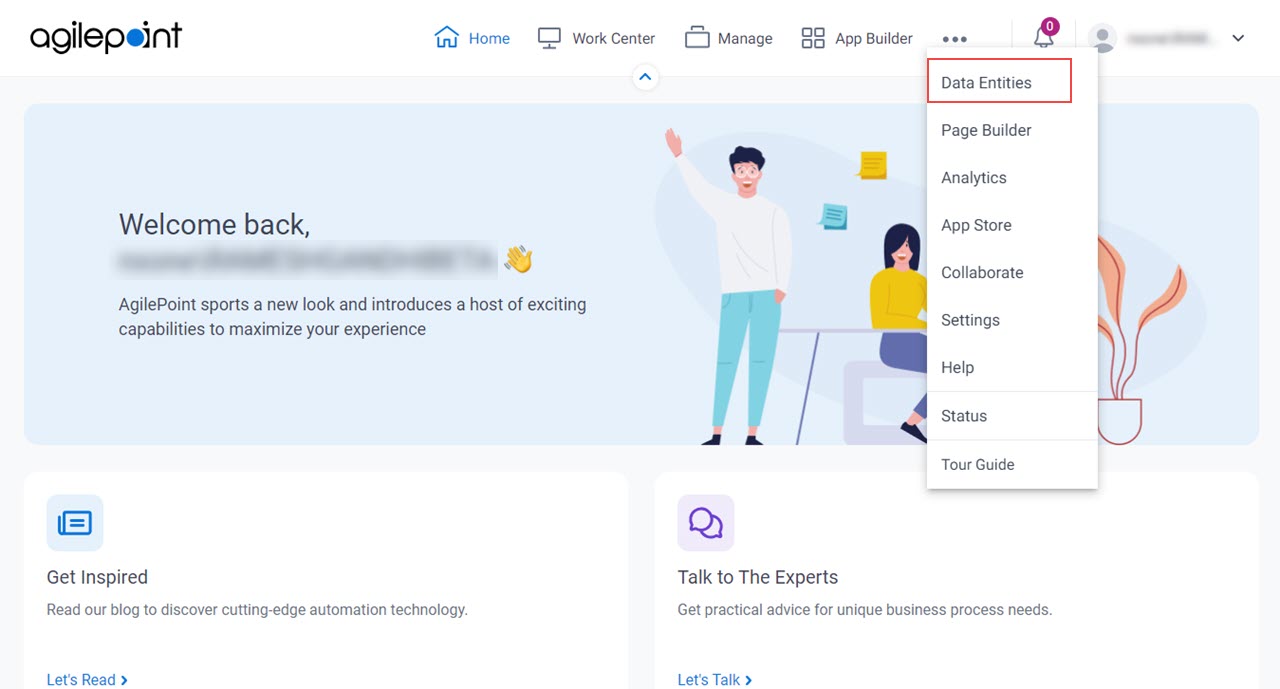
- Click Data Entities.
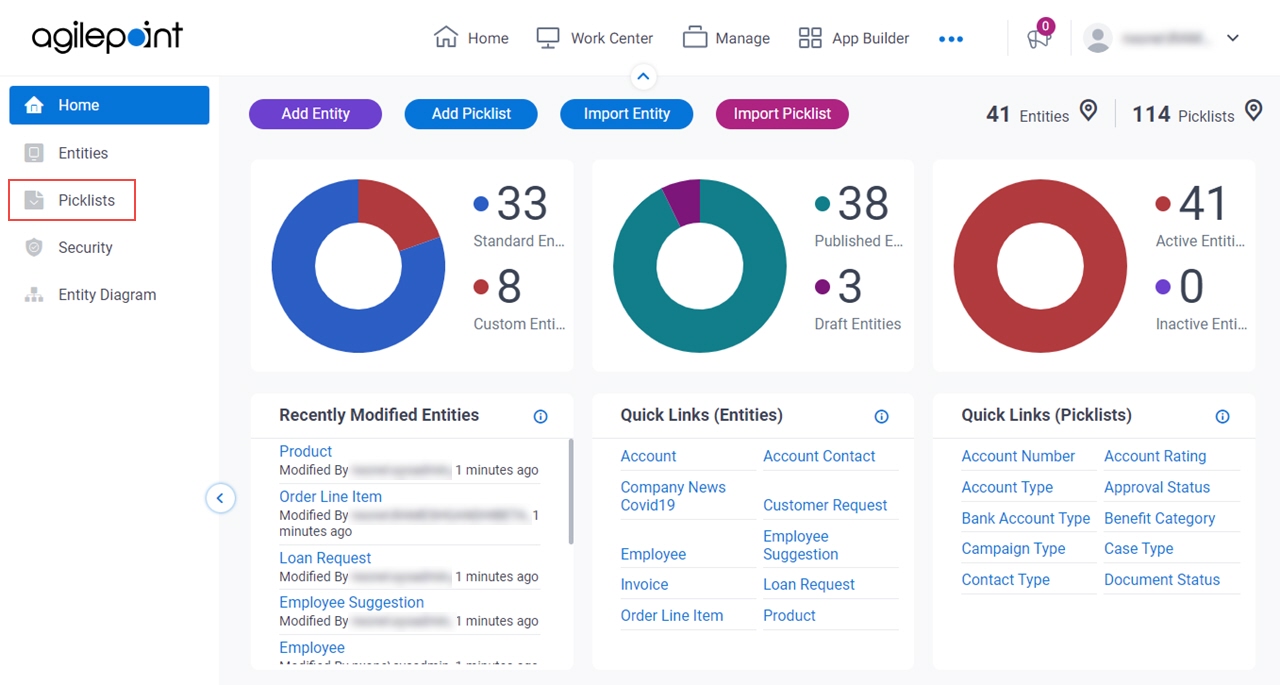
- On the Data Entities Home screen,
click Picklists
 .
.
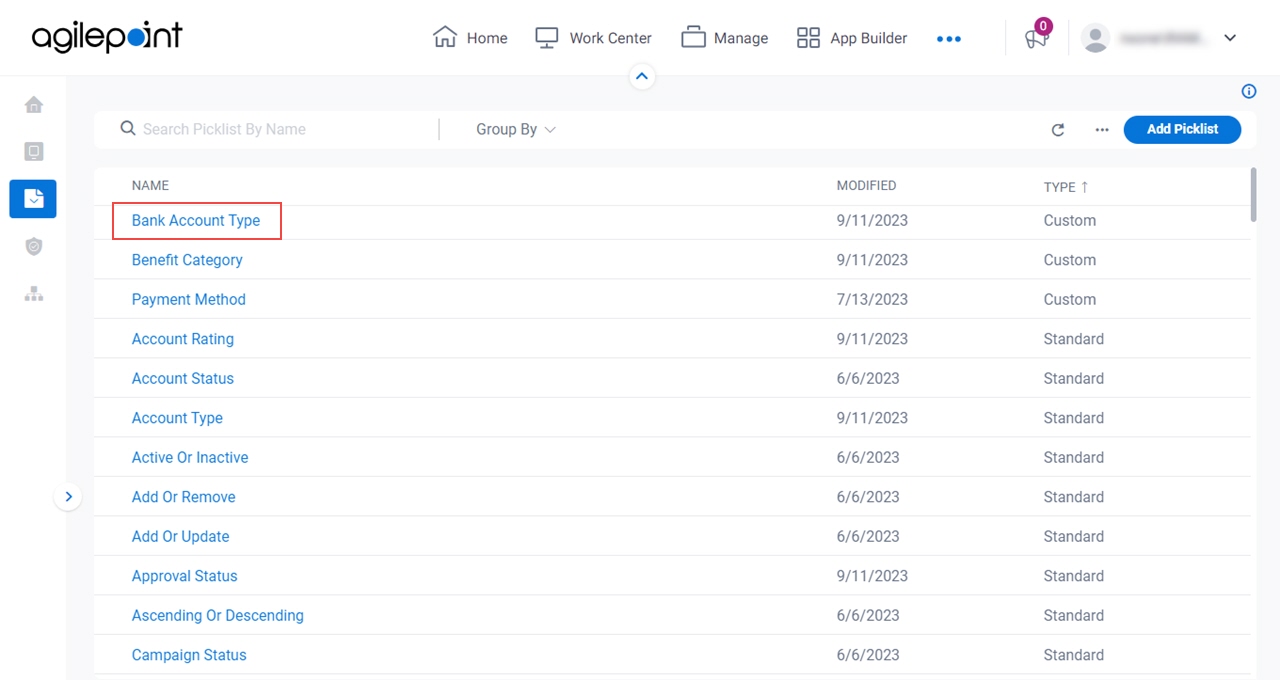
- On the
Picklists screen,
click a picklist.
- On the Picklist screen,
click Add > Add Items With AI.
Fields
| Field Name | Definition |
|---|---|
|
What kind of options do you want in your picklist? |
|
Generate | |
Display Name |
|
|
Internal Name |
|
|
Name |
|
Value |
|
Add Item |
|
Delete |
|
|
Save |
|


