Creates or changes one or more picklist items.
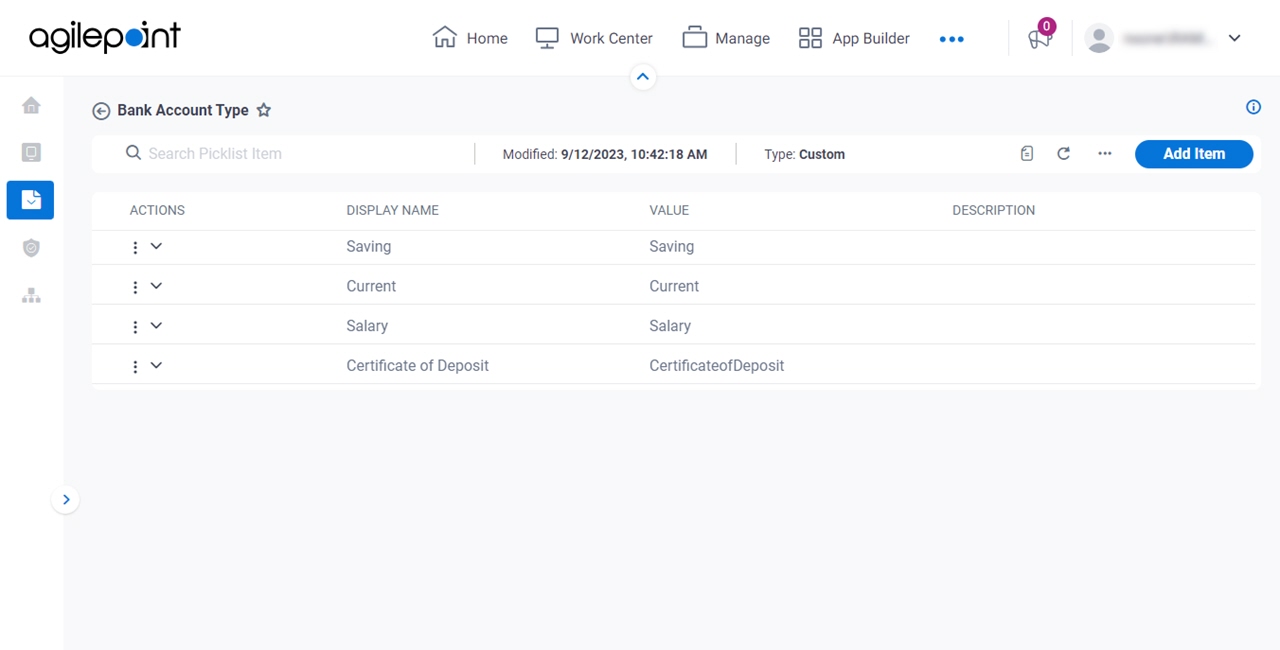
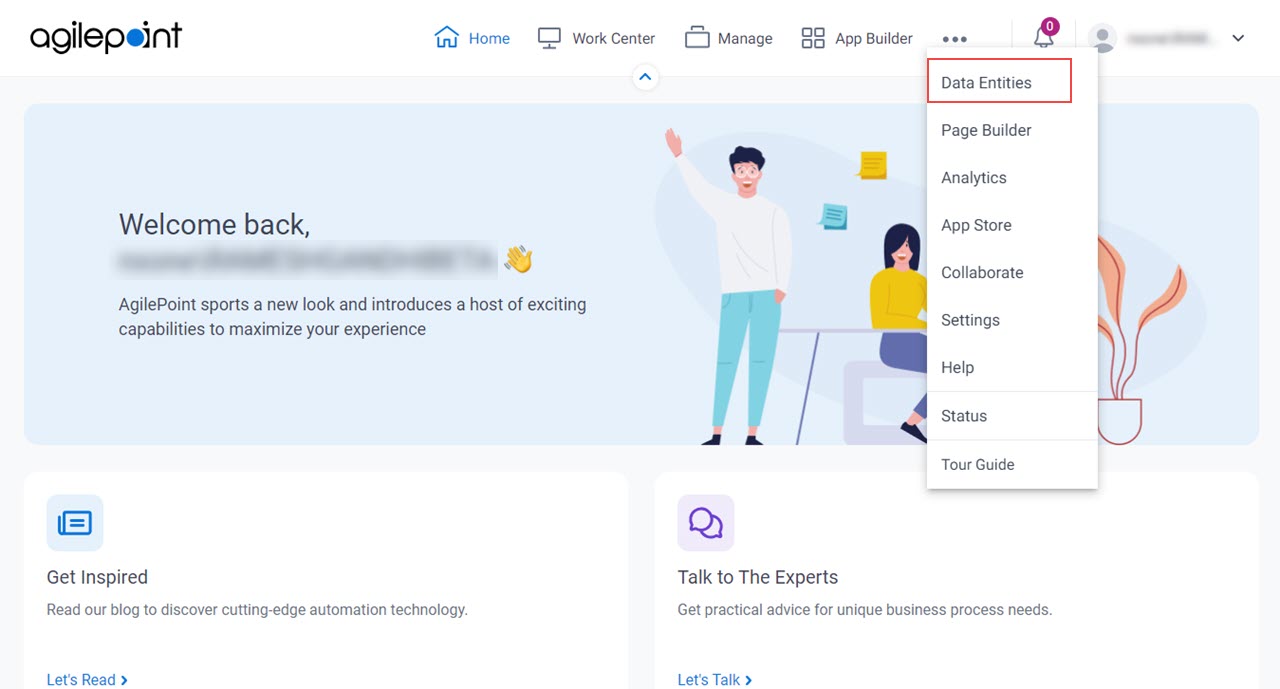
Figure 1 . Picklists Items screen How to Start Click Data Entities .
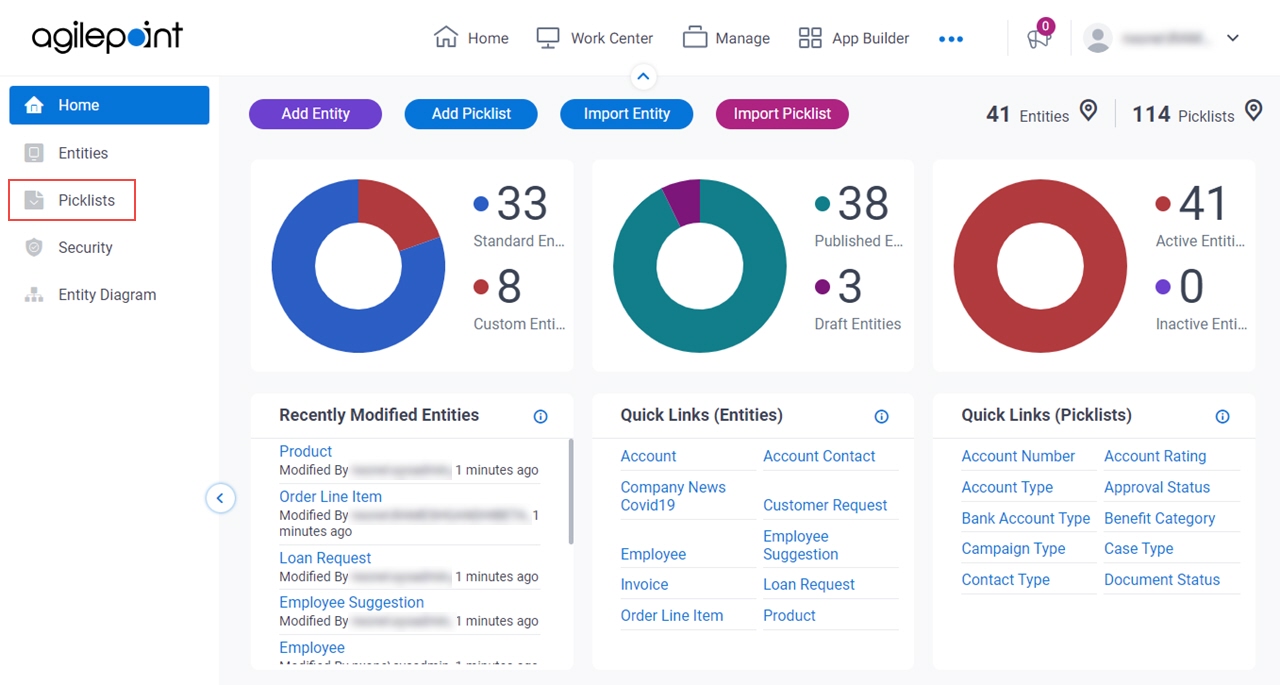
On the Data Entities Home screen ,
click Picklists On the
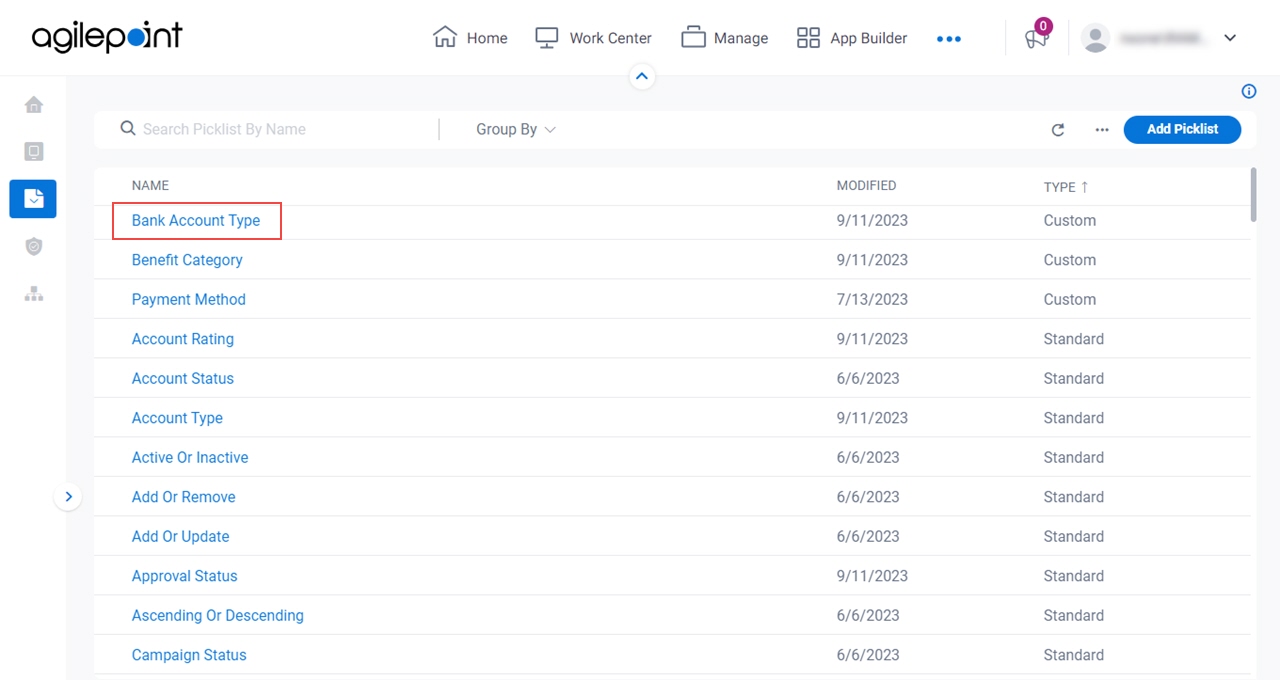
Picklists screen ,
click a picklist.
Fields Field Name Definition Search Picklist Items
Function: Does a search for picklist items. Limitations: This field
is available in these releases Edit Picklist
Description: Edit Picklist screen .
You can not change a standard picklist. This field is only available for custom picklists.
Function of this Screen: Changes the name and description for a custom
picklist . Add Item
Description: New Item screen .Function of this Screen: Creates a
picklist .Example: Refer to :
Add Items With AI
Description: Add Items With AI screen Function of this Screen: Creates picklist items with GenAI .Limitations:
This field
is available in these releases
Refresh
Function: Updates the information on the screen. Clone Picklist
Description: Clone Picklist screen .To Open this Field:
On the right side of the screen, click the Ellipses (...) . Function of this Screen: Creates a
picklist clone Export Picklist
Opens this Screen: Export Picklist screen .Description: Lets you download a picklist Microsoft Excel XML JSON To Open this Field:
On the right side of the screen, click the Ellipses (...) . Order Picklist
Opens this Screen: Order Picklist Items screen .Function of this Screen: Specifies the sequience of the picklist items to show on the Picklists > Items screen in AgilePoint NX Data Entities .Limitations:
This field
is available in these releases
Translate Picklist Items
Opens this Screen: Translate Picklist Items screen Function of this Screen: Configures the languages to translate the picklist items .To Open this Field:
On the right side of the screen, click the Ellipses (...) . Limitations:
To enable this field, on the Picklist Details screen:
Turn on Enable Translation . In the Select Languages For Translation field, select the languages to use for translation. This field
is available in these releases Import Picklist Items
Opens this Screen: Import Picklist Items screen .To Open this Field:
On the right side of the screen, click the Ellipses (...) . Function of this Screen: Uploads an exported picklist Data Entities Limitations:
This field is available in these releases :
Export Picklist Items
Opens this Screen: Export Picklist Items screen .Description: Lets you download picklist Microsoft Excel XML JSON To Open this Field:
On the right side of the screen, click the Ellipses (...) . Limitations:
The Export Picklist Items is available in these releases :
Delete Picklist Items
Opens this Screen: Type CONFIRM To... screen To Open this Field:
Select the picklist items to delete. On the right side of the screen, click the Ellipses (...) . Function of this Screen: Deletes the specified custom picklist items.
Limitations:
The Delete Picklist Items is available in these releases :
Actions
Description: Specifies the type of action for the
picklist Allowed Values:
View/Edit Delete Default Value: None Value
Description: Shows a unique, technical name for the
picklist Allowed Values: Read only . Display Name
Description: Shows the name for the picklist item. Allowed Values: Read only . Description
Description: Specifies an optional text description for the
picklist Allowed Values: More than one line of text .Default Value: None Example: Refer to :


 .
.


