
Create Role activity
An activity that creates a role in AgilePoint NX.

Configure the Create Role activity
To configure the Create Role activity, do the procedure in this topic.
Good to Know
- To send an e-mail notification, click
Advanced
 >
E-mail Notifications
>
E-mail Notifications  .
. For more information, refer to Configure E-mail Notifications for Any Activity.
- In most text fields, you can use process data variables as an alternative to literal data values.
- This activity does the same action as Create a Role in Manage Center.
- You can configure whether this activity waits for other activities before it runs.
For more information, refer to How Do I Configure an Activity to Wait for Other Incoming Activities?
How to Start
- On the Application Explorer screen, do one of these:
- Do one of these:
- Add an activity:
- In the Process Builder, in the Activity Library,
open the AgilePoint NX
 tab.
tab. - On the AgilePoint NX
tab,
drag the Create Role
 activity onto your process.
- In the Process Builder, in the Activity Library,
open the AgilePoint NX
- Change an activity:
- In your process, double-click your activity.
- Add an activity:
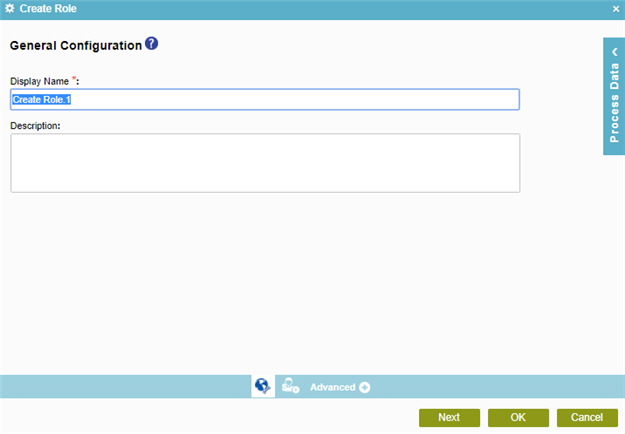
General Configuration
Specifies the basic settings for the Create Role activity.
Fields
| Field Name | Definition |
|---|---|
|
Display Name |
|
|
Description |
|
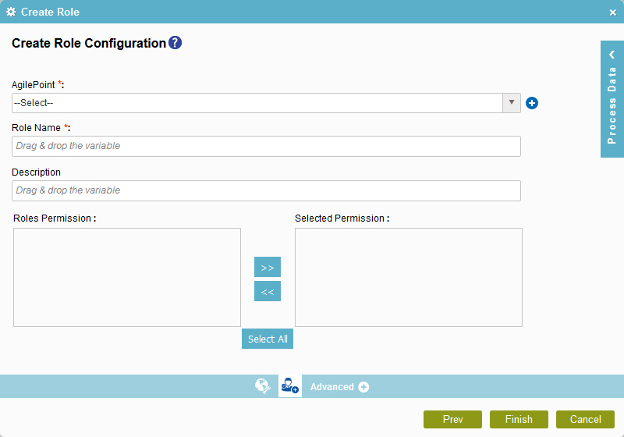
Create Role Configuration
Specifies the configuration to create a role in AgilePoint NX.
Fields
| Field Name | Definition |
|---|---|
|
AgilePoint |
|
|
Add Token |
|
|
Role Name |
|
|
Description |
|
|
Role Permission |
|
|
Left Arrow |
|
|
Right Arrow |
|
|
Select All |
|
|
Selected Permission |
|

