
Create a Form-Based Application With a SharePoint List
a SharePoint list as its data source, do the procedure in this topic.
How to Start
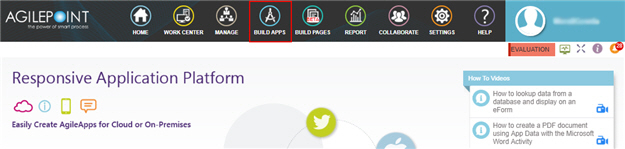
- Click Build Apps
 .
.
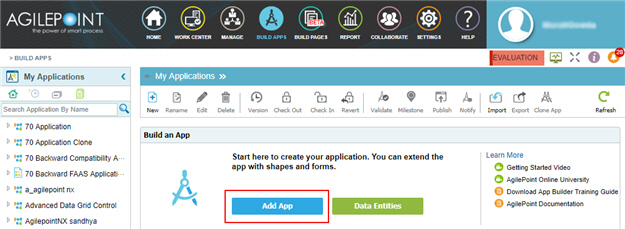
- On the Application Explorer screen, click Add App.
Procedure
- On the Application Type screen, select Form Based Application.
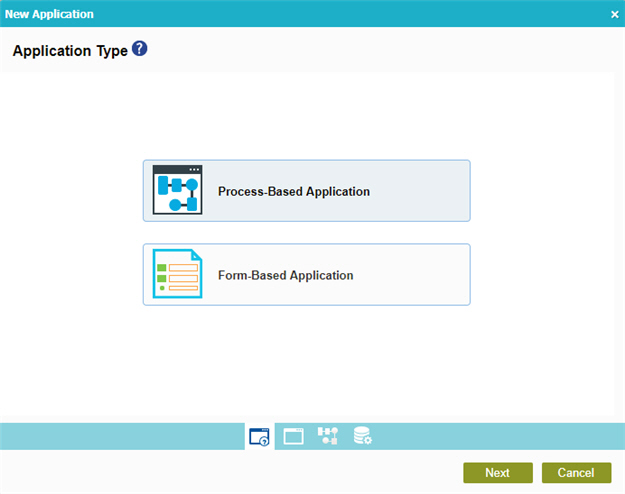
- Click Next.
- , complete these fields:
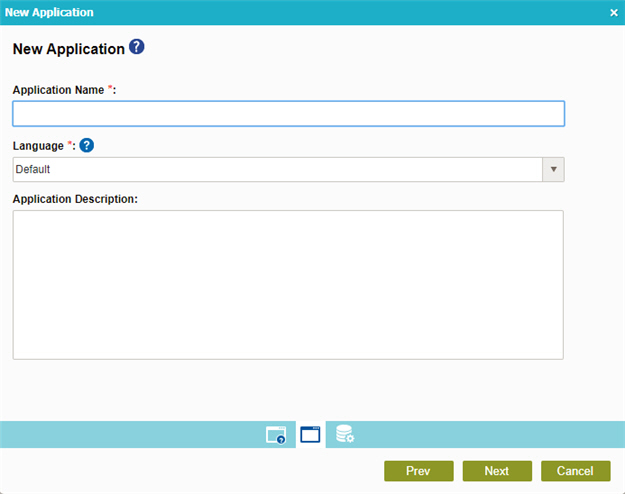
Field Name Definition Application Name
- .
Language
- .
- No
Application Description
- .
- Click Next.
- On the Select Primary Data Source screen, select
SharePoint
 .
.
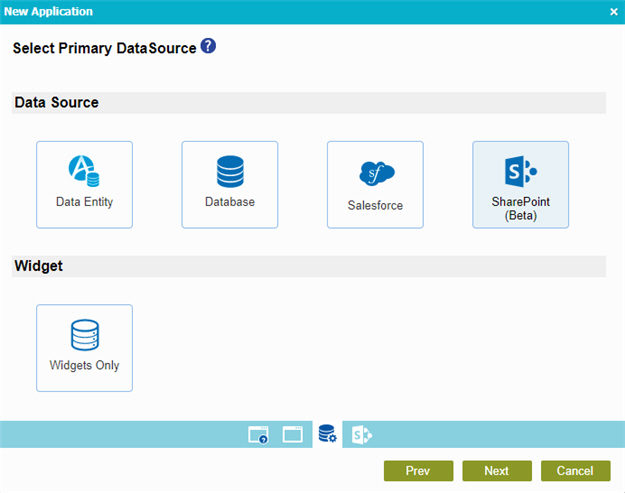
- Click Next.
- .
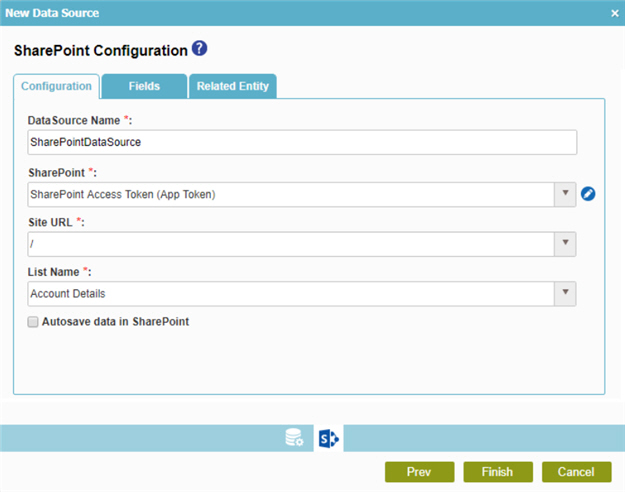
- On the Configuration tab, in the Data Source Name field, enter a custom name for your SharePoint repository.
- In the SharePoint list, select your SharePoint
access token.
To create a new access token, click Add Token
 .
For more information, refer to
Access Token for SharePoint.
.
For more information, refer to
Access Token for SharePoint. - Complete these fields.
Field Name Definition Site URL
- Specifies the URL for your SharePoint site.
- .
- No
List Name
- Specifies the name of your SharePoint list.
- .
- No
- Refer to:
- Click the Fields tab.
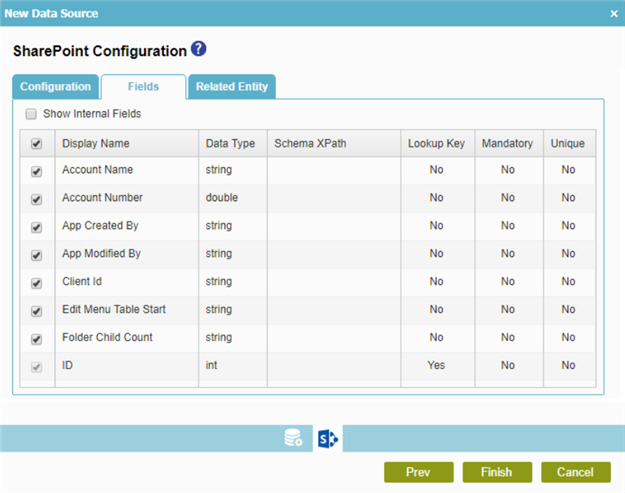
- On the Fields tab, select the fields you want your form to contain.
- Click the Related Entity tab.
Note: The word entity on this screen refers to a container within your data model. For Data Entities or Salesforce, this container is called an entity. For a database, entity refers to a database table. For SharePoint Integration, entity refers to a SharePoint list..

- On the Related Entity tab, select the child SharePoint lists to use in your form.
- Click Finish.
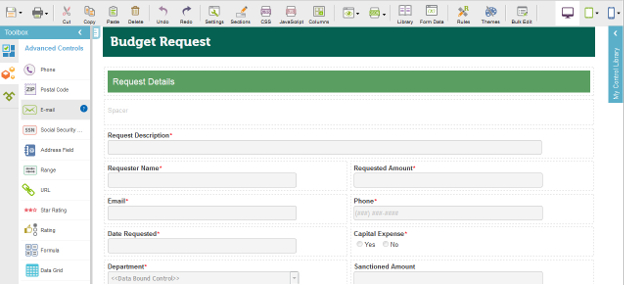
- On the eForm Builder screen, in the Toolbox, open any tab.
- Drag a form control onto your eForm.
- On the eForm Builder screen, configure your form as necessary.
For more information, refer to eForm Builder.
- Publish a form-based application.
- Associate an AgilePoint eForm with a SharePoint List.
- For SharePoint for Office 365, refer to Associate an AgilePoint eForm with a SharePoint List (Office 365).
- For SharePoint in an on-premises environment, refer to Associate an AgilePoint eForm with a SharePoint List (On-Premises).