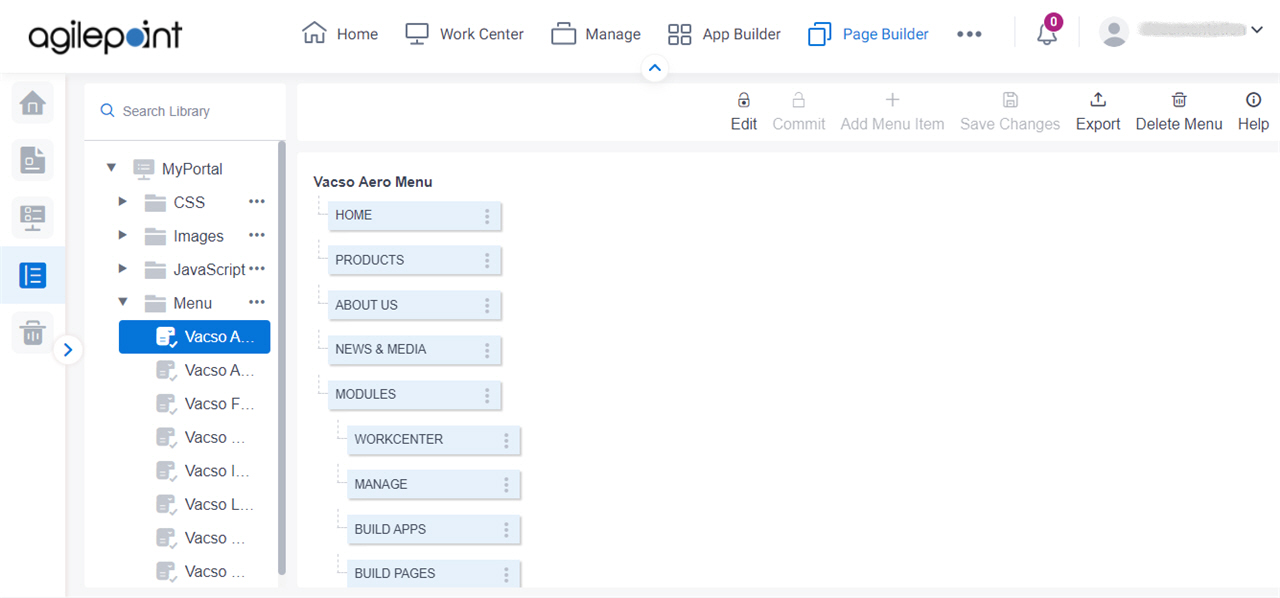
Custom Menu screen

Configures items for your custom menu in Page Builder.

Figure: Custom Menu screen

Menu Item screen

Video: Advanced Page Builder Features

Example

Prerequisites

How to Start

  1. Click Page Builder.

    Build Pages
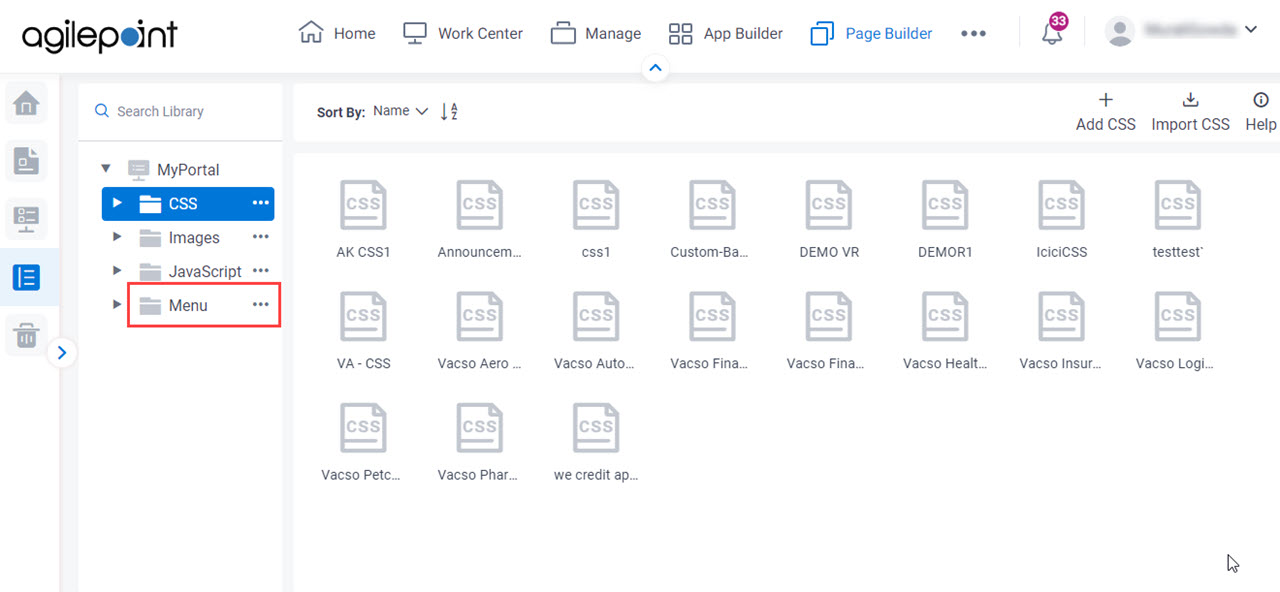
  2. On the Home screen, in the left pane, click Library.

    Click Library
  3. In the left pane, click Menu.

    Click Menu
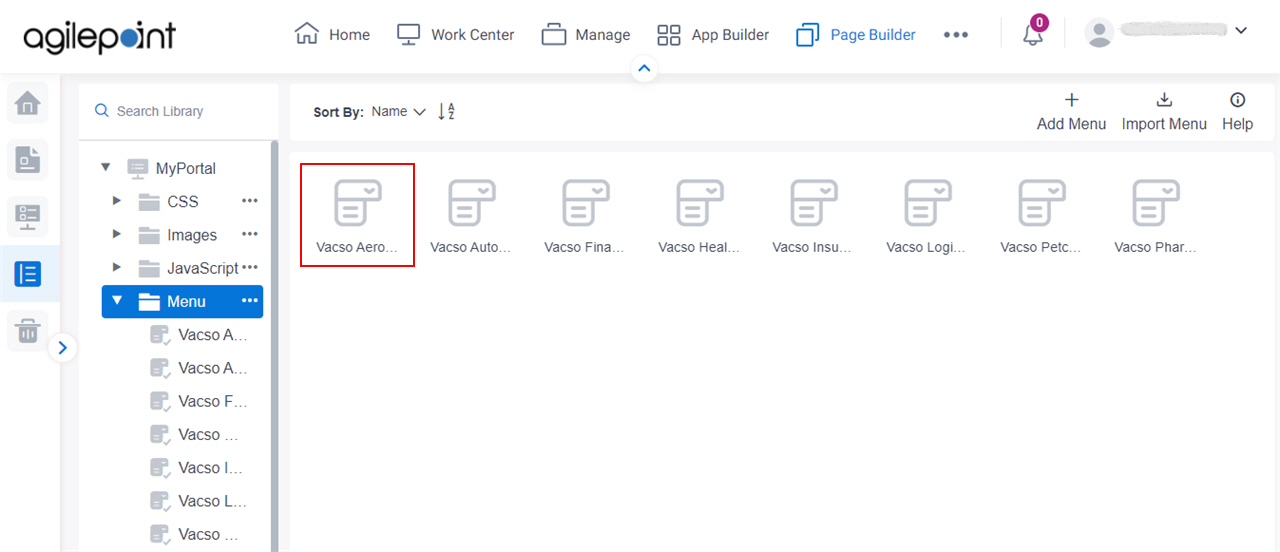
  4. On the Menu screen, click your menu file.

    Click Menu File

Fields

Field NameDefinition

Add Menu Item

Opens this Screen:
Add Menu Item Screen
To Open this Field:
  1. On the custom menu screen, click Edit.
Function of this Screen:
Creates a new item for your menu in Page Builder.

Edit Menu Item

Function:
To change a menu item from Page Builder.
To Open this Field:
  1. In the right pane, click Edit.
  2. On the menu item, click the Ellipses (...).

Delete Menu Item

Function:
Deletes a menu item from Page Builder.
To Open this Field:
  1. In the right pane, click Edit.
  2. On the menu item, click the Ellipses (...).

Edit

Function:
Locks the menu when you open it so other users can not change it.
To Open this Field:
  1. In the right pane, click Commit.

Commit

Function:
Unlocks the menu after your changes are complete so other users can change it.
To Open this Field:
  1. In the right pane, click Edit.

Save Changes

Function:
Saves the changes you made to the menu items.

Delete Menu

Opens this Screen:
Type CONFIRM To... screen
Function of this Screen:
Deletes a menu from Page Builder.
Limitations:
This field is available if you set Allow to Delete Pages to Yes on the Page Builder Settings screen.

Export

Function:
Downloads the menu as a JSON file to your local machine.

You can only import a menu that is exported from Page Builder — for example, from a different AgilePoint NX tenant

To Open this Field:
  1. In the right pane, click Commit.
  2. In the right pane, click Ellipses (...).