
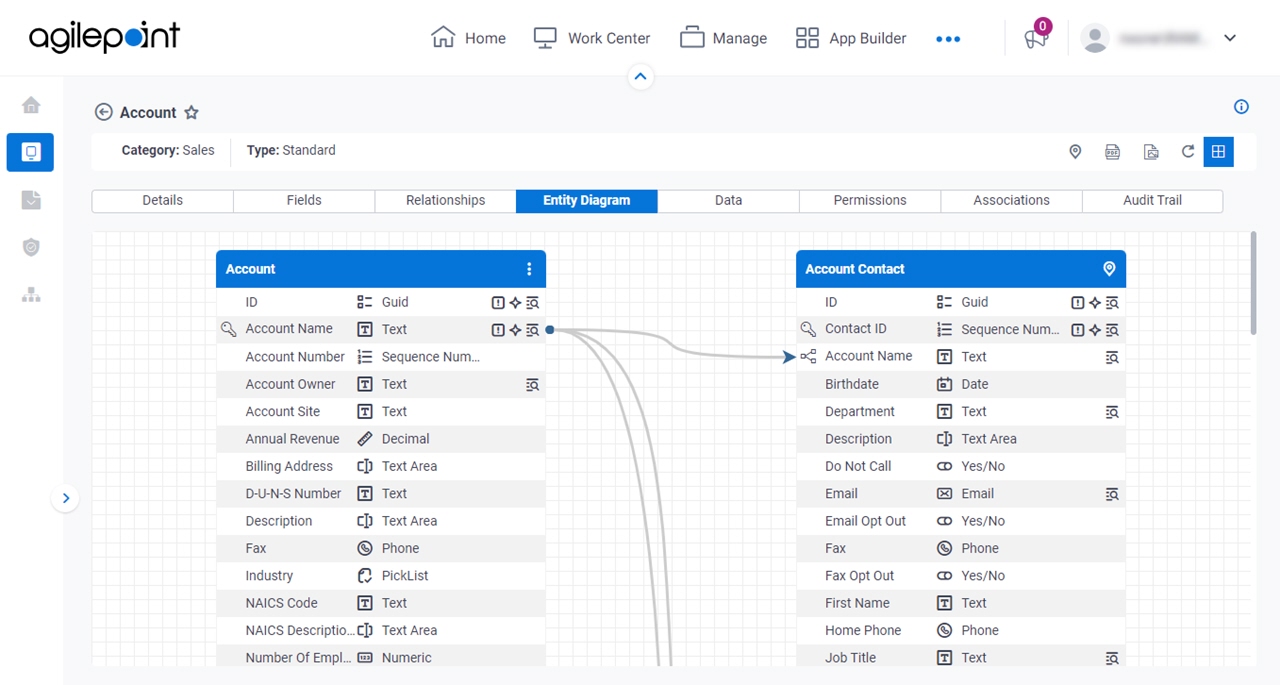
Entity screen > Entity Diagram tab
Shows the entity diagram for an entity.
Examples
- (External) Data Entities - Entity Diagram
- Examples - Step-by-step use case examples, information about what types of examples are provided in the AgilePoint NX Product Documentation, and other resources where you can find more examples.
Prerequisites
- You must be a member of the Entity Owners or Entity Designers or Global Data Entities Permission Managers permission group.
- AgilePoint NX OnDemand (public cloud), AgilePoint NX PrivateCloud, or AgilePoint NX OnPremises v9.0 or higher.
How to Start
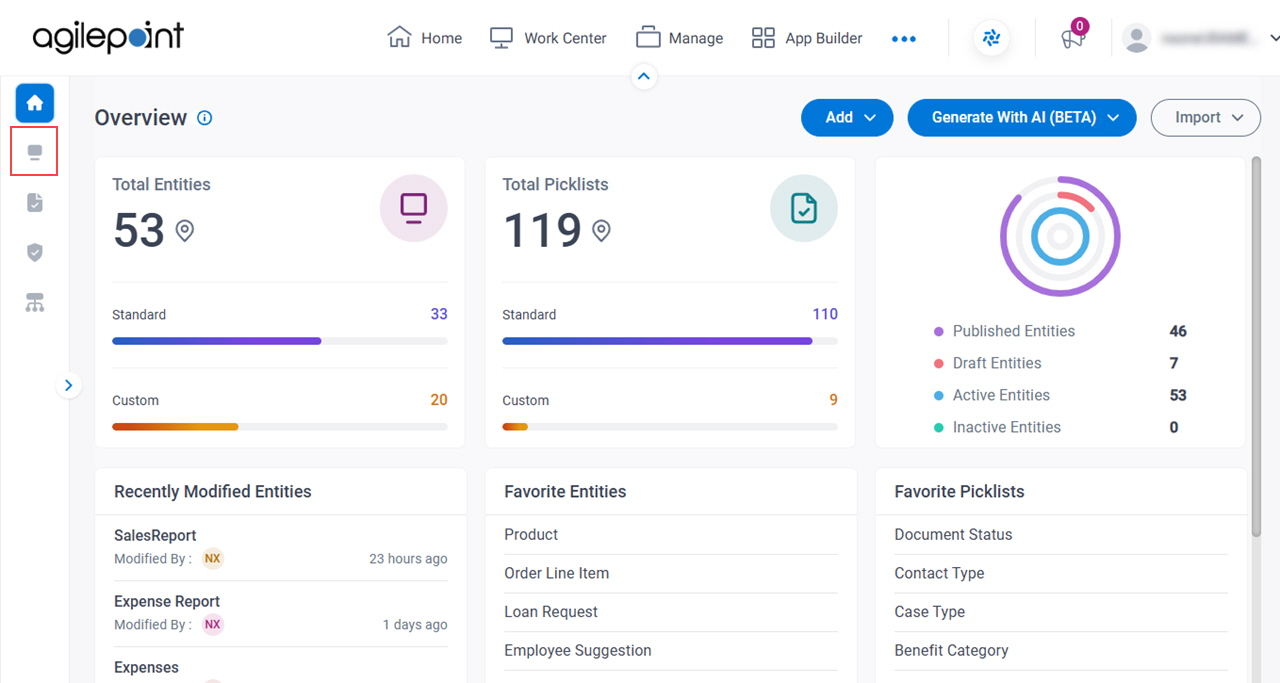
- Click Data Entities.

- On the Data Entities Home screen,
click Entities
 .
.
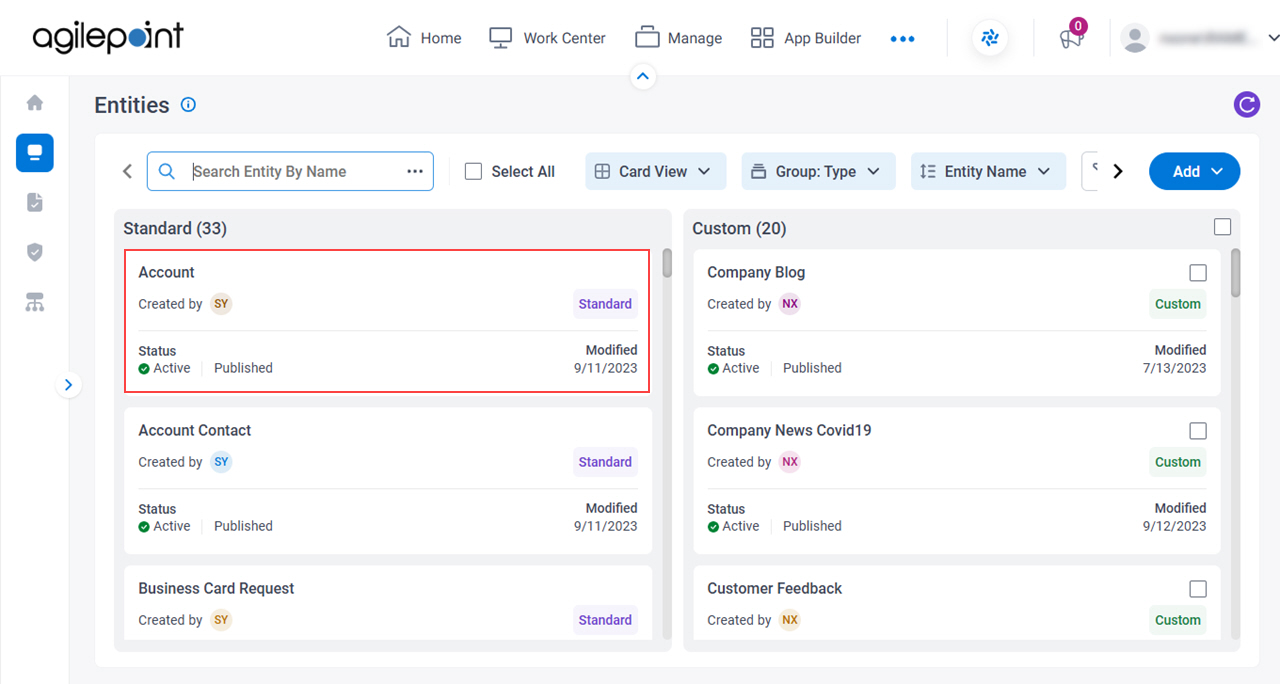
- On the Entities screen,
click an entity.
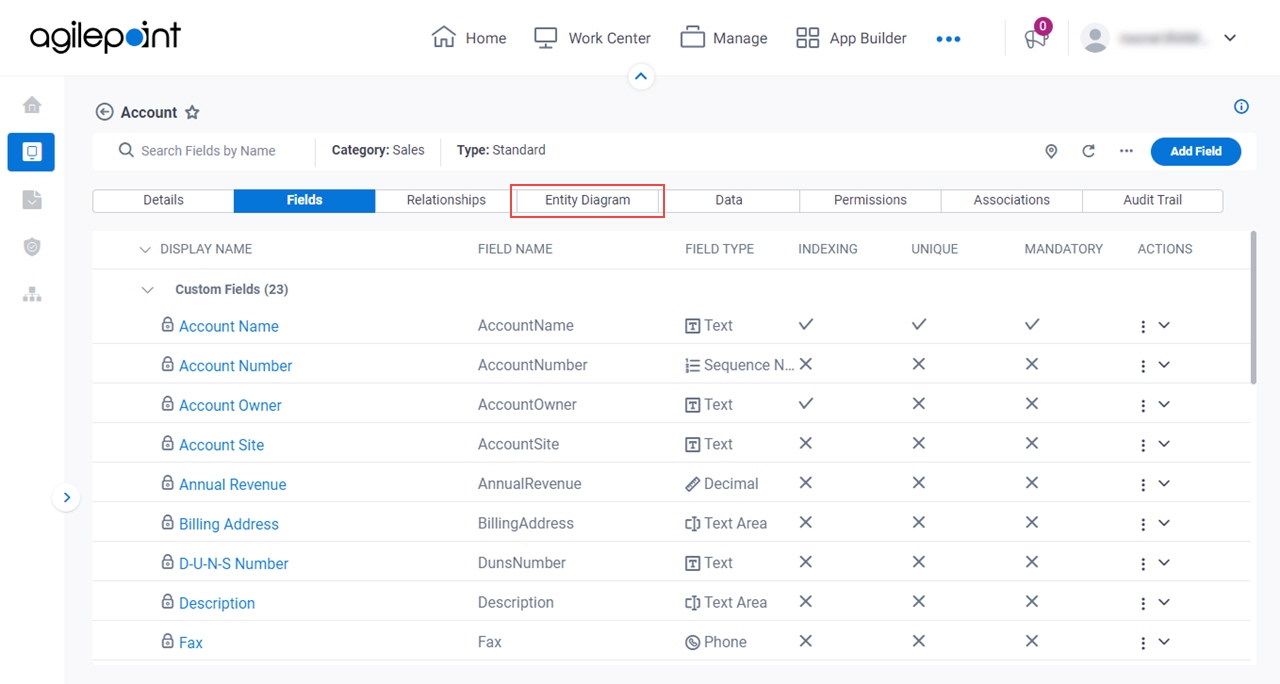
- Click the Entity Diagram tab.
| Field Name | Definition |
|---|---|
Navigate To Other Entity |
|
Save As PDF |
|
Save As Image |
|
Refresh |
|
Add Entity |
|
Show / Hide Grid |
|
|
Add Field |
|
Add Relationship |
|
Navigate To Other Entity |
|


