
Auto-Lookup > Microsoft Dynamics 365 > Multiple Columns
This topic shows how to create a lookup with Microsoft Dynamics 365 as the data source based on multiple columns for the Auto-Lookup form control.
Background and Setup
Examples
Good to Know
- There is more than one path to configure a lookup. Make sure you use the document that shows the path for your lookup.
- Some information about third-party integrations is outside the scope of the AgilePoint NX Product Documentation. It is the responsibility of the vendors who create and maintain these technologies to provide this information. This includes specific business use cases and examples; explanations for third-party concepts; details about the data models and input and output data formats for third-party technologies; and various types of IDs, URL patterns, connection string formats, or other technical information that is specific to the third-party technologies. For more information, refer to Where Can I Find Information and Examples for Third-Party Integrations?
How to Start
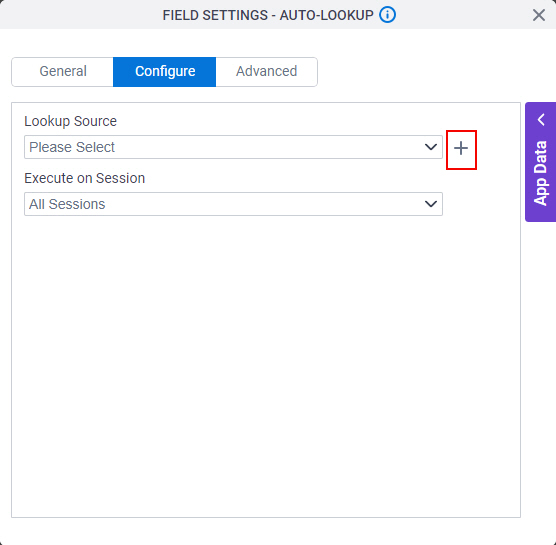
- On the Auto-Lookup form control configuration screen, on the Configure tab,
click Add Lookup.
For information about how to open this screen, refer to Auto-Lookup form control.
- On the Select Data Source Type screen,
select
MS Dynamics 365.
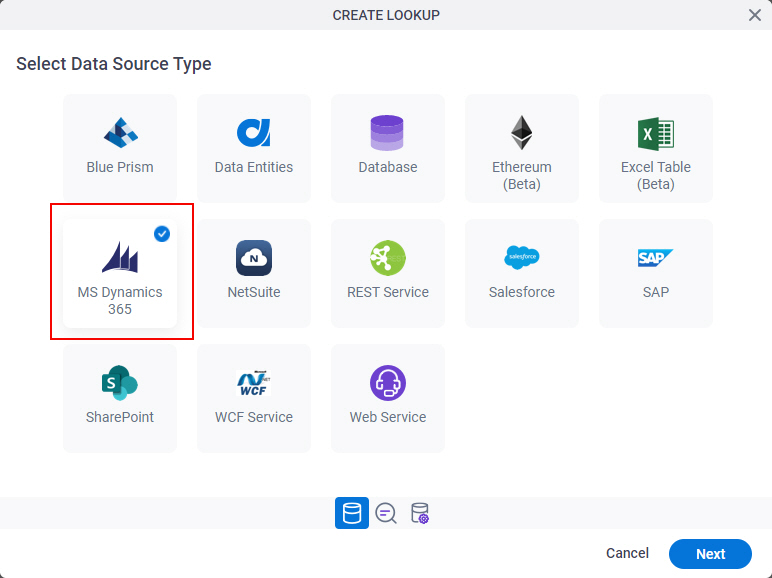
- Click Next.
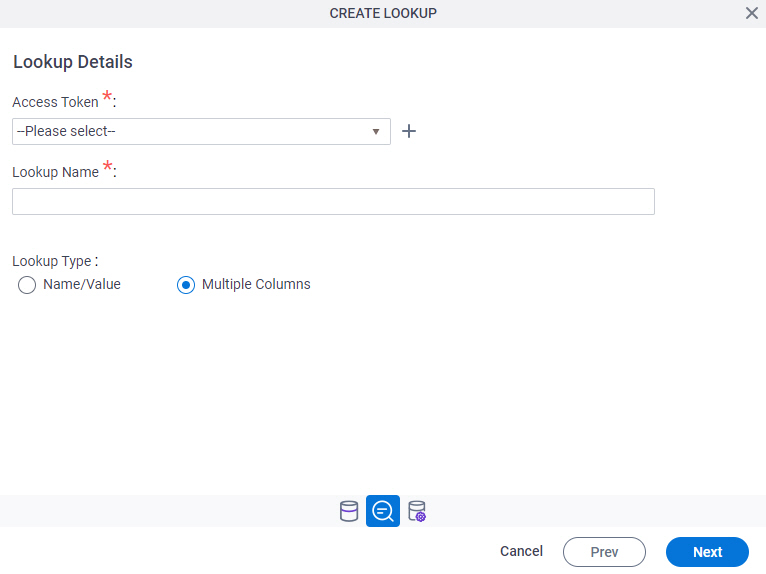
Lookup Details
Specifies the basic configuration for a lookup.
Good to Know
- There is more than one path to configure a lookup. Make sure you use the document that shows the path for your lookup.
Fields
| Field Name | Definition |
|---|---|
Access Token |
|
Add New |
|
Lookup Name |
|
Lookup Type |
|

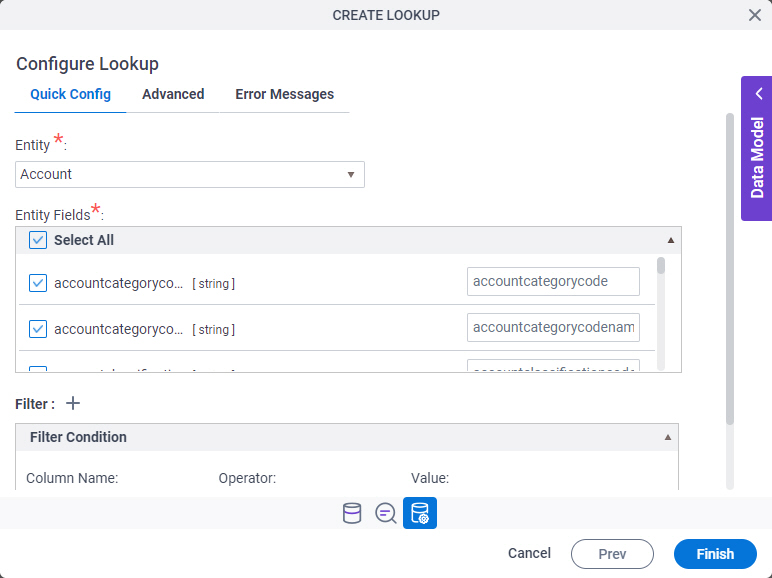
Configure Lookup > Quick Config tab
Configures a lookup with more than one column from your data source.
Fields
| Field Name | Definition |
|---|---|
Entity |
|
Select Column - Name |
|
Select Column - Value |
|
Expand |
|
Collapse |
|
Add Filter |
|
Select Nest Type |
|
Column Name |
|
Operator |
|
Delete Filter |
|


Configure Lookup > Advanced tab
Configures a WHERE clause for your query.
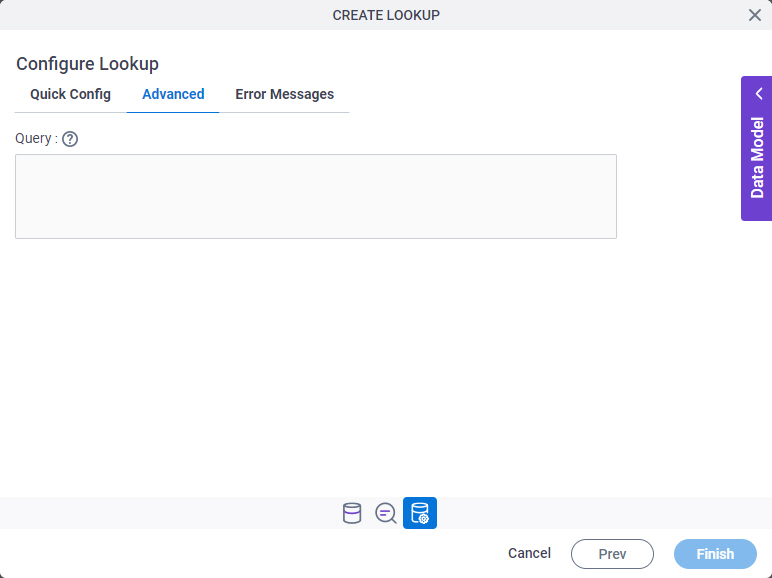
Fields
The fields on this tab are currently disabled.
Configure Lookup > Error Messages tab
Configures the message to show if the lookup does not return any data.
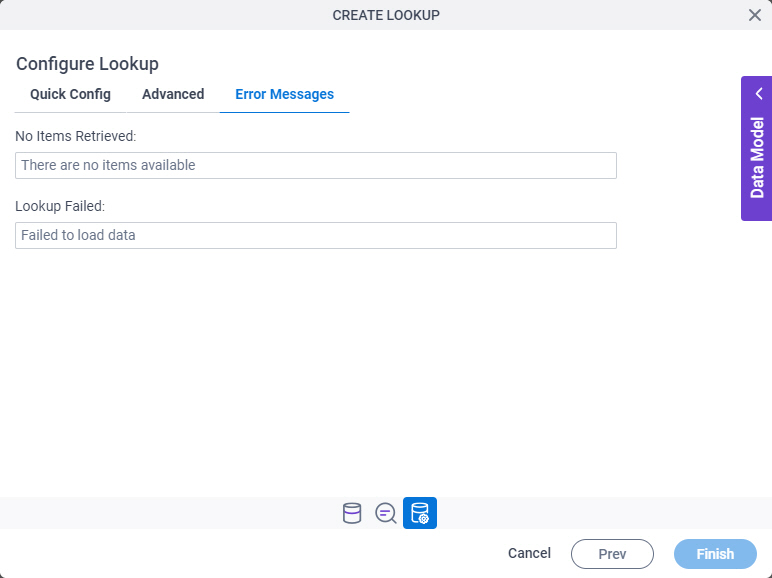
Fields
| Field Name | Definition |
|---|---|
No Items Retrieved |
|
Lookup Failed |
|