(Example) Custom CSS in Page Builder
This example shows how to create and use a custom CSS snippet in Page Builder.
Background and Setup
Other Examples
- (Example) Custom Page in Page Builder
- (Example) Raw HTML Widget in Page Builder
- Examples - Step-by-step use case examples, information about what types of examples are provided in the AgilePoint NX Product Documentation, and other resources where you can find more examples.
Prerequisites
- You must have page owner or page designer permission.
For more information, refer to Page Builder Security Overview.
- AgilePoint NX OnDemand (public cloud), or AgilePoint NX PrivateCloud or AgilePoint NX OnPremises v7.0 or higher.
- Before you create a custom CSS file in Page Builder,
you must get the CSS class names from the published custom page.
For more information, refer to How to Get the CSS Class Names for a Custom Page.
Good to Know
- This example shows how to create and use a custom CSS snippet that changes the styles in a Raw HTML widget.
- These are the widgets and properties where you can use custom CSS:
- Raw HTML widget
- Heading widget
- Rich Text widget
- Row widget
- Column properties
- Row properties
- These elemets are not supported in the Raw HTML widget:
- <html>
- <body>
- <head>
- <style>
- <meta>
- <link>
- <title>
- This is a simple example. It is not intended as a real-world use case.
Step 1: Create a Raw HTML Widget
Add a Raw HTML widget to the custom page.
How to Start
- Do one of these:
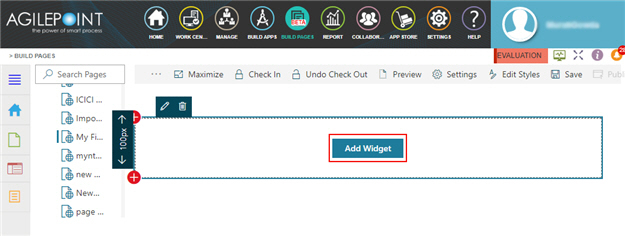
- On the Custom Page Design screen, click Add Row
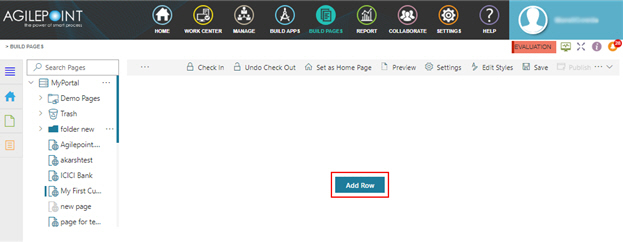
- Click Add Widget.
Procedure
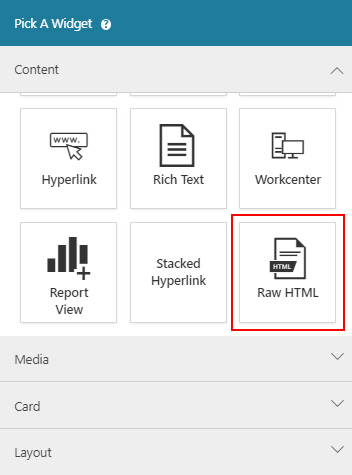
- On the Pick A Widget screen, click the Content tab.
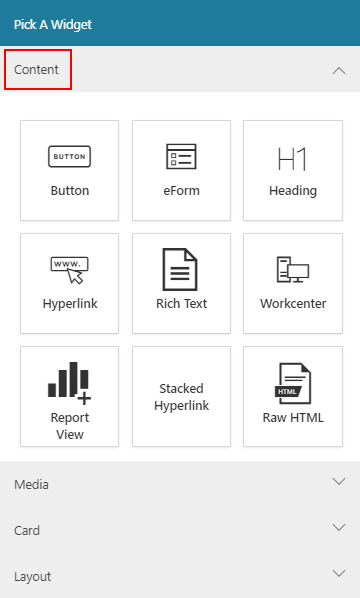
- On the Content tab, click
Raw HTML
 .
.
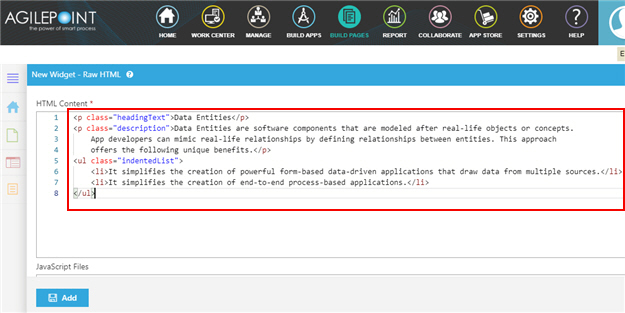
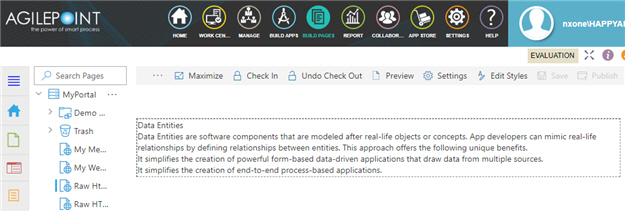
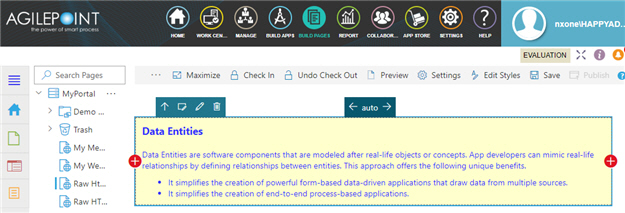
- On the New Widget - Raw HTML screen, in HTML Content field, enter these codes.
This example uses the following code:
<p class="headingText">Data Entities</p>
<p class="description">Data Entities are software components that are modeled
after real-life objects or concepts. App developers can mimic real-life
relationships by defining relationships between entities. This approach offers the
following unique benefits.</p>
<ul class="indentedList">
  <li>It simplifies the creation of powerful form-based data-driven
  applications that draw data from multiple sources.</li>
  <li>It simplifies the creation of end-to-end process-based applications.</li>
</ul>
In this example code, the classes of the <p> and <ul> tags provide reference classes that can be used to create a CSS classes.
- Click Add
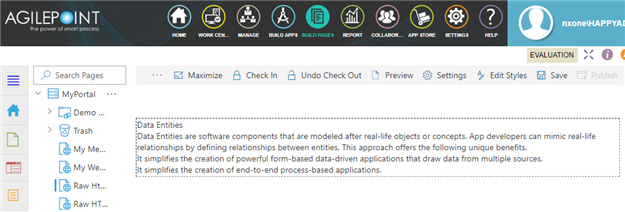
Page Builder shows the Raw HTML widget.
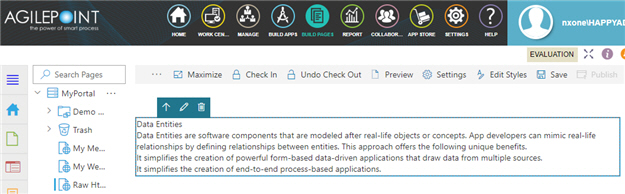
- Click Save.

Step 2: Create a CSS File
Create a CSS file to hold your styles.
How to Start
- Click Library
 .
.
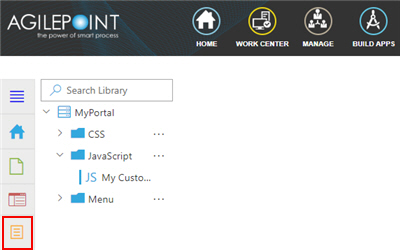
- On the Library screen,
do one of these:
- In the left pane, click
CSS > Ellipses (...) > Add CSS
 .
. - In the left pane, click CSS
- In the right pane, clickAdd CSS .
- In the right pane, clickAdd CSS
- In the left pane, click
CSS > Ellipses (...) > Add CSS
Procedure
- On the Add New CSS File, in the Display Name field,
enter Main Content.
When you click the Internal Name field, this field completes by default based on the value you enter in Display Name field. You can also specify your own internal name. After the internal name is created, you can not change it.
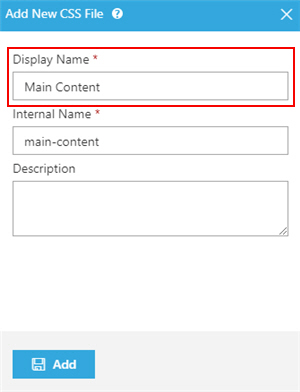
- Click Add.
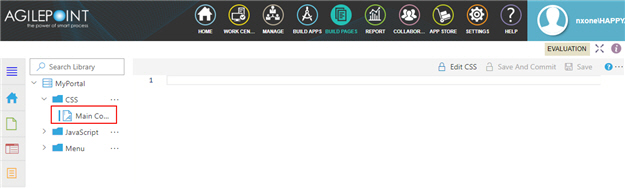
The Main Content empty CSS file is added to the CSS library.
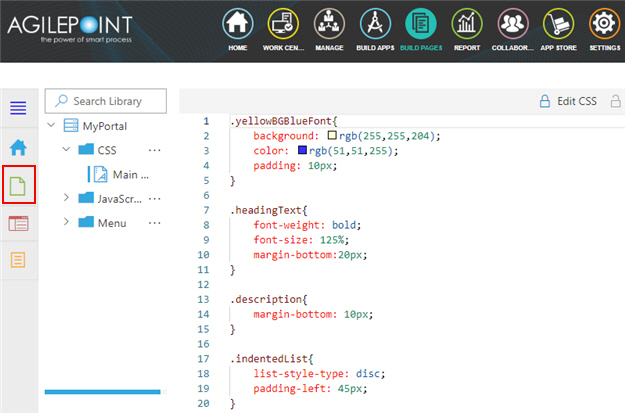
Step 3: Enter the CSS Code
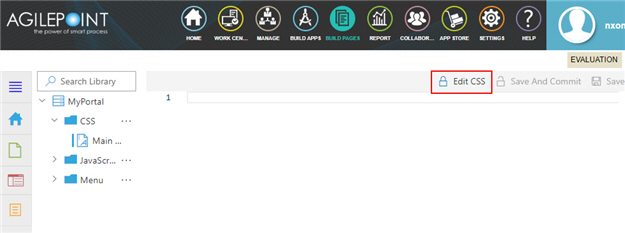
- Click Edit CSS
 .
.
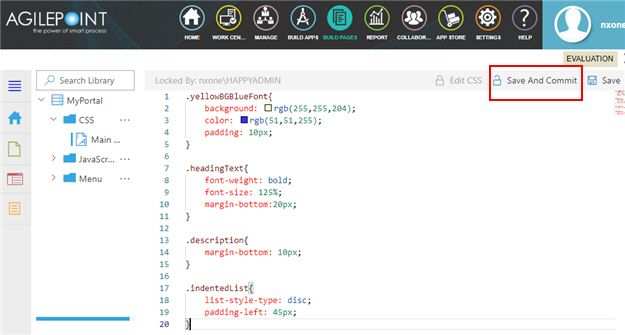
- On the right pane, add these CSS classes to your custom CSS snippet.
The yellowBGBlueFont class gives the style for the container, which can be either a row or a column.
The headingText, description, and indentedList classes give the style for the elements that reference classes in the Raw HTML widget.
To get the CSS class names from the custom page, refer to How to Get the CSS Class Names for a Custom Page.
.yellowBGBlueFont{
  background: rgb(255,255,204);
  color: rgb(51,51,255);
  padding: 10px;
}

.headingText{
  font-weight: bold;
  font-size: 125%;
  margin-bottom:20px;
}

.description{
  margin-bottom: 10px;
}

.indentedList{
  list-style-type: disc;
  padding-left: 45px;
}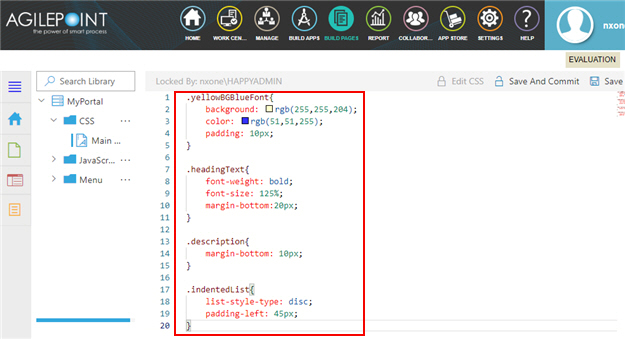
- Click Save And Commit
 .
.
Step 4: Add CSS to Custom Page
- Click Page Designer
 .
.
- On the Page Designer screen, click the page that you created in
this example for Raw HTML Widget.
- On your custom page, Edit Style
 .
.
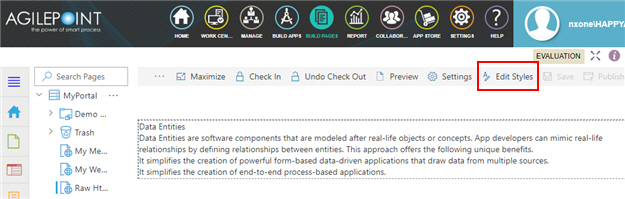
- On the Edit Styles - Properties screen, in the CSS Files list, select
Main Content.
The Main Content is a CSS file where the CSS classes are configured in this example.
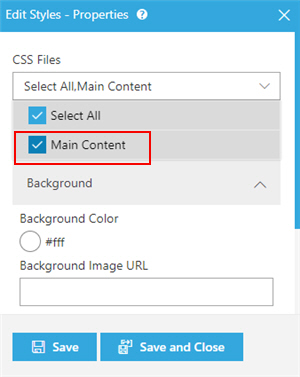
- Click Save and Close.
The Page Builder shows the Custom Page Design screen.
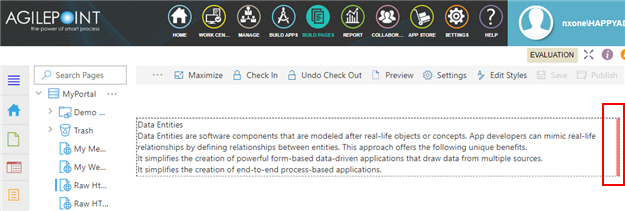
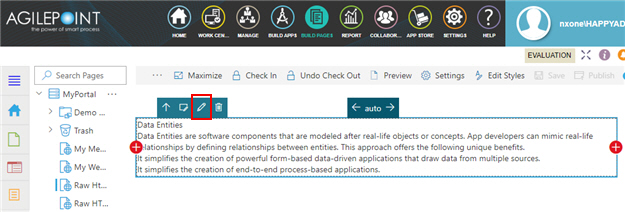
- Click the right side vertical line of the row or column.
- Click Edit Column Properties
 .
.
- On the Column - Properties screen, in the CSS > CSS Classes list,
select yellowBGBlueFont.
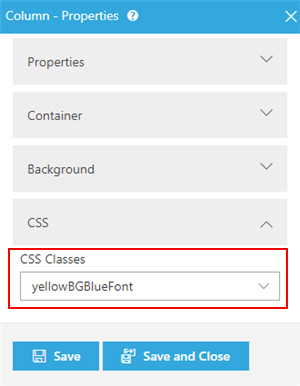
- Click Save and Close.
The Page Builder shows the Raw HTML widget with CSS format.
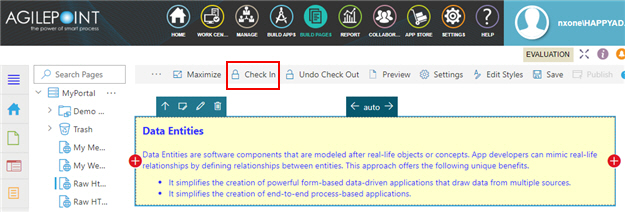
Step 4: Publish the Custom Page
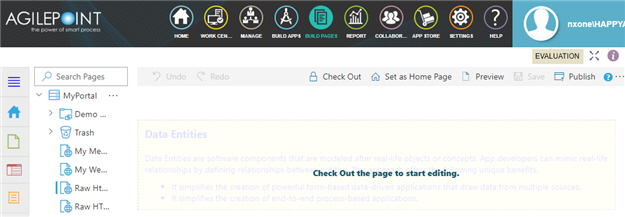
- On the Custom Page Design screen,
click Check In .
- Click Publish.
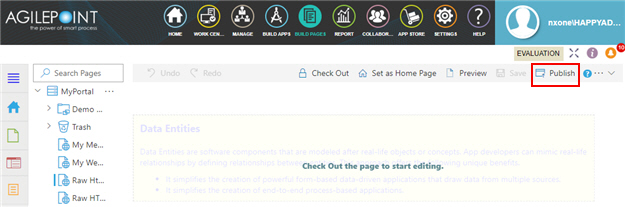
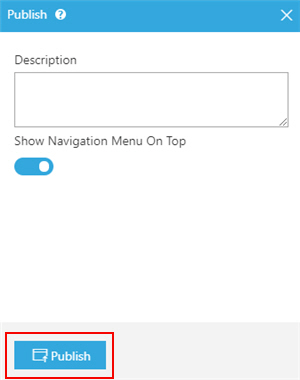
- On the Publish screen,
click Publish.
The Page Builder shows the published custom page screen.
Step 5: View the Published Page
- On the right side of a page,
click Ellipses (...) > Publish History

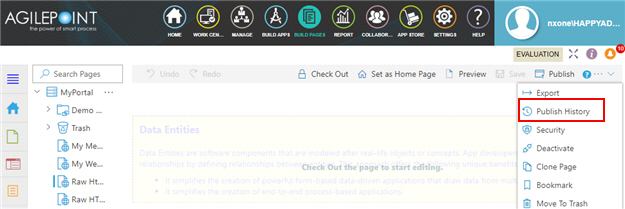
- On the Publish History screen, click Ellipses (…) >
View


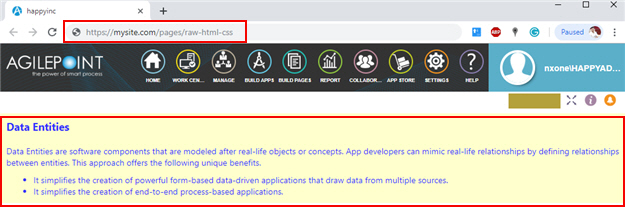
Your custom page opens in a new browser tab.
This view gives the production URL for the page. You can copy this URL to use in other locations, such as menus or links on other web sites.
How to Get the CSS Class Names for a Custom Page
This examples shows how to get the CSS class names from the custom page in Page Builder.
Prerequisites
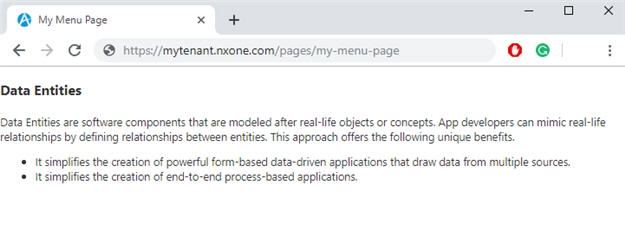
- This example uses the My Menu Page custom page that uses the Raw HTML widget in Page Builder.
You can create your own custom page using Raw HTML widget.
For more information, refer to (Example) Raw HTML Widget in Page Builder.
Good to Know
- These are the widgets and properties where you can use custom CSS:
- Raw HTML widget
- Heading widget
- Rich Text widget
- Row widget
- Column properties
- Row properties
- AgilePoint does not provide documentation for the CSS style names in eForms, custom pages in Page Builder, or other customizable web elements. You must get the CSS style names from the forms or pages at runtime or through a runtime preview.
- This example uses the Google Chrome web browser. The procedures are different for different web browsers.
- This example shows how to get the CSS class name for one element in the My Menu Page custom page. Use a similar procedure to get the CSS class names for other elements in the custom page.
How to Start
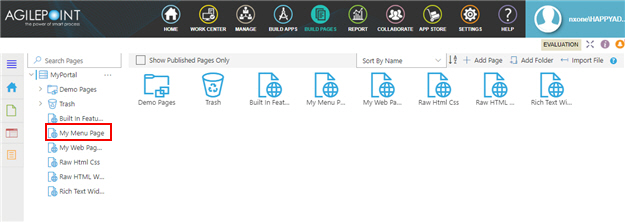
- Click Build Pages
 .
.
- On the Page Builder Home screen, in the left pane,
click Page Designer .

Procedure
- On the Page Designer screen, click My Menu Page.
- Publish the custom page.
The My Menu Page custom page opens in a new browser tab
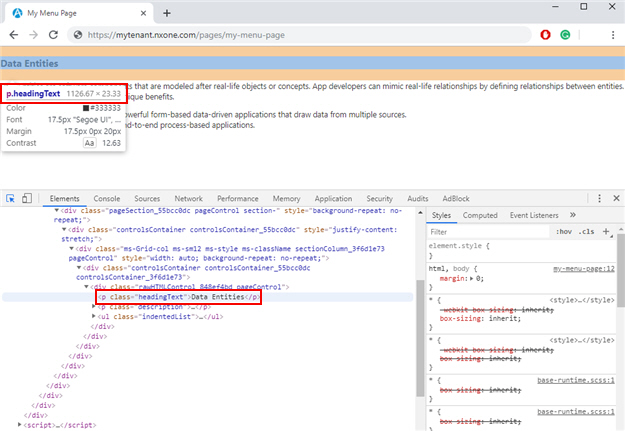
- On the new browser tab, right-click on the custom page, and click Inspect.
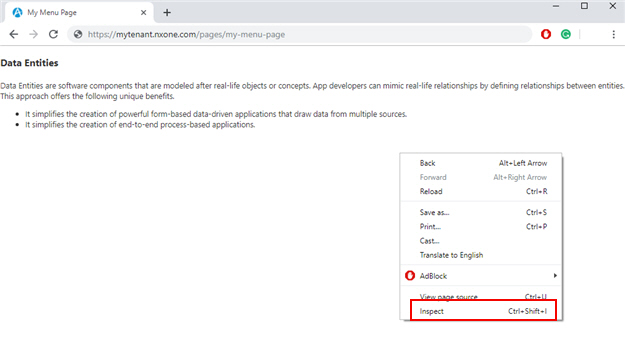
- On the source code pane in Google Chrome, select the pointer.
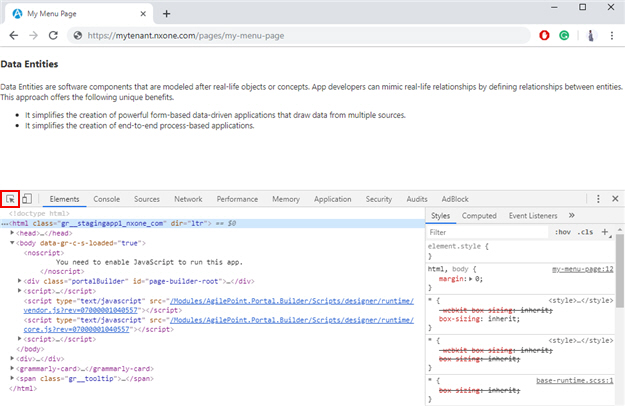
- Place the pointer over the element of the custom page.
The CSS class name for the specified element is highlighted on the source code.