
Convert Lead (MS Dynamics 365) activity
An activity that changes a lead to an account, contact, or opportunity.
Configure the Convert Lead activity
To configure the Convert Lead activity, do the procedure in this topic.
Examples
Good to Know
- To send an email notification, click
Advanced
 >
Email Notifications
>
Email Notifications  .
. For more information, refer to Email Notifications screen (Process Activities).
- In most text fields, you can use process data variables as an alternative to literal data values.
- You can configure whether this activity waits for other activities before it runs.
For more information, refer to How Do I Configure an Activity to Wait for Other Incoming Activities?
- This section shows the configuration settings on the configuration screens for this activity. Other configuration settings apply to system activities. For more information, refer to:
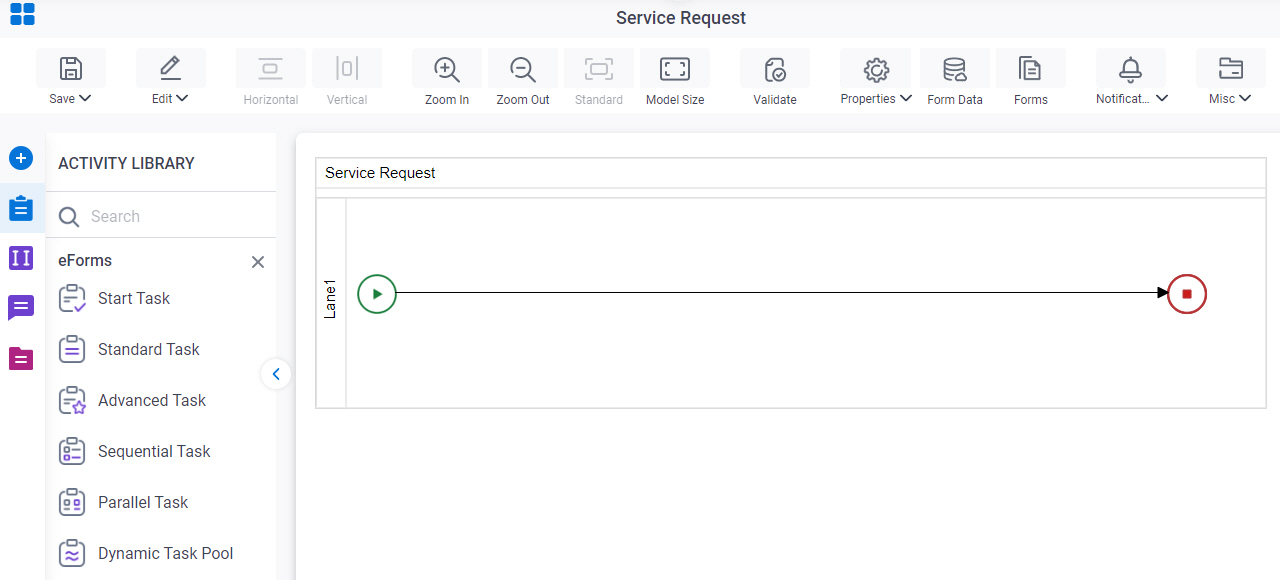
How to Start
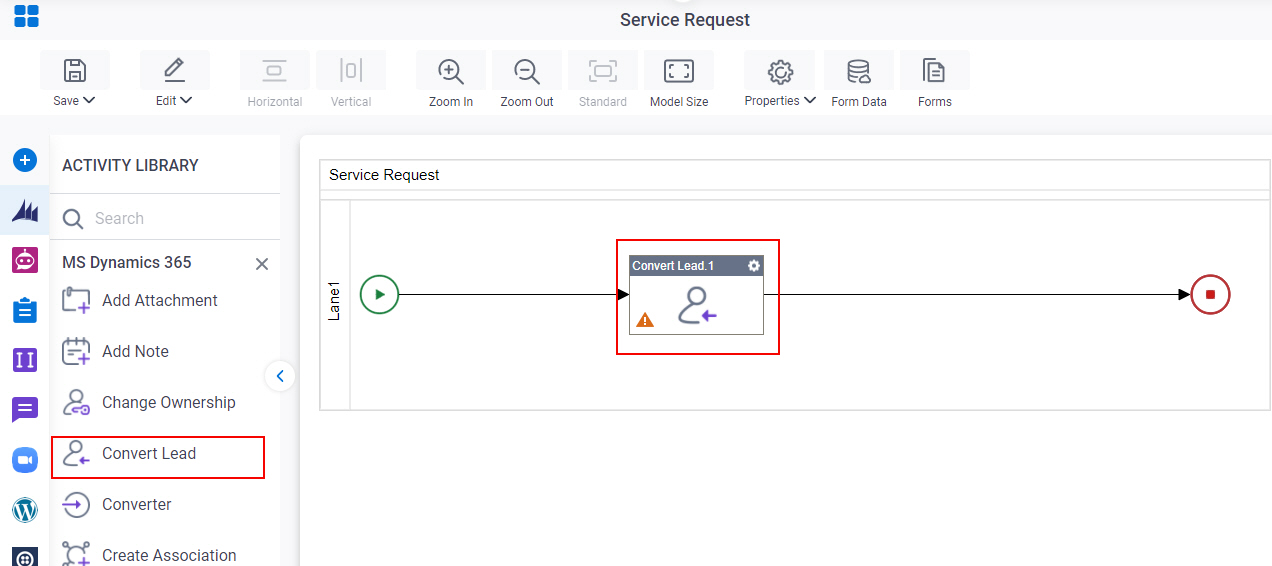
- Open Process Builder.
For information about how to open this screen, refer to Process Builder.
- In Process Builder, in the Activity Library,
open the MS Dynamics 365 tab.

- On the MS Dynamics 365
tab,
drag the Convert Lead
activity onto your process.
General Configuration
Specifies the basic settings for the Convert Lead activity.
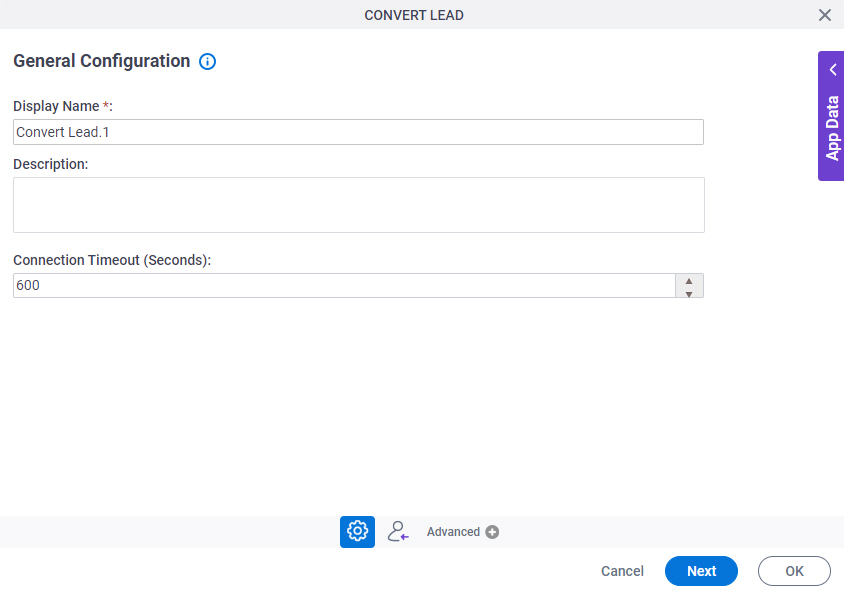
Fields
| Field Name | Definition |
|---|---|
|
Display Name |
|
|
Description |
|
|
Connection Timeout (Seconds) |
|
Convert Lead Configuration
Configures how to change a lead to an account, contact, or opportunity.
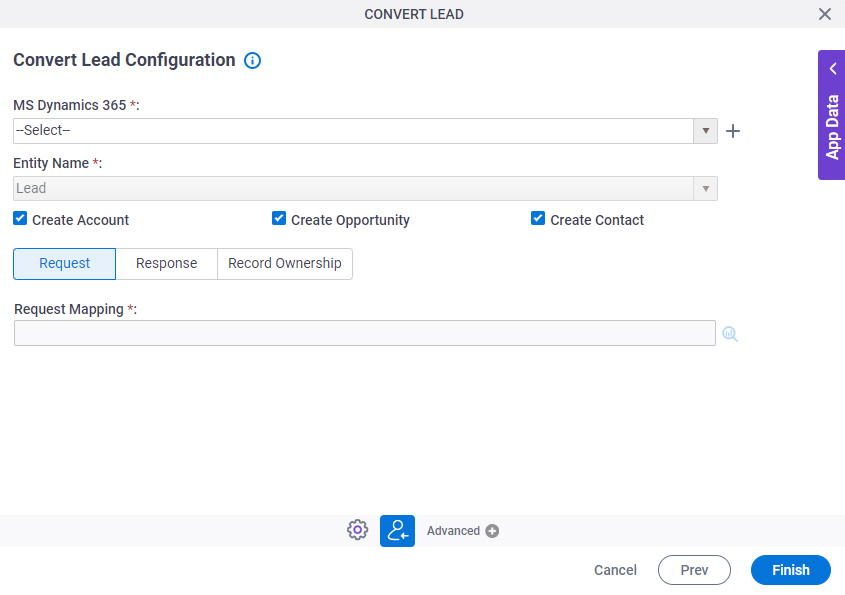
Fields
| Field Name | Definition |
|---|---|
|
MS Dynamics 365 |
|
|
Create |
|
|
Entity Name |
|
|
Create Account |
|
|
Create Opportunity |
|
|
Create Contact |
|
|
Request Mapping |
|
|
Map Response to Application Schema |
|
|
Store Response in This Variable |
|
|
Record Ownership |
|

