New Item screen

Creates a picklist item.
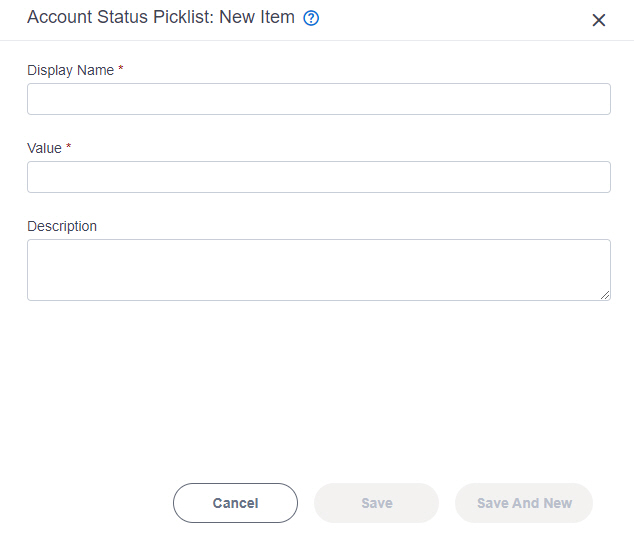
Figure: New Item screen

New Item screen

Examples

  • (Example) Create a Picklist Item
  • Examples - Step-by-step use case examples, information about what types of examples are provided in the AgilePoint NX Product Documentation, and other resources where you can find more examples.

Prerequisites

How to Start

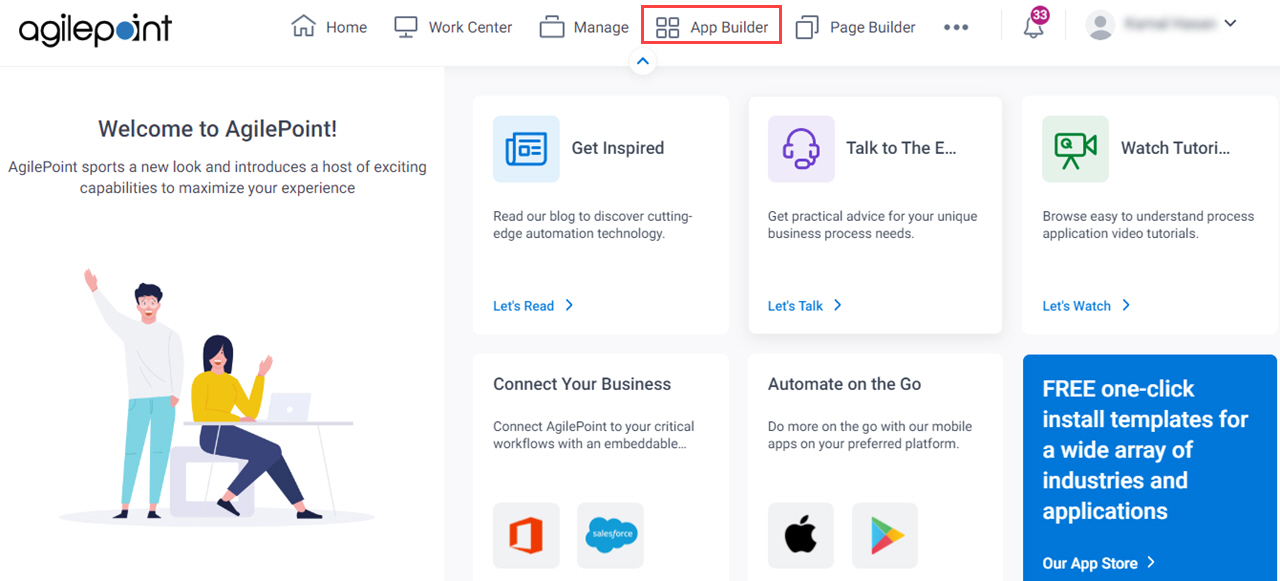
  1. Click App Builder.

    Build Apps screen
  2. On the App Explorer screen, click Data Entities.
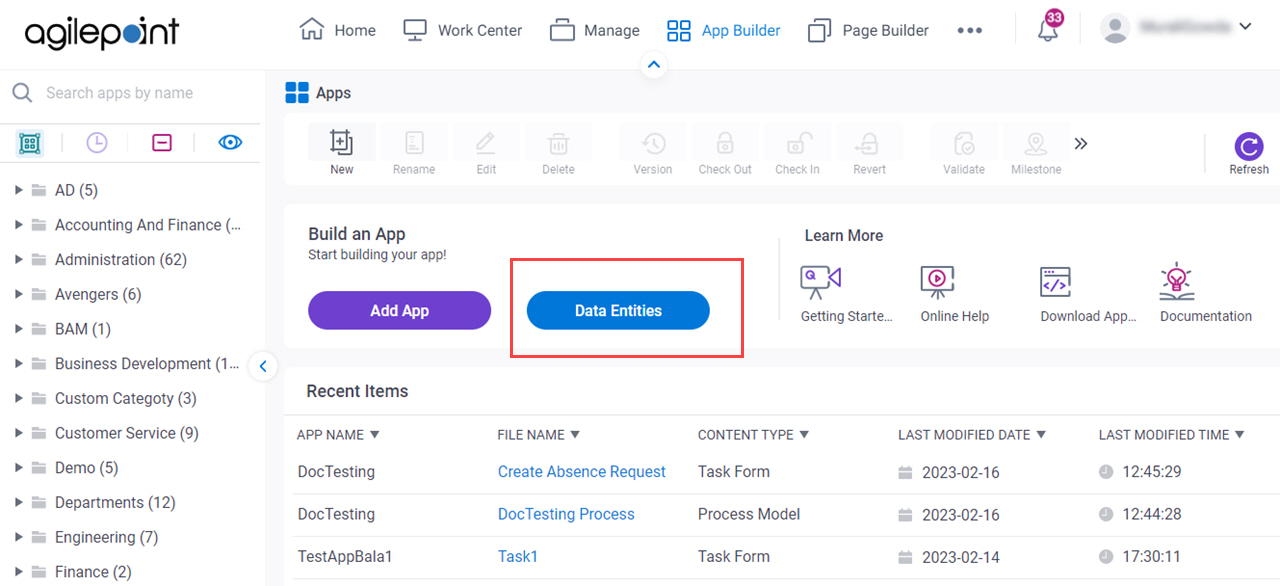
    Click Data Entities Screen
  3. On the Data Entities Home screen, click Picklists.
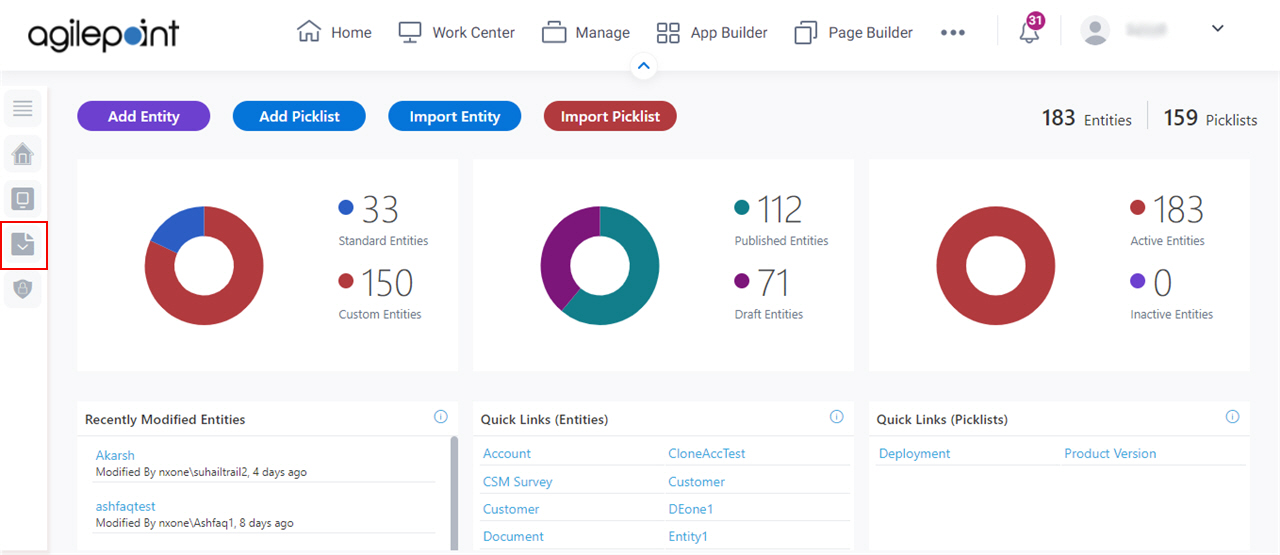
    Click Picklists screen
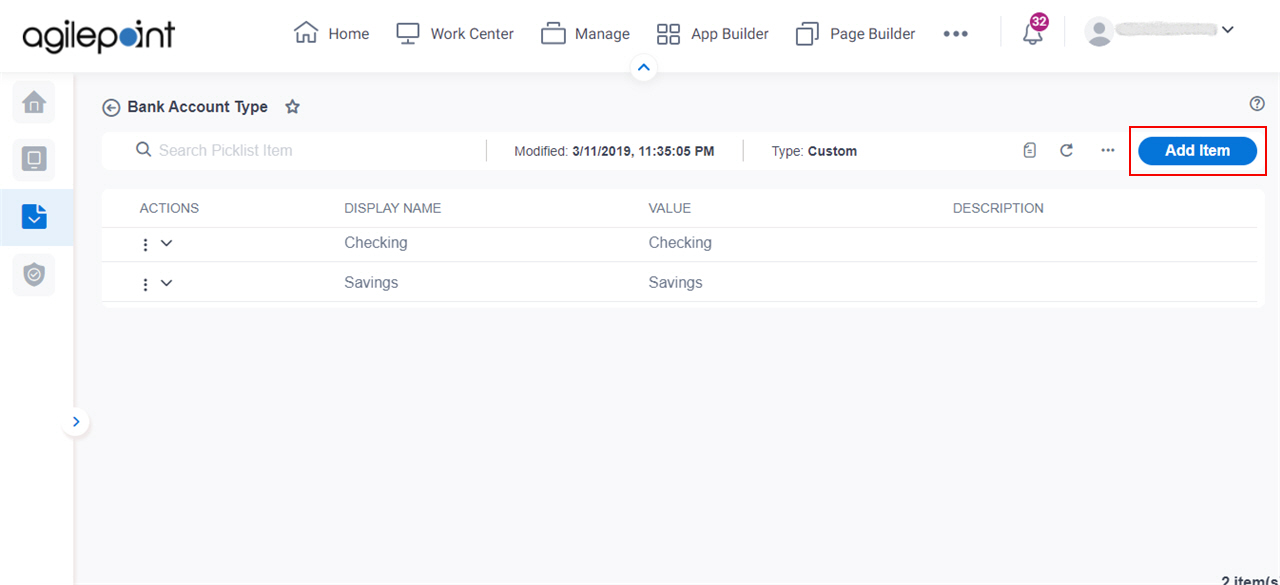
  4. On the Picklists screen, click a picklist.
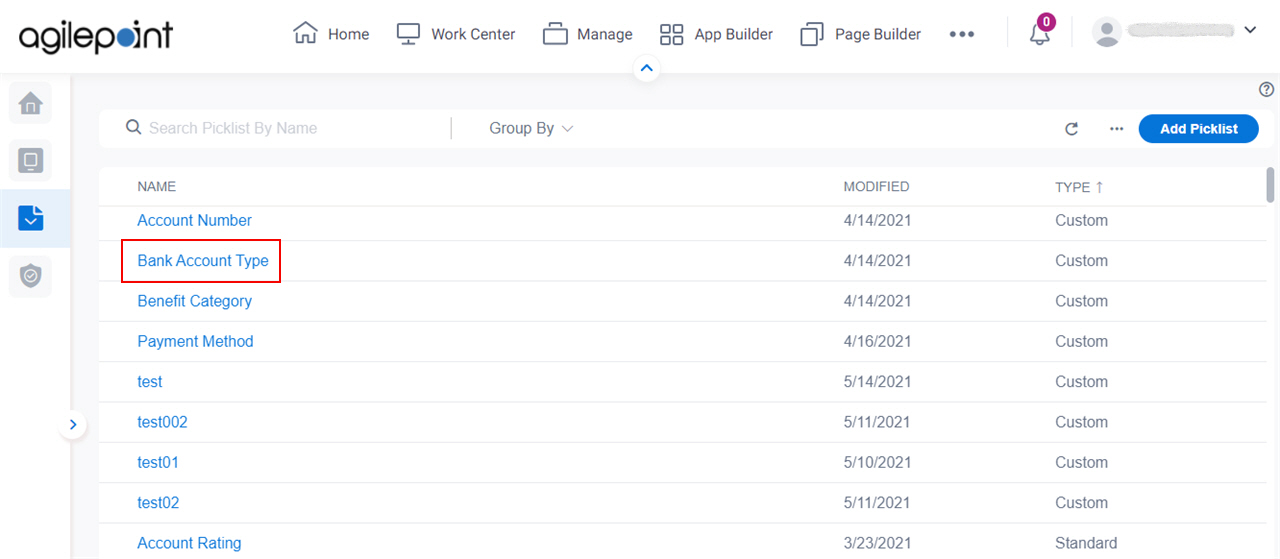
    Click Picklist
  5. Click Add Item.

    Click Add Item

Fields

Field NameDefinition

Display Name

Function:
Specifies the name that shows for the picklist item in AgilePoint NX.
Accepted Values:
An alphanumeric string that can have spaces or special characters. Maximum 100 characters are accepted.
Default Value:
None
Example:
Refer to:
Limitations:
The option to support numbers and special characters with maximum 100 characters are available in these releases:

Value

Function:
Specifies a unique, technical name for the picklist item.
Accepted Values:
An alphanumeric string that can have spaces or special characters. Maximum 100 characters are accepted.
Default Value:
None
Example:
Refer to:
Limitations:
The option to support numbers and special characters with maximum 100 characters are available in these releases:

Description

Function:
Specifies an optional text description for the picklist item.
Accepted Values:
More than one line of text.
Default Value:
None
Example:
Refer to:

Save And New

Opens this Screen:
Saves the configuration for your picklist item and opens New Item screen to create a new picklist item.

Save

Opens this Screen:
Saves the configuration for your picklist item.

Cancel

Opens this Screen:
Cancels the configuration for your picklist item.