
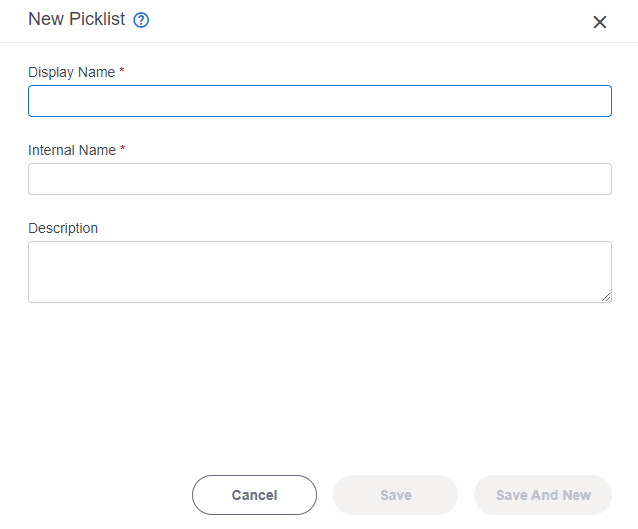
New Picklist screen
Creates a picklist you can use in entity fields.
Examples
- (Example) Create a Custom Picklist
- Examples - Step-by-step use case examples, information about what types of examples are provided in the AgilePoint NX Product Documentation, and other resources where you can find more examples.
Prerequisites
- AgilePoint NX OnDemand (public cloud), or AgilePoint NX Private Cloud or AgilePoint NX OnPremises v7.0 or higher.
How to Start
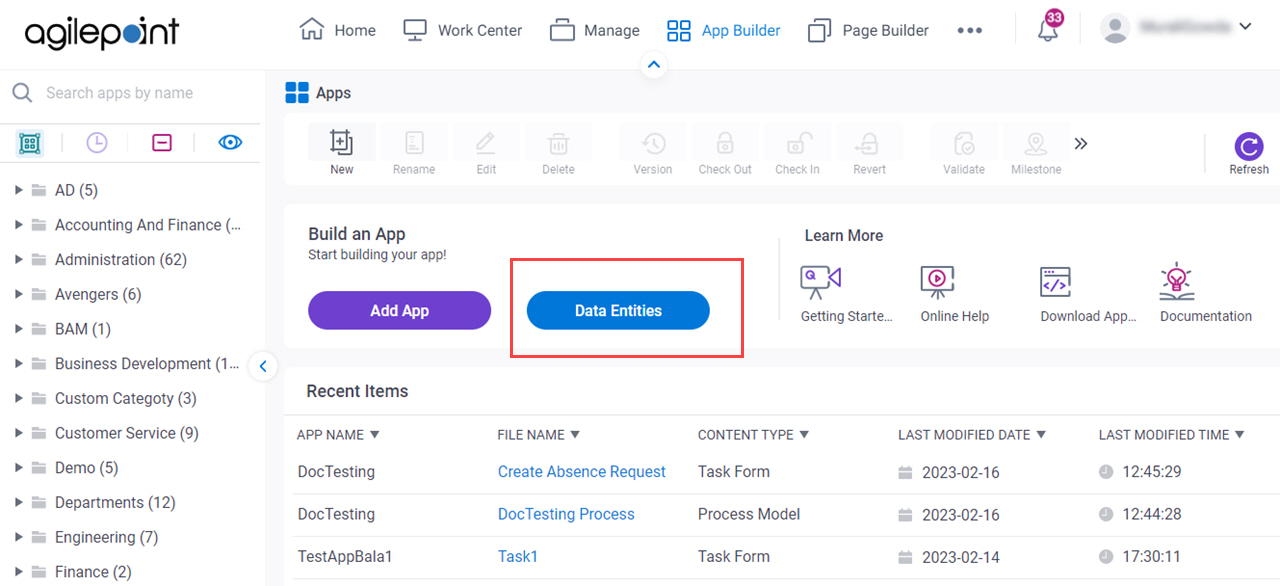
- Click App Builder.

- On the App Explorer screen,
click Data Entities.
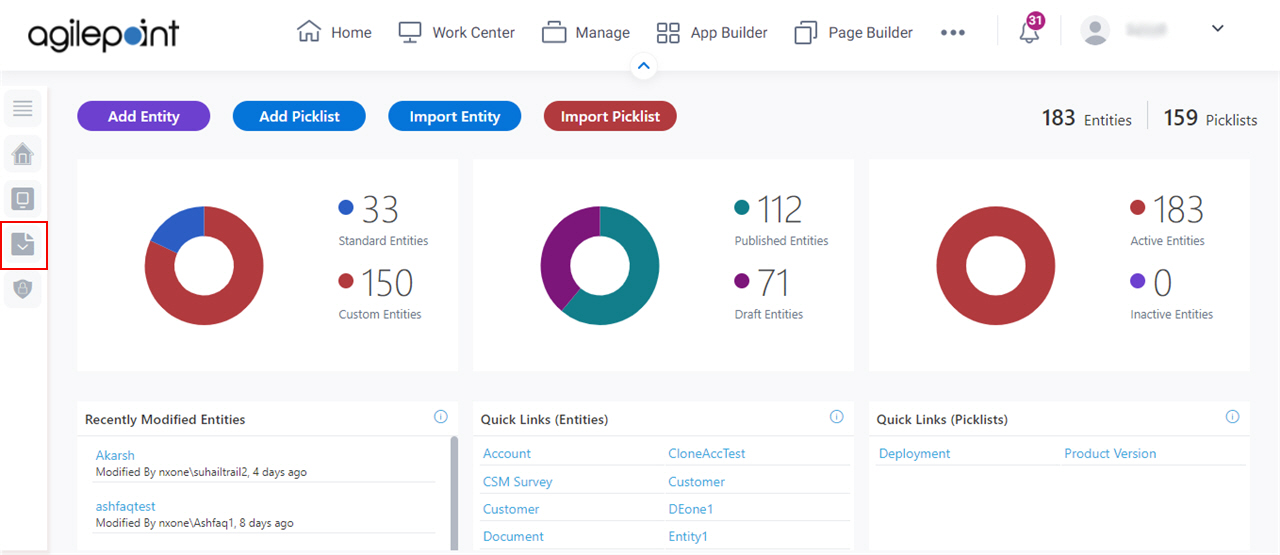
- On the Data Entities Home screen,
click Picklists.
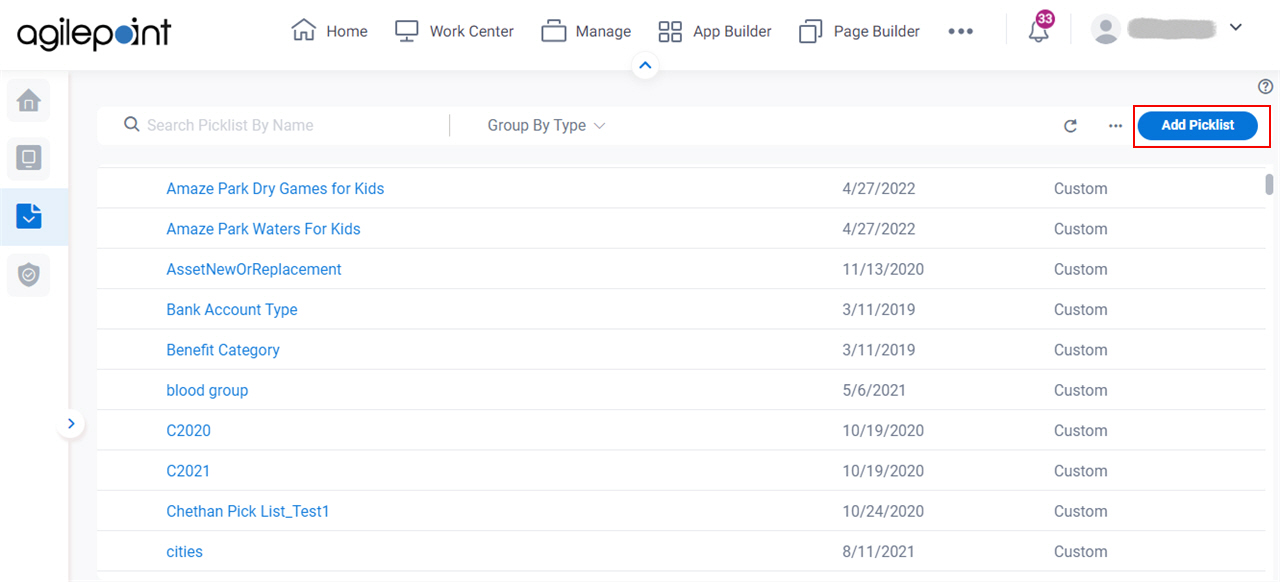
- On the
Picklists screen,
click Add Picklist.
Fields
| Field Name | Definition |
|---|---|
Display Name |
|
Internal Name |
|
Description |
|
|
Save And New |
|
|
Save |
|
|
Cancel |
|