Create a Widget Form (Classic)
To create a widget form in the Classic Add an App experience, do the procedure in this topic.
Video: Use a Form-Based App to Create a Widget (Classic)
Prerequisites
- On the App Builder Process Designer Settings screen, set Default App Wizard Experience to Classic.
- AgilePoint NX OnDemand (public cloud), or AgilePoint NX Private Cloud or AgilePoint NX OnPremises v7.0 or higher.
Good to Know
- By default, the runtime app user can change the form, but you can set the app permissions to configure which AgilePoint NX users can create or update form data.
For more information, refer to How Do I Use Application Level Permissions?
How to Start
- Click App Builder.

- On the App Explorer screen, click Add App.

Procedure
- On the App Type screen, select Form-Based App.

- Click Next.
- On the New App screen, complete these fields:
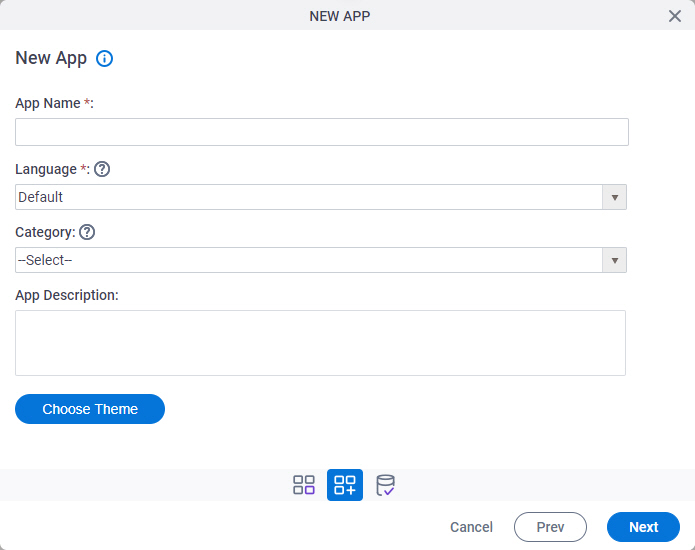
Field Name Definition App Name
- Function:
- Specifies a name for your app.
- Accepted Values:
- One line of text that can have spaces.
- Default Value:
- None
- Example:
- Refer to:
Language
- Function:
- Specifies the language for your app.
- Accepted Values:
- A language from the list.
- Default Value:
- None
- Accepts Process Data Variables:
- No
- Example:
- Refer to:
Category
- Function:
- Specifies a category for your app.
- Accepted Values:
- A category from the list.
The category list comes from Tenant Settings > Categories tab.
- Default Value:
- None
- Limitations:
-
This field is available in these releases:
App Description
- Function:
- An optional description for your app.
- Accepted Values:
- More than one line of text.
- Default Value:
- None
- Example:
- Refer to:
Choose Theme
- Opens this Screen:
- Choose Process Model Theme
- Function of this Screen:
- Specifies a process theme.
- Click Next.
- On the Select Primary Data Source screen, select
Widgets Only
 .
.
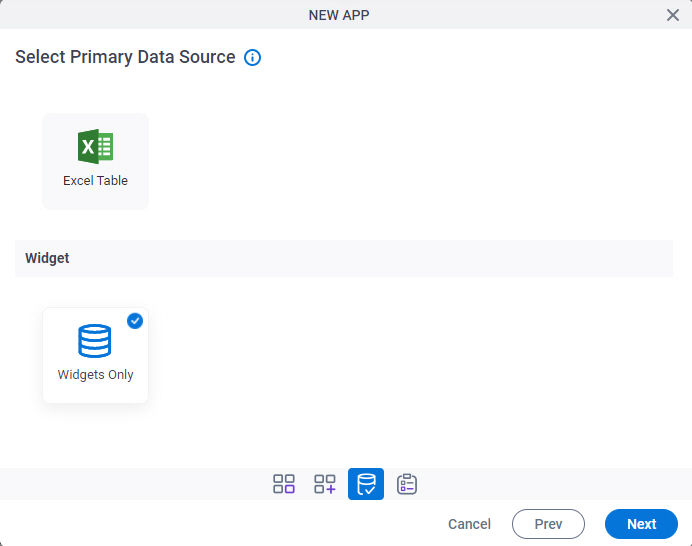
- Click Next.
- On the New Form screen, in the Form Name field, enter a name for your form.
- Click Finish.
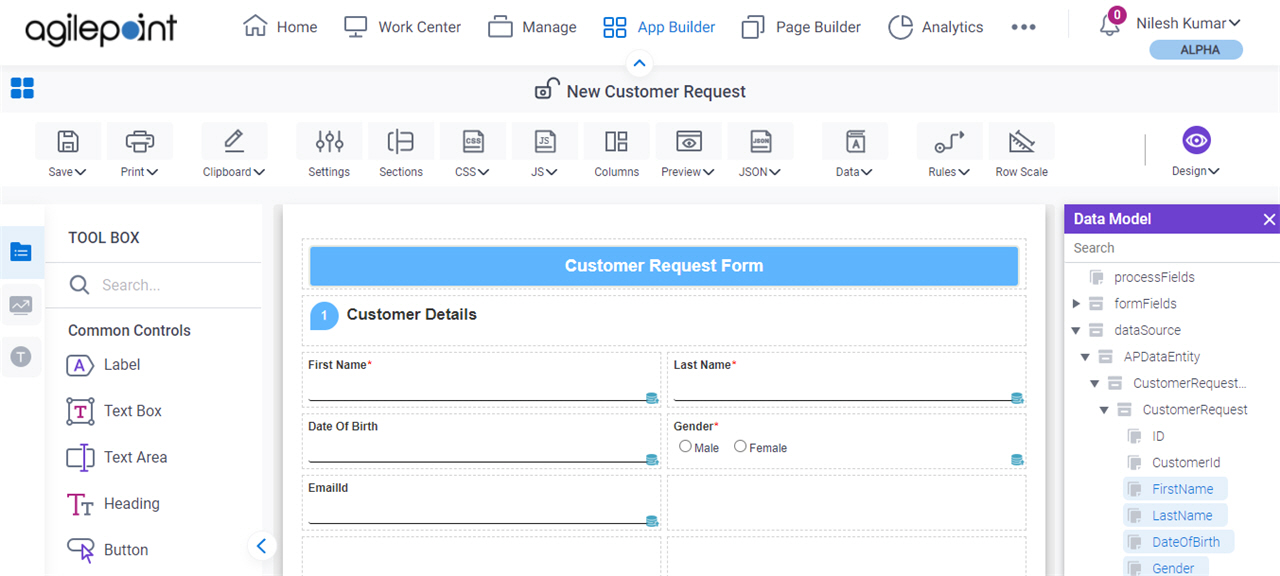
- On the eForm Builder screen, configure your form as necessary.
For more information, refer to eForm Builder.