(Example) Create a Custom Picklist
This example shows how to create a custom picklist in Data Entities.
Background and Setup
Prerequisites
- One of these permission groups:
For more information, refer to Data Entities Permissions screen.
Good to Know
- This example shows how to create a custom picklist in Data Entities.
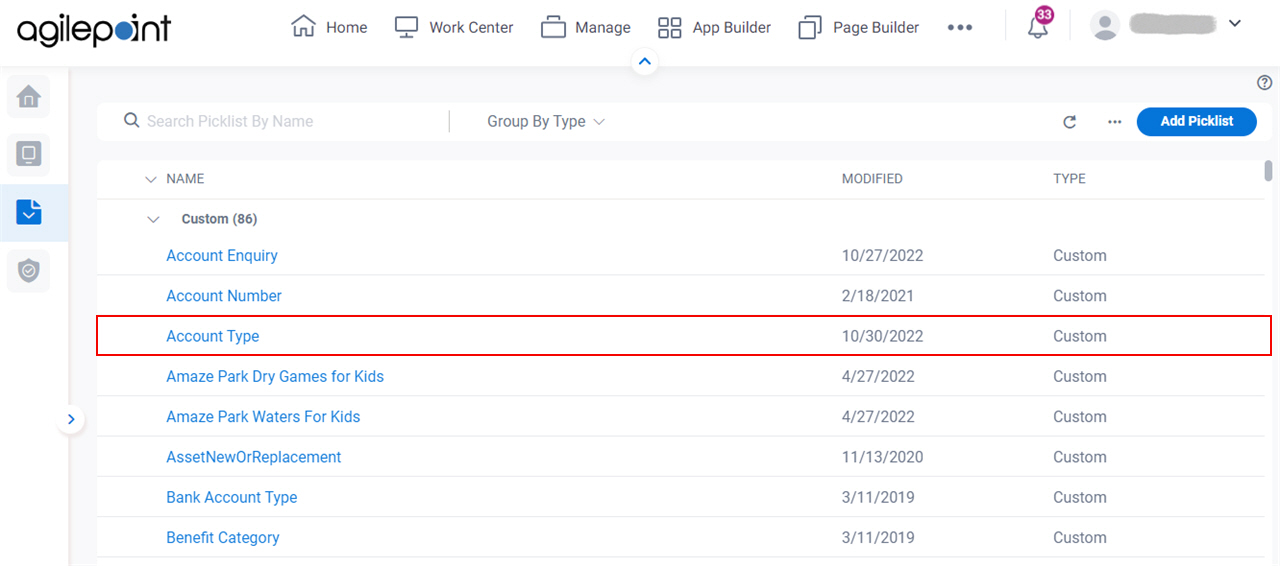
In this example, the picklist name is Account Type.
How to Start
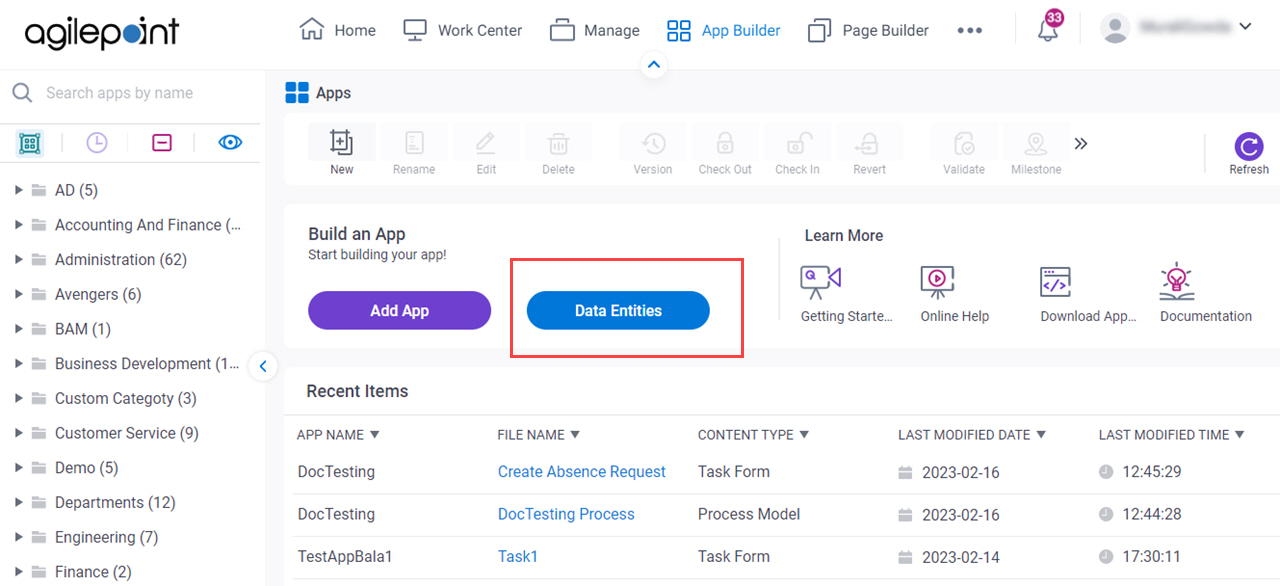
- Click App Builder.

- On the App Explorer screen,
click Data Entities.
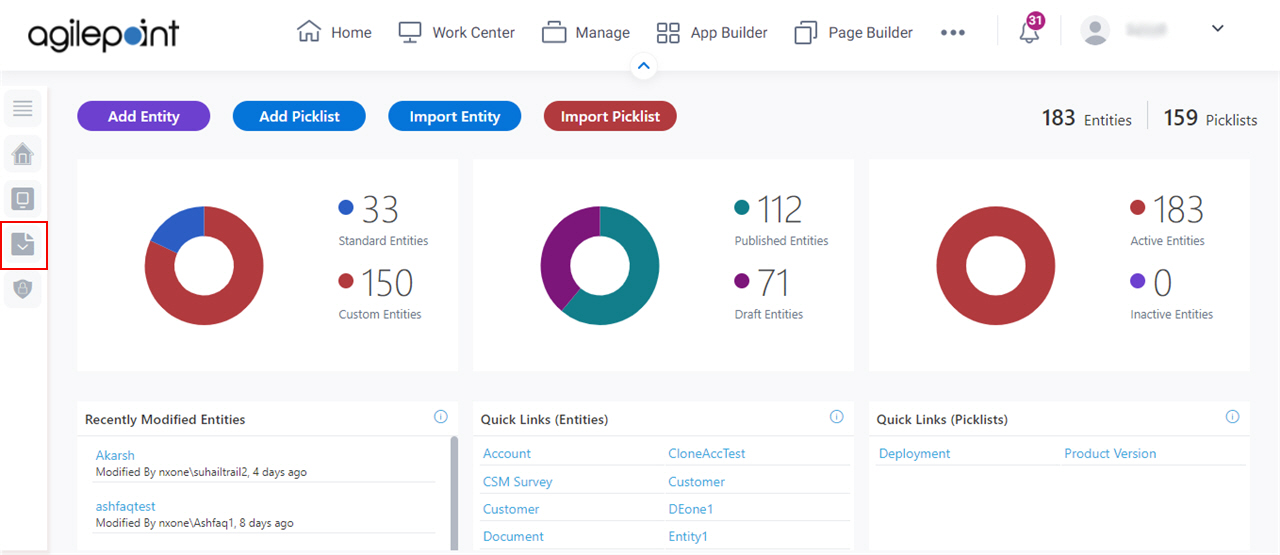
- On the Data Entities Home screen,
click Picklists.
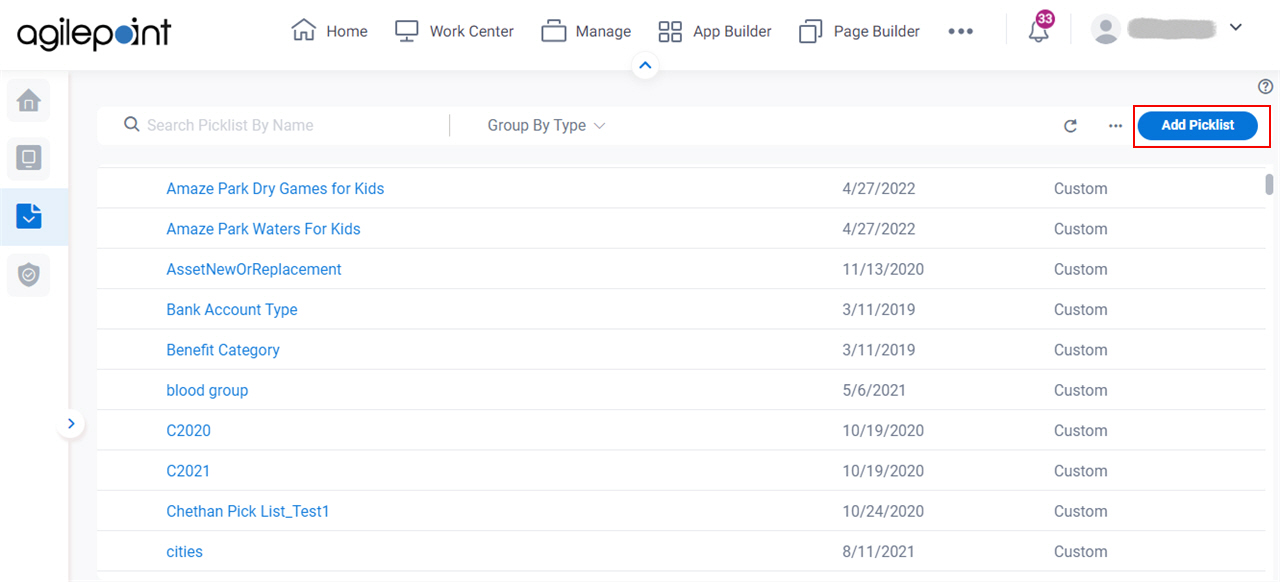
- On the
Picklists screen,
click Add Picklist.
Procedure
- On the New Picklist screen, in the Display Name field, enter Account Type.
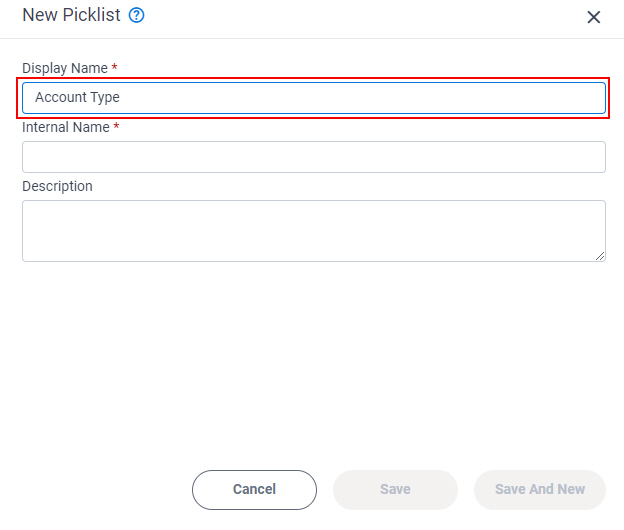
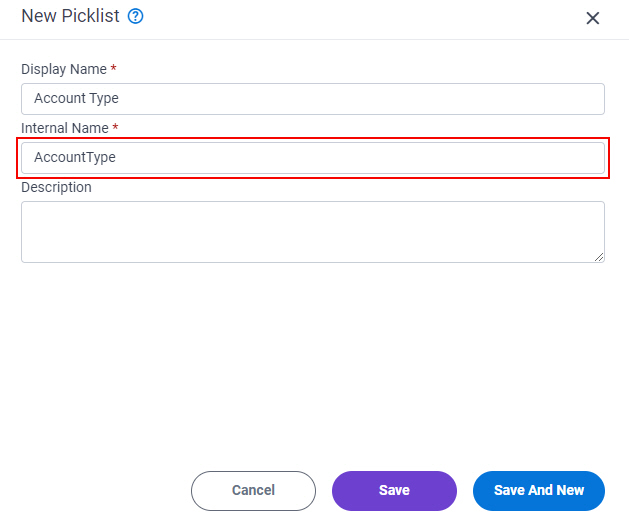
When you click the Internal Name field, the Internal Name field shows the value you entered in the Display Name field with no spaces.
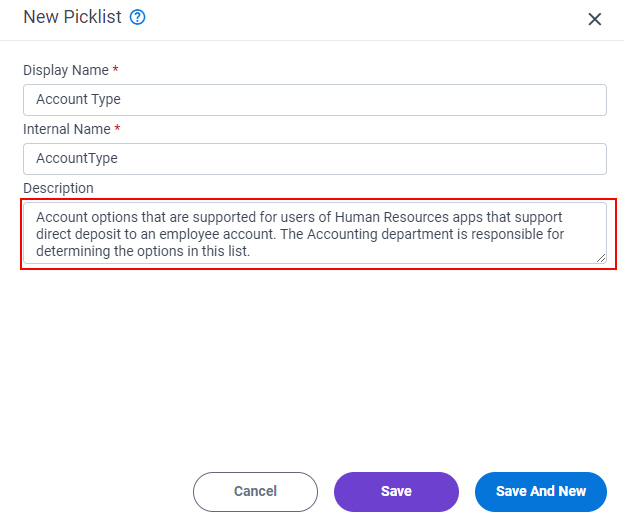
- In the Description field, enter the description for the custom picklist.
In this example, the description is Account options that are supported for users of Human Resources apps that support direct deposit to an employee account. The Accounting department is responsible for determining the options in this list.
- Click Save.
The Picklist screen shows the new custom picklist, Account Type.