Form Control Quick Menu

Lets you change some configuration settings for a form control.

Figure: Form Control Quick Menu screen

Form Control Quick Menu screen

Good to Know

  • The toolbar options are different for different form controls.

How to Start

  1. Open eForm Builder.

    For information about how to open this screen, refer to eForm Builder screen.


    Eform Builder screen
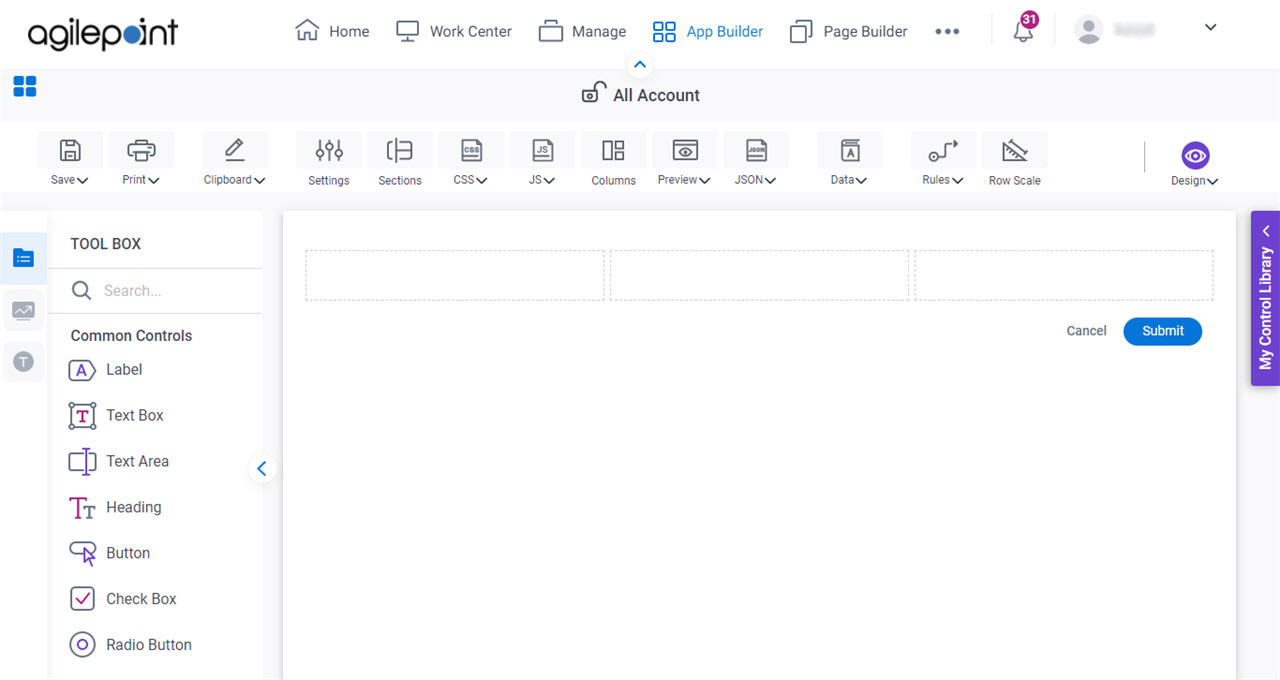
  2. Drag a form control onto your eForm.

    Check Box form control
  3. Put your cursor over the form control, and the form control toolbar shows.

    Open Quick menu

Fields

Field NameDefinition

Delete Delete icon

Function:
Deletes the form control.

Duplicate Duplicate icon

Function:
Creates a copy of the form control, with the same configuration, and puts the form control at the bottom of the eForm.

Adjust Width Adjust Width icon

Function:
Lets you change the width of the form control to show on the eForm. This does not change the width of the column or the width of the other form controls in the row.

Promote To Library Promote To Library icon

Function:
Adds the form control to the My Control Library. You can add these controls to your eForm with no need to configure them.

Revert To Library Revert To Library icon

Function:
Returns the local form control, to the configuration settings in the My Control Library.

Edit Edit icon

Function:
Opens the configuration screen for the form control.

Formula Formula icon

Opens this Screen:
Formula Builder screen
Function of this Screen:
Lets you configure a formula to do math calculations for your eForm and it's form controls..

Rules Rules icon

Opens this Screen:
Rule Builder screen (Form Control Configuration)
Function of this Screen:
Lets you configure rules for your form control..

Design Subform Design Subform icon

Function:
Opens a subform.

Image Picker Image Picker icon

Opens this Screen:
Image Picker screen
Function of this Screen:
Specifies an image for your eForm..