
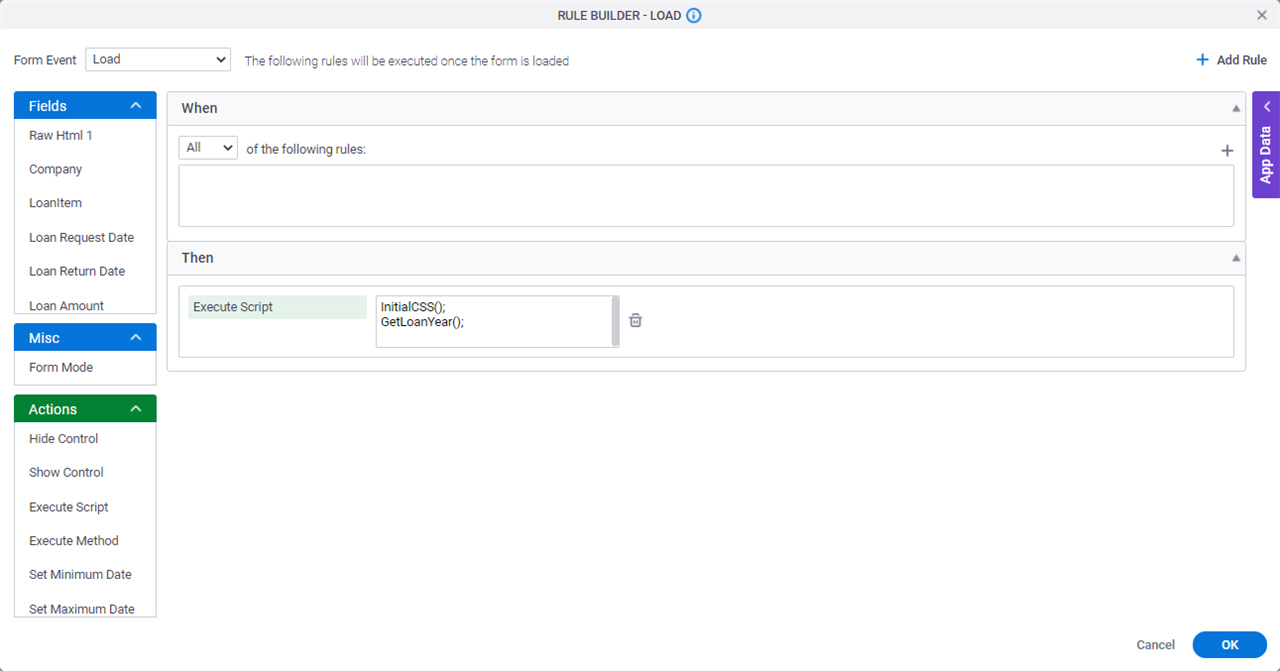
Rule Builder screen (eForm Configuration)
Lets you configure rules that specify the behavior of your eForm and it's form controls. You can put one statement inside another statement to create complex logical expressions.
Video: Form Designer Overview
Video: eForm Builder Interface
Video: eForms with SharePoint - Part 3
Examples
- (Example) Use Rules in a Form Control
- Advanced Examples
For more advanced or complex examples or specific information about how to solve a specific business problem or use case, AgilePoint recommends the following resources:
- AgilePoint Community Forums - A free, AgilePoint-moderated, crowd-sourcing user forum where you can ask questions about specific techniques, the solutions to use cases, workarounds, or other topics that may not be covered in the Product Documentation.
- Video Portal - Video walkthroughs for a range of simple and advanced tasks in AgilePoint NX.
- Professional Services - If you can not find the information you need for your specific business problem, mentoring is available through AgilePoint Professional Services.
- Personalized Training - AgilePoint can provide personalized training for your organization. To request personalized training, contact AgilePoint Sales.
Good to Know
- Rules have 2 main parts:
- Condition - The circumstances that trigger the rule. The When section of a rule specifies the conditions. Conditions have 3 parts:
- Fields - One or more form controls that trigger or give the context for the condition.
- Comparer - The operator to used to compare the two input values.
- Rule Value - The value or variable that specifies the context for the rules.
- Action - The results that occur if the conditions for the rule are true. The Then section of a rule specifies the actions.
- Condition - The circumstances that trigger the rule. The When section of a rule specifies the conditions. Conditions have 3 parts:
How to Start
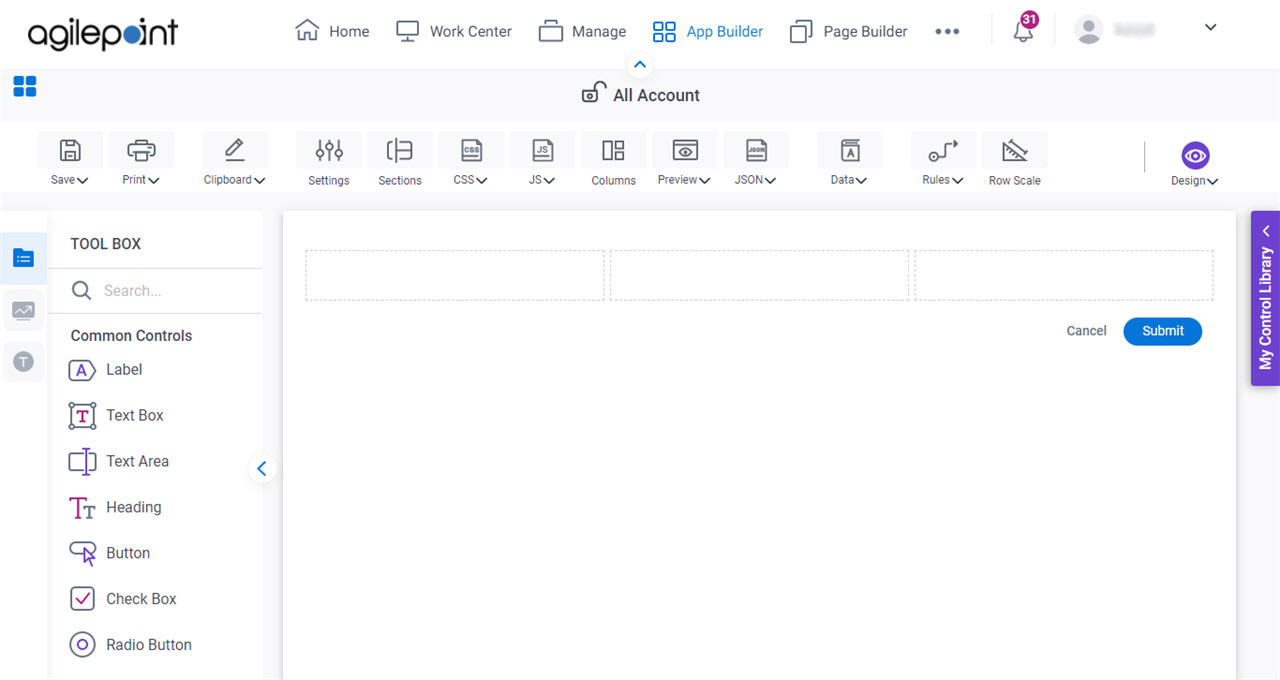
- Open eForm Builder.
For information about how to open this screen, refer to eForm Builder screen.
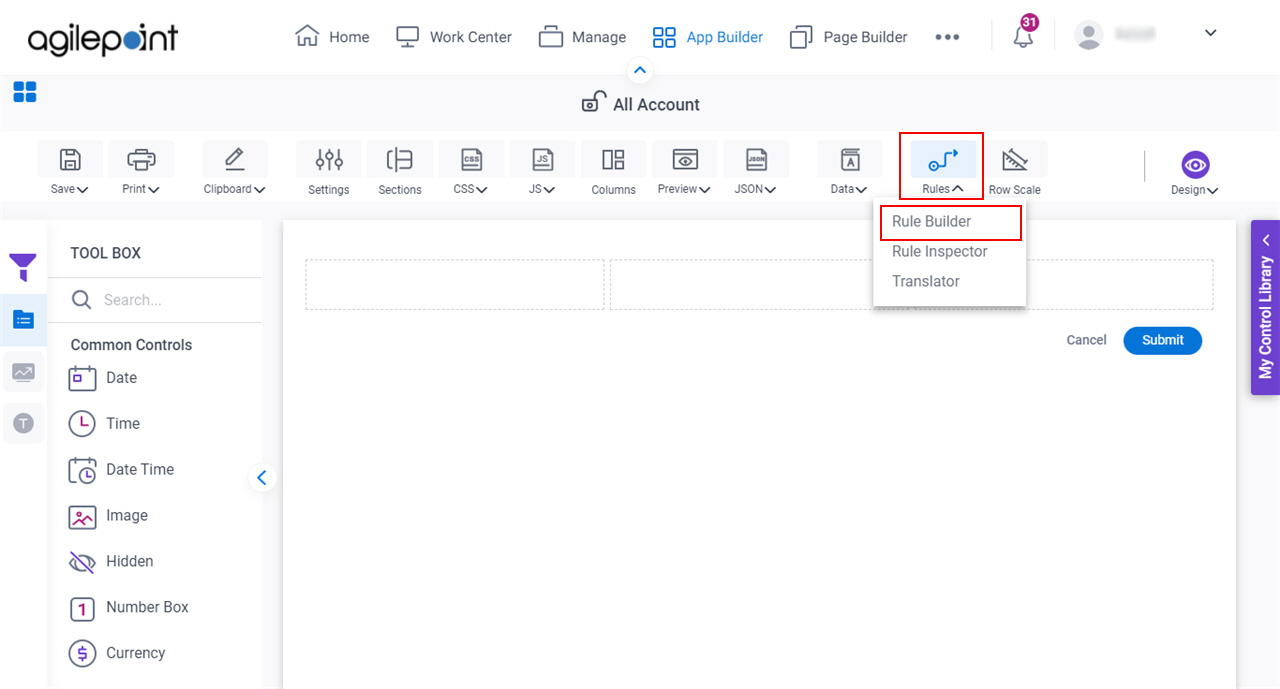
- On the eForm Builder screen,
click Rules > Rule Builder.
Fields
| Field Name | Definition |
|---|---|
Form Event |
|
Add Rule |
|
Fields |
|
When |
|
Comparer |
|
Rule Value |
|
Add Condition |
|
Delete |
|
Then |
|
Actions |
|
Javascript Method |
|
Parameter |
|
Field Path |
|
Conditions Failure Message | |
Redirect URL |
|

