
Receipt Card Attachment
An activity that creates a receipt card attachment that enables a bot attachment to give a receipt to the user with Microsoft Azure Bot Service.
Configure the Sign In Card Attachment activity
To configure the Receipt Card Attachment activity, do the procedure in this topic.
Examples
Prerequisites
- AgilePoint NX OnDemand (public cloud), or AgilePoint NX PrivateCloud or AgilePoint NX OnPremises v7.0 or higher.
Good to Know
- How Can I Create a Receipt Card from an eForm?
- To send an email notification, click
Advanced
 >
Email Notifications
>
Email Notifications  .
. For more information, refer to Email Notifications screen (Process Activities).
- In most text fields, you can use process data variables as an alternative to literal data values.
- You can configure whether this activity waits for other activities before it runs.
For more information, refer to How Do I Configure an Activity to Wait for Other Incoming Activities?
- This section shows the configuration settings on the configuration screens for this activity. Other configuration settings apply to system activities. For more information, refer to:
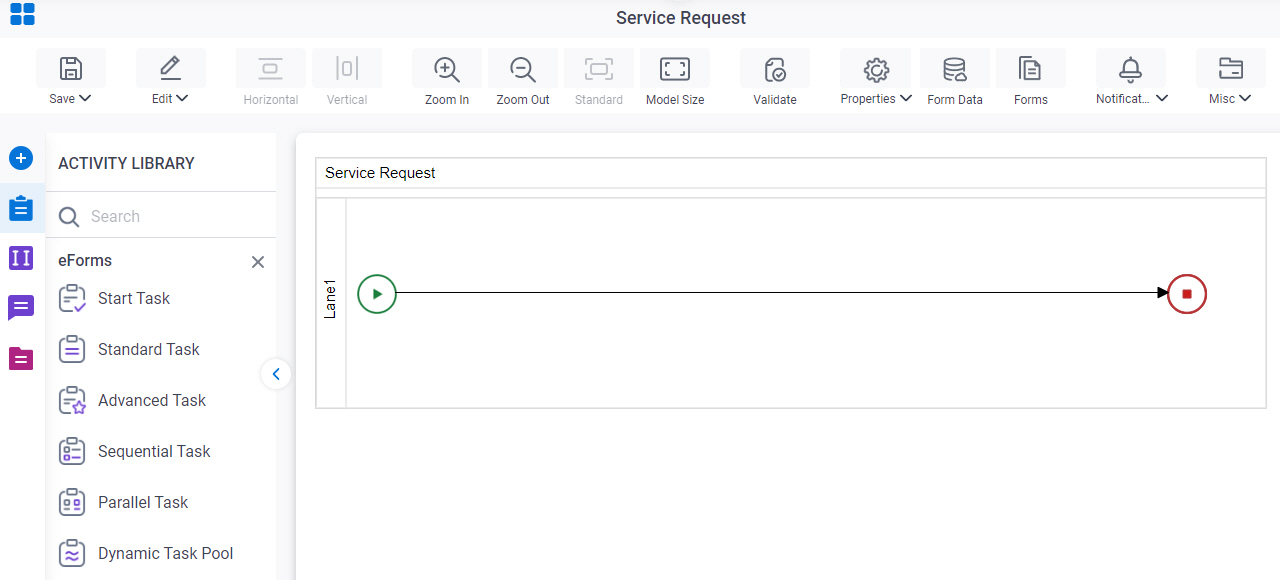
How to Start
- Open Process Builder.
For information about how to open this screen, refer to Process Builder.
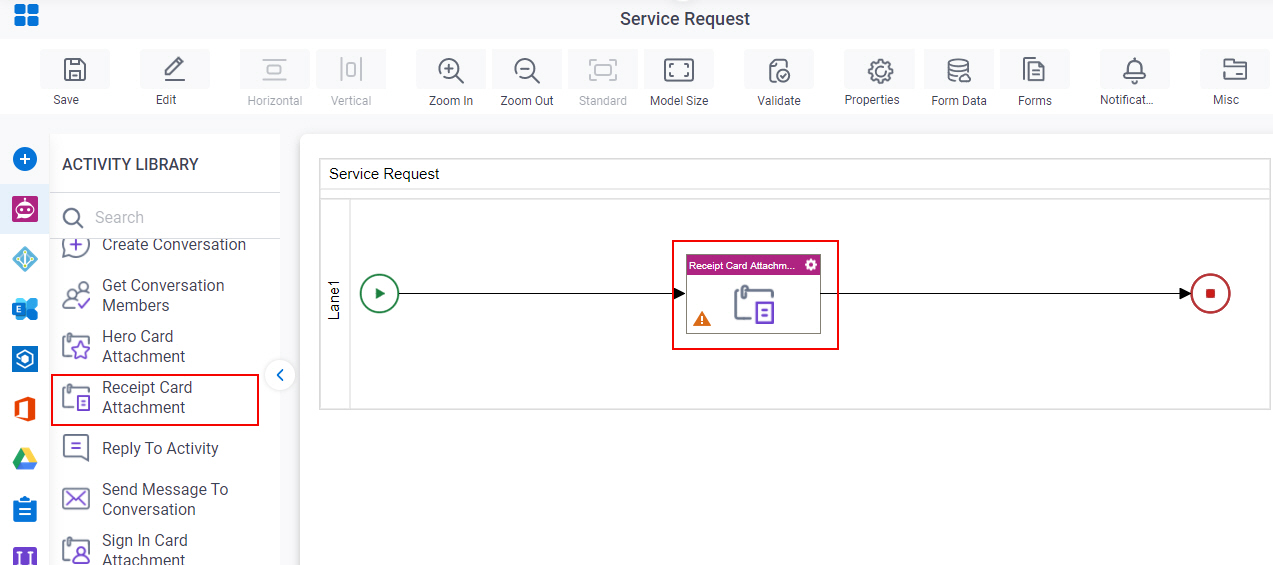
- In Process Builder, in the Activity Library
open the MS Azure Bot Service tab.
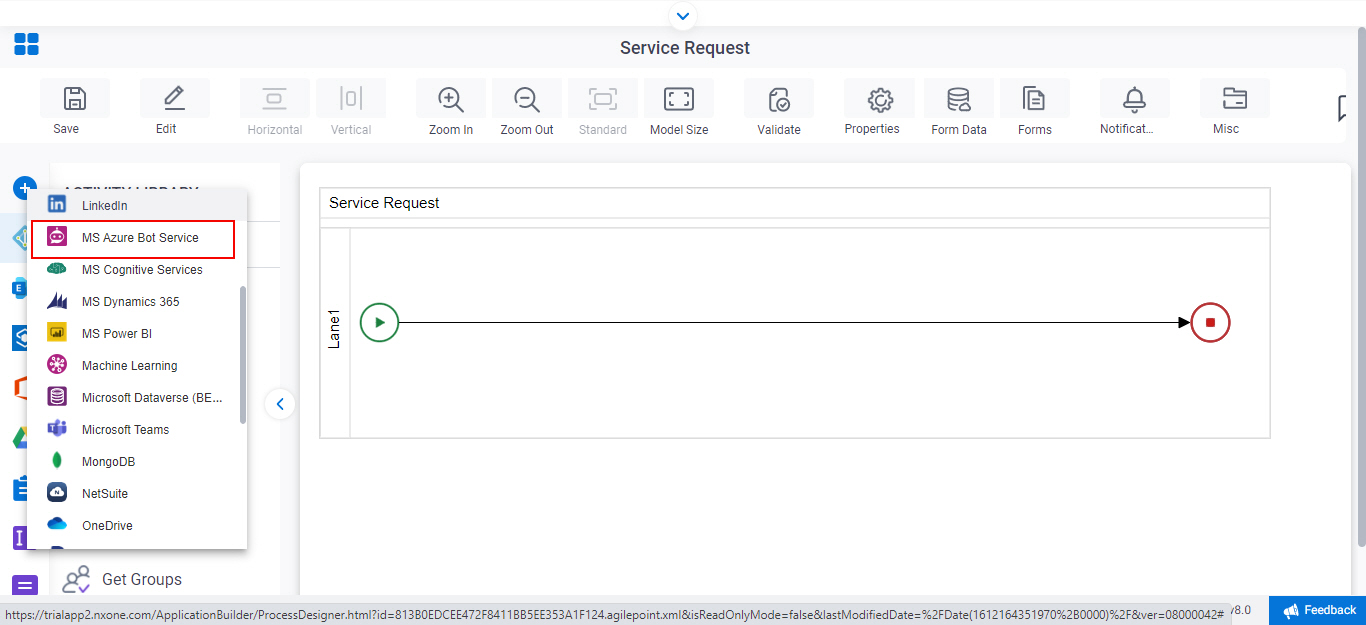
- On the
MS Azure Bot Service tab,
drag the Receipt Card Attachment
activity onto your process.
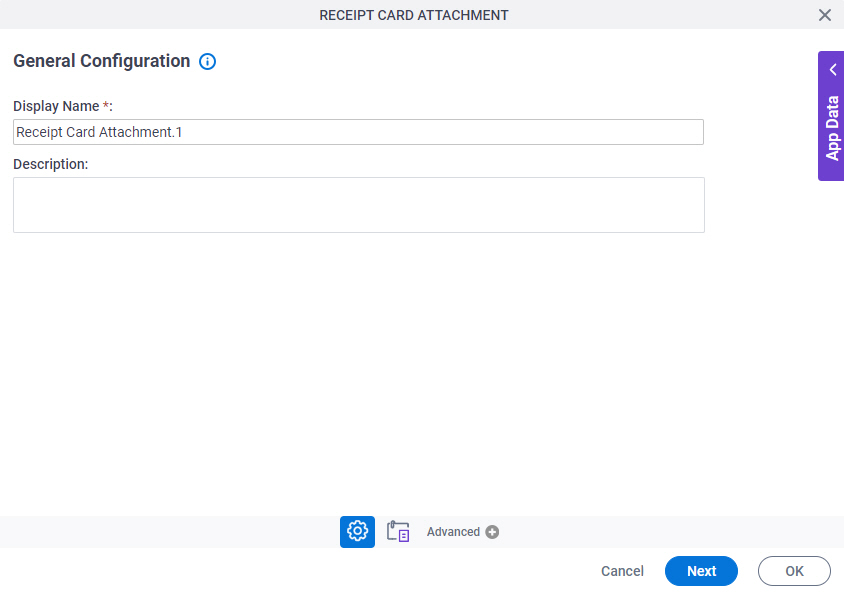
General Configuration
Specifies the basic settings for the Receipt Card Attachment activity.
Good to Know
- Documentation for this screen is provided for completeness. The fields are mostly self-explanatory.
Fields
| Field Name | Definition |
|---|---|
|
Display Name |
|
|
Description |
|
Receipt Card Attachment Configuration screen > Basic tab
Configures the basic information for a receipt card.
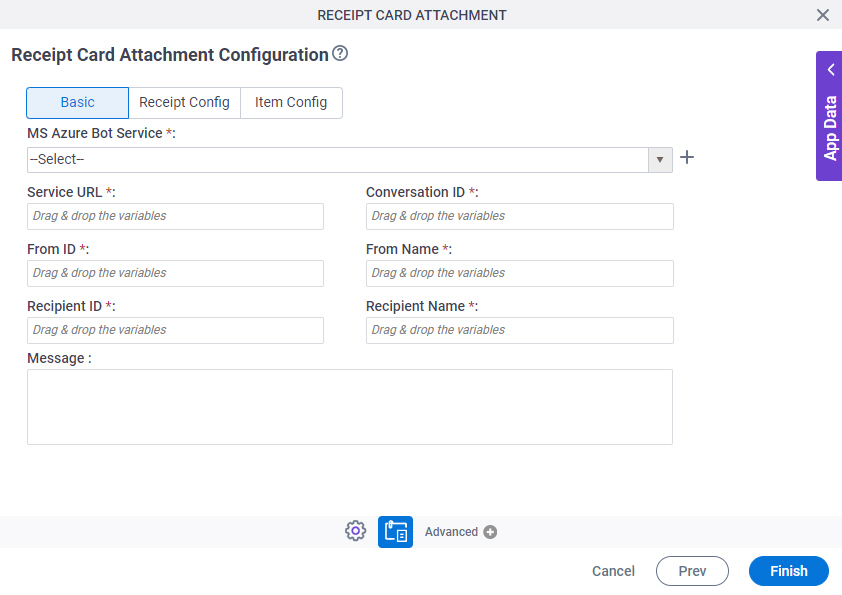
Fields
| Field Name | Definition |
|---|---|
MS Azure Bot Service |
|
|
Create |
|
Service URL |
|
Conversation ID |
|
From ID |
|
From Name |
|
|
Recipient ID |
|
|
Recipient Name |
|
|
Message |
|

Receipt Card Attachment Configuration screen > Receipt Config tab
Configures the receipt.
Fields
| Field Name | Definition |
|---|---|
Title |
|
Tax |
|
Vat |
|
Total |
|
Inline Action Buttons / Map Action Buttons from schema |
|
Button Text |
|
Action to Perform |
|
Value |
|
|
Add |
|
|
Select the repeating data node that will contain the Buttons data |
|
Receipt Card Attachment Configuration screen > Item Config tab
Configures items that are used for the purchase.
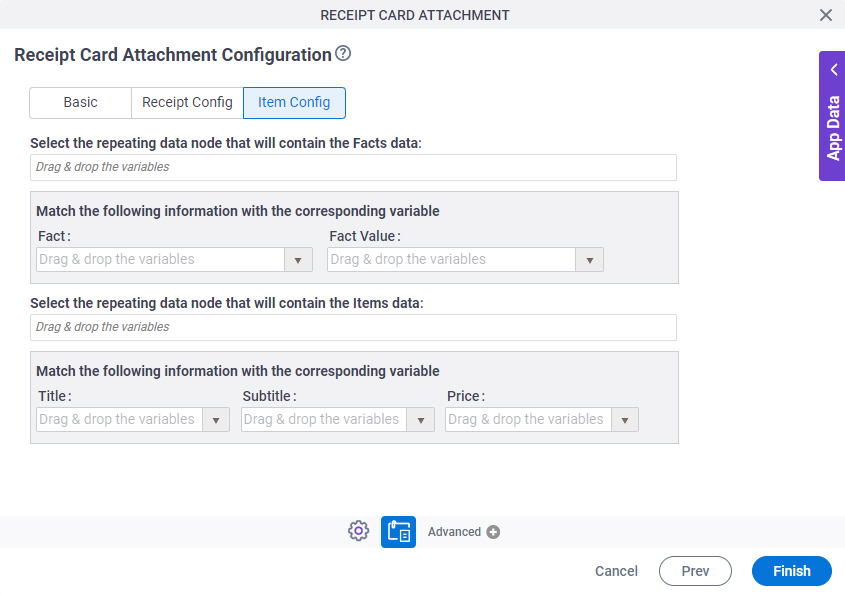
Good to Know
Fields
| Field Name | Definition |
|---|---|
|
Select the repeating data node that will contain the Facts data |
|
|
Fact |
|
|
Fact Value |
|
|
Select the repeating data node that will contain the Items data |
|
|
Title |
|
Subtitle |
|
Price |
|