
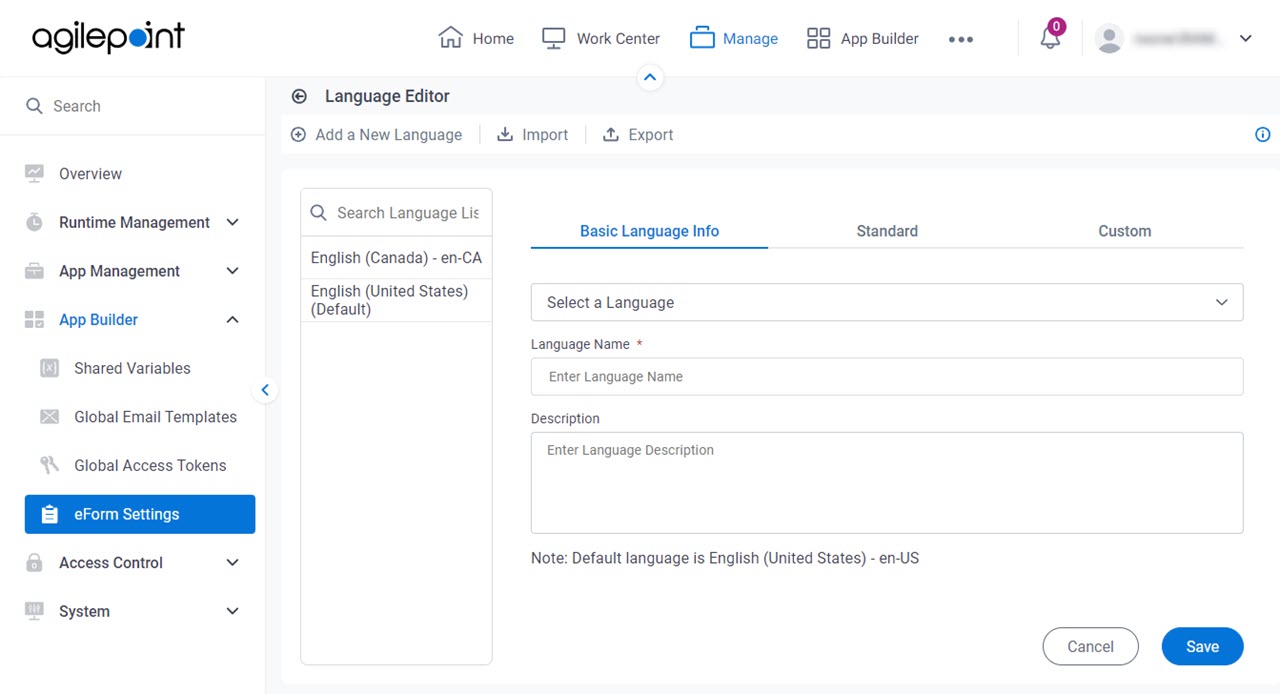
Add a New Language screen
Creates a new language for your eForm.
Background and Setup
Examples
- (Example) Show an eForm in More Than One Language (Multi-Language Forms)
- Examples - Step-by-step use case examples, information about what types of examples are provided in the AgilePoint NX Product Documentation, and other resources where you can find more examples.
How to Start
- Click Manage.

- In Manage Center,
click App Builder > eForms Settings.
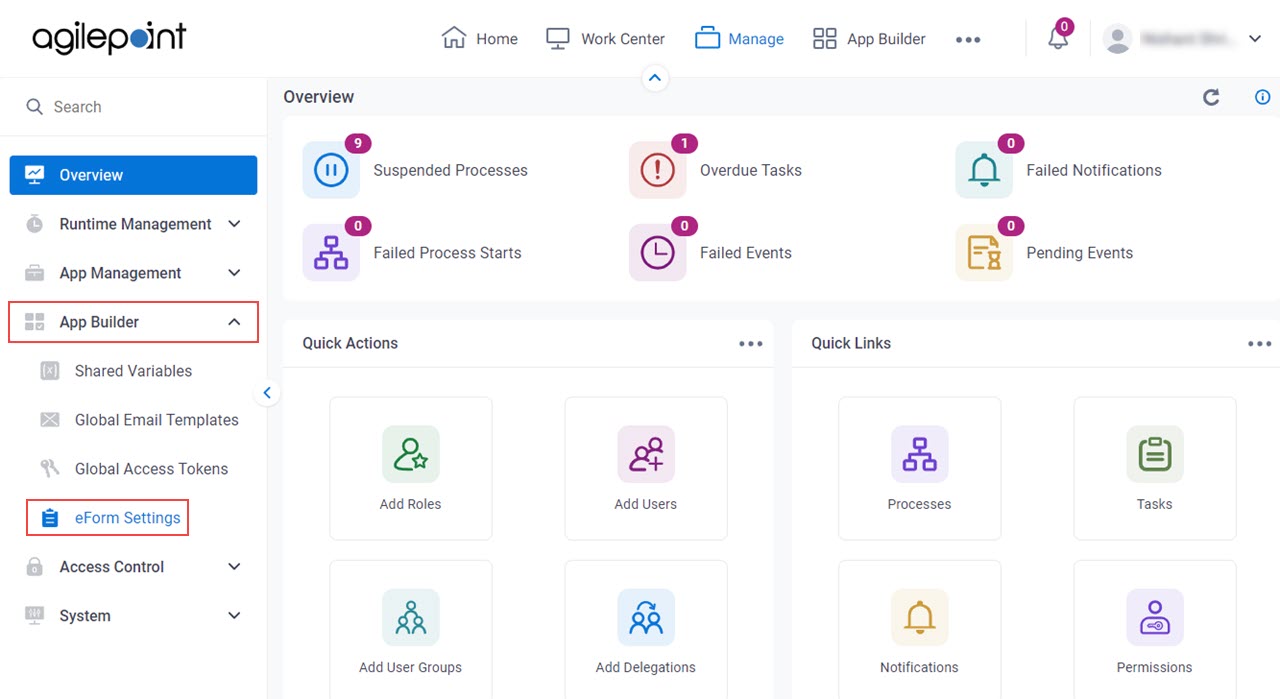
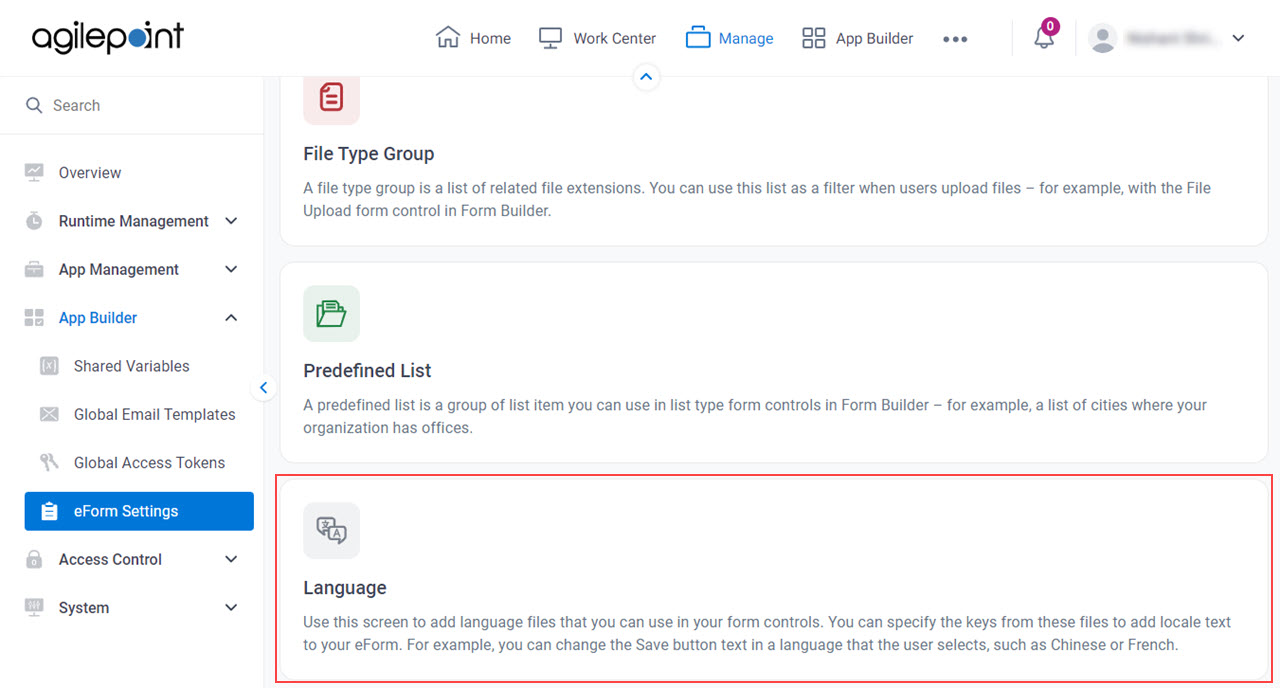
- On the eForms Settings screen, click Language.
- On the Language Editor screen,
click Add a New Language.

Add a New Language > Basic Language Info tab
Specifies the basic information for the language to create.
Fields
| Field Name | Definition |
|---|---|
Select a Language |
|
Language Name |
|
Description |
|
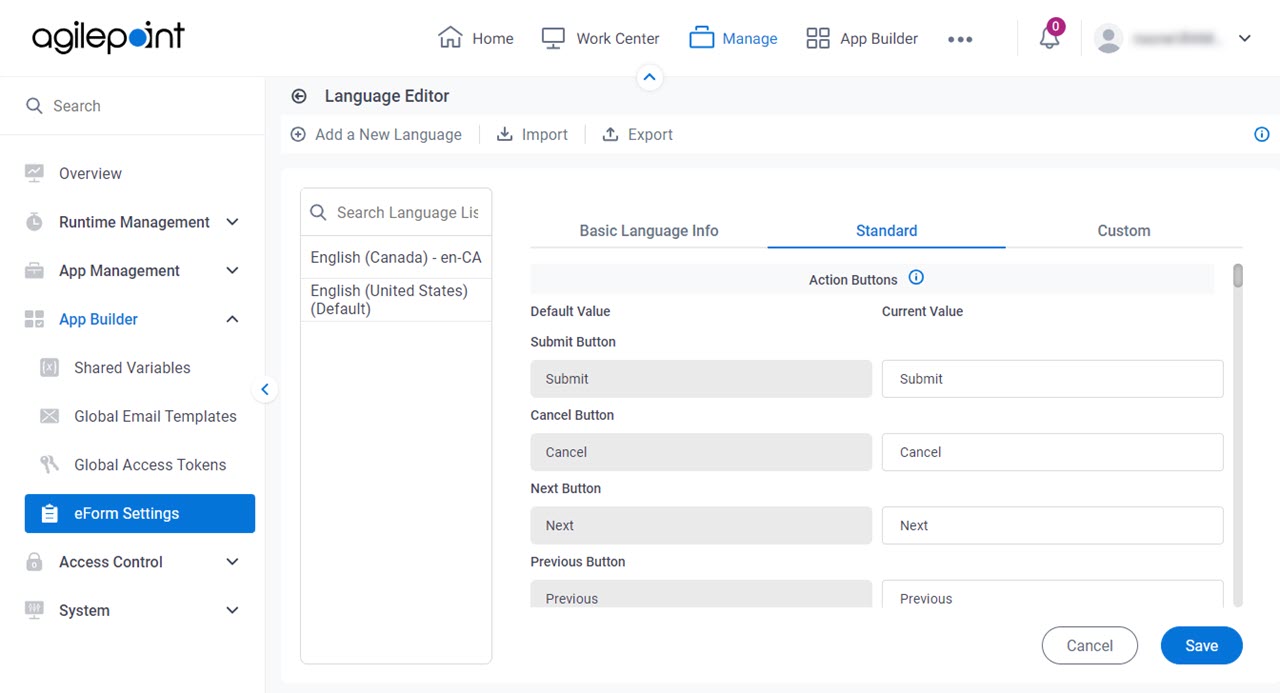
Add a New Language > Standard tab
Specifies the locale text for the action buttons and standard messages that shows on your eForm.
Fields
| Field Name | Definition |
|---|---|
|
Translate with AI |
|
Default Value |
|
Current Value |
|
Add a New Language > Custom tab
Specifies the custom key to add text for a locale to an eForm.
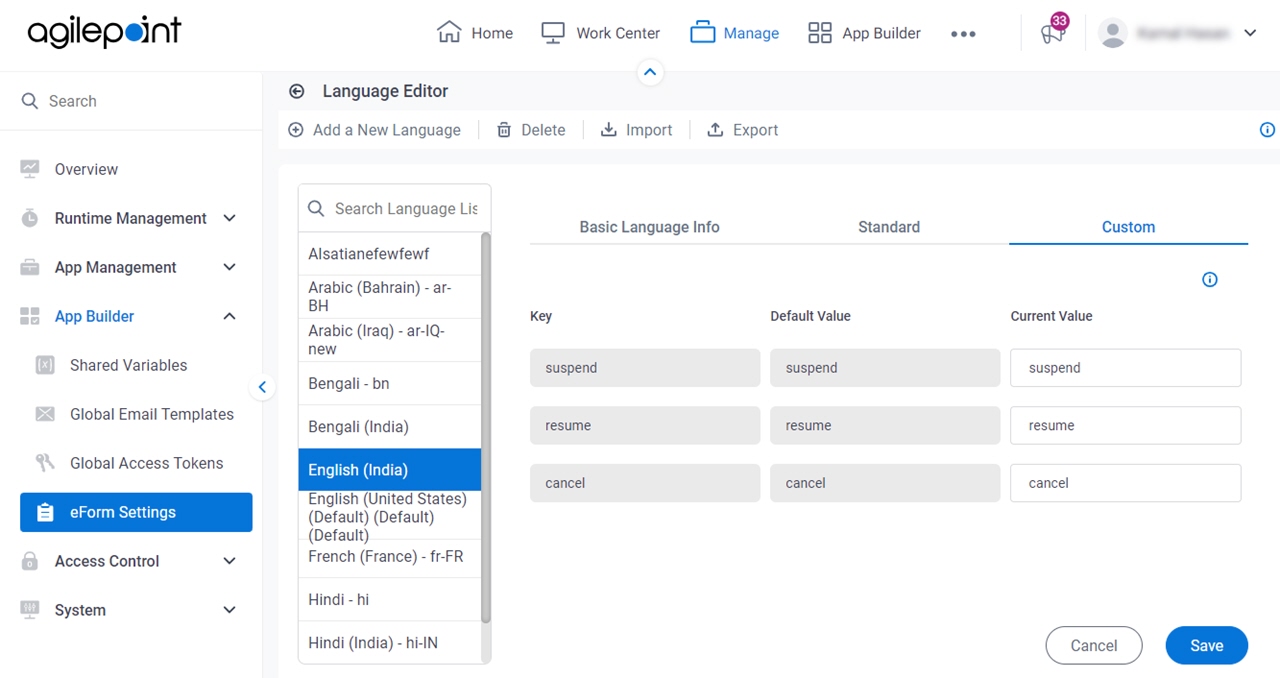
Good to Know
- You can edit the custom key in your default language only.
Fields
| Field Name | Definition |
|---|---|
Key |
|
Default Value |
|
Current Value |
|
| Add |
|
Delete  |
|
Save |
|