
How Can I Create a Receipt Card from an eForm?
To populate a receipt card in Microsoft Azure Bot Service, you must create an eForm with a specific data format. This topic gives an example for how to create eForm fields to populate a receipt card.
Create an eForm
To create an eForm with a data format that supports a receipt card attachment in Microsoft Azure Bot Service, do the procedure in this topic.
How to Start
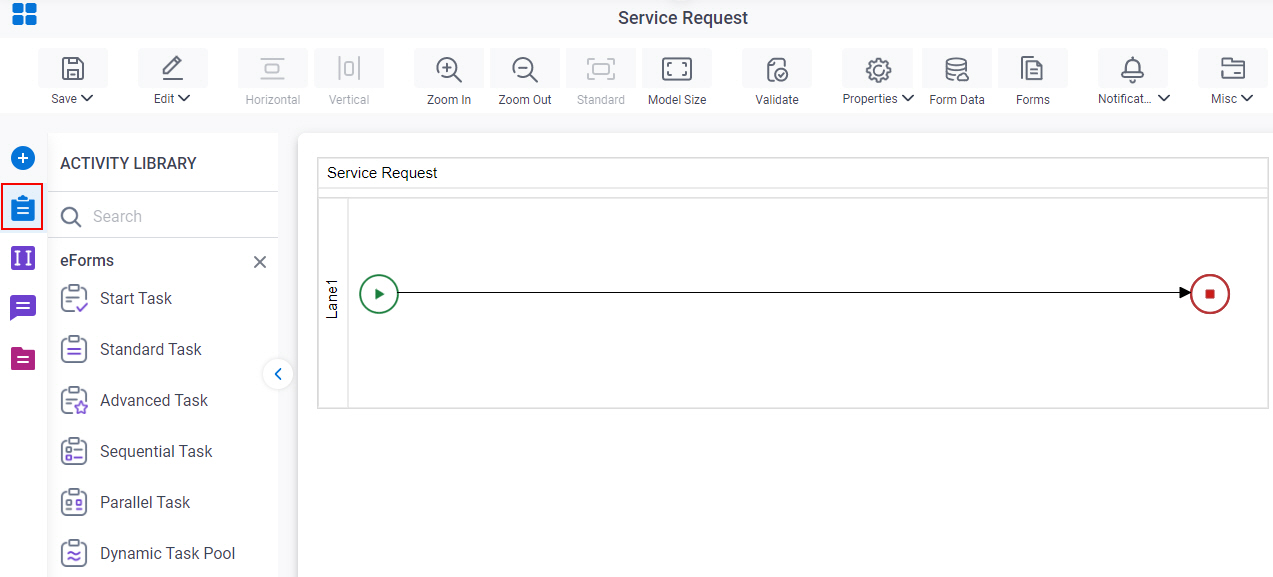
- On the App Explorer screen, do one of these:
- Do one of these:
- On the configuration screen, click Add New Form.
Procedure
- On the Form Details screen, in the Form Name field, enter
Receipt Card Attachment.
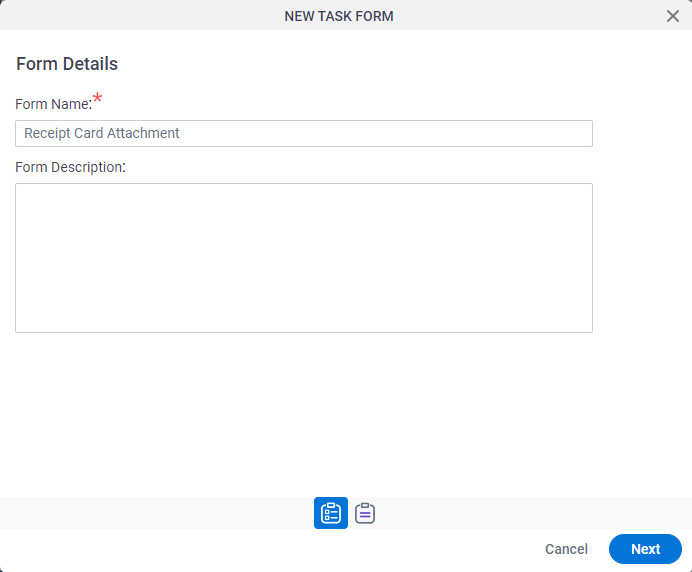
- Click Next.
- On the Choose Form Layout screen,
click Blank Form.
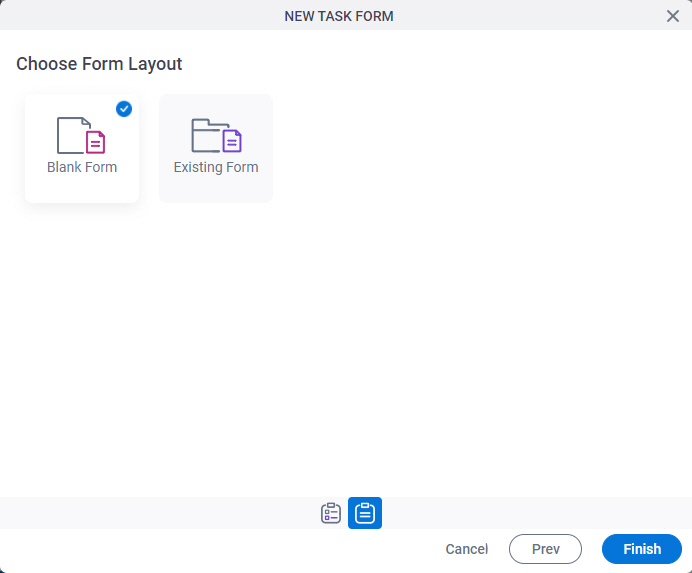
- Click Finish.
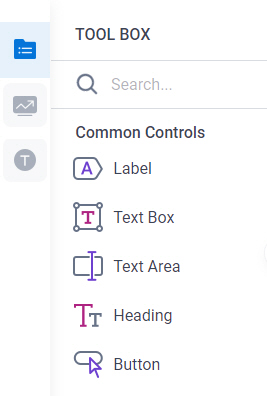
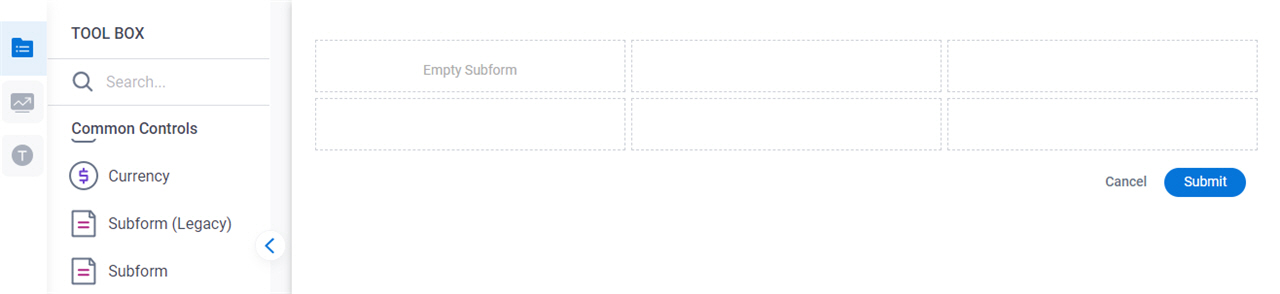
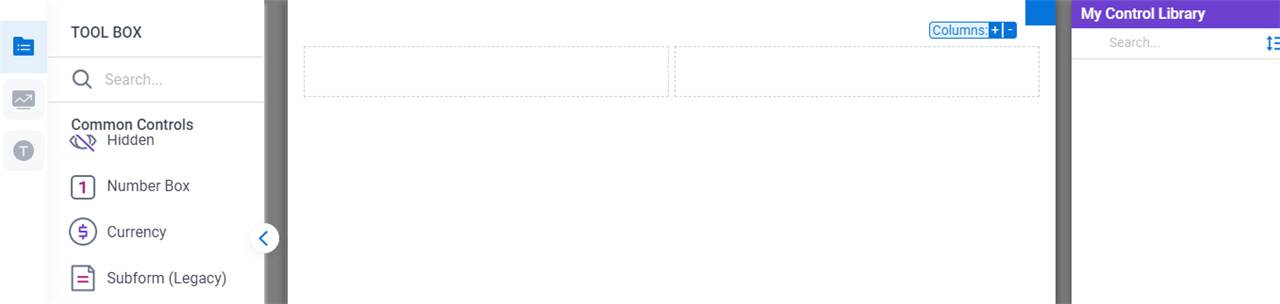
- On the eForm Builder screen, in the Tool Box, open
the Common Controls
 tab.
tab.
- Create a repeating
subform for Facts,
do the procedure in this topic
- On the
Common Controls tab,
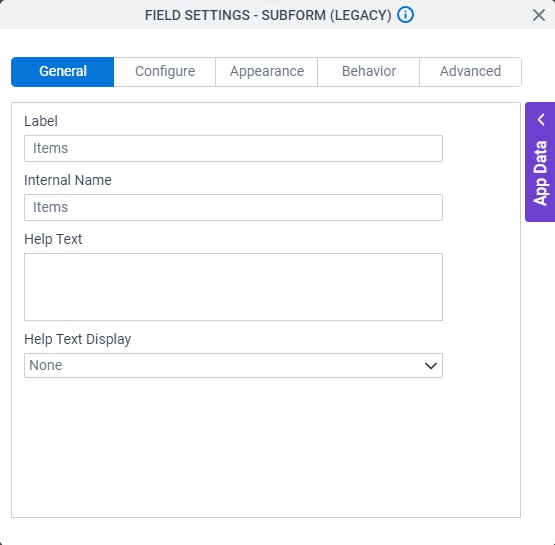
drag a Subform (Legacy)
 form control onto your eForm.
- In the Label field, enter
Facts.

- Click the Configure tab.
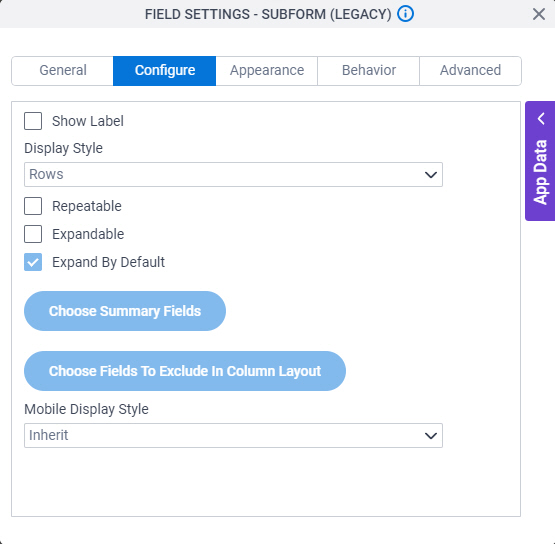
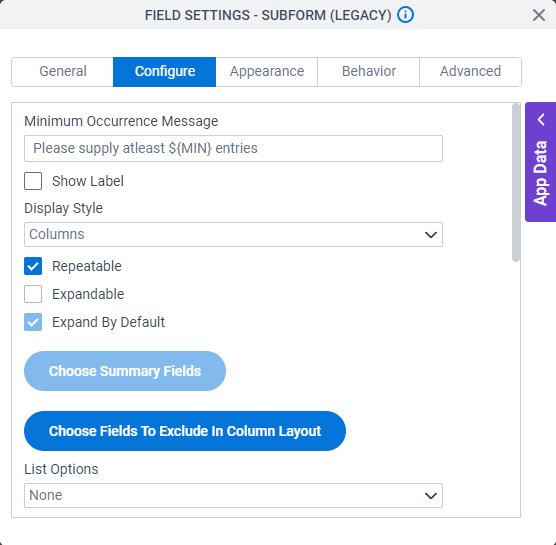
- In the Display Style list, select Columns.
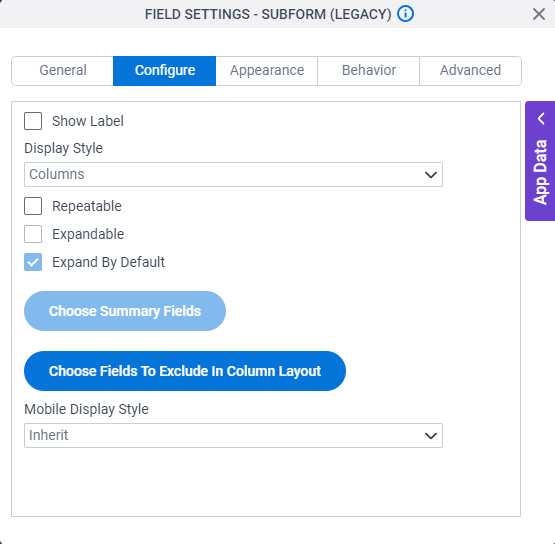
- Select Repeatable.
- To save the changes, click Close Screen
 .
. - On the Form Control Quick Menu, click Design Subform
 .
.

- The eForm Builder shows the Facts subform with 2 columns.

- On the Facts subform, click the
Common Controls tab.
- On the
Common Controls tab,
drag a Text Box
 form control onto your subform.
 - On the Field Setting - Text Box screen, click the General tab.

- In the Label field, enter
Fact Key.
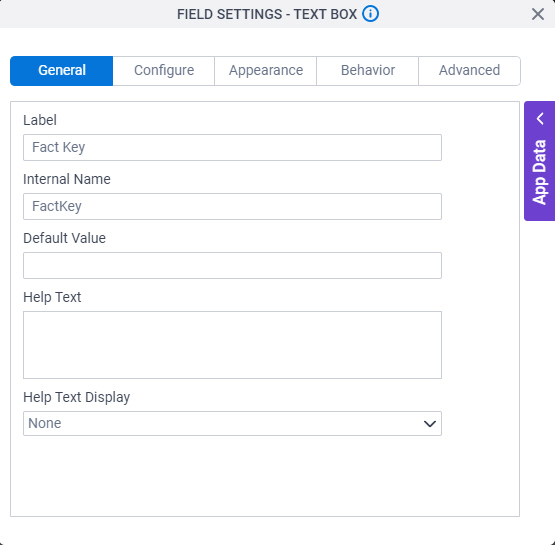
- In the Internal Name field, enter FactKey.

- To save the changes, click Close Screen .
- On the Facts subform, click the
Common Controls tab.
- On the
Common Controls tab,
drag a Text Box
form control onto your subform.
- On the Field Setting - Text Box screen, click the General tab.
- In the Label field, enter
Fact Value.
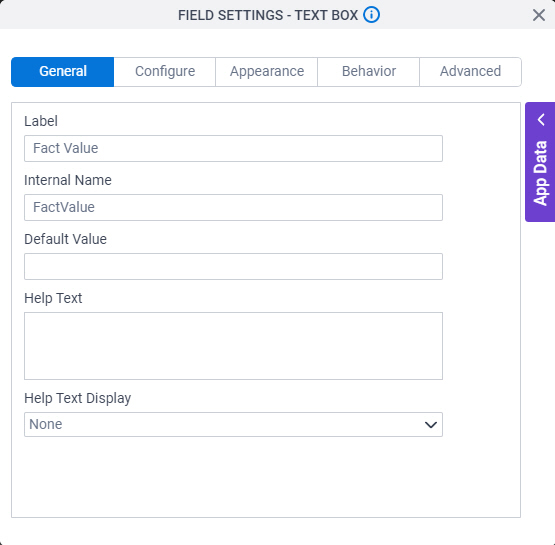
- In the Internal Name field, enter FactValue.

- To save the changes, click Close Screen .
- The eForm Builder shows the
Fact Key and Fact Value fields for the Facts subform.

- On the
Common Controls tab,
drag a Subform (Legacy)
- Create a repeating
subform for Items,
do the procedure in this topic
- On the
Common Controls tab,
drag a Subform (Legacy)
form control onto your eForm.
- In the Label field, enter
Items.
- Click the Configure tab.
- In the Display Style list, select Columns.
- Select Repeatable.
- To save the changes, click Close Screen .
- On the Form Control Quick Menu, click Design Subform .
- The eForm Builder shows the Items subform.
- Click Add Column
 1 time.
 - The eForm Builder shows the
Items subform with 3 columns.

- On the Items subform, click the
Common Controls tab.
- On the
Common Controls tab,
drag a Text Box
form control onto your subform.
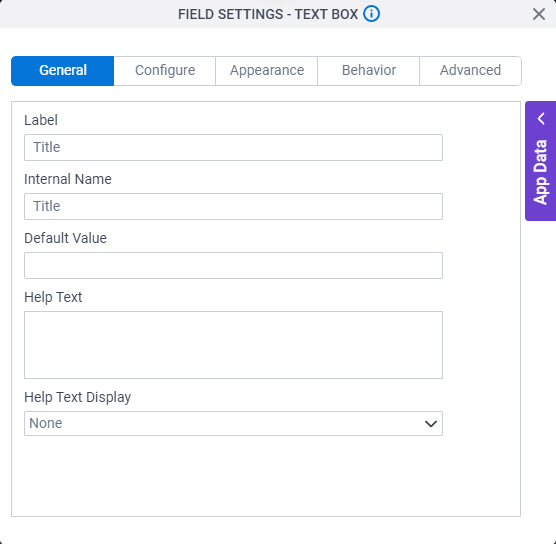
- On the Field Setting - Text Box screen, click the General tab.
- In the Label field, enter
Title.
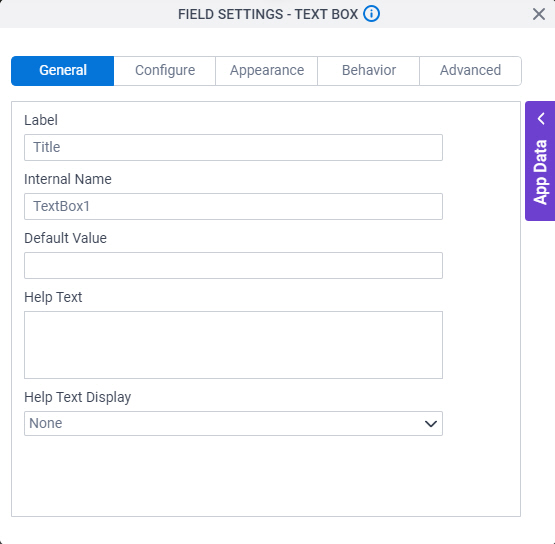
- In the Internal Name field, enter Title.
- To save the changes, click Close Screen .
- On the Items subform, click the
Common Controls tab.
- On the
Common Controls tab,
drag a Text Box
form control onto your subform.
- On the Field Setting - Text Box screen, click the General tab.
- In the Label field, enter
Subtitle.

- In the Internal Name field, enter Subtitle.

- To save the changes, click Close Screen .
- On the Items subform, click the
Common Controls tab.
- On the
Common Controls tab,
drag a Currency
 form control onto your subform.
 - On the Field Setting - Text Box screen, click the General tab.
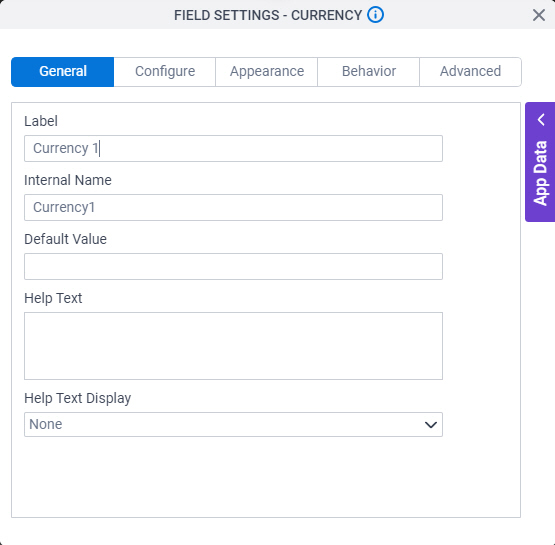
- In the Label field, enter
Price.
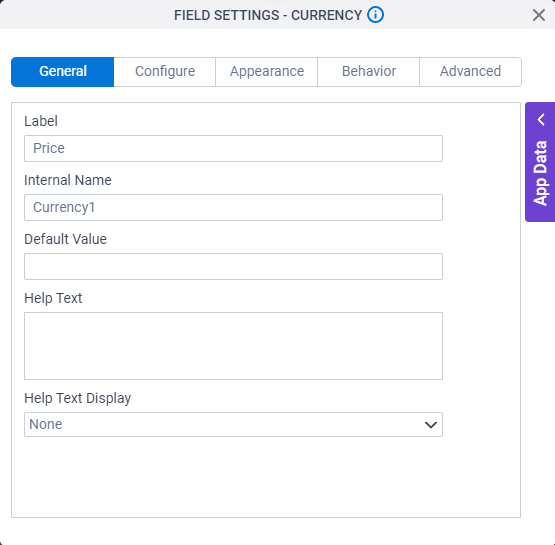
- In the Internal Name field, enter Price.

- To save the changes, click Close Screen .
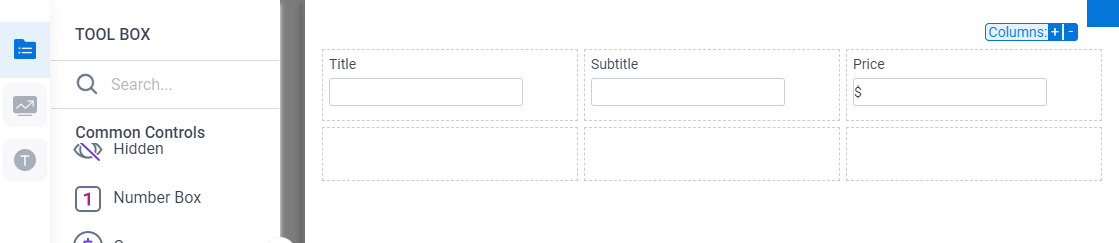
- The eForm Builder shows the
Title, Subtitle, and Price fields for the
Items subform.
- On the
Common Controls tab,
drag a Subform (Legacy)
Configure the Receipt Card Attachment activity
This procedure explains how to map the form fields to the activity.
How to Start
- Open Process Builder.
For information about how to open this screen, refer to Process Builder.
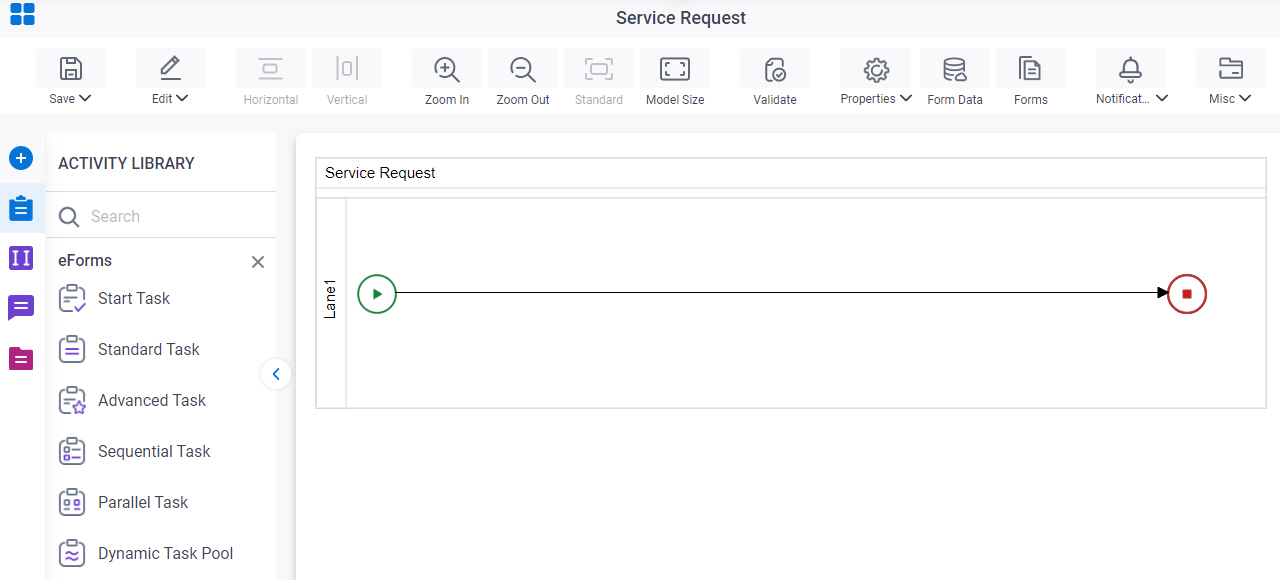
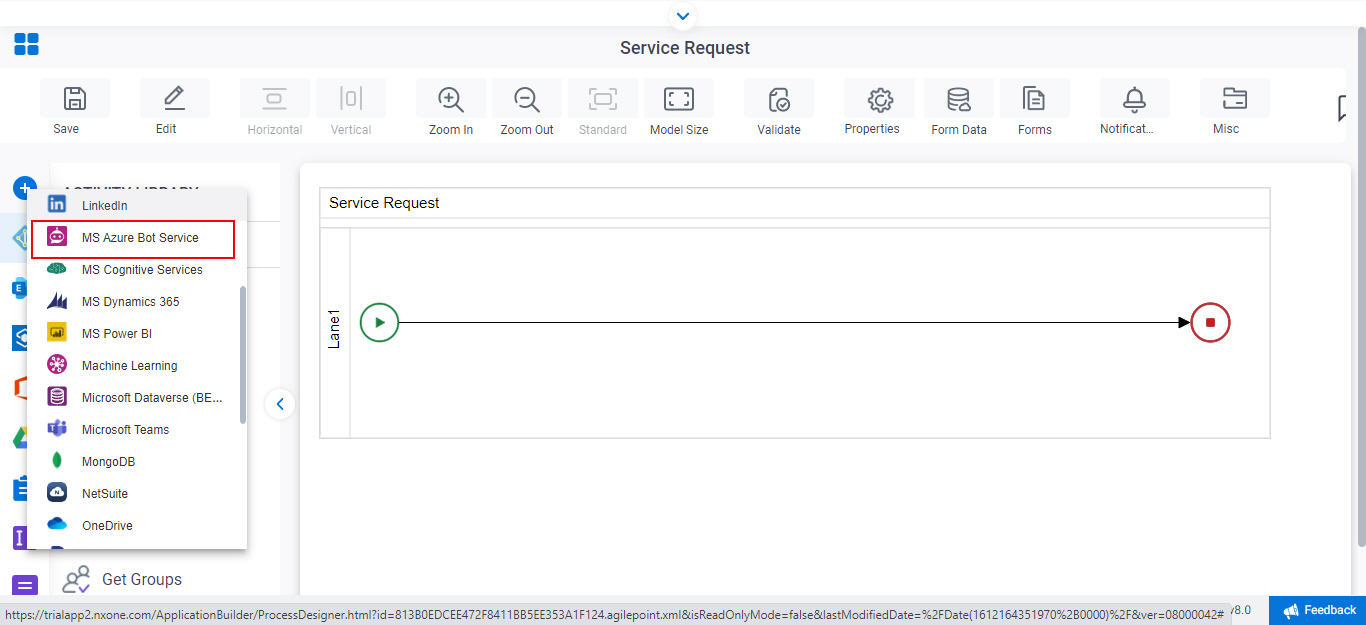
- In Process Builder, in the Activity Library
open the MS Azure Bot Service tab.
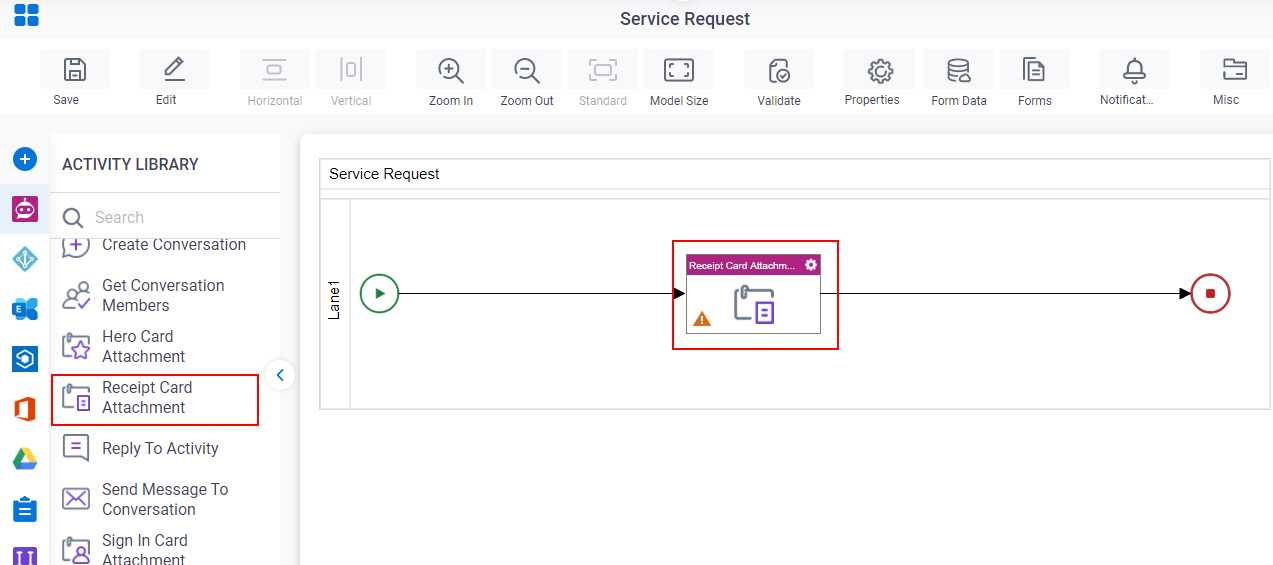
- On the
MS Azure Bot Service tab,
drag the Receipt Card Attachment
activity onto your process.
- Click Receipt Card Attachment Configuration
 .
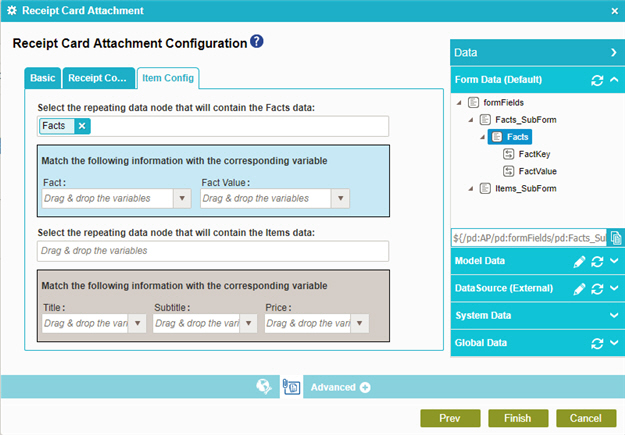
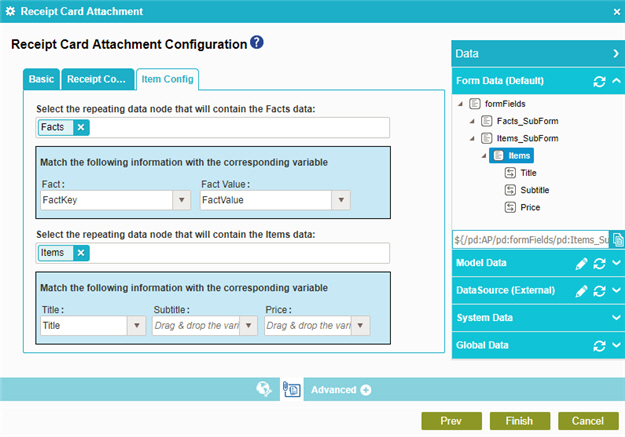
. - On the Receipt Card Attachment Configuration screen, click the Item Config tab.
Procedure
- On the Items Config tab, in the Select the repeating data node that will contain the Facts data field,
drag Facts from Process Data > Form Data.
Facts is a name of the subform you created.
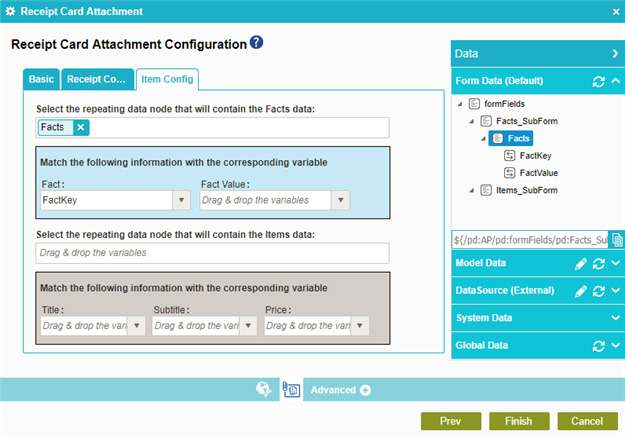
- In the Fact field, select FactKey from the list.
FactKey is the internal name of a sub-field in the Facts subform.
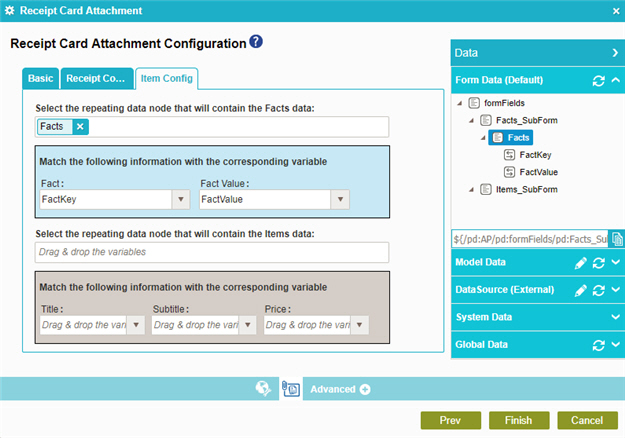
- In the Fact Value field, select FactValue from the list.
FactKey is the internal name of a sub-field in the Facts subform.
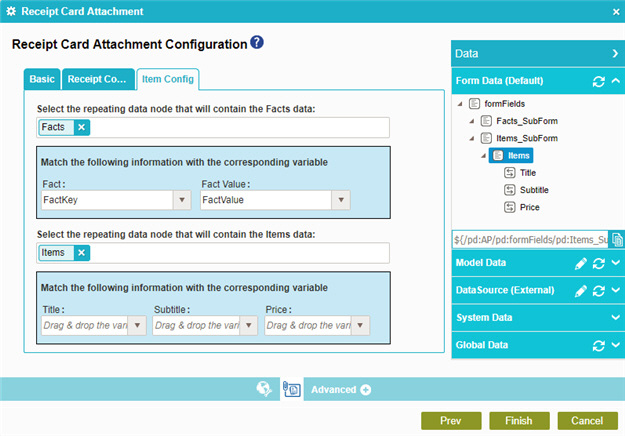
- In the Select the repeating data node that will contain the Items data field,
drag Items from Process Data > Form Data.
Items is a name of the subform you created.
- In the Title field, select Title from the list.
Title is the internal name of a sub-field in the Items subform.
- In the Subtitle field, select Subtitle from the list.
Subtitle is the internal name of a sub-field in the Items subform.
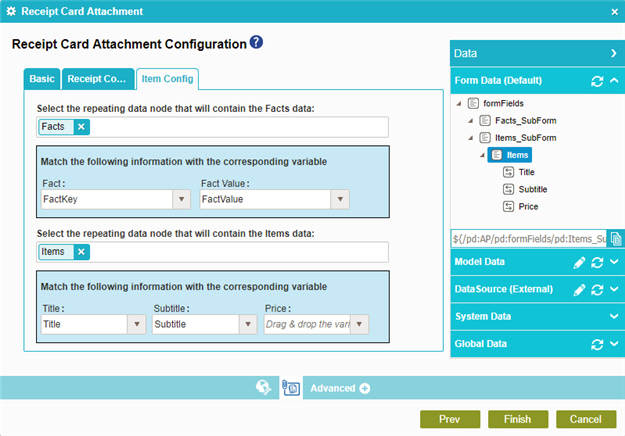
- In the Price field, select Price from the list.
Price is the internal name of a sub-field in the Items subform.

- Click Finish.