
How Do I Change the Logo in an eForm Header?
To change a logo in an eForm header, do the procedure in this topic.
Examples
- (Example) Create an eForm to Start the Process (Create Absence Request)
- Examples - Step-by-step use case examples, information about what types of examples are provided in the AgilePoint NX Product Documentation, and other resources where you can find more examples.
Prerequisites
- The height of the logo can not be more than 35 px, and the width can not be more than 160 px.
Good to Know
- To align a logo in an eForm header, you must add CSS code to the eForm.
For more information, refer to (Example) Use Custom CSS in an eForm
How to Start
- Open eForm Builder.
For information about how to open this screen, refer to eForm Builder screen.
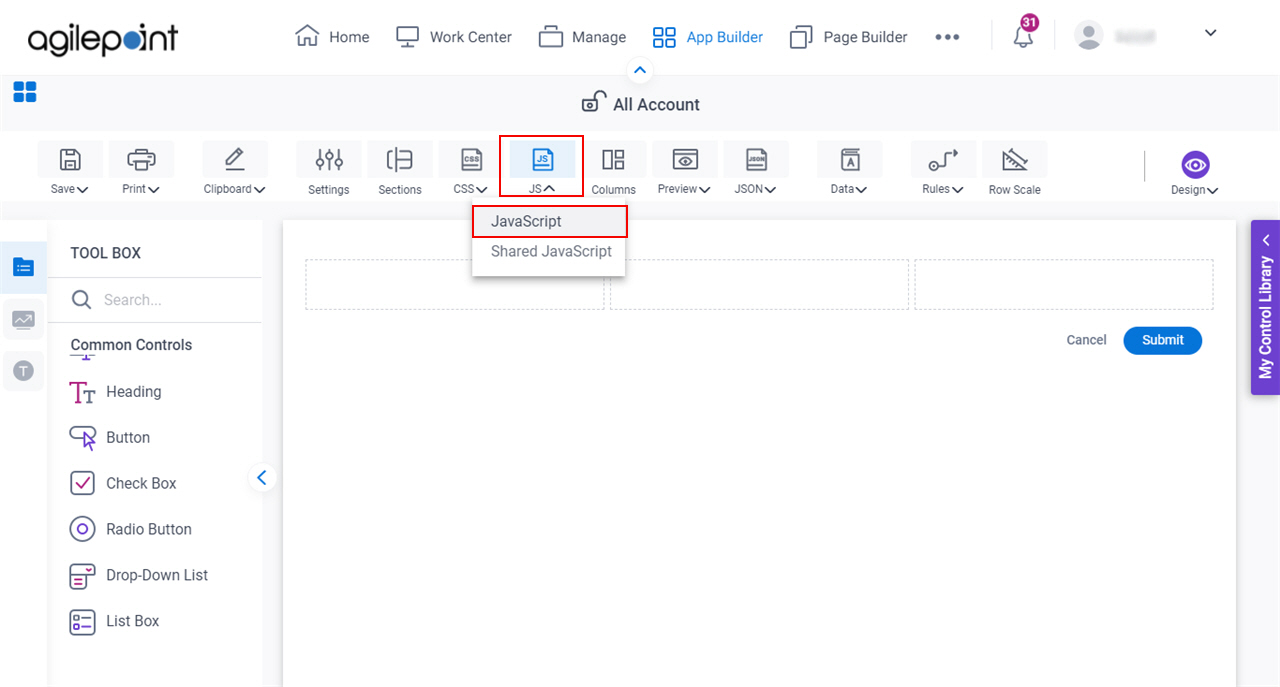
- On the eForm Builder screen, click JS > JavaScript.
Procedure
- Add a JavaScript method to show the logo image to the eForm:
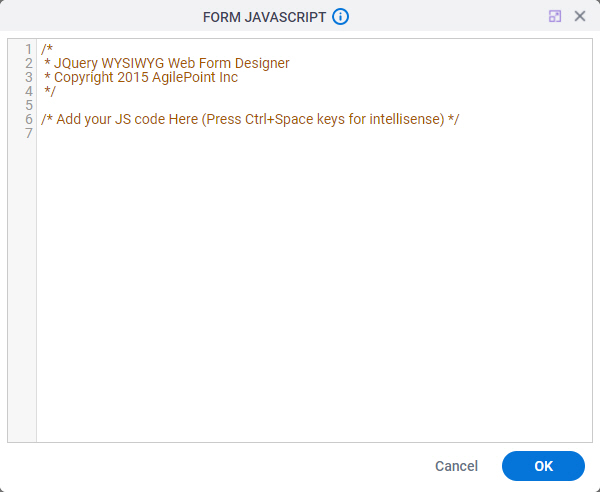
- On the Form JavaScript screen, enter your Javascript code to change the logo.
Format:
function function_name()
  {
    var headerContent = "[The path of your logo image]";
    var params = { value : headerContent };
    eFormHelper.setFormHeader(params, function(result)
    {
      console.log(result);
    })
}
Example:
function setFormHeader()
  {
    var headerContent = "<img src='http://localhost/banner.png'/>";
    var params = { value : headerContent };
    eFormHelper.setFormHeader(params, function(result)
    {
      console.log(result);
    })
}
- On the Form JavaScript screen, enter your Javascript code to change the logo.
- Create a rule to run your JavaScript:
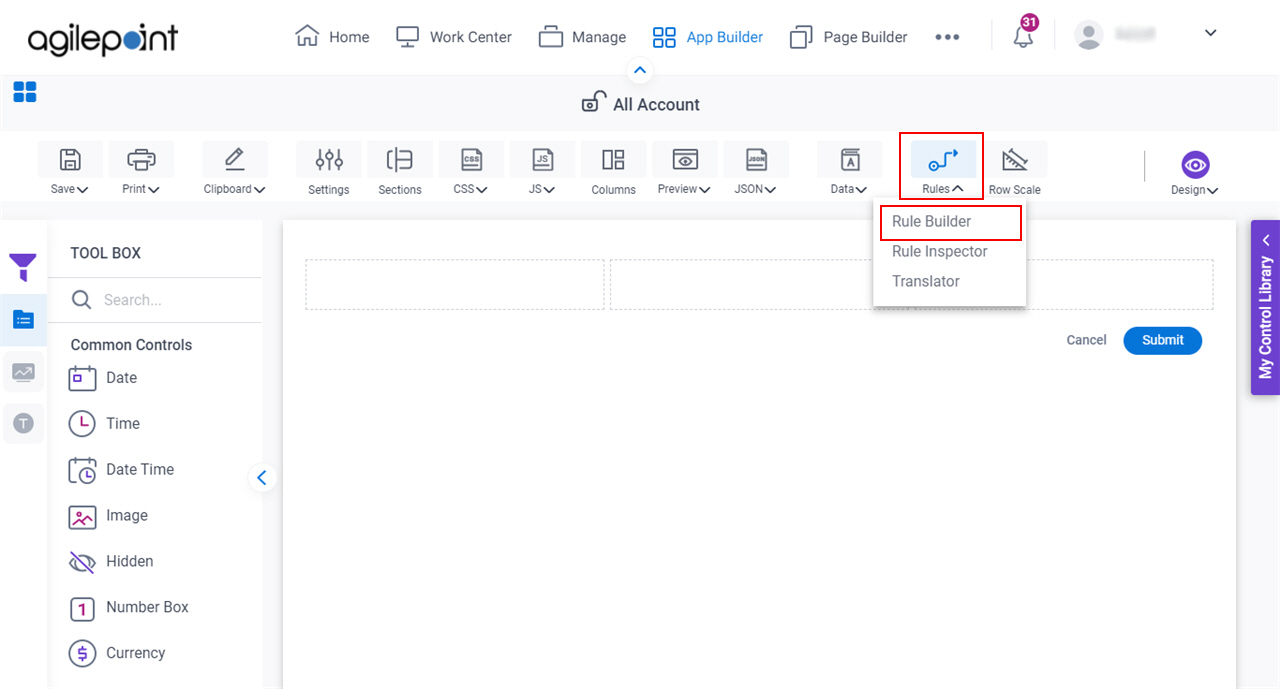
- On the eForm Builder screen,
click Rules > Rule Builder.
- On the Rule Builder screen, in the Then field, drag the Execute Script action.
- In the text box, enter your method name.
Example:
setFormHeader()
- On the eForm Builder screen,
click Rules > Rule Builder.
- (Optional) Configure CSS style for your logo image:
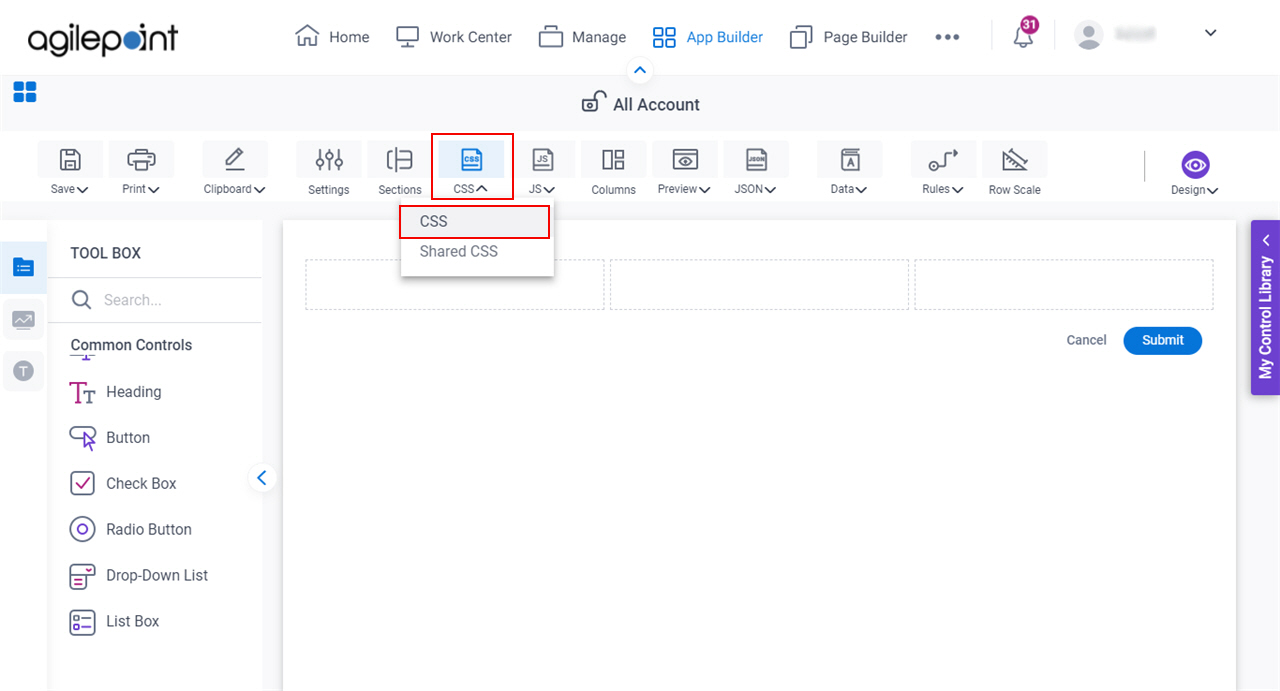
- On the eForm Builder screen, click CSS > CSS.
- On the Form CSS screen, enter your CSS code as necessary, without headers.
Format:
$("#imgLogo").css({"propertyname":"value","propertyname":"value",...});
Example:
$("#imgLogo").css({"width": "200%", "height": "30px"});
- On the eForm Builder screen, click CSS > CSS.