Create Ticket activity

An activity that creates a ticket in Zendesk.


Create Ticket activity

Configure the Create Ticket activity

To configure the Create Ticket activity, do the procedure in this topic.

Prerequisites

Good to Know

How to Start

  1. Open Process Builder.

    For information about how to open this screen, refer to Process Builder.
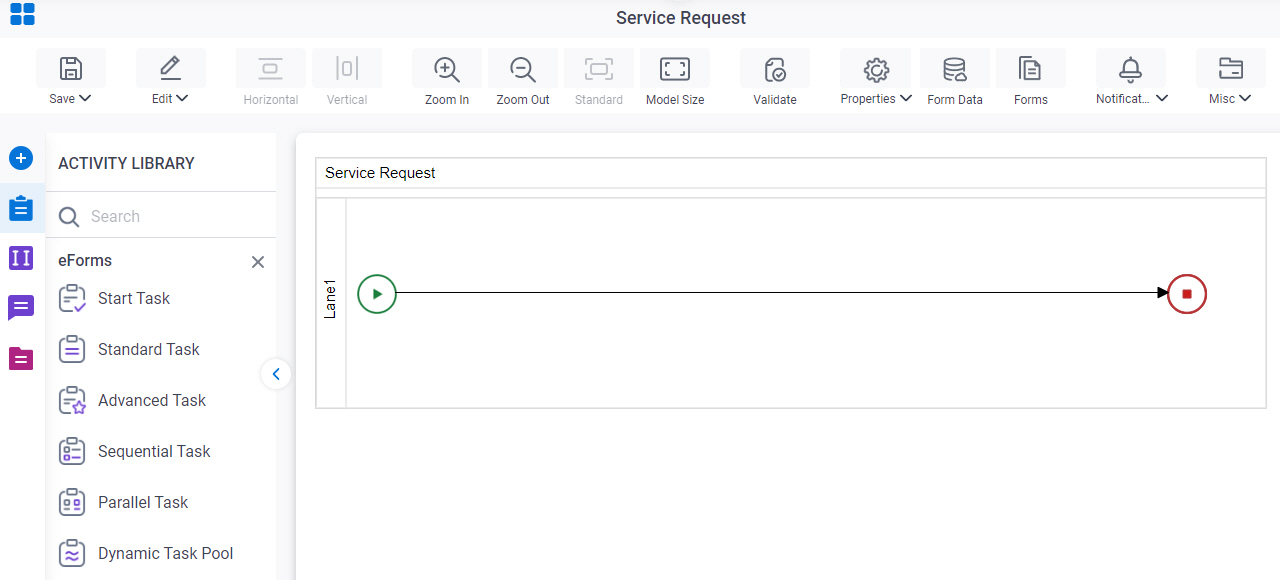

    Open Process Builder
  2. In Process Builder, in the Activity Library, open the Zendesk tab.
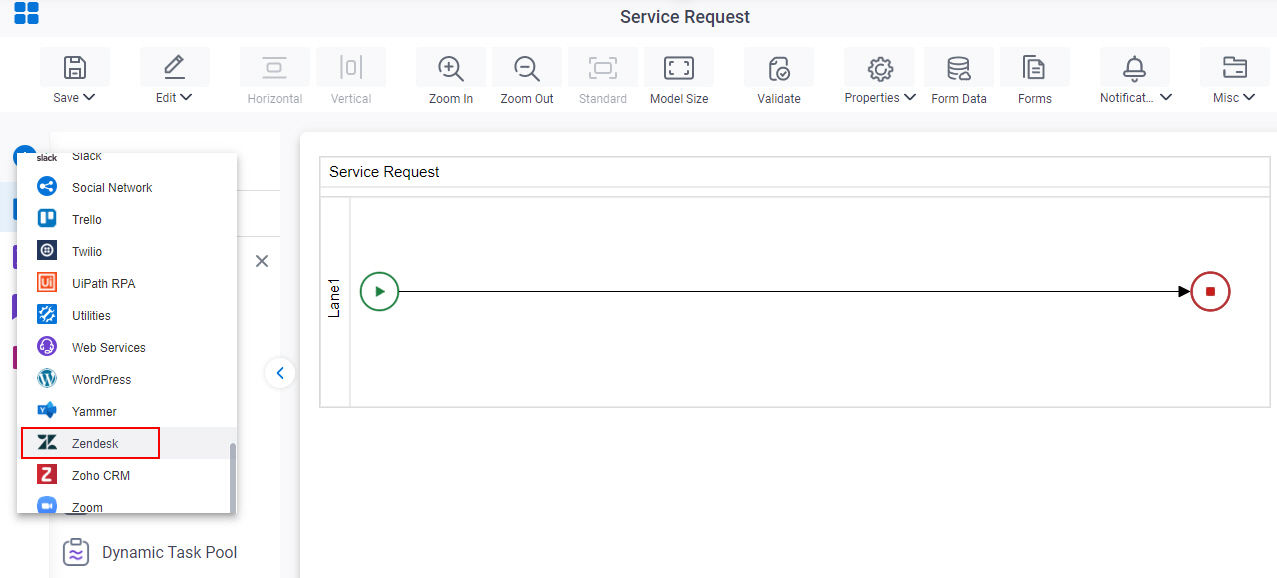
    Open Zendesk tab
  3. On the Zendesk tab, drag the Create Ticket activity onto your process.
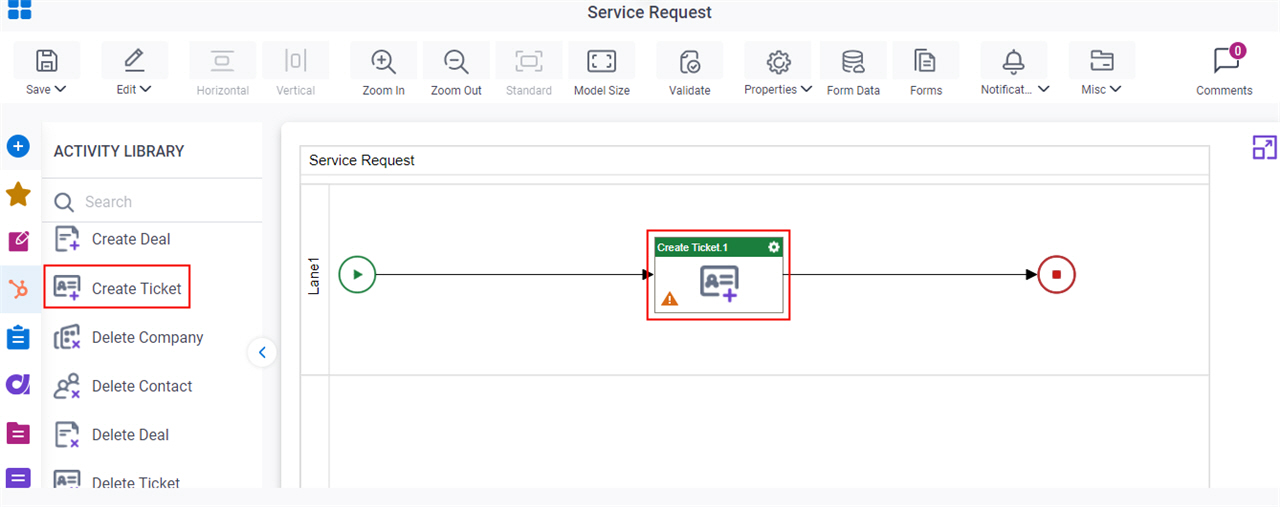
    Drag Create Ticket activity

General Configuration

Specifies the basic settings for the Create Ticket activity.
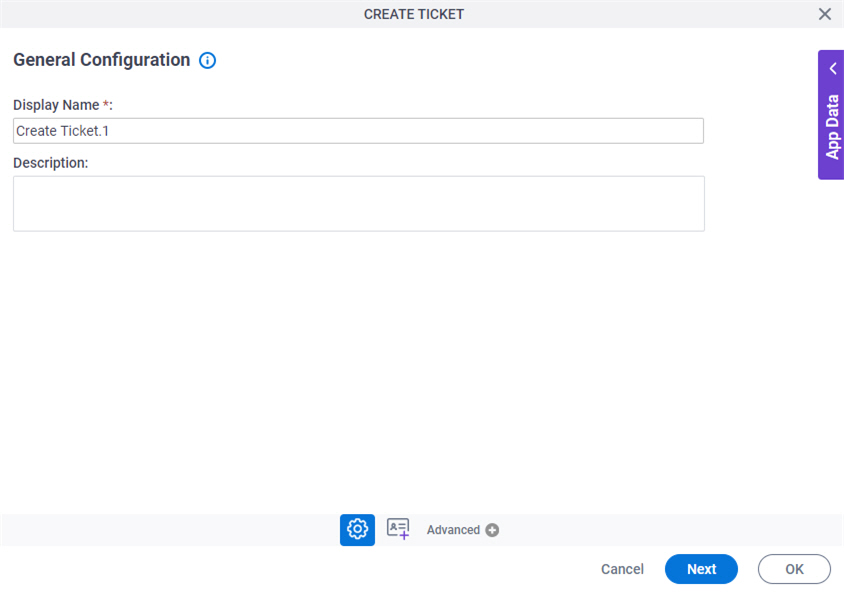
Figure: General Configuration screen

General Configuration screen

Good to Know

  • Documentation for this screen is provided for completeness. The fields are mostly self-explanatory.

Fields

Field NameDefinition

Display Name

Description:
Specifies the activity name that shows in your process.
Allowed Values:
One line of text (a string).

Accepted:

  • Letters
  • Numbers
  • Spaces
Default Value:
None
Accepts Variables:
No
Example:
This is a common configuration field that is used in many examples. Refer to:
  • Examples - Step-by-step use case examples, information about what types of examples are provided in the AgilePoint NX Product Documentation, and other resources where you can find more examples.

Description

Description:
Specifies an optional text description for your activity.
Allowed Values:
More than one line of text.
Default Value:
None
Accepts Variables:
No

Create Ticket Configuration > Basic tab

Specifies the basic information to create a ticket from Zendesk.
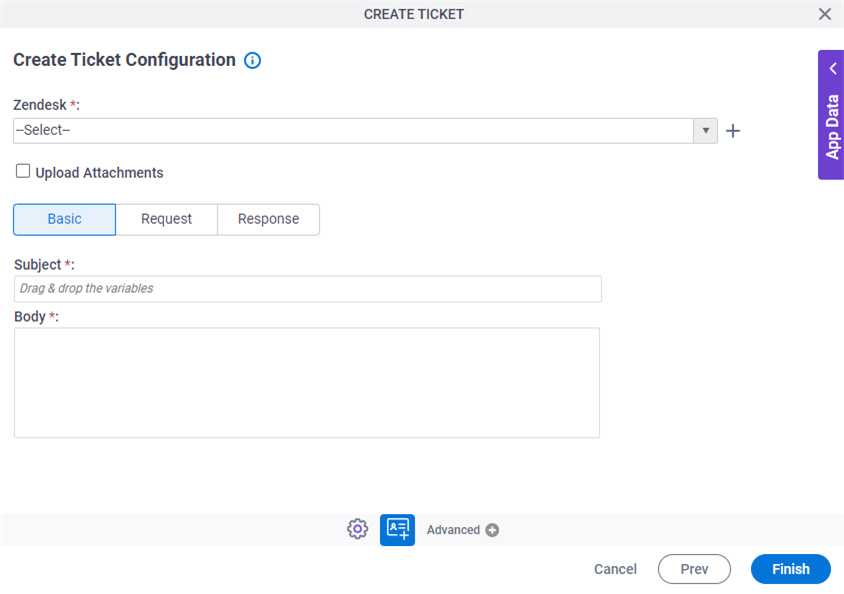
Figure: Create Ticket Configuration > Basic tab

Create Ticket Configuration Basic tab

Fields

Field NameDefinition

Zendesk

Description:
Specifies the access token that connects to your Zendesk service.
Allowed Values:
A list of access tokens configured for your environment.
Default Value:
None

Create Add Token icon

Opens this Screen:
Access Token for Zendesk
Function of this Screen:
Configure an access token to connect to Zendesk.

Upload Attachments

Description:
Specifies the files to upload as attachments.
Allowed Values:
  • Selected - Uses the files for attachments.
  • Deselected - Does not use the files for attachments.
Default Value:
Deselected

Subject

Description:
Specifies the subject line of the ticket to create in Zendesk.
Allowed Values:
One line of text (a string).

Accepted:

  • Letters
  • Numbers
  • Spaces
Default Value:
None
Accepts Variables:
Yes

Body

Description:
Specifies the content of the ticket to create in Zendesk .
Allowed Values:
More than one line of text.
Default Value:
None
Accepts Variables:
Yes

Create Ticket Configuration > Request tab

Connects the request data from Zendesk to your process schema.
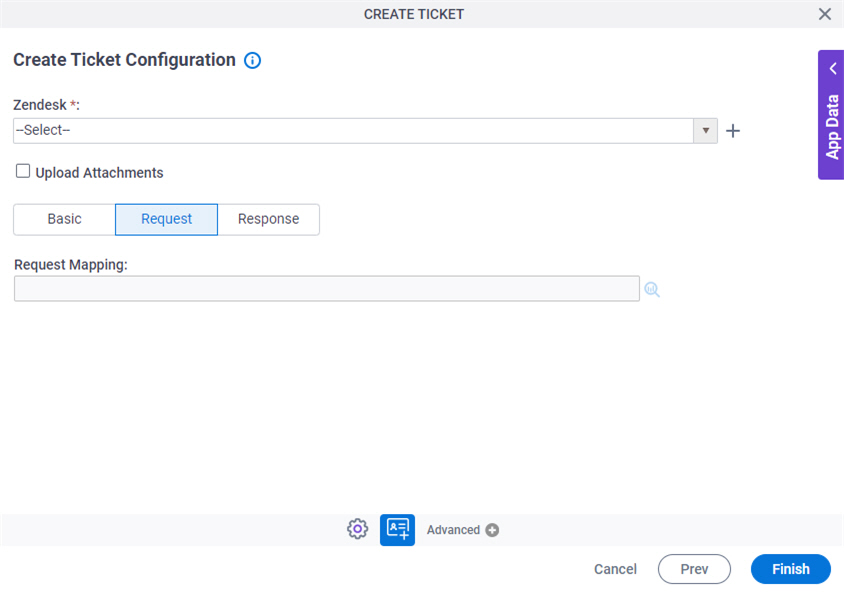
Figure: Create Ticket Configuration > Request tab

Create Ticket Configuration Request tab

Fields

Field NameDefinition

Zendesk

Description:
Specifies the access token that connects to your Zendesk service.
Allowed Values:
A list of access tokens configured for your environment.
Default Value:
None

Create Add Token icon

Opens this Screen:
Access Token for Zendesk
Function of this Screen:
Configure an access token to connect to Zendesk.

Upload Attachments

Description:
Specifies the files to upload as attachments.
Allowed Values:
  • Selected - Uses the files for attachments.
  • Deselected - Does not use the files for attachments.
Default Value:
Deselected

Request Mapping

Description:
Connects the Zendesk request to your process schema.
To Open this Field:
  1. Click the Request tab.
Allowed Values:
Click the Schema Mapping Schema Mapping icon button to open the Schema Mapper screen.

Use this screen to connect the request to the data model for your process.

Default Value:
None
Example:
Refer to:

Create Ticket Configuration > Response tab

Specifies how to store the information about the ticket in your process schemas.
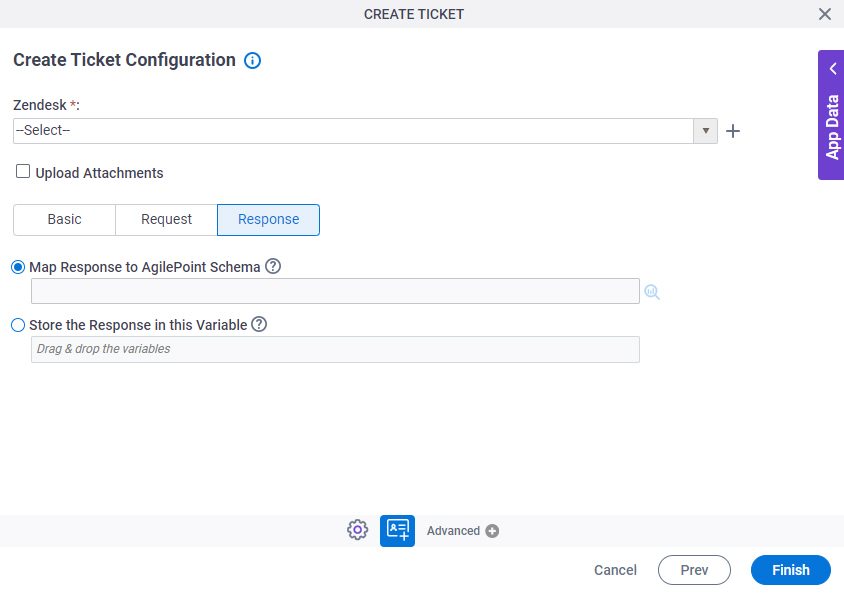
Figure: Create Ticket Configuration > Response tab

Create Ticket Configuration Response tab

Fields

Field NameDefinition

Zendesk

Description:
Specifies the access token that connects to your Zendesk service.
Allowed Values:
A list of access tokens configured for your environment.
Default Value:
None

Create Add Token icon

Opens this Screen:
Access Token for Zendesk
Function of this Screen:
Configure an access token to connect to Zendesk.

Upload Attachments

Description:
Specifies the files to upload as attachments.
Allowed Values:
  • Selected - Uses the files for attachments.
  • Deselected - Does not use the files for attachments.
Default Value:
Deselected

Map Response to AgilePoint Schema

Description:
Maps information about the ticket from the Zendesk data model to your process schema.
To Open this Field:
  1. Click the Response tab.
Allowed Values:
Click the Schema Mapping Schema Mapping icon button to open the Schema Mapper.

Use this screen to connect the response to the data model for your process.

Default Value:
None
Example:
Refer to:

Store the Response in this Variable

Description:
Specifies the process data variable that stores information about the ticket from Zendesk.
To Open this Field:
  1. Click the Response tab.
Allowed Values:
A process data variable that accepts an alphanumeric string in JSON format.
Note: In most cases, AgilePoint recommends the Map Response to AgilePoint Schema option. Only get the raw JSON string if you need this data for custom coding.
Default Value:
None
Accepts Variables:
Yes
Example:
[{"AssigneeId":"363188731333","BrandId":null,"CollaboratorIds":"","Comment":null,"CustomFields":[],"Description":"363188731333","DueAt":null,"ExternalId":null,"ForumTopicId":null,"GroupId":null…}]

Source Repository

Specifies the original, or source, location type for your attachment files.
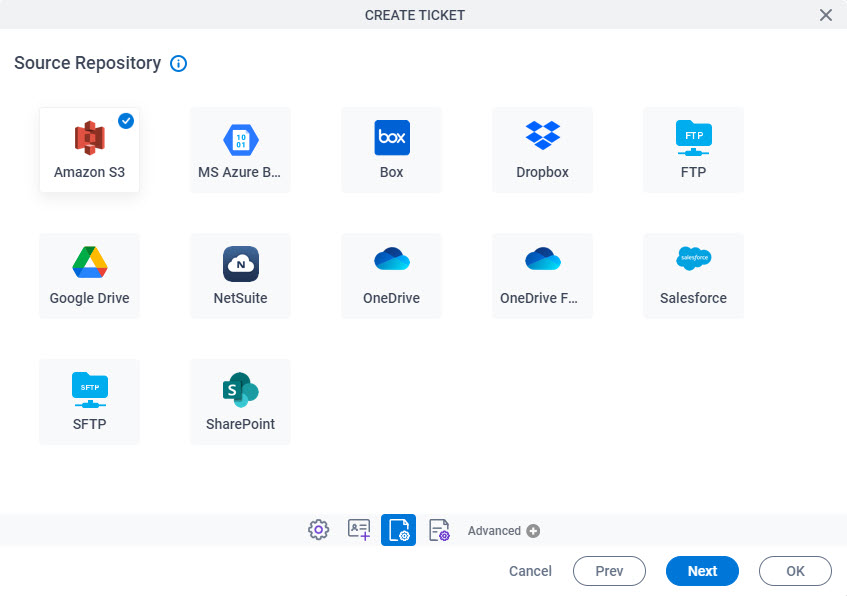
Figure: Source Repository screen

Source Repository screen

Fields

Field NameDefinition

Source Repository

Opens this Screen:
The configuration screen for your document repository. The specific screen that shows depends on your document repository type.

For more information, refer to Document Repositories.

Function of this Screen:
Configures your document repository.